Page 4 For technical questions, please call 1-800-444-3353. Item 69584
NOTICE
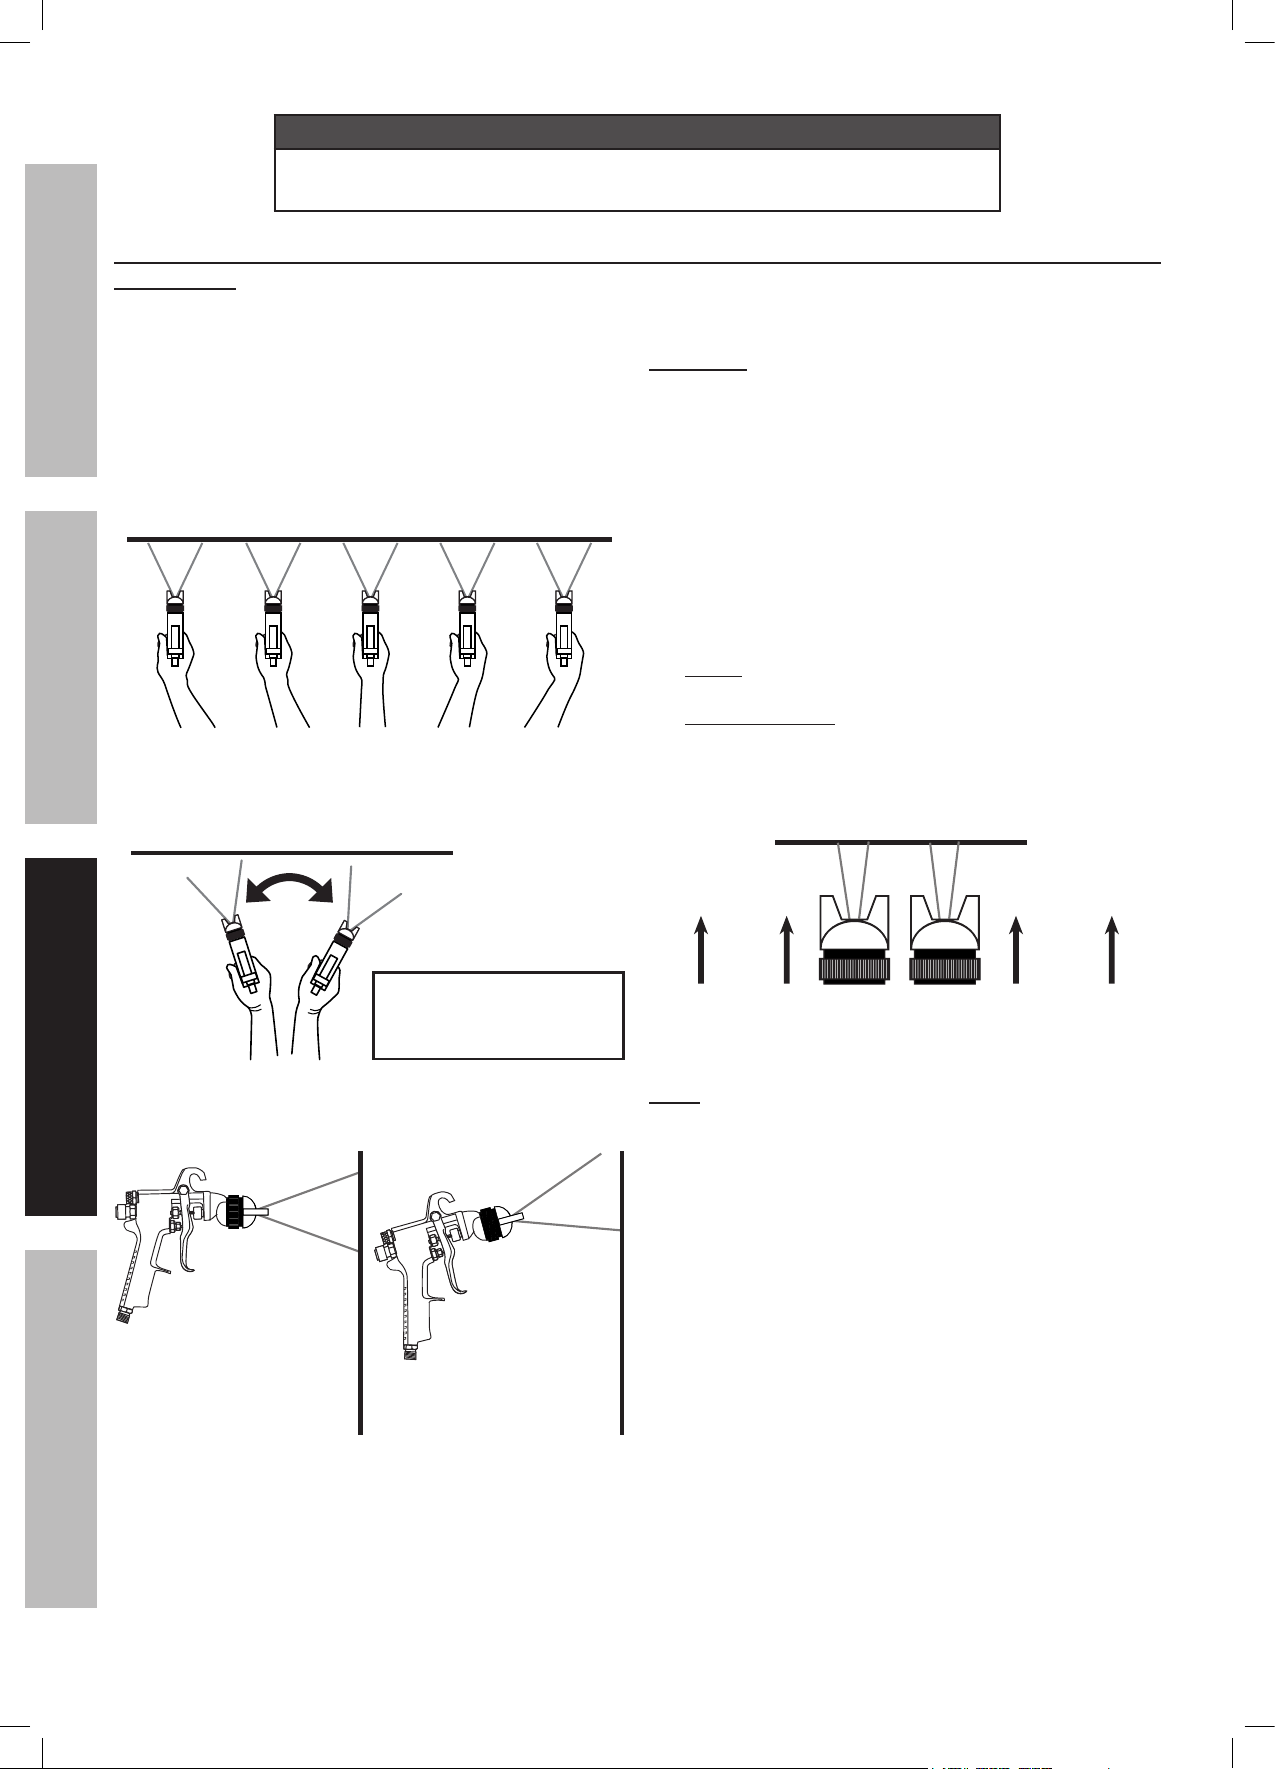
Clean the Spray Gun IMMEDIATELY after use.
Delayed or inadequate cleaning will permanently clog the Spray Gun.
5. Maintain power tools. Check for misalignment
or binding of moving parts, breakage of parts
and any other condition that may affect the
power tool’s operation. If damaged, have the
power tool repaired before use. Many accidents
are caused by poorly maintained power tools.
6. Use the power tool, accessories and tool bits
etc. in accordance with these instructions,
taking into account the working conditions
and the work to be performed. Use of the
power tool for operations different from those
intended could result in a hazardous situation.
Service
Have your power tool serviced by a qualified repair person using only identical replacement parts.
This will ensure that the safety of the power tool is maintained.
Paint Sprayer Safety Warnings
1. Do not direct spray at people or animals.
2. Do not spray near open flames, pilot lights, stoves,
heaters, air compressors, or any other heat source.
Most solvents and coatings are highly flammable,
particularly when sprayed.
3. Read all of the information concerning
coating products and cleaning solvents.
Do not use chlorinated solvents
(e.g. 1-1-1 trichloroethylene and
dichloromethane, also know n as
methylene chloride) to clean spray guns.
Many spray guns contain aluminum,
which reacts strongly to chlorinated solvents.
Contact the solvent or coating manufacturer as
needed regarding potential chemical reactions.
4. Industrial applications must follow
OSHA requirements.
5. Spraying hazardous materials may result in serious
injury or death. Do not spray pesticide, acid,
corrosive material, fertilizer, or toxic chemicals.
6. Paints and solvents may be harmful or fatal
if swallowed or inhaled. Avoid prolonged skin contact
with solvents or paints as they will irritate skin.
After any contact, immediately wash off
exposed area with hot, soapy water.
7. Maintain labels and nameplates on the tool.
These carry important safety information.
If unreadable or missing, contact
Harbor Freight Tools for a replacement.
8. Avoid unintentional starting.
Prepare to begin work before turning on the tool.
9. Do not leave the tool unattended when it is plugged
into an electrical outlet. Turn off the tool, and
unplug it from its electrical outlet before leaving.
10. This product is not a toy.
Keep it out of reach of children.
11. People with pacemakers should consult their
physician(s) before use. Electromagnetic fields in
close proximity to heart pacemaker could cause
pacemaker interference or pacemaker failure.
In addition, people with pacemakers should:
• Avoid operating alone.
• Do not use with power switch/trigger locked on.
• Properly maintain and inspect to avoid
electrical shock.
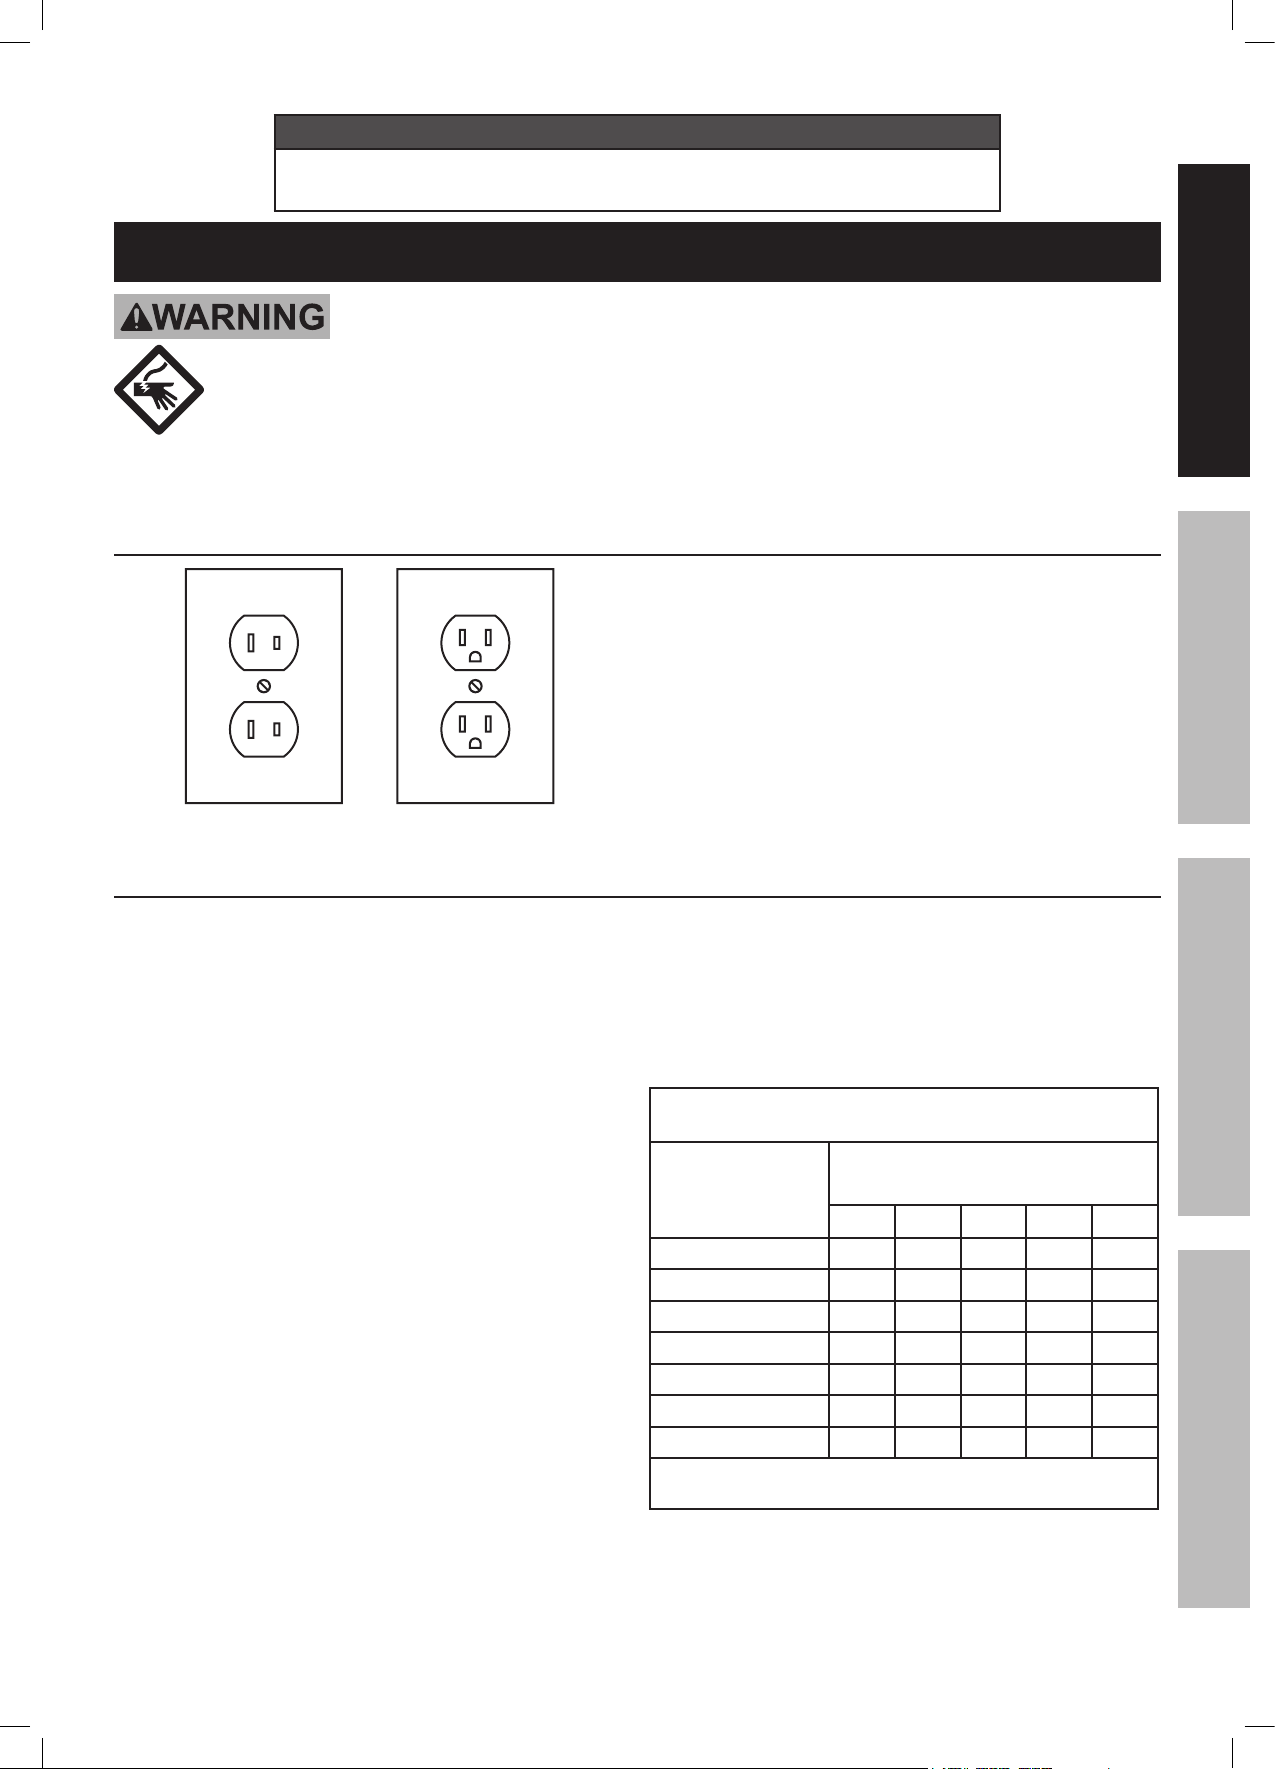
• Properly ground power cord. Ground Fault Circuit
Interrupter (GFCI) should also be implemented
– it prevents sustained electrical shock.
12. WARNING: Some dust created by power sanding,
sawing, grinding, drilling, and other construction
activities, contains chemicals known [to the
State of California] to cause cancer, birth defects
or other reproductive harm. An example of
these chemicals are: • Lead from lead-based paints
Your risk from these exposures varies, depending on
how often you do this type of work. To reduce your
exposure to these chemicals: work in a well ventilated
area, and work with approved safety equipment, such
as those dust masks that are specially designed to
filter out microscopic particles.
(California Health & Safety Code § 25249.5, et seq.)
13. WARNING: Handling the cord on this product will
expose you to lead, a chemical known to the State of
California to cause cancer, and birth defects or other
reproductive harm. Wash hands after handling.
(California Health & Safety Code § 25249.5, et seq.)
14. The warnings, precautions, and instructions
discussed in this instruction manual cannot cover all
possible conditions and situations that may occur.
It must be understood by the operator that
common sense and caution are factors
which cannot be built into this product, but
must be supplied by the operator.
SAVE THESE INSTRUCTIONS.
SAFETY OPERATION MAINTENANCESETUP