manuals.online logo
Brands
  1. Home
  2. •
  3. Brands
  4. •
  5. KROHNE
  6. •
  7. Accessories
  8. •
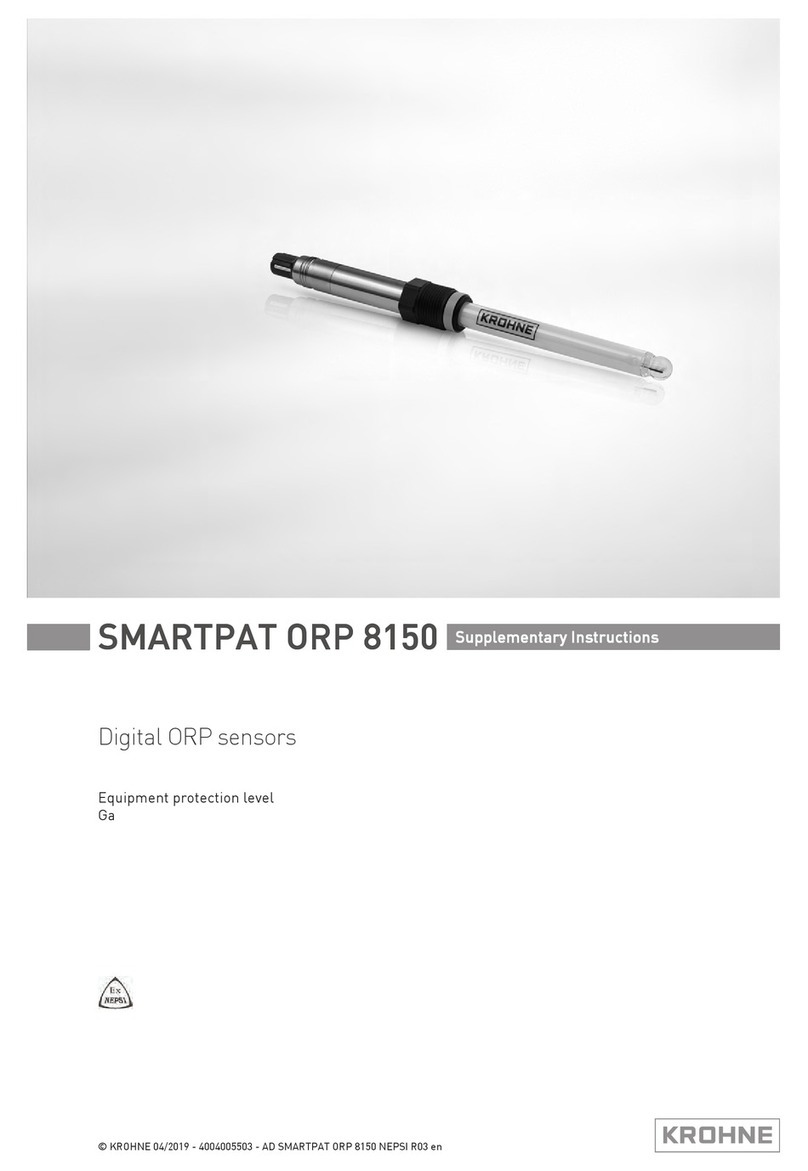
  9. KROHNE SMARTPAT ORP User manual

KROHNE SMARTPAT ORP User manual

Quick Start
For initial set up, we strongly recommend that you also refer to the relevant manual!
04/2022 – 4009316501 - QS SMARTPAT ORP R01 en
1
SMARTPAT ORP
Digital sensors for ORP measurement
Connecting the cable to the sensor
For connection use only a VarioPin cable with shield wire, like the cable VP2-S.
Ensure that both cable and sensor connector are absolutely dry
Screw the cable connector on the sensor connector and tighten it by hand
Cable VP2-S
Transparent-black (inner coax shield)
Ub+
White
Ub-
Shield
S
Connection to junction box SJB 200 W(-Ex)
SJB 200 W(-Ex) junction box, connection with or without internal resistor
Sensor with VP2-S cable
Display or other 4...20 mA loop powered device (e.g. data logger)
Control system without 250 Ω resistor connected to internal resistor of SJB 200 W(-Ex)
Control system with 250 Ω resistor connected to SJB 200 W(-Ex) without using internal resistor
SJB 200 W-(Ex) with internal resistor
SJB 200 W-(Ex) without internal resistor
S
Shield
S
Shield
A
Sensor +
A
Sensor +
B
Sensor -
B
Sensor -
C
Display +
F
Loop - w/o Display
D
Display -
H
Loop +
E
Loop - w/ Display
G
Loop + (250Ω)
Installation, assembly, start-up and maintenance may only be performed by appropriately trained personnel.
Check the nameplate for correct operating conditions.
For use in hazardous areas, special codes and regulations are applicable. Instruments must not be
connected to power supply before reading instructions described in the supplementary manual.
The responsibility as to the suitability, intended use and corrosion resistance of the used materials of this
device against the measured fluid rests solely with the operator.
SMARTPAT ORP sensors are factory calibrated. Nevertheless it is recommended to calibrate the sensor
before installing it into its final measuring location.
1. Connect the sensor to a device suitable for SMARTPAT ORP sensor calibration: OPTIBRIDGE / PC,
SMARTMAC, HART handheld, or your PLC.
2. Calibrate the sensor.
3. Install the sensor into its final measuring location.
1 Unpacking the sensor
Remove the protective cap from the sensor tip by gently twisting and pulling it .
• Lay the sensor on a soft ESD mat or soft paper tissue .
• Leave the protection cap on the VP connector, as long as the sensor is not connected to the cable.
2 Electrical connection
Danger:
All work on the
electrical connections may only be carried out with the power disconnected.
Take note of the voltage data on the nameplate.
Observe the national regulations for electrical installations.






04/2022 – 4009316501 - QS SMARTPAT ORP R01 en
2
Connection to SD 200 W
Field device
SD 200 W
Power supply / Control room
U+
Sensor+
Sensor-
U-
Connection to SHD 200
SHD 200, connection with or without internal resistor
Sensor with VP2-S cable
Relays
Loop 2 (refer to manual for functionality)
HART connections for full sensor access
Control system without 250 Ohm resistor connected to internal resistor of SHD 200
Control system with 250 Ohm resistor connected to SHD 200 without using internal resistor
SHD 200 with internal resistor
SHD 200 without internal resistor
J
Loop 2+
J
Loop 2+
K
Loop 2-
K
Loop 2-
FE
Functional earth
FE
Functional earth
S
Shield
S
Shield
A1
Sensor+
A1
Sensor+
B1
Sensor-
B1
Sensor-
A2
HART+
A2
HART+
B2
HART-
B2
HART-
C
Loop 1+ (HART®resistor on board)
C
D
D
Loop 1+ (external HART®resistor required)
E
Loop 1-
E
Loop 1-
F
Relay 1+
F
Relay 1+
G
Relay 1-
G
Relay 1-
H
Relay 2+
H
Relay 2+
I
Relay 2-
I
Relay 2-
Connection with OPTIBRIDGE and optional M8-VP cable
Primary master (PC / notebook with PACTwareTM FDT/DTM)
USB-connector
M8 cable connector (female)
M8 connector male
VP cable connector
Sensor connector
Connection to SMARTMAC 200 W
SMARTMAC 200 W, connection with or without internal resistor
Sensor with VP2-S cable
Control system without 250 Ohm resistor connected to internal resistor of SMARTMAC 200 W
Control system with 250 Ohm resistor connected to SMARTMAC 200 W without using internal resistor
SMARTMAC 200 W with internal resistor
SMARTMAC 200 W without internal resistor
S
Shield
S
Shield
A
Sensor +
A
Sensor +
B
Sensor -
B
Sensor -
F
Loop -
F
Loop -
G
Loop + (250Ω)
H
Loop +
4567
JKFE S A1 B1 A2 B2 I
U2+ U2- SU1+ U1-
Sens-UR1+ UR1- UR2+ UR2-
JKFE S A1 B1 A2 B2 C
U2+ U2- SU1+ U1-
Sens-UR1+ UR1- R2-
U
DFH
EGI
DFH
EG
Sens+Sens+UR2+
04/2022 – 4009316501 - QS SMARTPAT ORP R01 en
3
3 Calibration
Calibration with PACTwareTM (download free of charge on KROHNE.com) e.g. with OPTIBRIDGE
1
Manual hold
select Menu mode Quick Setup or Setup / start calibration / activate manual hold /
select yes / press Enter
2
Start calibration
procedure
Set value of ORP solution; Default setting: 468 mV / press Next / Dip the sensor into
the ORP solution and wait till the value is stable . / press Next
3
After successful
calibration
the following values appear:
Old ORP value [mV], ORP solution [mV], Electrode voltage [mV], New offset
[mV], New ORP value [mV]
press Next / set calibration date DD-MM-YYYY / press Next / Save values? /
select yes / press Next / select no to deactivate manual hold / press Next to leave
calibration menu
4
After unsuccessful
calibration
the message Warning! Offset out of range! appears behind the value New offset
Calibration with HART Handheld 475 FIELD COMMUNICATOR
1
Manual hold
select Menu mode Quick Setup or Setup / start calibration / activate manual
hold / select yes / press Enter
2
Start calibration
procedure
Set value of ORP solution; Default setting: 468 mV. Press key >to enter submenu
to change default setting. / press Enter and Ok / Dip the sensor into the ORP
solution and wait till the value is stable . / press Ok
3
After successful
calibration
the following values appear:
Old ORP value [mV], ORP solution [mV], Electrode voltage [mV], New offset
[mV], New ORP value [mV]
Press Ok / set calibration date DD-MM-YYYY with key >/ press Enter / press Ok /
Save values? / select yes / press Enter / select no to deactivate manual hold /
press Enter to leave calibration menu
4
After unsuccessful
calibration
message Warning!!! Offset out of range! appears behind the value New offset
Calibration with SMARTMAC 200 W
1
Manual hold
select Menu mode Quick Setup or Setup / start ORP calibration / press > /
Manual hold?/ select yes / press Enter twice
2
Start calibration
procedure
Set ORP solution e.g. 220 mV /press > / enter temperature for calibration
solution / wait for stable value and press Enter / Please wait /
3
After successful
calibration
the following Calibr.values appear:
Offset [mV], ORP [mV]
Press Enter / Store cal. values? / select yes / press Enter twice / select Set clock
with >/ set calibration date YYYY-MM-DD and time HH:MM / press enter / select
Manual hold? With > / select no / press Enter twice / ORP calibration sucessful
/ press Enter several times to leave the calibration
04/2022 – 4009316501 - QS SMARTPAT ORP R01 en
4
4 Installation
Specific conditions of use to be observed for SMARTPAT ORP 8150 :
Operation with flammable media beyond the ranges of atmospheric conditions ( -20 °C ≤T ≤+ 60 °C and
0.8 bar ≤P ≤1.1 bar) is only permissible if these media do not form explosive medium/air-mixtures. The
operating company is responsible for the safe operation of the Redox-Sensor regarding temperatures and
pressures of the media used.
When the Redox-Sensor is operated with flammable media it shall be included in the recurring pressure test
of the system.
To avoid electrostatic charge, the metal enclosure shall be connected to the local equipotential bonding
system.
The digital Redox-Sensor, type SMARTPAT ORP 8150 must not be installed and operated in areas where
excessive charge generating processes can occur (e.g. due to friction or oncoming flow with particles).
The safety instructions given in the operating instructions manual shall be observed accordingly.
The installation must always comply with the following requirements:
• No external forces are affecting the sensor.
• The device is accessible for any necessary visual inspections and can be viewed from all sides.
• The nameplate is clearly visible.
Ensure that the pipeline is without pressure before installing or removing a sensor!
Never touch or scratch the platinum electrode of the sensor.
During installation you should fix a shut-off valve in front of and behind the instrument so that the sensor
can be taken out in case of check.
Warning:
The max. permissible temperature for the SMARTPAT electronics is 85°C.
Immersion installation:
Max. process temperature is 85 °C with a submersed sensor (or lower if glass electrode is rated lower),
e.g. with mounting assemblies SENSOFIT RET 5000 or IMM 1000.
Insertion installation:
The device must not be heated by radiated heat (e.g. exposure to the sun) to an electronics housing
surface temperature above the maximum permissible ambient temperature. If it is necessary to prevent
damage from heat sources, a heat protection (e.g. sun shade) has to be installed.
Mounting position of the sensor
The sensor tip must always have full contact with the measuring medium.
The mounting position of the sensor should not deviate more than 75° from vertical position (sensor tip pointing
downwards).
Measuring medium
Maximum deviation of 75° from vertical position
Installation steps
12 mm glass electrodes (SMARTPAT ORP 8150, 8510):
•Use a mounting assembly for insertion or immersion installation suitable to your purposes, e.g. SENSOFIT
INS 1310, RET 5000 or IMM 1000 etc. and follow all installation steps described in the appropriate user
manual of the mounting assembly.
•Ensure that the washer and the O-ring at the electrode are properly fitted, clean and undamaged.
•Take care when inserting the electrode into the mounting assembly.
•It is usually sufficient to tighten the PG 13.5 screw at the electrode by hand. If necessary, a wrench can be
used (carefully !). Potential risk when using a wrench: sensor damage / glass break.
Max. torques: 7 Nm
Electrode with plastic housing (SMARTPAT ORP 1590 ;3/4 NPT threads):
•Apply sealant to NPT thread acc. to your needs, e.g. PTFE tape or liquid sealant.
•It is usually sufficient to tighten the NPT thread by hand. Potential risks when using a wrench: sensor damage
(e.g. glass break); overtightening of the thread. Max. torque for a metal thread connection: 9 Nm
Please contact your local Krohne contact for calibration and regeneration (KCl) solutions.
Download documents and software
Scan the code on the nameplate or scan the
following code and enter the serial number.
Contact
Select your country from the region / language
selector to view your local KROHNE contact details
on:
www.krohne.com
Direct download:
www.krohne.com/
en/
downloads
Product name:
SMARTPAT
Document type:
Handbook / Software

Other KROHNE Accessories manuals

KROHNE OPTIFLUX 6000 User manual

KROHNE

KROHNE OPTIFLUX 6000 User manual

KROHNE OPTIFLUX 6000 User manual

KROHNE

KROHNE OPTIFLUX 6000 User manual

KROHNE 1000 Series Wiring diagram

KROHNE

KROHNE 1000 Series Wiring diagram

KROHNE OPTISWITCH 5200C User manual

KROHNE

KROHNE OPTISWITCH 5200C User manual

KROHNE OPTIFLUX 2000 User manual

KROHNE

KROHNE OPTIFLUX 2000 User manual

KROHNE OPTIFLUX 4000 User manual

KROHNE

KROHNE OPTIFLUX 4000 User manual

KROHNE OPTIFLUX 1000 User manual

KROHNE

KROHNE OPTIFLUX 1000 User manual

KROHNE OPTIFLUX 6000 User manual

KROHNE

KROHNE OPTIFLUX 6000 User manual

KROHNE OPTIMASS 6000 User manual

KROHNE

KROHNE OPTIMASS 6000 User manual

KROHNE OPTISENS TSS 2000 User manual

KROHNE

KROHNE OPTISENS TSS 2000 User manual

KROHNE OPTIFLUX 6000 User manual

KROHNE

KROHNE OPTIFLUX 6000 User manual

KROHNE OPTIFLUX 6000 User manual

KROHNE

KROHNE OPTIFLUX 6000 User manual

KROHNE SMARTPAT PH User manual

KROHNE

KROHNE SMARTPAT PH User manual

KROHNE OPTISENS ODO2000 User manual

KROHNE

KROHNE OPTISENS ODO2000 User manual

KROHNE OPTIFLUX 1000 User manual

KROHNE

KROHNE OPTIFLUX 1000 User manual

KROHNE OPTIFLUX 6000 User manual

KROHNE

KROHNE OPTIFLUX 6000 User manual

KROHNE SMARTPAT PH 8530 User manual

KROHNE

KROHNE SMARTPAT PH 8530 User manual

KROHNE SMARTPAT ORP 8150 Wiring diagram

KROHNE

KROHNE SMARTPAT ORP 8150 Wiring diagram

KROHNE OPTIFLUX 2000 User manual

KROHNE

KROHNE OPTIFLUX 2000 User manual

KROHNE SMARTPAT PH 8 Series Wiring diagram

KROHNE

KROHNE SMARTPAT PH 8 Series Wiring diagram

KROHNE OPTISENS ODO2000 User manual

KROHNE

KROHNE OPTISENS ODO2000 User manual

KROHNE OPTIFLUX 4000 User manual

KROHNE

KROHNE OPTIFLUX 4000 User manual

KROHNE OPTISENS TUR 2000 User manual

KROHNE

KROHNE OPTISENS TUR 2000 User manual

KROHNE TIDALFLUX 2300 F User manual

KROHNE

KROHNE TIDALFLUX 2300 F User manual

Popular Accessories manuals by other brands

Hudora 76128 INSTRUCTIONS ON ASSEMBLY AND USE

Hudora

Hudora 76128 INSTRUCTIONS ON ASSEMBLY AND USE

SICK GTE6L Series operating instructions

SICK

SICK GTE6L Series operating instructions

QOLSYS IQ SHOCK MINI-S Quick install guide

QOLSYS

QOLSYS IQ SHOCK MINI-S Quick install guide

SGL 4680 instruction manual

SGL

SGL 4680 instruction manual

Elko Inels RFDSC-71 manual

Elko

Elko Inels RFDSC-71 manual

ParTech SoliTechw2 IR Series instruction manual

ParTech

ParTech SoliTechw2 IR Series instruction manual

Nice Era Mat T Series Addendum to the manual

Nice

Nice Era Mat T Series Addendum to the manual

Chuango DML-100 user manual

Chuango

Chuango DML-100 user manual

Lambrecht rain[e]H3 user manual

Lambrecht

Lambrecht rain[e]H3 user manual

Waterpik WP-360 manual

Waterpik

Waterpik WP-360 manual

Oregon Scientific BAR609HGA user manual

Oregon Scientific

Oregon Scientific BAR609HGA user manual

Infineon SP37 Function guide

Infineon

Infineon SP37 Function guide

Thermo Scientific 2862 Operating and maintenance manual

Thermo Scientific

Thermo Scientific 2862 Operating and maintenance manual

weinor Topas Maintenance instructions and directions for use

weinor

weinor Topas Maintenance instructions and directions for use

Network Thermostat NetX NT-URS installation manual

Network Thermostat

Network Thermostat NetX NT-URS installation manual

Optex OAM-DUAL T Operation manual

Optex

Optex OAM-DUAL T Operation manual

Swatchmate Cube user guide

Swatchmate

Swatchmate Cube user guide

Pavone Systems MC 315 Series Technical manual

Pavone Systems

Pavone Systems MC 315 Series Technical manual

manuals.online logo
manuals.online logoBrands
  • About & Mission
  • Contact us
  • Privacy Policy
  • Terms and Conditions

Copyright 2025 Manuals.Online. All Rights Reserved.