PRINTED IN THE USA © KUBOTA TRACTOR CORPORATION 2020 Code: 77700-05194 (Rev. K)
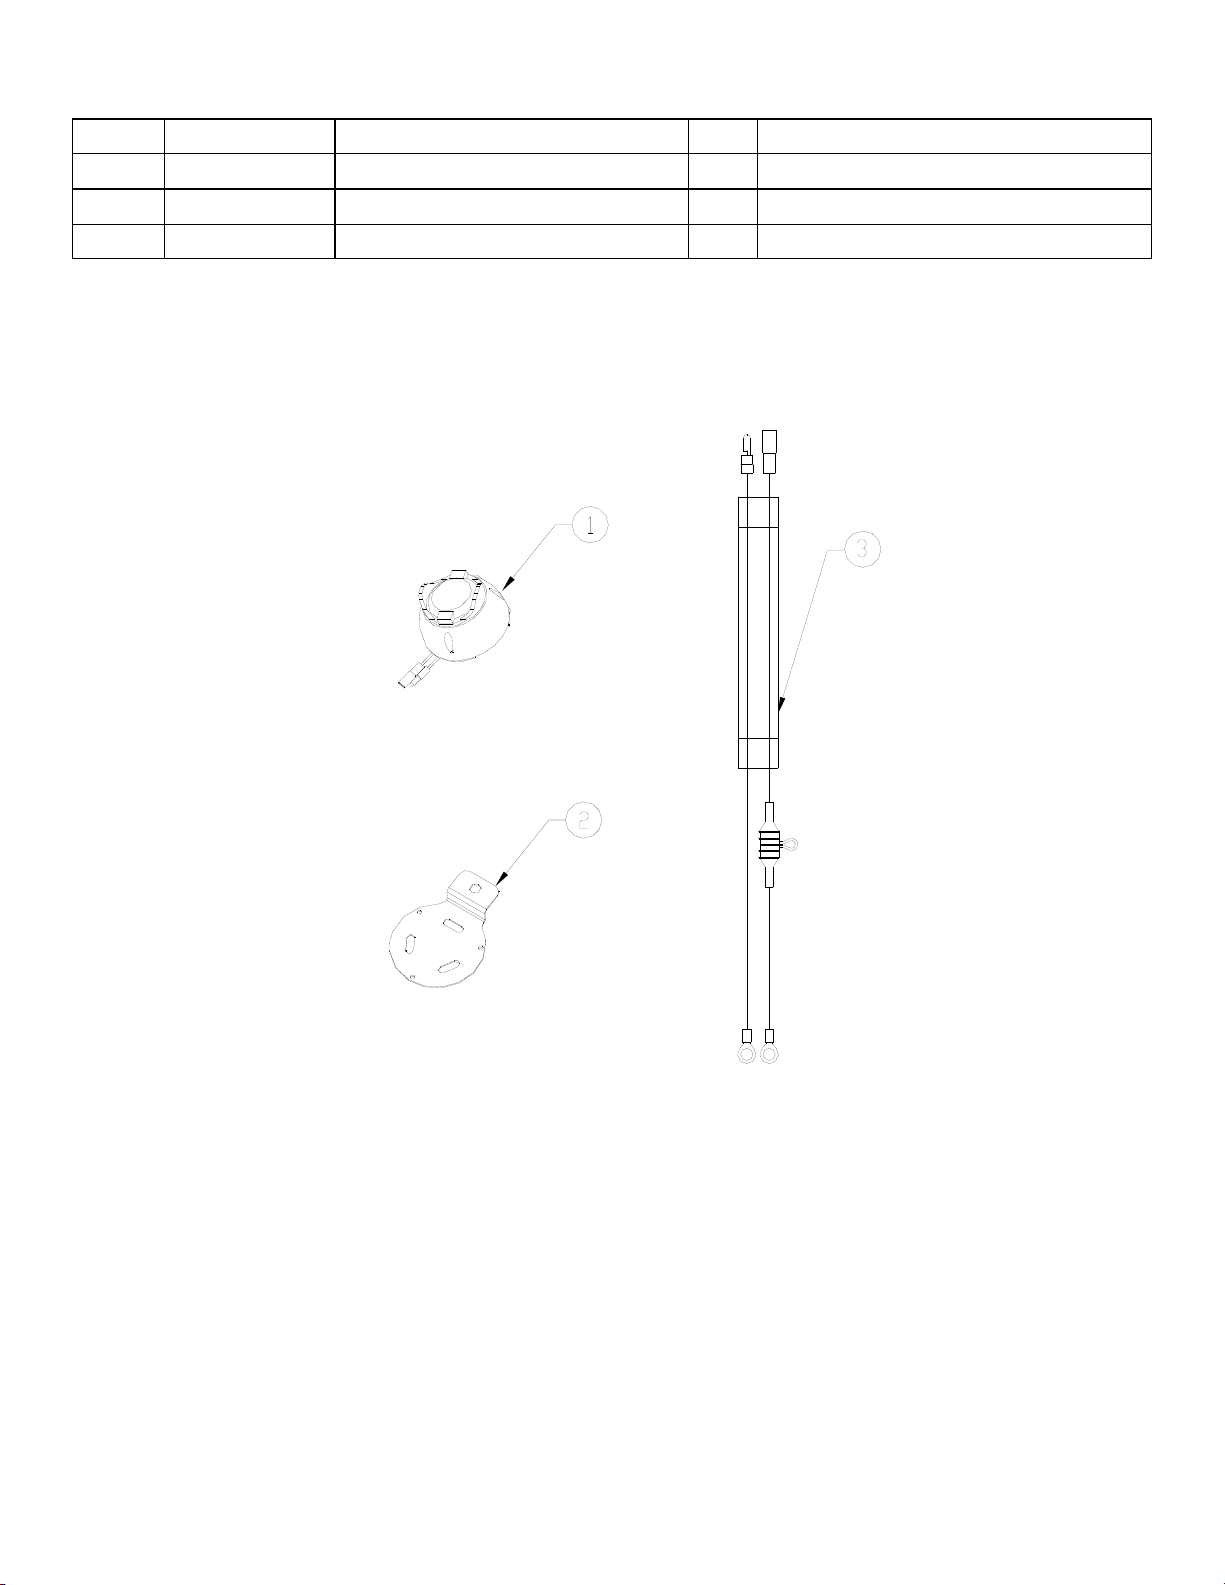
Install Dome Light to Canopy
(for RTV-X1140 only)
9. If a strobe light is installed on the canopy, remove one of
the nuts from a strobe light bolt and install the dome light
bracket onto the bolt.
10. If no strobe light is installed on the canopy, place the
dome light bracket as far forward along the centerline of the
roof as the wire harness will allow and mark the location of
the hole in the bracket on the canopy. For a steel canopy,
remove the headliner material immediately around the
marked location.
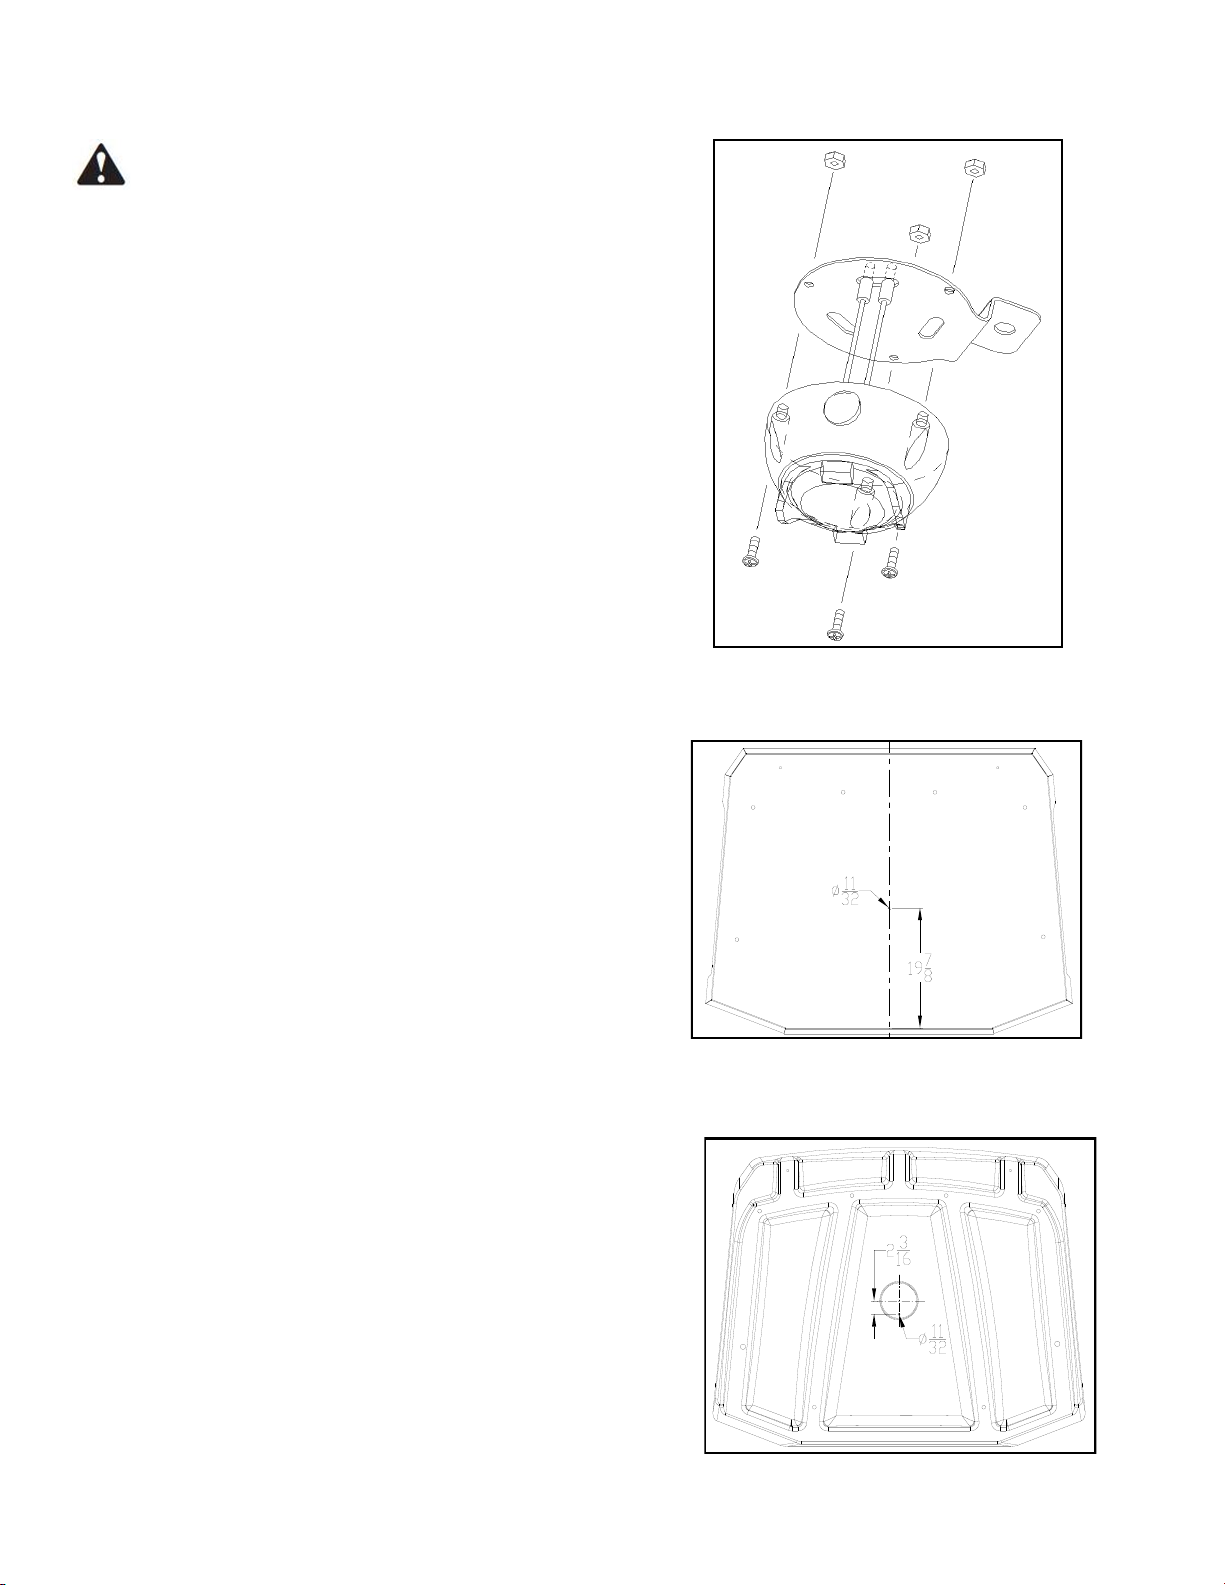
11. Drill an 11/32” hole thru the canopy at the location
marked.
12. Attach the dome light to the canopy with a 5/16-18 x 3/4”
long bolt, nylon washer, and nut as shown in fig. 6.
Wiring
(for RTV-X1140 only)
13. Starting at the battery compartment, route the end of the
wire harness with the bullet terminals behind the center side
ROPS bracket and take out any slack in the harness.
14. If installing with a cab, route the harness under the
floorboard and thru the rubber on the floorboard bracket.
15. If installing without a cab, route the harness through the
frame tube and out through the plastic shroud behind the
front seats.
16. Route the harness up the side of the driver’s side vertical
ROPS tube, under the top of the driver’s side upper tube
and along the center tube as shown in fig. 7.
17. Connect the bullet terminals of the wire harness to the
corresponding terminals on the dome light.
18. Connect the ring terminal at the end of the red harness
wire (with in-line fuse holder) to the positive battery terminal
bolt. Connect the ring terminal on the black wire to the
negative terminal bolt and reconnect the negative battery
terminal.
19. Starting at the battery, remove as much slack as
possible from the harness and use provided zip-ties to
secure the wire harness to the ROPS tube. See fig. 7.
Fig. 6
Nut
Bolt
Washer
Canopy
Fig. 7 (shown with canopy removed)
Zip
Ties