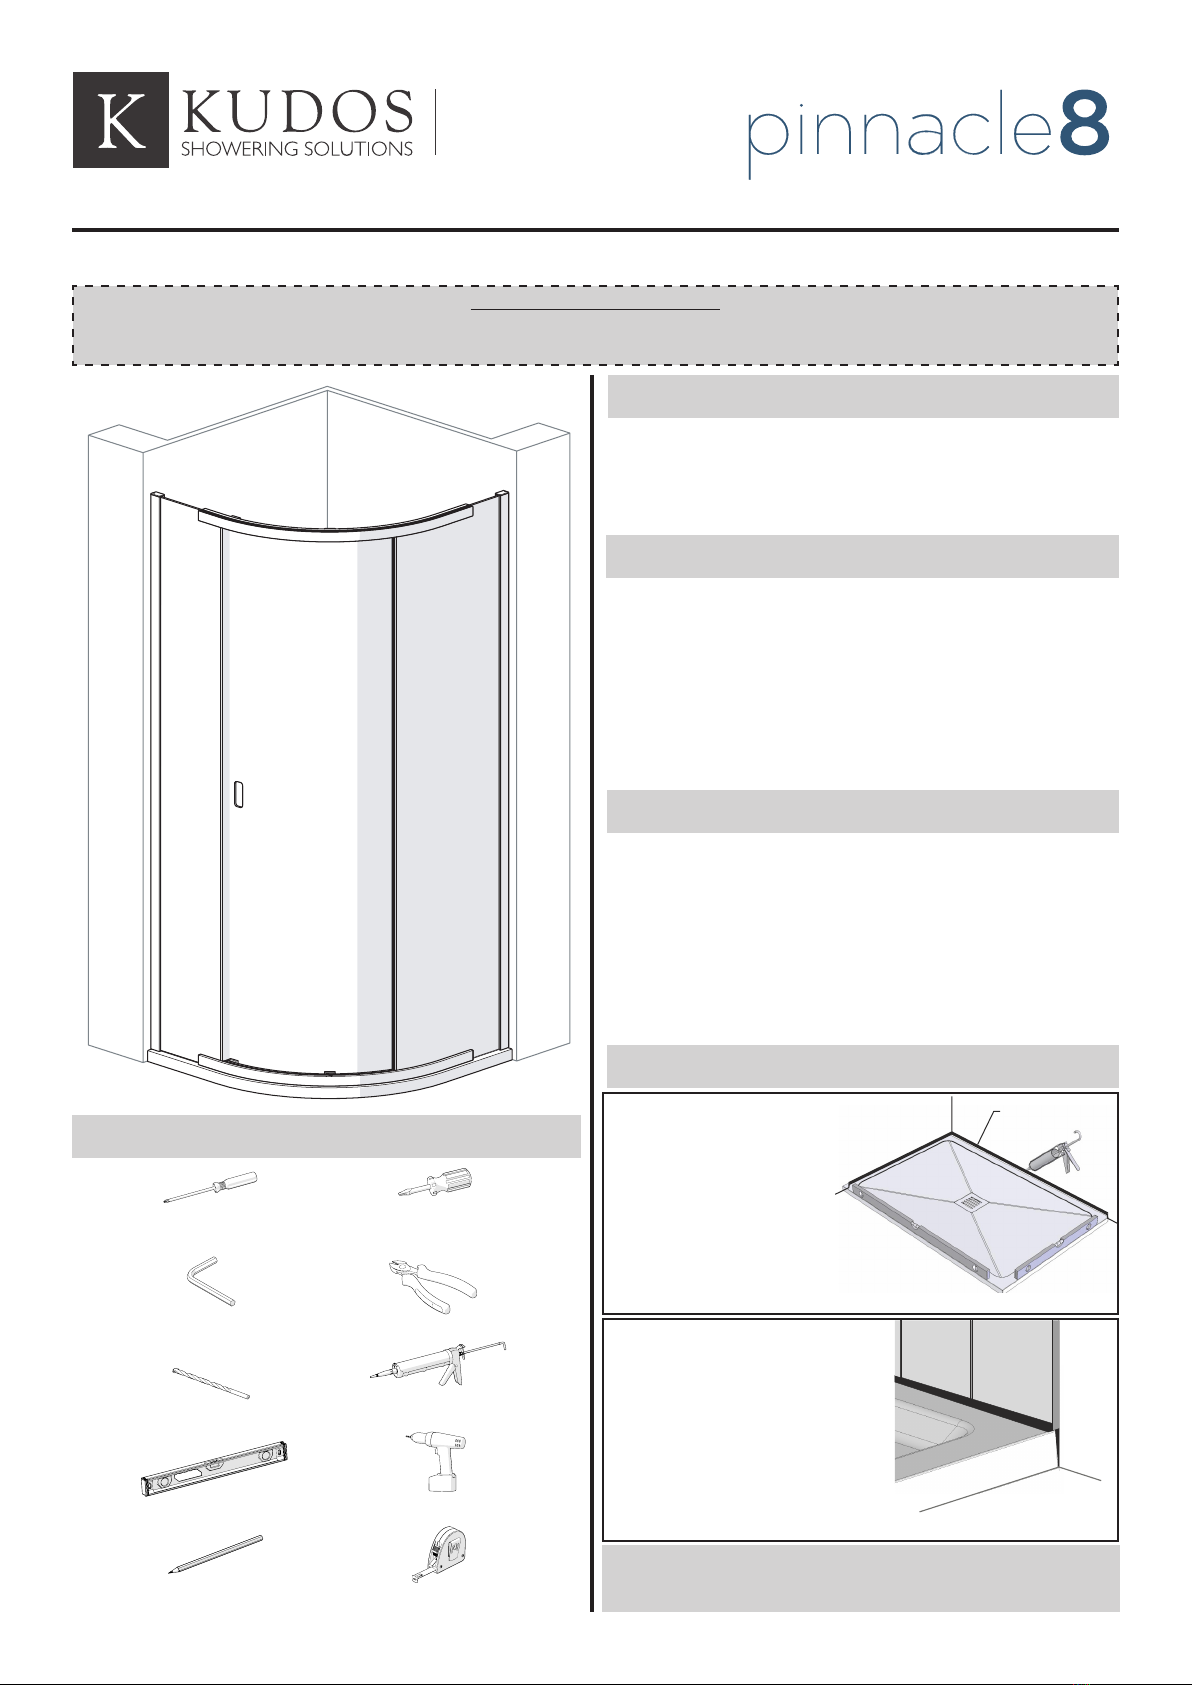
3Issue 01 JAN.20
Step 3 - Add Trim to J-Bend Panel
1. Take note of label
on glass ‘This surface
to outside’ this will
determine which is the
bottom edge of your
installation.
2. Use 160mm Trim Seal.
3. Peel off a small length of
the bottom trim adhesive
tape and apply to bottom of
glass panel 15mm from the
end as shown. Continue
along length of trim, peeling
away the tape as you go,
until the full trim length is
adhered to the panel.
15mm
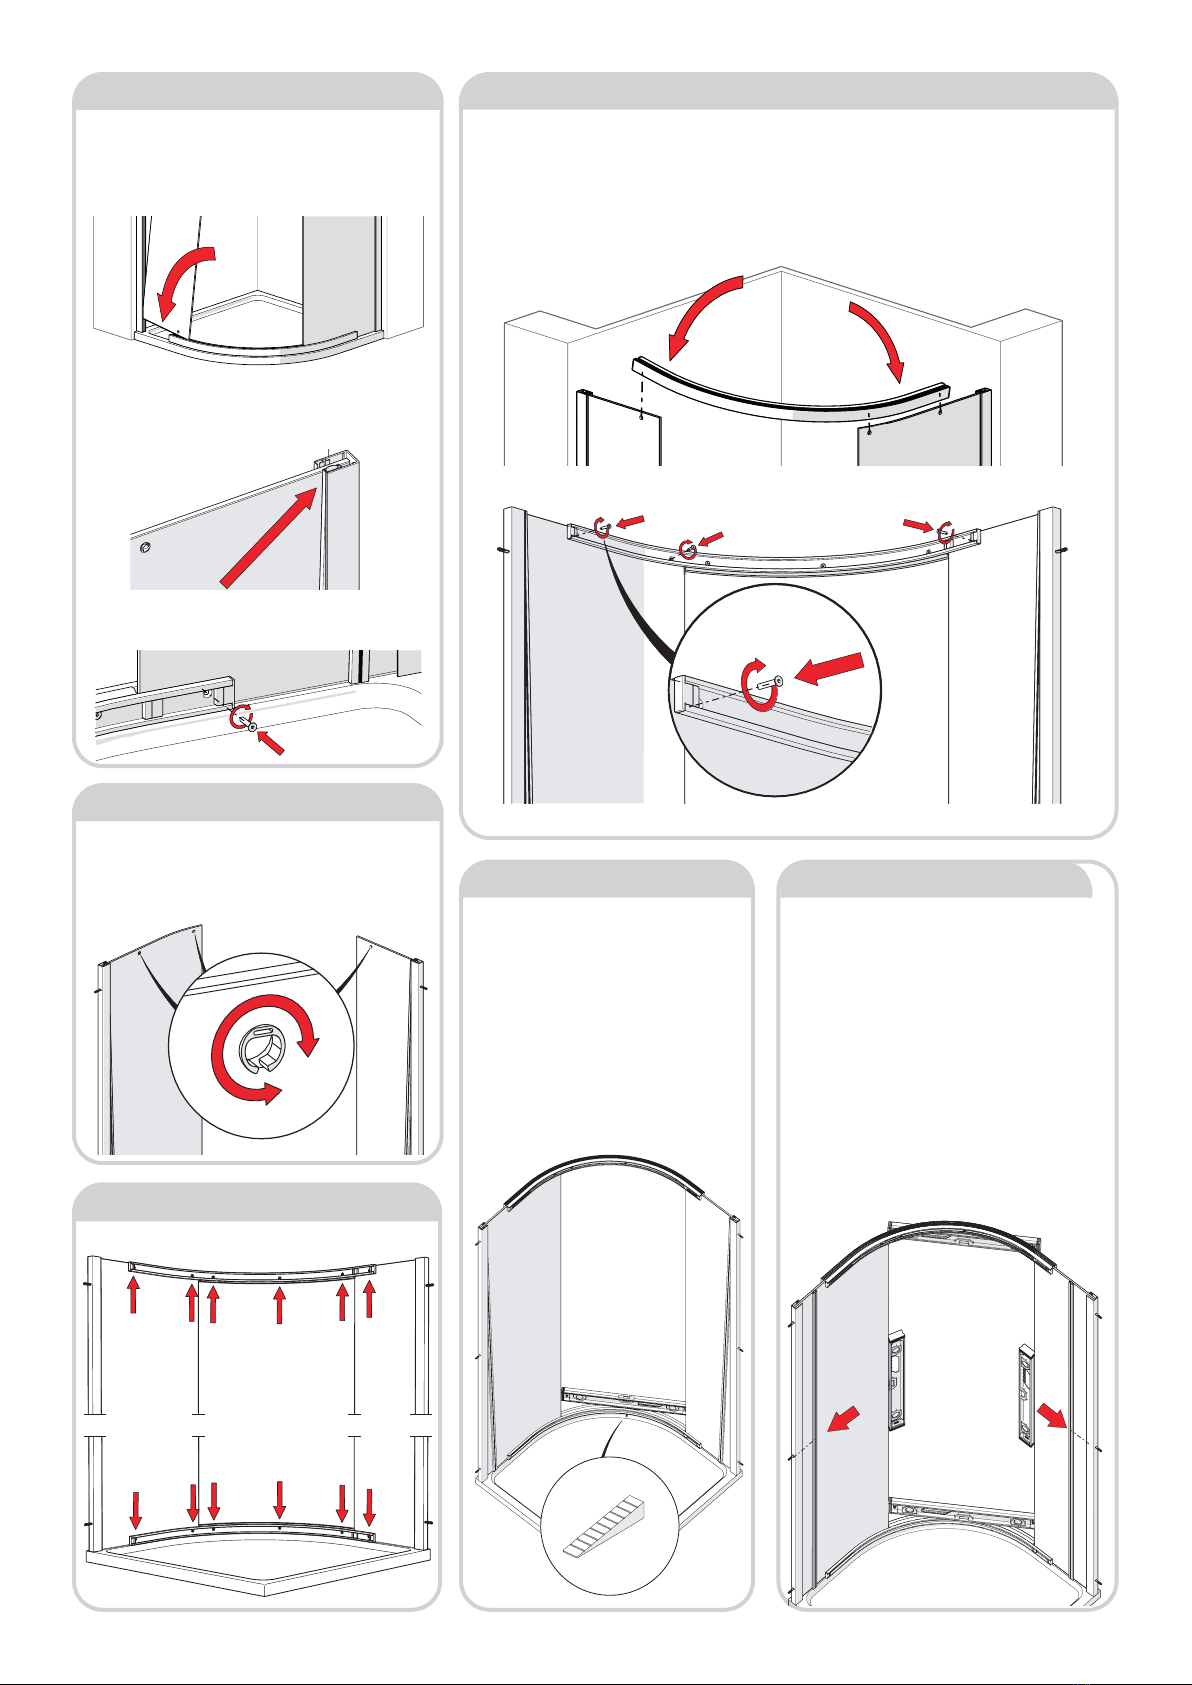
Step 4 - Fit J-Bend Panel Glass and secure Panel using Push-in channel
Step 5 - Select Rail for bottom
1. The rails are handed to suit both left hand and right hand
access. Select the correct rail for fitting to bottom.
2. Remove the three screws that fix the inner and outer extrusion,
as shown below.
3. Very lightly loosen the mid-rail outer screws, as shown below.
Do not remove, or loosen too much that the screws could self
remove.
Step 6 - Fit Bottom Rail to J-Bend Panel
1. Carefully slide the dis-assembled rail from step 5
underneath and along the glass panel until the mid-rail
endcaps abuts the glass panel edge. Line up the 2 holes
on the rail with 2 holes on the glass. Be careful not to
dislodge any glass patches on the rail with the J-Bend
Panel glass edge.
15mm
Step 7 - Add Trim to Fixed Panel
1. Take note of label on glass ‘This surface to
outside’ this will determine which is the bottom
edge of your installation.
2. Use 210mm (for 900x900 unit) / 510mm (for
1200x900 unit) Trim Seal depending on which Unit
you’re installing.
3. Like step 3, peel off a small length of the bottom
trim adhesive tape and apply to bottom of glass
panel 15mm from the end as shown. Continue
along length of trim, peeling away the tape as you
go, until the full trim length is adhered to the panel.
3. Lightly re-insert 2 of the 3 screws removed
previously, as shown below from the inside. Do not
fully tighten.
Step 8 - Prepare Top Rail
1. Remove the three screws that fix the inner and outer extrusion, as shown below.
2. Very lightly loosen the mid-rail outer screws, as shown below. Do not remove, or loosen too much
that the screws could self remove.
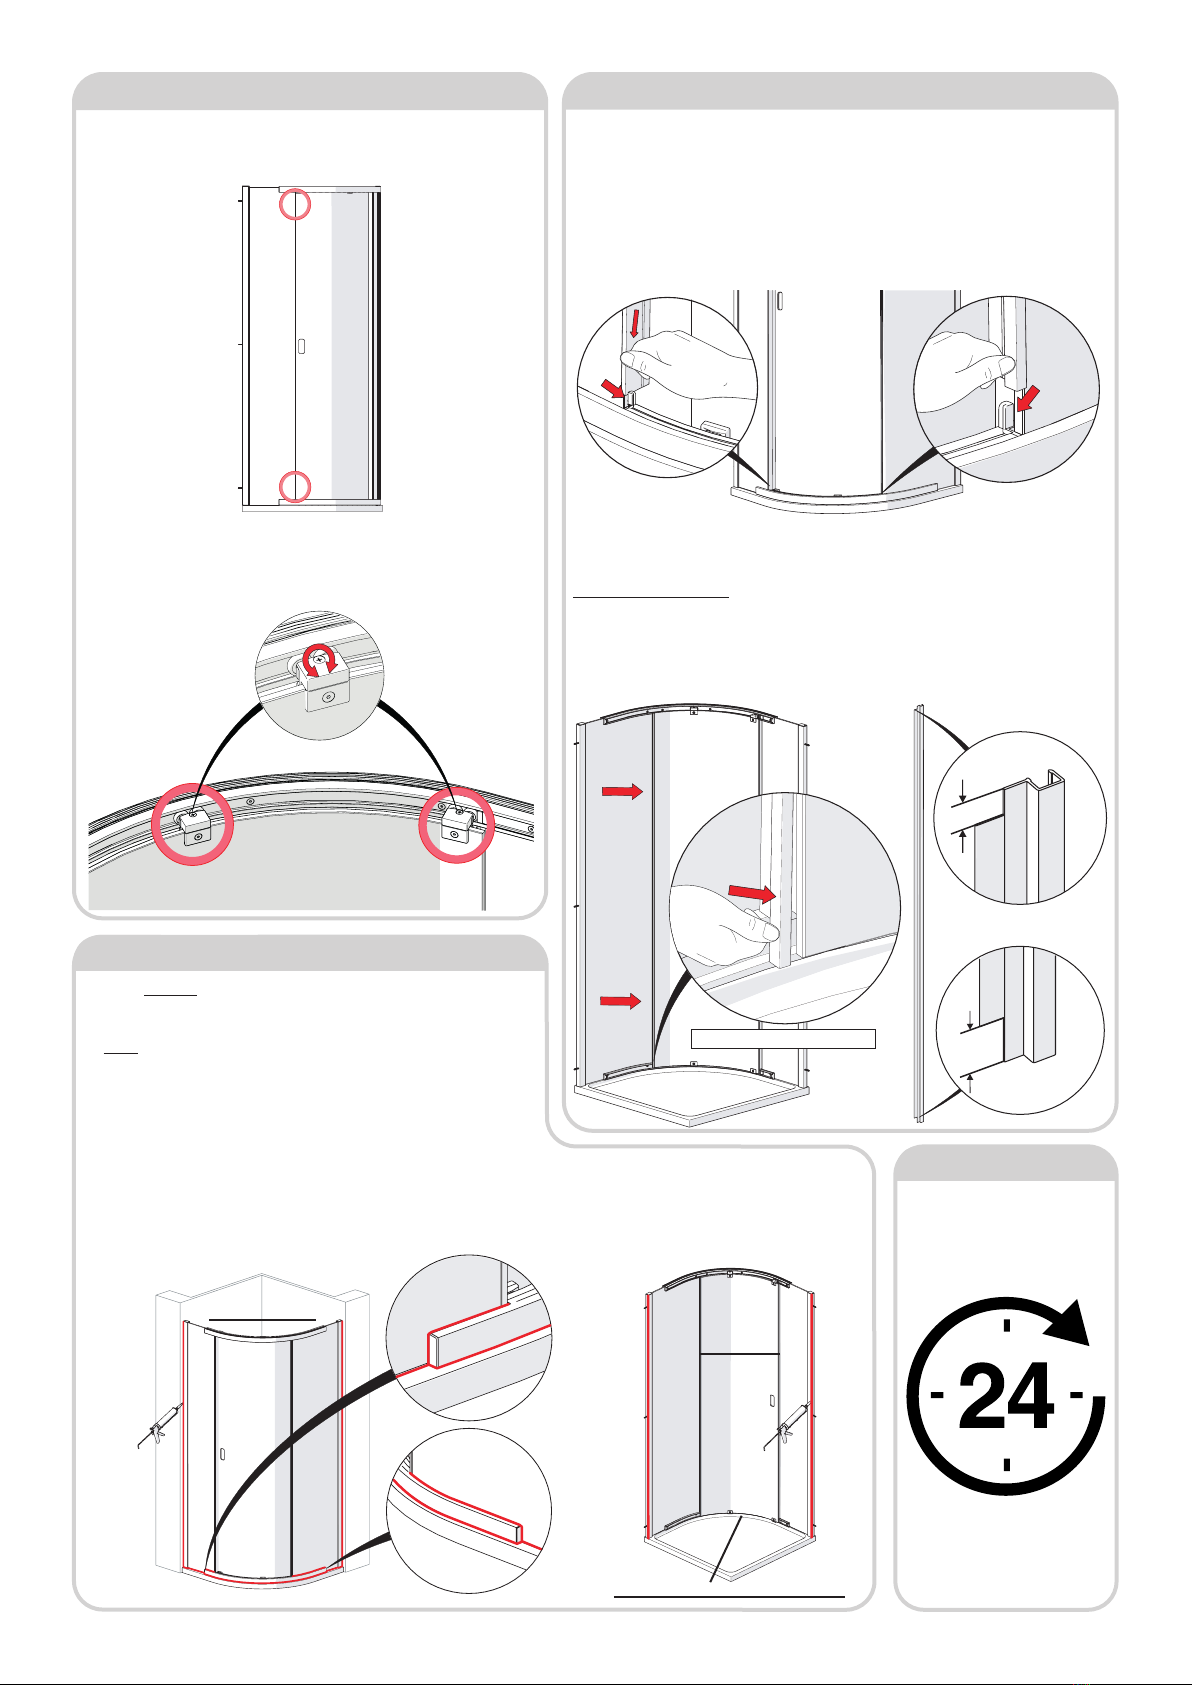
Push-in channel can be
removed, if necessary, by
inserting tool (M305-01)
supplied to pull the channel
out at top.
Add from
inside
Remove from
inside
Inside view
Inside view
1. Carefully fit glass panel fully into slot in wallpost,
ensuring panel is parallel to tray edge.
2. Acquire the shim from the installation back. Place the
shim under the glass so that there is approx. 3-4mm gap
underneath the glass panel. Make sure the shim isn’t in
contact with the Trim seal from step 3. See below.
3. From inside the enclosure, place the push-in channel
(black strip towards glass) against the glass. At this stage
don’t need to fully insert. Insert 1/4 at the top to secure
glass panel whilst installing.
4. Now remove the shim as the push-in channel will
hold the glass in position.
2. Remove push-in channel using the M305-01
provided. So that the J-Bend panel sits on the rail.
4. Re-insert push-in channel, like step 4.