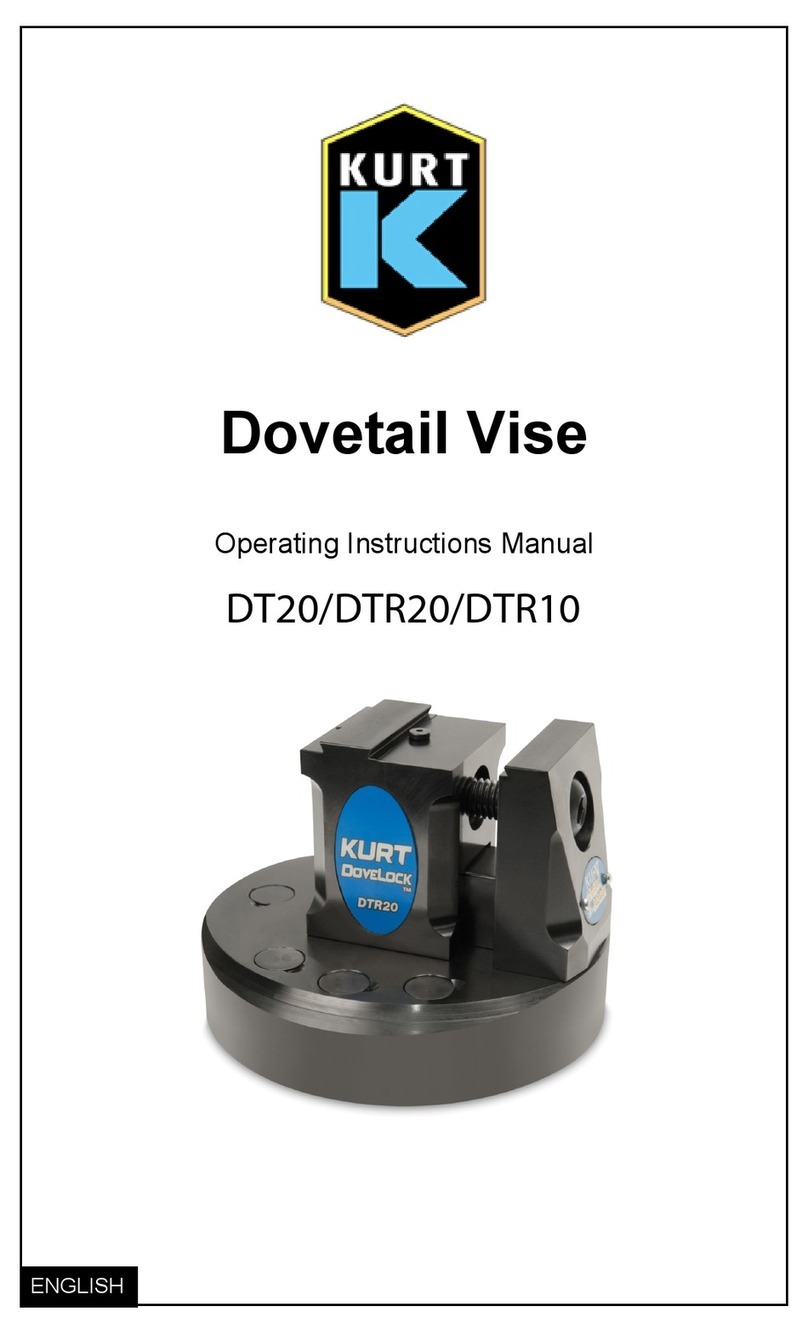
Kurt DTR20 Instruction Manual

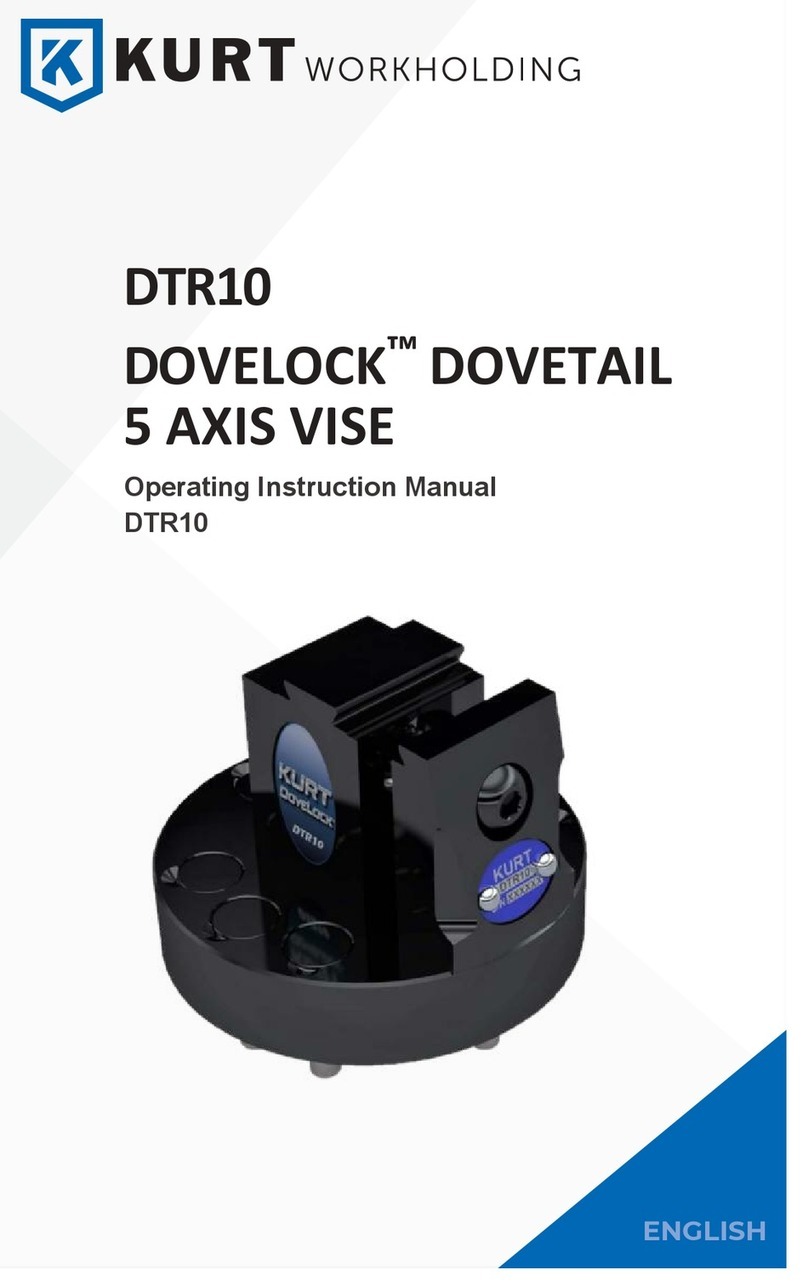
DTR20
DOVELOCK™ DOVETAIL
5 AXIS VISE
Operating Instruction Manual
DTR20
ENGLISH

2
TABLE OF CONTENTS
Introduction ................................................................................................................. 3
Setup Instructions ....................................................................................................... 4
Operating Instructions ..............................................................................................5-9
DTR20 Parts List......................................................................................................... 10
DTR20 Mechanical Drawing ...................................................................................... 11
Maintenance Schedule .............................................................................................. 12
Troubleshooting Tips ................................................................................................. 13
VISE DATA
Use this to fill out information about your vise for quick reference.
Purchase Date:
Purchase Order:
Purchased From:
Delivery Date:
Serial No.:
_________ -________ -_________
______________________________
______________________________
______________________________
______________________________
NOTE: MAKE SURE TO REGISTER YOUR WARRANTY ONLINE AT
KURTWORKHOLDING.COM
TABLE OF CONTENTS
Maintenance Log/Notes ............................................................................................ 14
Warranty .................................................................................................................... 15

3
3 | ENLGISH
Table of Contents
Introduction .................................................................................................................3
Setup Instructions......................................................................................................4
Operating Instructions .........................................................................................5-7
DX6 Parts List ...............................................................................................................8
DX6 Mechanical Drawing........................................................................................9
Maintenance Schedule....................................................................................10-12
Troubleshooting Tips ............................................................................................. 13
Vise Data
Use this to ll out information about your vise for quick reference.
Purchase Date: _______ -_______- _______
Purchase Order: _______________________
Purchased From: _______________________
Delivery Date: _______________________
Serial No.: _______________________
Note:
Make sure to register your warranty online at kurtworkholding.
Introduction
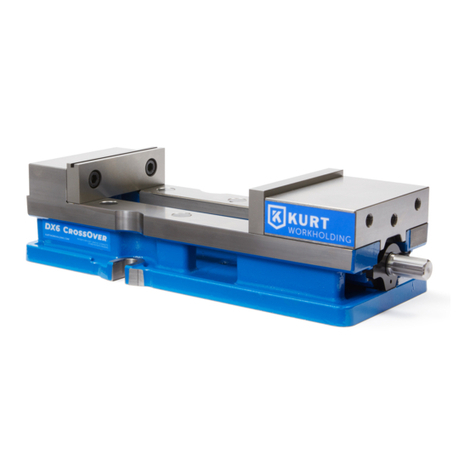
Thank you for purchasing a Kurt DX6 vise. You have just purchased one
of the best machine vises in the industry. The outstanding accuracy
of this product is second to none. Backed by a lifetime warranty, this
product will last forever when used and maintained properly.
The original Kurt Anglock vises are designed for precision clamping on
basic machine tools such as knee-type mills, grinders and machining
centers. They can be used for, but are not limited to, operations like
precision boring, drilling, tapping, grinding & nishing.
The patented Anglock design allows the movable jaw to advance in
such a way that each pound of force forward induces a ½ pound force
downward which minimizes the jaw lift and increases accuracy. This
combined with the needle bearings increases jaw clamping pressure.
Other features include: 80,000 psi ductile iron body, hardened vise bed
& jaw plates, semi-hard steel screw.
Table of Contents Introduction
INTRODUCTION
Thank you for purchasing a Kurt DTR20 vise. You have just purchased one
of the best machine vises in the industry. The outstanding accuracy of this
product is second to none. Backed by a lifetime warranty against
workmanship and material defects, this product is built to last when
used and maintained properly.
The original Kurt Anglock vises are designed for precision clamping on
basic machine tools such as knee-type mills and machining centers. They
can be used for, but are not limited to, operations like precision boring,
drilling, tapping, & finishing.
The patented Anglock design allows the movable jaw to advance in such a
way that each pound of force forward induces a ½ pound of force
downward which minimizes the jaw lift and increases accuracy. This
increases jaw clamping pressure.
INTRODUCTION
Fig.1

4
SET-UP INSTRUCTIONS
Now that you have your new Kurt Vise, it’s time to set-up and begin using it.
You will see that your new vise comes with a Kurt swivel handle in the
shipping carton (instruction manual available online at
www.kurtworkholding.com). The handle is specifically designed to provide
maximum torque to your vise (clamping force provided below). Your vise
should be mounted to a clean, flat surface. The surface and the vise must be
free of any chips, dirt, or debris of any kind. The mounting surface can be
honed if necessary. Clean the bottom of the vise with solvent or another
cleaner if needed.
To minimize vise bed deflection, clamp your Kurt vise to your machine table,
pallet, or through the body holes provided.
Additional clamping can be used, but may not be necessary. Please be sure
to exercise good judgment when securing your vise to the mounting surface.
Be sure your vise is secured and will not move when applying the machine
pressure.
Torque Inch-Lbs. DTR20
80 1000
160 2000
240 3000
320 4000
SET-UP INSTRUCTIONS
Clamping Force - Lbs

5
OPERATING INSTRUCTIONS
For proper vise operation, insert the handle on to the hex end of the
vise. Rotate clockwise to clamp and counterclockwise to unclamp your
vise. This handle, combined with the correct amount of torque, will
provide you with all the clamping force you will need to machine your
parts. DO NOT use any other type of pressure to open or close your vise.
The uses of handle extensions, air impact wrenches, breaker bars, or
hammer strikes are not recommended and will void the warranty if
used. This will also cause damage to the thrust bearing and screw
threads. If you need more clamping force you may require a larger
vise.
To properly clamp a part in your Kurt vise, you should place the part in
the center of the jaws resting on the ways of the vise. Clamping only on
one side or above the movable and stationary jaws can result in jaw lift
or loss of accuracy. (See Fig. 2 on next page)
If one-sided clamping is necessary, you MUST use a dummy part on
the other side. When using parallels or step jaws, you must select a size
that keeps the bottom of the clamped part at or below the top of the
movable and stationary jaws. Always use jaw plates for clamping. If jaw
plates are not used, damage to the mounting surface of the movable
and stationary jaw will occur. This will result in reduced clamping
accuracy and repeatability.
OPERATING INSTRUCTIONS

6
Fig.2
Sketch #2A
Incorrect part
clamping.
Vise width
centerline
Sketch #2B
Correct part
clamping.
Sketch #2C
Correct part
clamping.
Sketch #2D
Correct part
clamping.
Dummy
spacer
OPERATING INSTRUCTIONS

OPERATING INSTRUCTIONS
DIMENSIONAL VIEWS
7
Fig.4
Note: Dimensions below are in inches unless specified.

8
2ENGLISH |
Table of Contents
Introduction .................................................................................................................3
Setup Instructions......................................................................................................4
Operating Instructions .........................................................................................5-7
DX6 Parts List ...............................................................................................................8
DX6 Mechanical Drawing........................................................................................9
Maintenance Schedule....................................................................................10-12
Troubleshooting Tips ............................................................................................. 13
Vise Data
Use this to ll out information about your vise for quick reference.
Purchase Date: _______ -_______- _______
Purchase Order: _______________________
Purchased From: _______________________
Delivery Date: _______________________
Serial No.: _______________________
Note:
Make sure to register your warranty online at kurtworkholding.com
Table of Contents
CAUTION:
Is used when your action or lack of action may cause serious
injury.
OPERATING INSTRUCTIONS
SURFACE MOUNTING THE DTR20
The DTR20 can be located and mounted using a slip fit 1/2 inch center
dowel pin and 3/8-16 socket head cap screws.
English Mounting:
The DTR20 can be properly located using the 1/2" slip fit dowel
indicated by M in figure 4 above. The DTR20 can be bolted down
using the 8 3/8-16 holes indicated in figure 4 above by L.
JAW POSITIONING
Fig.5 Note: Dimensions below are in inches unless specified.
The DTR20 has reversible jaws that allow for more part size variation. See the
below figure to see the two jaw configuration options and opening
capabilities.

OPERATING INSTRUCTIONS 9
REVERSIBLE JAW INSTRUCTIONS
The DTR20 has a reversible movable jaw. Follow the directions
below to reverse the jaw.
1. Loosen the set screw (#4 in figure in 7) the part of the movable
jaw that protrudes through the stationary jaw. This set screw
retains the movable jaw to the stationary jaw.
2. Back the screw out until the movable jaw is free from the
stationary jaw.
3. Remove the protective plug assembly (#12 & #22 in figure 7) from
the other side of the stationary jaw.
4. Insert the movable jaw and screw on the other side of the vise.
5. Tighten the set screw in the movable jaw so that it is retained
again.
6. Insert the protective plug into the other side of the stationary jaw.
Note:
The set screw that retains the movable jaw pushes a ball into a cavity in the
stationary jaw. If the set screw is tightened too hard, the ball can get stuck
in that cavity. The set screw should be tightened to firmly push the ball
into the cavity and then backed off about 1/4 turn. When loosening the
set screw and removing the movable jaw, be careful not to lose the ball.

DTR20 Parts List
ITEM# PART # DESCRIPTION QTY.
1DTR20-1 Dovetail Body Base 1
2DTR20-2-CP Dovetail Movable Jaw 1
3DTR20-6-CP Dovetail Stationary Jaw 1
4DTR20-18 SBHCS 1/2-13 X 2.0 LG Modified. 1
5 1
SDW25-41 Thrust Bearing
6SWD25-42 Thrust Washer 2
7605-02 O-Ring #014 8
*8 SDW25-211 Brush Seal 2
*9 DTR20-102 Model/Serial Number 1
10 DTR20-147 Retaining Ring 2
*11 3400V-191 Protective Plug 8
*13
DTR20-314
1
*14
3600V-191 Protective Plug
1
*15
DLU4-96 O-ring #016
1
16
DT20-231 Retaining Ring
1
*17
Product Logo Sticker
1
18
DTR20-355 Precision 0.250 Steel Ball
6
19
00-1359 SHCS 3/8-16 X 1.50 LG
6
20
00-0357 SHCS 5/16-24 X 1.25 LG
1
21
01-1277 Cone Point Set Screw 1/4-20 X 5/16 LG
2
22
DT20-313 Website Sticker
2
23
04-0030 Dowel Pin, 3/16 X .75 LG
2
24 1
07-0230 U-Type Drive Screw #2 X 1/4 L
MT6-96 O-Ring #017
00-3189 8-32 X 1/4 LG Low Head SHCS
DTR20 PARTS LIST
12 1
10

DTR20 MECHANICAL DRAWING
98 | ENLGISHENGLISH | DX6 Parts List DX6 Mechanical Drawing
DX6 Parts List DX6 Mechanical Drawing
ITEM# PART # DESCRIPTION QT Y.
1 DX6-1 Body 1
2 DX6-2 Movable Jaw 1
3 DX6-3 Nut 1
4 DX6-5 Screw. 1
5 DX6-6 Stationary 1
6 D60-7 Jaw Plate 1
7 3600V-8 Retaining ring 1
*8 D60-9 Segment 1
*9 D60-41 Thrust Bearing 1
*10 3600V-42 Thrust Bearing Washer 2
11 WSRL46 WorkStop 1
12 DLU4-96 O-ring #16 4
*13 3600V-99 O-ring #117 1
14 DX6-102 Model Tag 1
15 DX6-111 Kurt Logo Label 2
*16 3600V-128 O-ring #129 1
*17 3600V-147 Spiral Retaining Ring 2
18 3600V-191 Protective Cap 4
*19 D688-211 Internal Brush Seal 2
20 DX6-223 Model Tag 2
21 DX6-224 Screw Support 1
22 DL600-249 Chip Guard (LONG) 1
*23 DX6-311 Wave Spring 2
24 D60-315 Grooved Jaw Plate 1
25 07-0230 U-Type Drive Screw 2
26 00-1191 SHCS 8-32 x .375LG 4
27 00-1414 SHCS 1/2-13 x 3/4 LG 4
28 01-3134 HDOG SHSS 1/2-13 x .625 LG 1
29 00-3392 LHCS 7/16-14 x 2.00 LG 4
30 D60I-10A-SA Handle Assembly 1
*DX6-KIT Includes.1-d60-9 1-d60-41 2-3600v-42 1-3600v-99
1-3600v-128 2-3600v147 2-d688-211 2-dx6-311
DTR20 Mechanical Drawing
Fig.7
11

Maintenance Schedule
It is very important to perform regular maintenance on your Kurt vise to
ensure proper operation. Improper maintenance will result in poor vise
performance and may void your warranty.
Daily/ Weekly
1. Remove chips from surface of vise.
2. Visually inspect seals for damage and cleanliness.
3. Visually inspect for chip entrapments and remove when necessary.
4. Air-dry and apply rust inhibiting oil to the machined surface of the vise.
Monthly
MAINTENANCE SCHEDULE
1. Open the vise to the maximum opening.
2. Remove the main screw (#4 in Fig.7).
3. Remove and inspect the thrust bearing and washers (#5 & #6 in Fig.7).
4. Remove the protective plug (#12/13 in Fig.7) from the back.
5. Remove any chips, clean and apply a light coat of machine oil to the
machined surface of the following item
a. Screw assembly
(clean exposed threads on the screw and base)
b. Bed of vise
c. Inside of the vise
6. Install the thrust bearing and washers.
7. Install main screw.
8. Your vise is now ready for use. Open and close your vise to check for
proper operation. Center the part to be clamped in the vise and close. Your
parts should be centered from side to side to insure proper clamping.
12

TROUBLESHOOTING TIPS
Troubleshooting Tips
If properly maintained, The Kurt DTR20 vise will operate trouble free for
many years. In some cases, it will be necessary to troubleshoot. Use the
information below to help in the process.
Problem: My vise turns hard.
Tip: As a new vise the brush seal could be stiff. Allow for break in of vise.
Tip: As a used vise, it could be filled with chips and threads could be
jammed. Properly clean and grease vise.
Problem: My vise will not turn in either direction.
Tip: The vise is jammed with debris. Disassemble and clean as needed.
Problem: My vise won’t hold tolerance.
Tip: You may be experiencing jaw lift from clamping too high or on one
side of the jaw. Lower the part in the vise jaw and clamp more material.
Problem: My vise is stiff when clamping on a part or is difficult to back
off a part.
Tip: The vise's thrust bearing pack may need to be replaced.
Problem: My vise is not clamping at a high clamping force.
Tip: The vise's thrust bearing pack may need to be replaced.
13

MAINTENANCE LOG/NOTES
MAINTENANCE LOG/NOTES:
14

All Kurt Manufacturing Company industrial workholding products and parts
with the exceptions noted below, are warranted against defects in material and
workmanship for the life of the product or part. (The life of the product is dened
as that point in time when such item no longer functions due to normal wear and
tear.) Failure to properly maintain and/or properly operate the product or part that
has been worn out, abused heated ground or otherwise altered, used for a purpose
other than that for which it was intended, or used in a manner in consistent with
any instructions regarding its use. The sole obligation of Kurt Manufacturing
Company, Inc. (Kurt) and the purchaser’s SOLE AND EXCLUSIVE REMEDY
hereunder, shall be limited to the replacement or repair of any Kurt product or
part (by an authorized Kurt technician) which are returned to Kurt Manufacturing
Company’s place of business, transportation, shipping and postal charges prepaid,
and there determined by Kurt Manufacturing Company to be covered by the
warranty contained herein.
THE LIMITED WARRANTY DESCRIBED HEREIN IS MADE EXPRESSLY IN LIEU OF
ANY OTHER EXPRESSED OR IMPLIED WARRANTIES, INCLUDING ANY IMPLIED
WARRANTY OF MERCHANTABILITY OR FITNESS FOR A PARTICULAR PURPOSE.
KURT MANUFACTURING COMPANY IS NOT RESPONSIBLE FOR THE IMPROPER
USE OF ITS PRODUCTS. KURT SHALL NOT BE LIABLE FOR ANY DIRECT,
INDIRECT, INCIDENTAL SPECIAL OR CONSEQUENTIAL DAMAGES, INCLUDING
BUT NOT LIMITED TO, LOSS OF USE, REVENUE OR PROFIT.
KURT ASSUMES NO LIABILITY FOR, AND MAKES NO WARRANTY REGARDING
ANY PURCHASE ITEMS WHERE THE MANUFACTURER OF SUCH ITEM EXTENDS
A SEPARATE WARRANTY.
WARRANTY 15

Manual Revision:
7.21.2022
Thank you for your
purchase! If you
have any feedback
or questions please
contact us at.
kurtworkholding.com
Kurt Industrial Products//A Division Of Kurt Manufacturing
Phone 763-574-8309 | Toll Free 877-226-7823
Fax 763-574-8318 | Toll Free Fax 877-226-7823
Table of contents
Other Kurt Tools manuals

Kurt
Kurt 3800V Series Instruction Manual

Kurt
Kurt VERSATILELOCK 3410V Instruction Manual

Kurt
Kurt DTR10 Instruction Manual

Kurt
Kurt HDL6 User manual

Kurt
Kurt DT20 User manual

Kurt
Kurt CROSSOVER ANGLOCK VISE DX8 Instruction Manual

Kurt
Kurt PF Series Instruction Manual

Kurt
Kurt 3600A Series Instruction Manual

Kurt
Kurt 3600V Series User manual

Kurt
Kurt D688 AngLock Vise Base Assembly Instruction Manual