manuals.online logo
Brands
  1. Home
  2. •
  3. Brands
  4. •
  5. kuzco lighting
  6. •
  7. Outdoor Light
  8. •
  9. kuzco lighting EG45124 Assembly instructions

kuzco lighting EG45124 Assembly instructions

START FROM HERE
• Make sure POWER is COMPLETELY OFF
• Have your fixture installed by a qualified licensed electrician
• Prepare everything in a clear area
• Wear gloves at all time during this installation
• Read instructions carefully before you start assembly
• Keep this installation sheet for future reference
Technical Support: 1-855-855-8926
Please Note:
• This Kuzco LED fixture comes with pre-wired LED module(s)
• Unless instructed, Do Not touch any part of the LED module(s) as any unnecessary
contact with the module could cause permanent damage
• 12V input with Outdoor Rated Low Voltage Transformer (Transformer supplied by
others)
• Non-Dimming
• For typical ground stake mounting
• Luminaires shall not be installed within 10 feet of pool, spa or fountain
INSTALLATION SHEET
EG45124
LED Exterior Garden
Ground Stake Mounting
19054 28th Avenue Surrey, BC Canada V3Z 6M3
T: 604 538 7162 TF: 1-855 85 KUZCO F: 604 538 7196
W: kuzcolighting.com
20210427
3a.
1d.
1f.
1b.
2b.
1a.
2a.
Illustration 1
silicone sealant
1b.
1. Remove fixture from its original package
2. Run fixture wire (1b) from the canopy (1a) through the
mounting hole on top of the ground stake (3a)
3. Run transformer wire (provided by others) to location of
intended install
Note: the low voltage wires are intended for shallow
burial - less than 6 inches
4. Align fixture thread (1d) (Note: fixture thread (1d) is 1/2-14
NPT) with hole on mounting base (1f) and secure to ground
stake (3a) by threading clockwise until it fits snuggly. Secure
mounting base (1f) to fixture (1a) with set screws (2b) and allen
key
5. Fill outdoor rated wire nuts (2a) with silicone sealant (not
provided). Cut and strip fixture wires (1b) and connect to
transformer wire using outdoor rated wire nuts (2a) provided
(Illustration 1)
Note: for multiple low-voltage garden light installation
daisy-chain low voltage wire to each fixture from 12V
transformer
6. Place stake (3a) in desired position and insert into ground until
the flange of stake is flush with ground
START FROM HERE
• Make sure POWER is COMPLETELY OFF
• Have your fixture installed by a qualified licensed electrician
• Prepare everything in a clear area
• Wear gloves at all time during this installation
• Read instructions carefully before you start assembly
• Keep this installation sheet for future reference
Technical Support: 1-855-855-8926
Please Note:
• This Kuzco LED fixture comes with pre-wired LED module(s)
• Unless instructed, Do Not touch any part of the LED module(s) as any unnecessary
contact with the module could cause permanent damage
• 12V input with Outdoor Rated Low Voltage Transformer (Transformer supplied by
others)
• Non-Dimming
• Hardscape Mounting
• Luminaires shall not be installed within 10 feet of pool, spa or fountain
1f.
1a.
1f.
1b.
2b.
2a.
2a.
1b.
Illustration 1 Illustration 2
silicone sealant
INSTALLATION SHEET
Hardscape Mounting
EG45124
LED Exterior Garden
19054 28th Avenue Surrey, BC Canada V3Z 6M3
T: 604 538 7162 TF: 1-855 85 KUZCO F: 604 538 7196
W: kuzcolighting.com
20210427
1. Remove fixture from its original package
2. Drill holes on the hardwood and secure mounting base (1f)
with screws (not provided) (Illustration 2)
3. Run wire (1b) from the canopy (1a) and through the mounting
hole on top of the ground
4. Fill outdoor rated wire nuts (2a) with silicone sealant (not
provided). Cut and strip fixture wires (1b) and connect to
transformer wire using outdoor rated wire nuts (2a) provided
(Illustration 1)
Note: for multiple low-voltage garden light installation
daisy-chain low voltage wire to each fixture from 12V
transformer
5. Secure canopy (1a) to mounting base (1f) with set screw (2b)
and allen key provided
19054 28th Avenue Surrey, BC Canada V3Z 6M3
T: 604 538 7162 TF: 1-855 85 KUZCO F: 604 538 7196
W: kuzcolighting.com
20210427
START FROM HERE
• Make sure POWER is COMPLETELY OFF
• Have your fixture installed by a qualified licensed electrician
• Prepare everything in a clear area
• Wear gloves at all time during this installation
• Read instructions carefully before you start assembly
• Keep this installation sheet for future reference
Technical Support: 1-855-855-8926
Please Note:
• This Kuzco LED fixture comes with pre-wired LED module(s)
• Unless instructed, Do Not touch any part of the LED module(s) as any unnecessary
contact with the module could cause permanent damage
• 12V input with Outdoor Rated Low Voltage Transformer (Transformer supplied by
others)
• Non-Dimming
• Concrete Anchor Mounting
• Luminaires shall not be installed within 10 feet of pool, spa or fountain
1a.
1b.
2c.
2a.
1h.
1f.
1h. (M10 x 1.5mm
concrete anchor bolt)
2c.
1g
2a.
1b.
Illustration 1
silicone sealant
Concrete Mounting
LED Exterior Garden
INSTALLATION SHEET
EG45124
Illustration 2
2b.
1. Remove fixture from its original package
2. Provide means to bring transformer wires to garden light before
pouring concrete
3. Secure anchor bolts (1h) to mounting guide plate (1g) with
hex nuts and washers provided (2c) before concrete cures
(Illustration 2)
4. After concrete is set, replace mounting guide plate (1g) with
mounting base (1f) and secure with hex nuts and washers (2c)
5. Fill outdoor rated wire nuts (2a) with silicone sealant (not
provided). Cut and strip fixture wires (1b) and connect to
transformer wire using outdoor rated wire nuts (2a) provided
(Illustration 1)
Note: for multiple low-voltage garden light installation
daisy-chain low voltage wire to each fixture from 12V
transformer
6. Secure canopy (1a) to mounting base (1f) with set screw (2b)
and allen key provided
19054 28th Avenue Surrey, BC Canada V3Z 6M3
T: 604 538 7162 TF: 1-855 85 KUZCO F: 604 538 7196
W: kuzcolighting.com
20210427
Mounting Guide Template
Ø11mm x 3
Ø30.50mm
Ø83mm
START FROM HERE
• Make sure POWER is COMPLETELY OFF
• Have your fixture installed by a qualified licensed electrician
• Prepare everything in a clear area
• Wear gloves at all time during this installation
• Read instructions carefully before you start assembly
• Keep this installation sheet for future reference
Technical Support: 1-855-855-8926
Please Note:
• This Kuzco LED fixture comes with pre-wired LED module(s)
• Unless instructed, Do Not touch any part of the LED module(s) as any unnecessary
contact with the module could cause permanent damage
• 12V input with Outdoor Rated Low Voltage Transformer (Transformer supplied by
others)
• Non-Dimming
• Concrete Anchor Mounting
• Luminaires shall not be installed within 10 feet of pool, spa or fountain
Concrete Mounting
LED Exterior Garden
INSTALLATION SHEET
EG45124
43.30mm

Other kuzco lighting Outdoor Light manuals
kuzco lighting TRAVERSE EG45109 Assembly instructions

kuzco lighting

kuzco lighting TRAVERSE EG45109 Assembly instructions

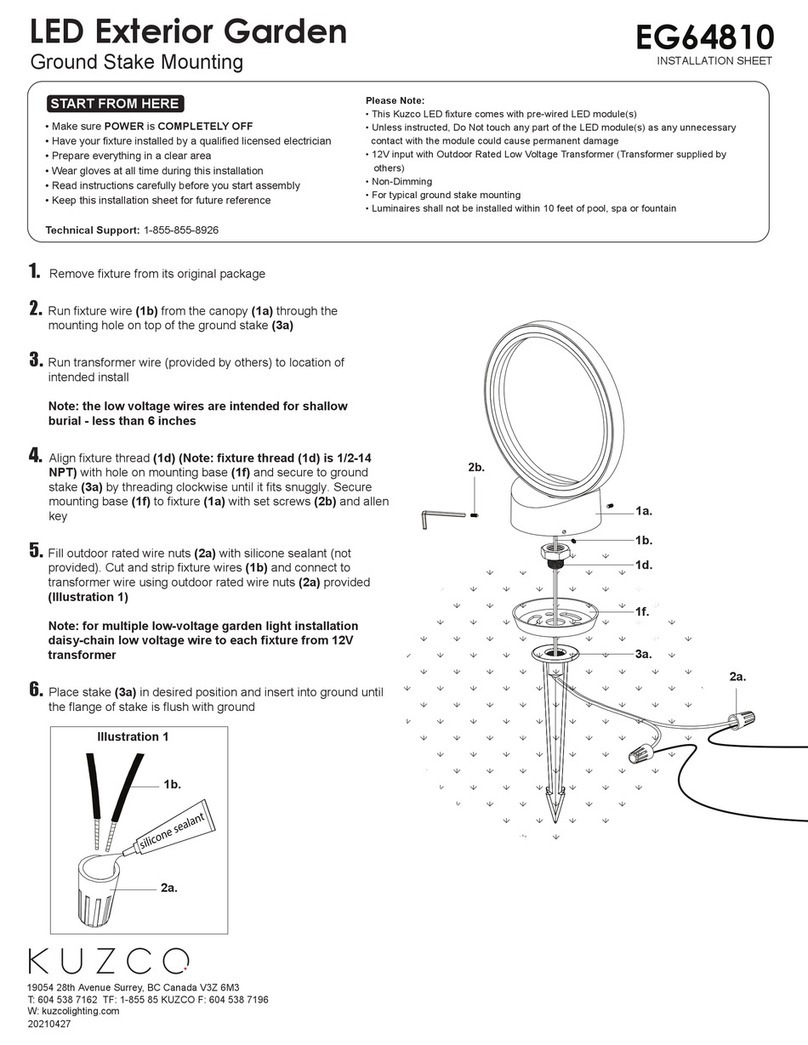
kuzco lighting EG64810 User manual

kuzco lighting

kuzco lighting EG64810 User manual
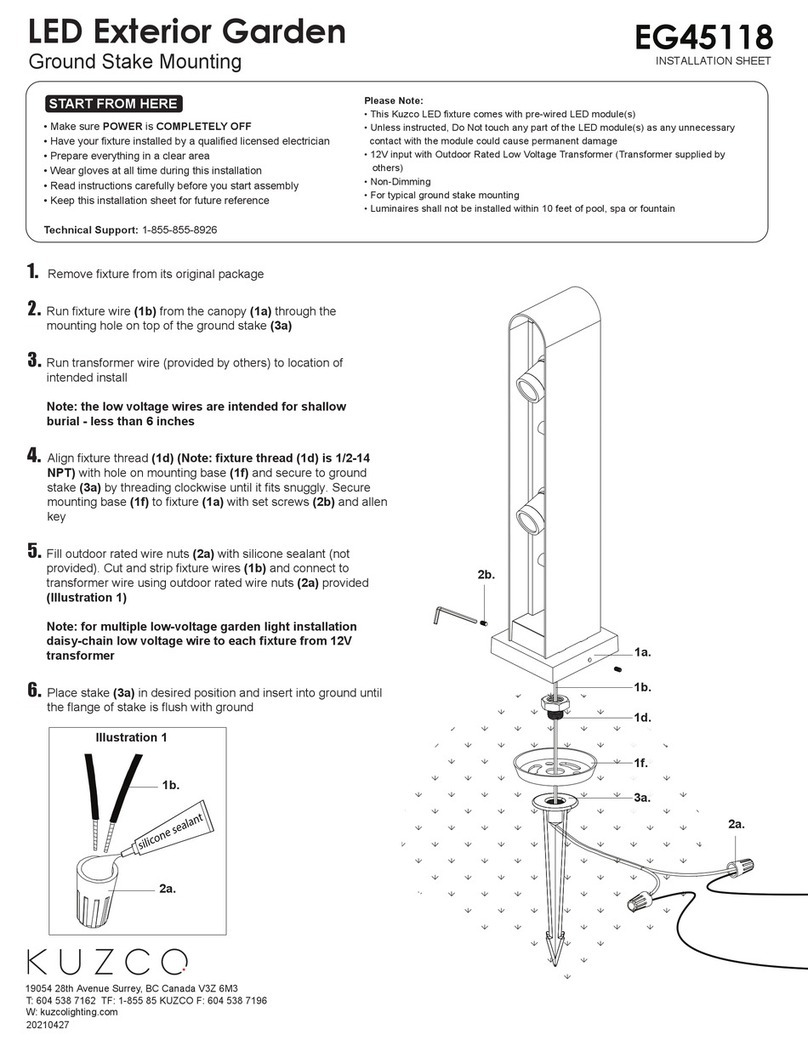
kuzco lighting EG64816 Assembly instructions

kuzco lighting

kuzco lighting EG64816 Assembly instructions

kuzco lighting EG45105 Assembly instructions

kuzco lighting

kuzco lighting EG45105 Assembly instructions

kuzco lighting 41756 User manual

kuzco lighting

kuzco lighting 41756 User manual

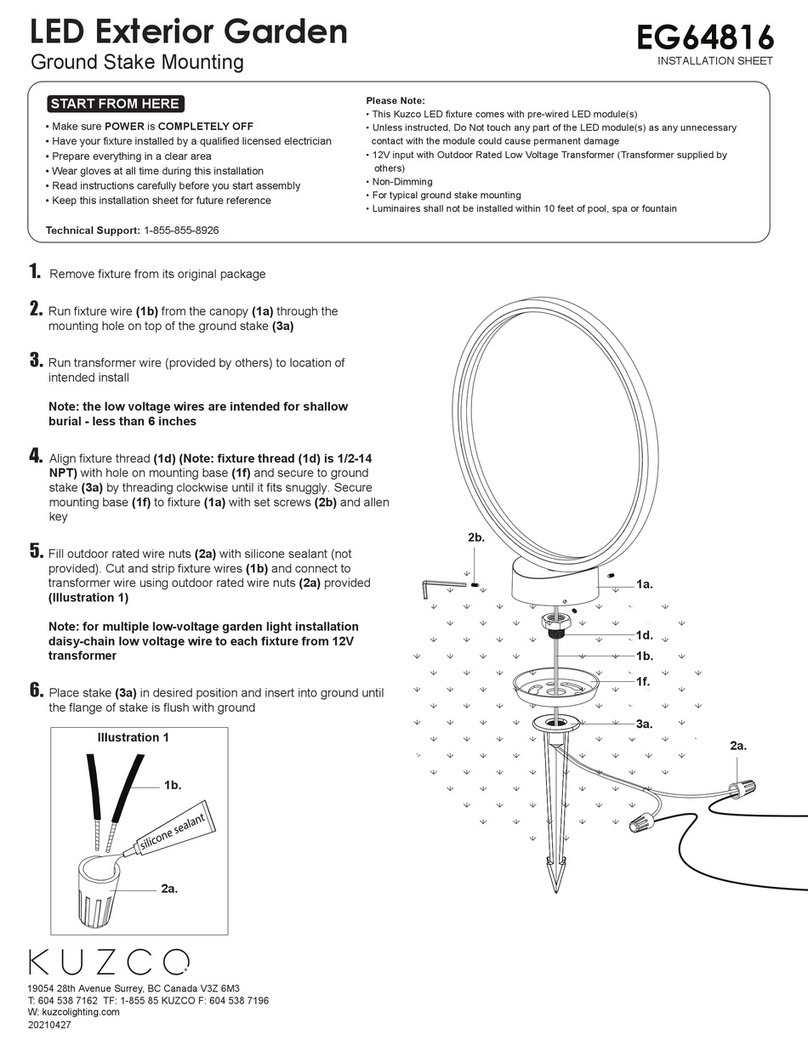
kuzco lighting EG45118 Assembly instructions
kuzco lighting

kuzco lighting EG45118 Assembly instructions

Popular Outdoor Light manuals by other brands

LIGMAN BA-10633 installation manual

LIGMAN

LIGMAN BA-10633 installation manual

BOT LIGHTING ARONA601 Use and installation  manual

BOT LIGHTING

BOT LIGHTING ARONA601 Use and installation manual

NOMA NOBELA 052-4497-0 instruction manual

NOMA

NOMA NOBELA 052-4497-0 instruction manual

Hunza CAT/HP installation instructions

Hunza

Hunza CAT/HP installation instructions

RH OSBORNE DOME SHADE TASK FLOOR LAMP quick start guide

RH

RH OSBORNE DOME SHADE TASK FLOOR LAMP quick start guide

TEKA ILLUMINATION BEACON WALL MOUNT manual

TEKA ILLUMINATION

TEKA ILLUMINATION BEACON WALL MOUNT manual

redo RADEON 90013 instruction manual

redo

redo RADEON 90013 instruction manual

SImx Aoraki LHT1128 installation instructions

SImx

SImx Aoraki LHT1128 installation instructions

Safavieh LIT4451A quick start guide

Safavieh

Safavieh LIT4451A quick start guide

Designplan ALDER 400 manual

Designplan

Designplan ALDER 400 manual

Beta 1838SLIM Instructions for use

Beta

Beta 1838SLIM Instructions for use

Würth POWERQUAD M AC-R Translation of the original operating instructions

Würth

Würth POWERQUAD M AC-R Translation of the original operating instructions

TEKA ILLUMINATION PRP quick start guide

TEKA ILLUMINATION

TEKA ILLUMINATION PRP quick start guide

kobi LED NEXPRO 100W manual

kobi

kobi LED NEXPRO 100W manual

Unilamp VAREE instruction manual

Unilamp

Unilamp VAREE instruction manual

IKEA tradfri manual

IKEA

IKEA tradfri manual

TaoTronics TT-DL23 user guide

TaoTronics

TaoTronics TT-DL23 user guide

Malmbergs SLA166SB instruction manual

Malmbergs

Malmbergs SLA166SB instruction manual

manuals.online logo
manuals.online logoBrands
  • About & Mission
  • Contact us
  • Privacy Policy
  • Terms and Conditions

Copyright 2025 Manuals.Online. All Rights Reserved.