Kvadrat Sonesse 40 I/O User manual

Motor guide
Sonesse®40 I/O, RTS and WT

Contents
1. Sonesse® 40 I/O and Sonesse® 40 RTS
2. Sonesse® 40 WT

Sonesse® 40 I/O is made for interior applications,
including roller blinds, and is designed to operate quietly.
Technical data
Power supply: 230V/50Hz
Nominal torque/nominal speed: 1,3Nm/50rpm, 3Nm/30rpm,
6Nm/20rpm, 9Nm/12rpm
Frequency: 868-870 MHz
Operating temperature: 0–60°C
Protection rating: IP44
Maximum number of remote controls: 12
Safety advice
– Never immerse the motor in liquid
– Never drill holes in the motor
– Avoid impacts on the motor
– Do not drop the motor
Installation
This motor must be installed by a professional motorisation
installer. The installer must comply with current standards and
legislation in the country in which the product is being installed.
Wiring
– Switch off the power supply.
– Connect the motor according to the information in the
table below.
Range 230V-50Hz
Sonesse®40 I/O
2 Live
Brown
1 Neutral
Blue
The Sonesse® 40 range is putting window coverings in motion
with quiet precision. With our standard products listed below,
we offer motors for all voltages and electrical frequencies.
Sonesse® 40 RTS
RTS: Radio Technology Somfy
The Sonesse 40 RTS motors are one-way communication solutions.
With a Situo RTS remote or a Smoove Origin RTS wall panel you can
easily control the position of the blinds.
Sonesse® 40 I/O
I/O: Homecontrol
The Sonesse 40 io motor exchanges information between control
units and automated systems, enabling feedback in real time,
thus making installation, use and maintenance easier.
You can create different pre-programmed scenarios with the I/O
motor, and the blinds are controlled by a Situo io remote or a Smoove
Origin I/O wall panel.
With Somfy’s Homecontrol system, TaHoma, you can also use
Somfy’s TaHoma app to program scenarios and control the blinds.
Moreover, TaHoma is compatible with various Smart home systems
such as Google Assistant and Amazon Alexa.
Note: I/O is not certified for all countries yet.
Sonesse® 40 WT
WT: Wired Technology
The Sonesse 40 WT motors are wired solutions. The blinds can be
operated via a wired wall switch or integrated directly in the building
management system. The blinds will then be programmed through
the system and automatically positioned.
Introduction to our range

Operating instructions for Sonesse 40 I/O and RTS
The Sonesse 40 I/O motor can only be operated by an I/O remote control
and/or wall panel. The Sonesse 40 RTS motor can only be operated by
an RTS remote control and/or wall panel.
Operating instructions with a remote control:
– To move the blind from one level to another,
briefly press the UP or DOWN button on the remote.
– To stop the blind, press the MY button on the remote.
– To move the blind to the set favourite position,
briefly press the MY button on the remote.
Programming the remote control
The following steps are only necessary if the motor has been reset.
– Hold down the UP and DOWN buttons simultaneously
on the remote.
The roller blind jogs and the remote control is synced
with the motor to program the end limits.
Adding or deleting an extra remote control
Find a remote control programmed for the motor.
– Hold down the programming button on the back of the remote
until the blind jogs.
The motor is now in programming mode.
– On the extra remote control, briefly press the programming button.
The blind jogs and the extra remote control is now programmed
for or deleted from the motor.
UP
MY
DOWN Programming button
Programming button
3 Earth
N/A
Green
N/A
Sonesse® 40 RTS is made for interior applications,
including roller blinds, and is designed to operate quietly.
Technical data
Power supply: 230V/50Hz , 120V/60Hz , 220V/60Hz
Nominal torque/nominal speed: 1,3Nm/54rpm, 3Nm/30rpm,
6Nm/20rpm, 9Nm/12rpm
Frequency: 433,42MHz
Operating temperature: 0–60°C
Protection rating: IP44
Maximum number of remote controls: 12
Safety advice
– Never immerse the motor in liquid
– Never drill holes in the motor
– Avoid impacts on the motor
– Do not drop the motor
Installation
This motor must be installed by a professional motorisation
installer. The installer must comply with current standards and
legislation in the country in which the product is being installed.
Wiring
– Switch off the power supply.
– Connect the motor according to the information
in the table below.
Sonesse®40 RTS
Range
230V/50HZ
120V/60HZ
220V/60HZ
1 Neutral
Blue
White
Blue
2 Live
Brown
Black
Brown

Replacing a lost remote control
Please note that these steps reset/delete all remote controls
programmed for the motor. However, upper and lower limits
as well as the favourite position are retained.
N.B. Only switch off the power supply to the motor synced
withthe lost remote control.
– Switch off the power supply for 2 seconds.
– Switch the power supply back on for 10 to 15 seconds.
– Switch off the power supply for another 2 seconds.
– Switch the power supply back on. The blind moves for 5 seconds.
If the blind is positioned at an end limit, the movement will
only be a jog.
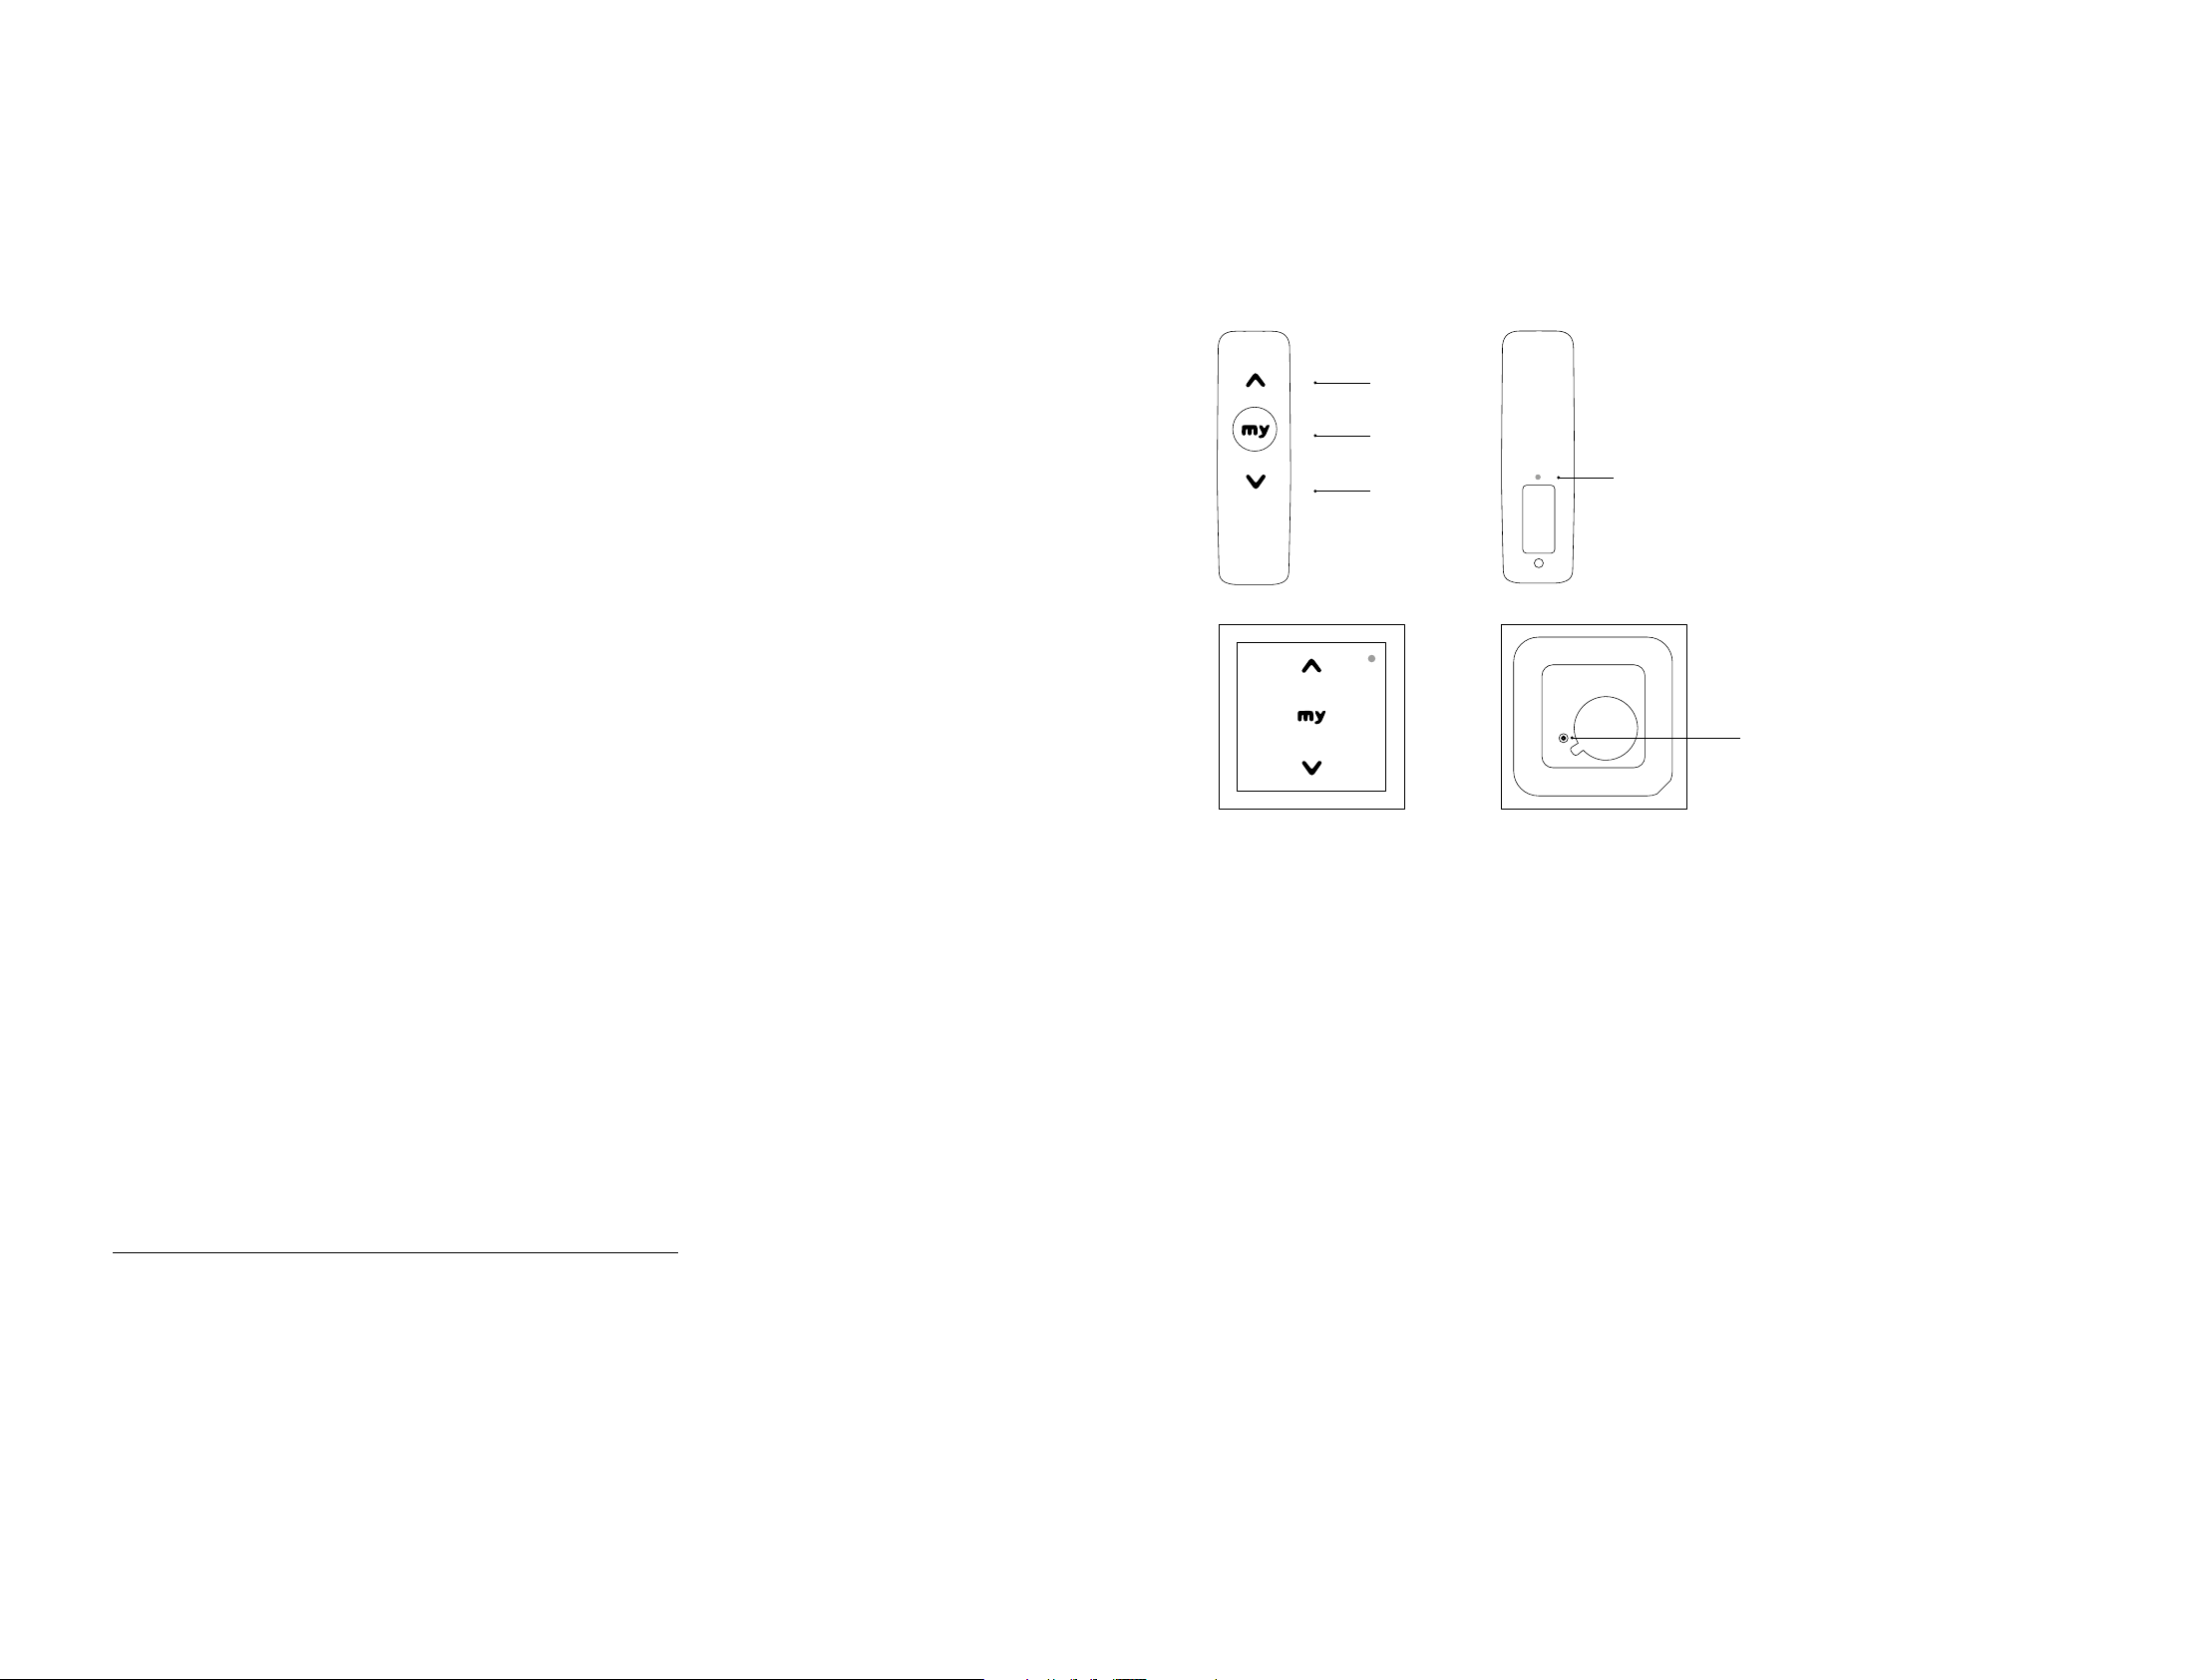
– Press the programming button on the back of the new remote
until the blind jogs.
All the previous remote controls have now been cleared from
the memory and the new remote control is synced with the motor.
Recording or changing the favourite position
– To set or change the favourite position, move the blind to the
desired position with the UP and DOWN buttons and stop with
the MY button, then hold down this button until the blind jogs.
Deleting the favourite position
– Press the MY button to move the blind to the current
favourite position.
– Now hold down the MY button again until the blind jogs.
This deletes the favourite position.
Programming the upper and lower limits
The upper and lower limits have been preset before delivery
following the below steps, but can be adjusted if necessary
(see 'Adjusting the upper and lower limit'). They can be set
in any order again.
– Hold down the UP button to move the blind to the desired
upper limit. If necessary, adjust the position using the UP
or DOWN buttons.
– Hold down the MY and DOWN buttons simultaneously and
release them once the blind begins to move. The upper limit
is now set.
– Press the MY button when it reaches the desired lower limit.
If necessary, adjust the position using the UP or DOWN buttons.
– Hold down the MY and UP buttons simultaneously and
release them when the blind begins to move. The lower limit
is set and the blind will move up and stop at the upper limit.
– To confirm both limits, press and hold the MY button until
the blind jogs.
The blind jogs and the remote control is programmed for
the upper and lower limits.
The end limits and the channel are chosen on the remote control.
Adjusting the upper and lower limits
(only when the channel is chosen)
To adjust the upper limit, press the UP button to move the
blind to the current limit.
– Hold down the UP and DOWN buttons simultaneously
until the blind jogs.
– Hold down the UP or DOWN button to move the blind
to the new desired upper limit.
– To confirm the new limit, hold down the MY button until
the blind jogs.
To adjust the lower limit, press the DOWN button to move
the blind to the current limit.
– Hold down the UP and DOWN buttons simultaneously
until the blind jogs.
– Hold down the UP or DOWN button to move the blind
to the new desired lower limit.
– To confirm the new limit, hold down the MY button until
the blind jogs.
Checking the rotation direction
The following steps are only necessary if the motor has
been reset.
– To check the rotation direction, press the UP button
on the remote.
If the blind is raised, the rotation direction is correct.
If the blind is lowered, the rotation direction is incorrect.
If this is the case, continue with the following two steps:
– Hold down MY on the remote until the roller blind jogs.
The rotation direction has now been modified.
– Press UP on the remote to check the rotation direction.
Reversing the motor rotation direction
Set the blind between the upper and lower limit.
– Hold down the UP and DOWN buttons simultaneously until
the blind jogs.
– Hold down the MY button until the blind jogs to reverse the
rotation direction.
The motor rotation direction is reversed.
– Press the UP button to check the new rotation direction.

Erasing the motor memory
Please note that these steps reset/delete all remote controls,
upper and lower limits as well as favourite position.
N.B. Only switch off the power for the motor to be reset.
– Set the blind between the upper and lower limit.
– Switch off the power supply for 2 seconds.
– Switch the power supply back on for 10 to 15 seconds.
– Switch off the power supply for another 2 seconds.
– Switch the power supply back on. The blind moves
for 5 seconds. If the blind is positioned at an end limit,
the movement will only be a jog.
– Hold down the programming button on the back of the
remote control until the blind jogs twice.
All the remote controls, upper and lower limits and favourite
position are now erased from the memory of the motor.
Troubleshooting
The motor does not work
Check:
– The wiring of the motor.
– The power supply specifications.
– The compatibility of the control.
– The heat generated (wait for the motor to cool
down – this can take up to 20 min).
The remote control does not work
The battery may need to be replaced.
Please contact your local sales team or customer
service on +45 8953 1866.
The equipment stops too soon
Check:
– The crown is properly fitted to the roll.
– The end-limits of the motor are properly adjusted.
The equipment is noisy
Check that:
– The wheel and the crown are well adapted to the tube.
– The mechanical plays between motor, accessories,
tube and end of roll are reduced as much as possible.
– The wheel is properly fixed to the tube.
– The equipment is not constrained in the cassette/between
the brackets.
– There is no debris in your tube.
– The power supply is within the specification.
– The temperature of the environment conforms with the
recommended operating temperature.
Environment
Damaged electrical products and batteries should not be
disposed of with normal household waste. They should be
dropped in specially provided containers or at an authorised
organisation that will ensure they are recycled.

4 Earth
N/A
Green
N/A
N/A
3 Live
Black
Red
Black
Red
Sonesse® 40 WT is made for interior applications,
including roller blinds, and is designed to operate quietly.
Technical data
Power supply: 230V/50Hz, 120V/60Hz, 220V/60Hz, 110V 50/60Hz
Nominal torque/nominal speed: 1,3Nm/55rpm, 3Nm/30rpm,
6Nm/20rpm, 9Nm/12rpm
Operating temperature: 0–60°C
Protection rating: IP 44
Safety advice
– Never immerse the motor in liquid
– Never drill holes in the motor
– Avoid impacts on the motor
– Do not drop the motor
Installation
This motor must be installed by a professional motorisation
installer. The installer must comply with current standards and
legislation in the country in which the product is being installed.
Wiring
– Switch off the power supply.
– Connect the motor according to the information in the
table below.
Sonesse®40 WT Operating instructions
– To move the blind from one level to another, briefly press the
UP or DOWN button on the wired wall switch.
– To stop the shade, press the STOP button on the control point.
Adjusting the upper and lower limits
The upper and lower limits have been pre-set before delivery,
but can be adjusted if necessary. They can be set in any order.
– To adjust the upper limit, press the UP button on the control
point to raise the shade and turn the corresponding adjustment
screw to set the upper limit.
– To adjust the lower limit, press the DOWN button on the control
point to lower the shade and turn the corresponding adjustment
screw to set this limit.
Checking the rotation direction
The following steps are only necessary if the motor has
been reset.
– Press the UP button on the control point.
If the shade is raised, the rotation direction is correct.
If the blind is lowered, the rotation direction is incorrect.
If this is the case, continue with the following steps:
– Switch off the power supply and reverse the two live wires
on the control point.
– Switch the power supply back on. Press the UP button
on the control point to check the rotation direction.
1 Neutral
Blue
White
Blue
White
2 Live
Brown
Black
Brown
Black
Range
230V/50HZ
120V/60HZ
220V/60HZ
110V/50-60Hz
1 2
1
2
1
2

Troubleshooting
The motor does not work
Check:
– The wiring of the motor.
– The power supply specifications.
– The heat generated (wait for the motor to cool
down – this can take up to 20 min.).
The equipment stops too soon
Check:
– The crown is properly fitted to the roll.
– The end-limits of the motor are properly adjusted.
The equipment is noisy
Check that:
– The wheel and the crown are well adapted to the tube.
– The mechanical plays between motor, accessories,
tube and end of roll are reduced as much as possible.
– The wheel is properly fixed to the tube.
– The equipment is not constrained in the cassette/between
the brackets.
– The length of the notch is adapted to the motor hook
or to the used crown.
– There is no debris in your tube.
– The power supply is within the specification.
– The temperature of the environment conforms with
the recommended operating temperature.
Environment
Damaged electrical products and batteries should not be
disposed of with normal household waste. They should be
dropped in specially provided containers or at an authorized
organization that will ensure they are recycled.

This manual suits for next models
2
Table of contents
Other Kvadrat Household Hardware manuals