5
Please help in the preservation of the environment and
return used batteries to an authorized depot.
SETUP AFTER CHANGING/REPLACING THE BATTERY IN THE
SOLAR CLOCK
1. After powering up the Solar Clock, all LCD segments will light up
briefly and it will show the time (12:00), indoor temperature, date,
and indoor humidity.
2. After the batteries are inserted, the Solar Clock will start receiving
data signal from the solar transmitter. The outdoor temperature data
should then be displayed on the Solar Clock. If this does not happen
after 2 minutes, the batteries will need to be removed from both
units and reset from step 1.
3. The distance between the Solar Clock and the transmitter should
not be more than 200 feet (60m) to ensure sufficient 915 MHz
transmission. (see notes on “Positioning” and “915 MHz
Reception”).
Note: When changing the battery:
1. Be careful that it does not spring free from the contacts.
2. Press any button 20 times with the battery removed.
3. Always wait at least 10 minutes after removing battery before
re-inserting; otherwise start up problems may occur.
TO SET THE TIME
Note: the time will be displayed with “AM” or “PM”for the time from 12:00
until 11:59.
1. Press and hold the SET key for 3 seconds to enter the time setting
mode.
2. The hour digits will start flashing.
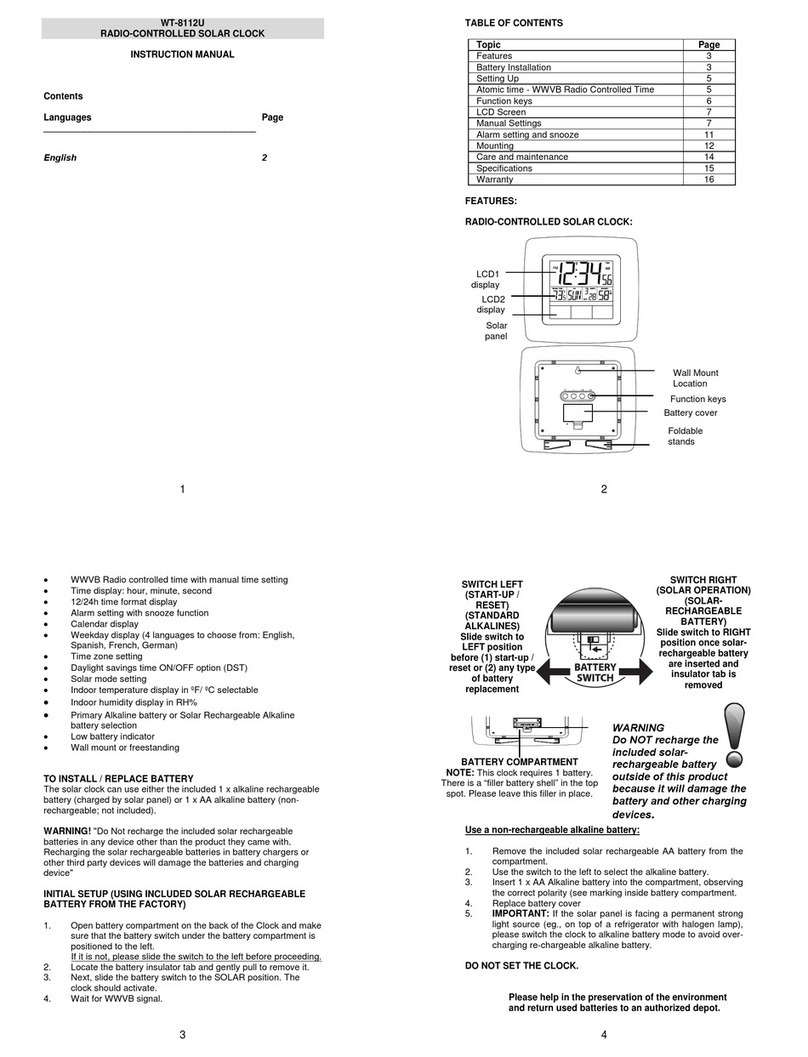
Rechargeable Alkaline
battery switch position
Primary Alkaline
battery switch position
6
3. Set the desired hours by pressing and releasing the +key followed
by pressing the SET key.
4. Now the minute digits will start flashing.
5. Set the desired minutes by pressing and releasing the +key. If the +
key is held, the units will increase by 5.
6. Press the SET key again to confirm and enter the Solar Mode
setting.
SOLAR MODE
The Solar Mode is used for saving the power consumption of the
rechargeable battery (Default setting ON):
1. The characters “ON” or “OFF” will start flashing. By use of the +
key select “ON” or “OFF” to set the solar mode.
2. Press and release the SET key to exit the setting mode and switch
back to the normal display mode.
If the solar mode setting is ON:
The surrounding environment brightness is checked every 5
seconds
LCD will automatically turn OFF if the environment is too dark
LCD will automatically turn ON if the environment is bright enough
No information will be displayed when the LCD is OFF, but all the
settings and operations will remain, except for the temperature
and humidity measurements.
If the solar mode setting is OFF:
LCD will remain ON constantly.
STOP MODE
If the Solar Clock is placed in a dark environment for 72 hours continually,
the clock will go to the stop mode:
The most power saving condition.
The Solar Clock will not perform any operation and the LCD will also
be OFF.
Users need to press any key to wake up the Solar Station and to re-
activate the transmission with the solar transmitter.
VIEW MIN/MAX READINGS:
Press and release the PLUS button to view outdoor MIN/MAX readings,
then indoor MIN/MAX readings then return to the normal display.
RESET MIN/MAX READINGS:
Press and hold the PLUS button for 5 seconds to reset both Indoor and
Outdoor MIN/MAX readings to current temperature.
7
DISPLAY MODES:
Press and release the SET button to change the way the temperatures
are displayed on the weather station:
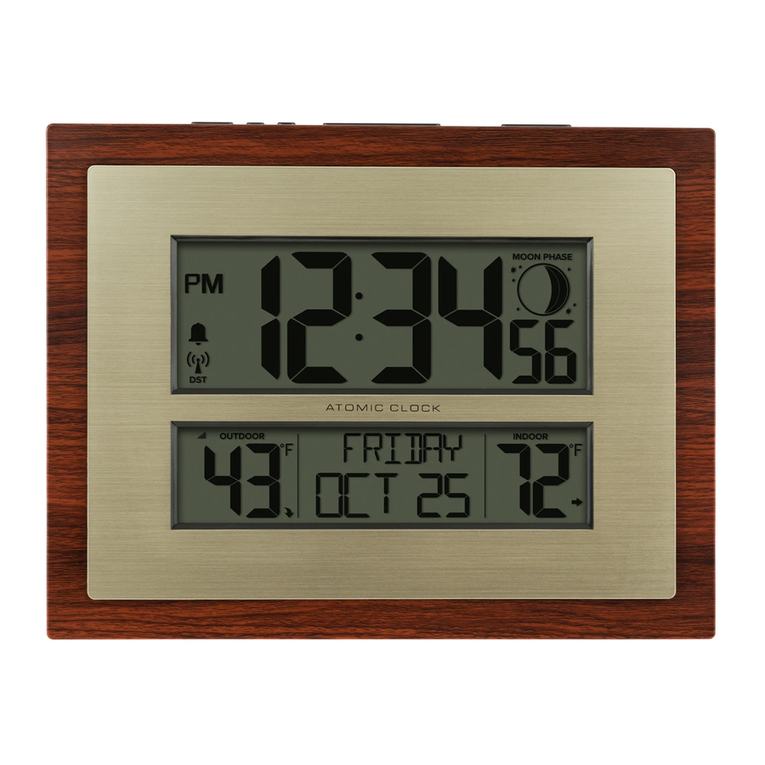
Shows: Outdoor temperature in the first line on the left side.
Shows: Indoor temperature in the first line on the right side and
Indoor humidity in the second line on the right side.
Shows: Indoor temperature in the first line on the left side and
Indoor humidity in the first line on the right side.
Shows: Outdoor temperature in the second line on the left side.
915MHZ RECEPTION CHECK FOR OUTDOOR SOLAR
TRANSMITTER
The Solar Clock will receive the outdoor data every 48 seconds. If the
temperature data is not being received 2 minutes after setting up (or the
display shows “- - -”), then please check the following points:
1. The distance of the Solar Clock or outdoor transmitter should be at
least 6 feet (2 meters) away from any interfering sources such as
computer monitors or TV sets.
2. Avoid placing the receiver onto or in the immediate proximity of
metal window frames.
3. Using other electrical products such as headphones or speakers
operating on the same signal frequency (915MHz) may prevent
correct signal transmission and reception.
4. Neighbors using electrical devices operating on the 915MHz signal
frequency can also cause interference.
Note: When the 915 MHz signal is received correctly, do not re-open the
battery cover of the Solar Clock, as the batteries may spring free from the
contacts and force a false reset. Should this happen accidentally then
reset all units (see “TO INSTALL / REPLACE BATTERY IN THE SOLAR
CLOCK” and “INITIAL SETUP” above) otherwise transmission problems
may occur.
The maximum transmission range is 200 feet (60 m) from the outdoor
transmitter to the Solar Clock (in open space). However, this depends on
the surrounding environment and interference levels. If no reception is
possible despite the observation of these factors, all system units have to
be reset (see “TO INSTALL / REPLACE BATTERY IN THE SOLAR
CLOCK” and “INITIAL SETUP”).
POSITIONING THE SOLAR CLOCK:
Before permanently mounting, ensure that the Solar Clock is able to
receive 915MHz signals from the desired location. In addition, the Solar
Clock should be placed in a bright environment for the rechargeable
batteries to be able to recharge.
8
There are two possible ways to mount the solar clock:
use of the foldable table stands, or
wall mounting
WALL MOUNTING
1. Install a mounting screw (not included) into a
wall—leaving approximately 3/16 of an inch
(5mm) extended from the wall.
2. Place the Solar Clock onto the screw, using the
hanging hole on the backside. Gently pull the
Solar Clock down to lock the screw into place.
Note: Always ensure that the Solar Clock locks onto
the screw before releasing.
POSITIONING THE SOLAR TRANSMITTER:
It is important to place the solar transmitter in a bright environment for the
rechargeable batteries to be able to recharge.
The solar transmitter can be placed onto any flat surface or wall mounted
using the bracket which doubles as a stand or wall mount base.
To wall mount: Secure the bracket onto a desired wall using the screws
and plastic anchors.
Clip the solar transmitter onto the bracket.
Note: The mounting surface can affect the transmission range.
If, for instance, the unit is attached to a piece of metal, it may
then either reduce or increase the transmitting range. For this
reason, we recommend not to place the unit on any metal
surfaces or in any position where a large metal or highly
polished surface is in the immediate vicinity (garage doors,
double glazing, etc.). Before securing in place, please ensure
that the Solar Clock can receive the 915MHz signal from the
solar transmitter at the positions that you wish to place them.
WARRANTY INFORMATION
La Crosse Technology, Ltd provides a 1-year limited warranty on this product
against manufacturing defects in materials and workmanship.
This limited warranty begins on the original date of purchase, is valid only on
products purchased and used in North America and only to the original
purchaser of this product. To receive warranty service, the purchaser must
contact La Crosse Technology, Ltd for problem determination and service
procedures. Warranty service can only be performed by a La Crosse
Technology, Ltd authorized service center. The original dated bill of sale must
be presented upon request as proof of purchase to La Crosse Technology, Ltd
or La Crosse Technology, Ltd’s authorized service center.

