Lacewing GH1246 User manual

GH1246
Please read these instructions carefully before beginning assembly.
Check all parts against the part list, making sure you have everything you need before you begin.
Please ensure you carry out the installation as per the steps laid out in these instructions.
As you go through the installation, do not fully tighten the bolts until you reach the stage where the polypannels have been installed.
Keep these instructions in a safe place for future reference.
Keep children away from the assembly area.
solution and rinse with cold clean water.
This is a multi-part assembly, it is recommended to allow between 8-16 hours.
The parts should be checked and laid out close to hand.
It is advisable to keep all small parts (screws etc..) in a bowl to avoid losing them.
Keep roof clear of snow and leaves.
When selecting a site, aim to choose a level surface in a sunny position
away from overhanging trees but not exposed to excessive wind.
Do Not use acetone, abrasive cleaners or other special detergents
as these may damage the polycarbonate panels.
When your greenhouse needs cleaning, use a mild detergent
Do not attempt to assemble the greenhouse in wet or windy conditions.
Take care to avoid hazards such as overhead power cables during installation.
Do not lean against or push the greenhouse frame during installation.
Do not position your greenhouse in an area exposed to excessive wind.
Hot items such as recently used barbecues, should not be stored in the greenhouse.
Check for hidden pipes or cables before installing the greenhouse.
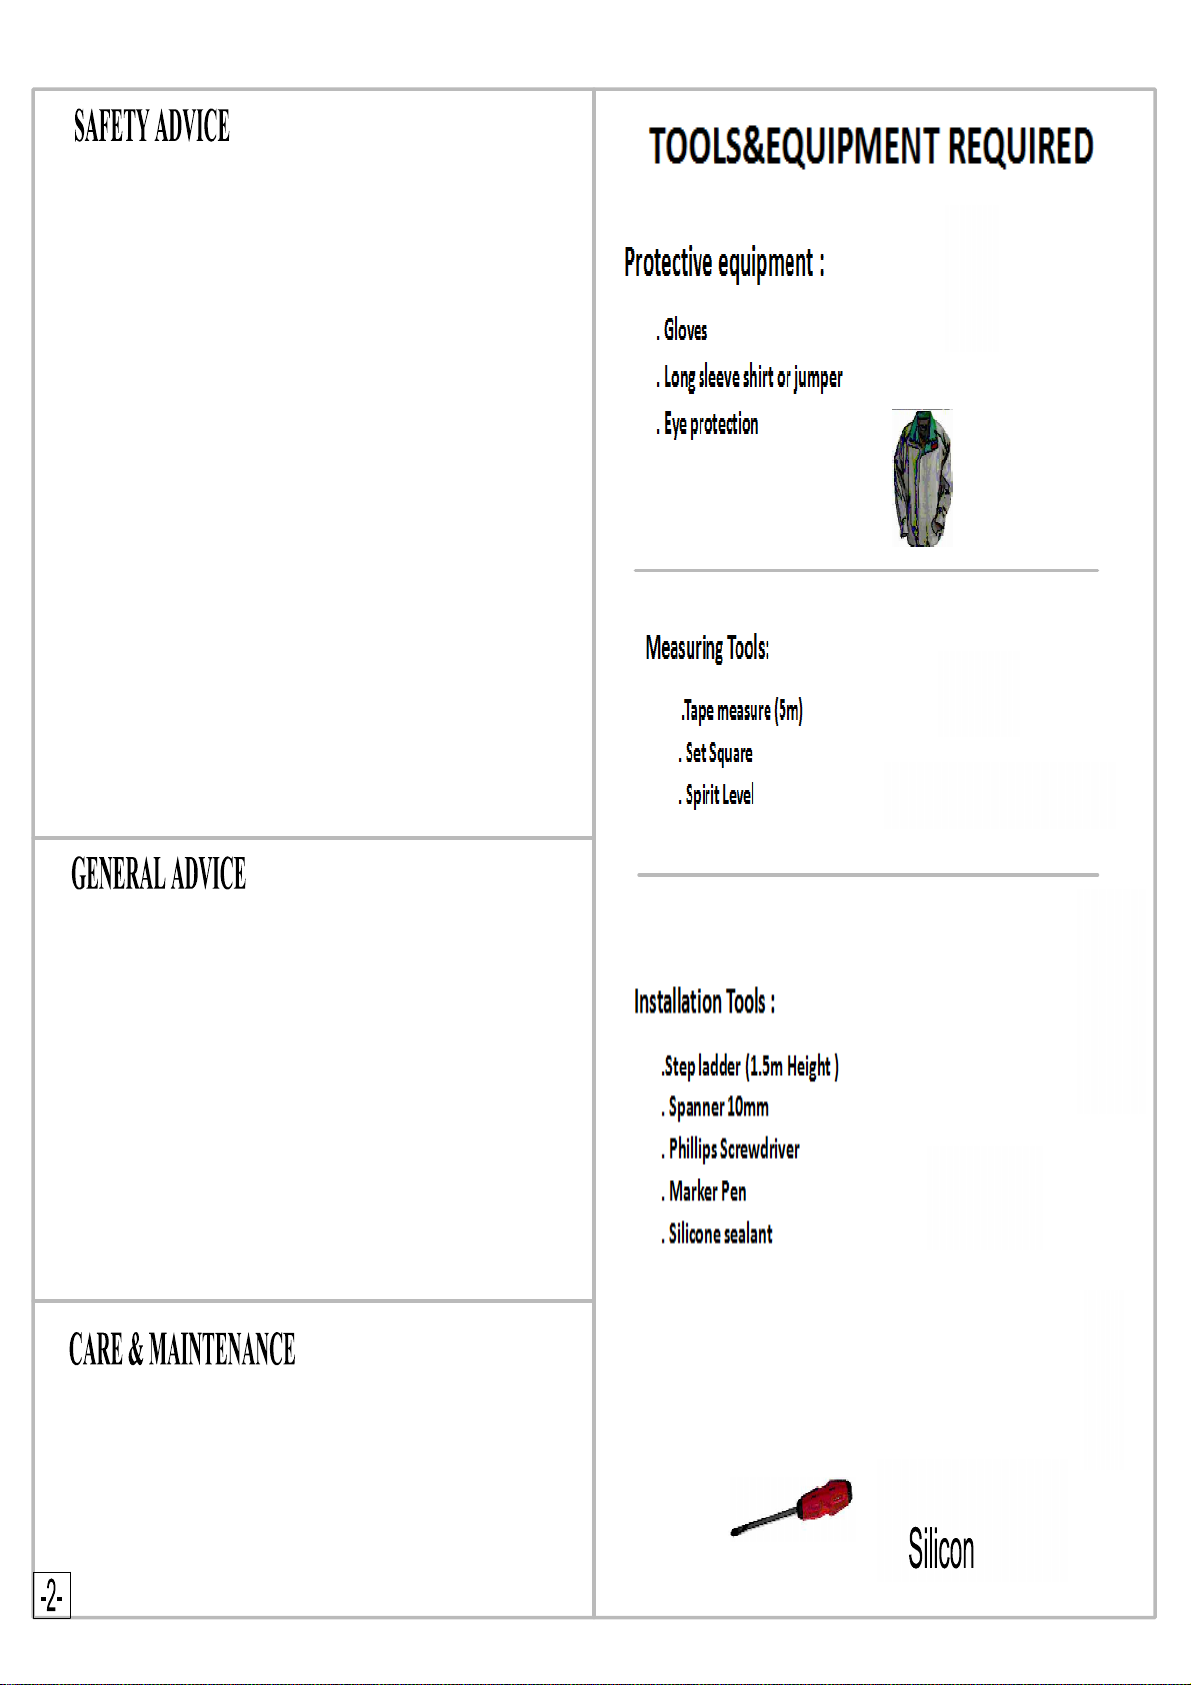
We strongly recommend the use of work gloves, shoes and
safety goggles during assembly.
The greenhouse parts may be wrapped in plastic, small parts may be in
plastic bags, take care to keep these away from children.
The greenhouse must be installed on a flat / level foundation,
please see the foundation guide.
Do not attempt to assemble the greenhouse if you are tired, prone to dizzy spells
or have taken any intoxicating substances such as alcohol.
If using a step ladder or power tools, take care to follow the manufacturer’s
safety advice.


Polypannel List and Installation Plan
Installation of Bolts:
Although two F4 Bolts only seem to be attached to one part at the moment,
Installation of Bolts:
1.Slide bolt into the channel in the aluminium profile.
2.Attach any other parts needed.
3.Place nut on and hand tighten.
4.Once polypannels are installed later in the assembly, use spanner to tighten all nuts.
Please ensure you include these as it will save problems later in the installation:
Throughout the installation you may see diagrams like this:
they are for use later in the installation.
Although two F4 Bolts only seem to be attached to one part at the moment,
Installation of Bolts:
1.Slide bolt into the channel in the aluminium profile.
2.Attach any other parts needed.
3.Place nut on and hand tighten.
Please ensure you include these as it will save problems later in the installation:
Throughout the installation you may see diagrams like this:
they are for use later in the installation.
4.Once polypannels are installed later in the assembly, use spanner
to tighten all nuts.
When installing polypannels, please ensure the side with the white film is facing out. This is the side with UV protection.
Also it is advisable to peel the film off, just before installing the panel.


(for example the 2x F4 bolts in each part 12),
Preparation-These steps will help prepare the parts for use later in the installation
Preparation-These steps will help prepare the parts for use later in the installation
“Please Note, although some bolts will seem like they have no use at the moment
(for example the 2x F4 in each part 11), they do have a use later in the installation and installing them now will save time later on.”
“Please Note, although some bolts will seem like they have no use at the moment
(for example the 2x F4 in each part 11), they do have a use later in the installation and installing them now will save time later on.”
“Please Note, although some bolts will seem like they have no use at the moment
they do have a use later in the installation and installing them
now will save time later on.”
“Lay parts 4, 5 and 6 on the ground”


whilst you continue with the installation.”
“At this point it is helpful to use a ladder to support the frame
Other Lacewing Greenhouse Kit manuals


Popular Greenhouse Kit manuals by other brands

ACD PRESTIGE
ACD PRESTIGE MR3 H manual

Vitavia
Vitavia VA0040-TRP Assembly instructions

VegTrug
VegTrug Nursery manual

Riverstone Networks
Riverstone Networks Monticello 041315V Assembly instructions

STC
STC Easy Grow 6x12 Greenhouse Assembly instructions

CLIMA POD
CLIMA POD Spirit V7 Series Assembly instructions


