LAIZESKE W1000H User manual

Wireless Transmission System
User Manual

1
Thank you for purchasing LAIZESKE wireless video transmission system.
Please read this manual carefully before using the product, wish you a
happy experience!
Caution
Do not expose this device to extreme hot, cold, dusty or humid
environments.
Do not scratch the device with sharp objects.
Do not drop this device from high place, as this may cause hardware
damage.
This device is designed for non-water proofing. Please do not allow any
liquid to penetrate into the device.
Do not attempt dismantle, open or repair this device by non-technical
person, as this may cause permanent damage to the device.
Features
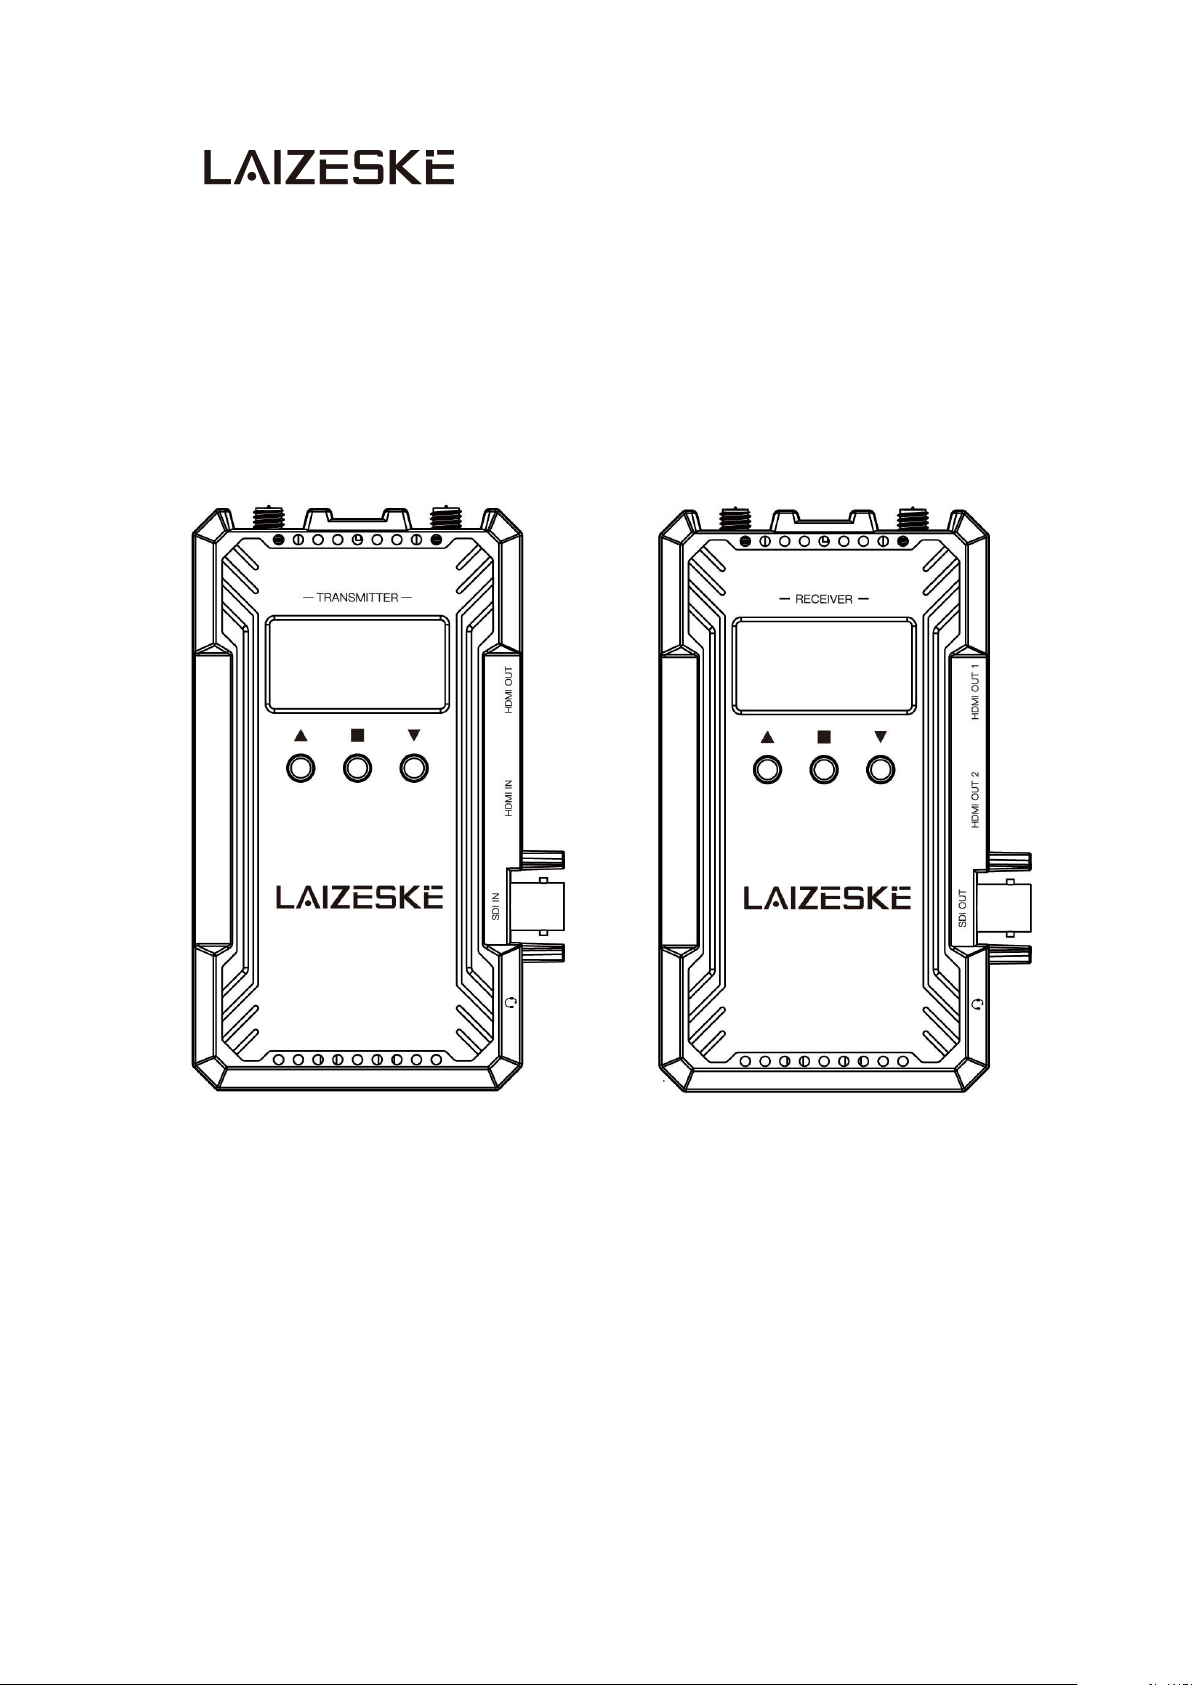
Dual HDMI & SDI (optional) signal interfaces
Transmission range up to 1000ft, with ultra-low latency 0.08S
Up to 1080P60Hz
With type-C to Ethernet adapter accessory, achieve live streaming
The transmitter can be switched as a receiver at will.
Wireless full-duplex talkback, real-time intercom between the director
and the photographer.
One TX to multiple RX
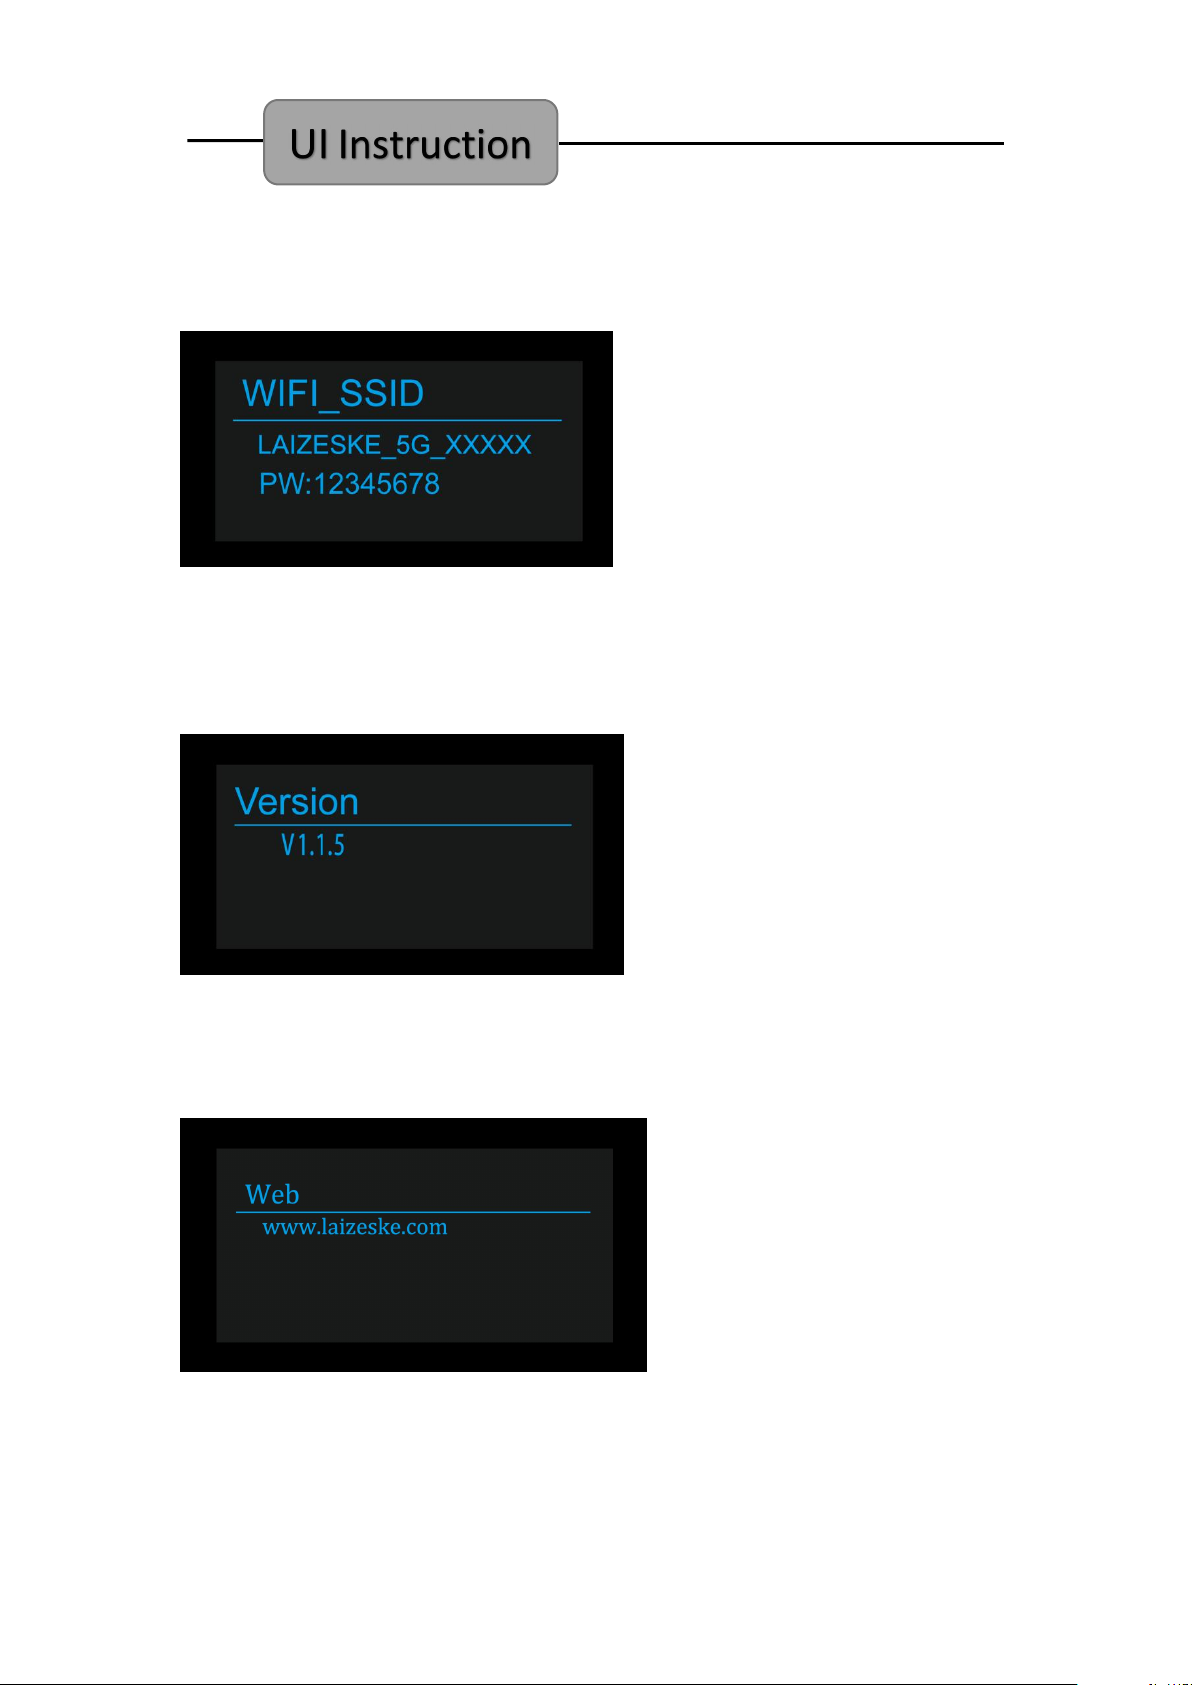
Support APP monitoring for Android/IOS system.
13 frequency channels, AUTO channel scan.

2
Installation Instruction---------------------------------------------- 3
Port Instruction------------------------------------------------------- 4
UI Instruction---------------------------------------------------------- 6
Streaming Instruction----------------------------------------------- 11
APP Operation Instruction----------------------------------------- 12
Parameter-------------------------------------------------------------- 15
Frequency Chart------------------------------------------------------ 16

3

4
Transmitter
①: Antenna Ports ⑧: DOWN button
②: Power OFF/ON ⑨: HDMI Signal Output
③: Type-C Power Input/Upgrade ⑩: HDMI Signal Input
④: DC Power IN ⑪: SDI Signal Input(optional)
⑤: OLED Screen ⑫: 3.5mm Earphone Port
⑥: UP button ⑬: 1/4 Screw Hole
⑦: OK button

5
Receiver
①: Antenna Ports ⑧: DOWN button
②: Power OFF/ON ⑨: HDMI Signal Output1
③: Type-C Power Input/Upgrade ⑩: HDMI Signal Output2
④: DC Power IN ⑪: SDI Signal Output(optional)
⑤: OLED Screen ⑫: 3.5mm Earphone Port
⑥: UP button ⑬: 1/4 Screw Hole
⑦: OK/MENU button

6
1. Startup
The startup screen is as above. When the device runs, the main menu
will display.
2. Main Menu
Main menu including channel, device type(TX/RX), link status, signal
strength, video format, intercom mode, battery level, temperature, fan
status, etc. information.
1) Channel switch: press“△”or“▽”to change channels. Press“□”to
confirm the channel.
2) Long press“△”on the transmitter, the screen will display device name
and password. Long press“△”on the receiver, the screen will also display
device name and password if it is connected to transmitter.
3. Secondary Menu
Long press“□”for 2 seconds to enter into the secondary menu.
Long press“□”for 2 seconds again to back to the secondary menu.
Press“△”or“▽”to switch the options in secondary menu and
press“□”to confirm selection.

7
Device (transmitter only): device type
Switch TX (transmitter) and RX (receiver) manually.
Source (transmitter with SDI port only): signal source
Switch the signal source between HDMI and SDI on transmitter. SDI input
is selected by default if both HDMI and SDI sources are connected.
FAN status
Turn on or off the fan manually

8
Intercom
Switch between Full Duplex, TD mode(TD speak, Cameraman listen),
OFF(turn off intercom)
WPS: pairing
To pair transmitter and receiver. One Transmitter allows to pair 4 receiver
maximum. Turning on WPS both for transmitter and receiver at the same
time, then turn off the receive which finished pairing. Using the same
pairing method to add next one receiver. Last, turning on all of the
paired devices.
Priority
Choose high image quality prior or low latency prior.

9
WIFI_SSDI
Showing device name and password
Version
Showing the device’s version number
Web

10
Telephone
Language
IP: IP address (only the receiver has this menu)

11
After the receiver links to transmitter and receives the video, plug the Type-C to
Ethernet
adapter to receiver’s Type-C port. The Type-C to Ethernet adapter will flash red light.
Static IP setting
1. The receiver’s default mode is static IP. It can be selected in the secondary menu
IP->staticIP
2. As the picture shown above, connect the Type-C to Ethernet adapter with
computer via LAN cable.
3. The receiver’s static IP address is 192.168.11.111. It can be found on the receiver’s
secondary menu. The computer also has to be set to static IP. Set the computer’s
static IP to be 192.168.11.xxx, xxx can be replaced by any number between 2 and
254 not include 111. After the settings completed, run CMD->ping 192.168.11.111
on computer to check if it works.
4. Use the URL rtsp://192.168.11.111:554/test.264 on up streaming software such as
VLC or OBS.
RouteIP setting
1. Enter into the secondary menu on the receiver’s IP. Then select routeIP
2. Connect a monitor to the receiver. Then connect the receiver to the router via the
Type-C to Ethernet adapter. If the blue light flashes on the adapter, it indicates that
the connection is good. The monitor will show the IP address on the left bottom.
3. Connect the computer to the router. Push streaming with the url: rtsp://IP address
shown on the monitor/test.264

12
1. APP Download
iOS APP Download
iOS user search “LAIZESKE”
(APP Name:MMonitor)
Android APP Download
Scan the QR code to download the APP
(APP Name: LAIZESKE)
2. Connect smart devices to transmitter
After the transmitter is powered on, go to Setting-Wireless & networks
on smartphone/tablet, select the transmitter’s name and input the
password to connect the devices. Please find the transmitter’s name and
initial password as below. Then go to APP home page and click “Video”
to monitor.
(Note: No need to input password again if it was saved on smart
phone/tablet)
Device name: LAIZESEK_5G_XXXXX
Password: 12345678

13
3. APP Operation (e.g. Android System)
a. Click “Video” on home page to
enter into monitoring mode.
b. Click “∨” at the bottom of screen. It will show SAVE IMAGE, RECORD
( only available for Android at present), MATERIAL, CONFIGURATION.

14
Long press the screen to show up the professional monitoring menu.
Monochrome, False Color, Center Marker are available at present, more
features are developing.
c. Click “Material”to check the images and videos saved on
smartphone/tablet.
d. Click “ Configuration”to access configuration screen.
e. Click 英文版/Chinese Version at the bottom of home page to change
language.

15
Transmitter
Receiver
Screen
OLED
OLED
Interface
1 * SDI input (optional)
1 * HDMI input, 1* HDMI output
2 *Antenna port (RP-SMA Male)
DC power input, 3.5mm headphone
jack , Type-C
2* HDMI output
1* SDI output (optional)
2 *Antenna port (RP-SMA Male)
DC power input, 3.5mm headphone
jack, Type-C
Power Supply
Way/Voltage Range
F970 battery , Type-C: 5V/1.5A
DC adapter: 6-16V
Note: Due to the actual output of
some batteries will be greater than
16V, it may burn out. Please make
sure that the actual output voltage
of the battery used is less than 16V.
F970 battery , Type-C: 5V/1.5A
DC adapter: 6-16V
Note: Due to the actual output of
some batteries will be greater than
16V, it may burn out. Please make sure
that the actual output voltage of the
battery used is less than 16V.
Power Consumption
<7.5W
<6.5W
HDMI Input/Output
Video Format
480P60, 576P60 720P60/59.94/50
1080P60/59.94/50/30/29.97/25
/24/23.98 1080I60/59.94/50
HDMI Type A
480P60, 576P60 720P60/59.94/50
1080P60/59.94/50/30/29.97/25
/24/23.98 1080I60/59.94/50
HDMI Type A
SDI Input/Output
Video Format
480P60, 576P60 720P60/59.94/50
1080P60/59.94/50/30/29.97/25/24/
23.98 1080I60/59.94/50
1*BNC
480P60, 576P60 720P60/59.94/50
1080P60/59.94/50/30/29.97/25/24/
23.98 1080I60/59.94/50
1*BNC
Frequency
5.1-5.9GHz
5.1-5.9GHz
Modulation Mode
OFDM
OFDM
Transmission Power
Maximum 17dBm
/
Receiving Sensitivity
/
-87dBm
Band Width
20MHZ
20MHZ
Latency
Min0.08S
Min0.08S
Intercom Frequency
Response Range
20Hz~20KHz
20Hz~20KHz
Operating
Temperature
0℃~40℃
0℃~40℃
Storage Temperature
-20℃~60℃
-20℃~60℃
Unit Size(mm)
67L*24W*118H (excluding antenna)
Unit Weight
128g
128g

16
Device Channel
WiFi Channel
Frequency/MHz
1
36
5180
2
38
5190
3
40
5200
4
44
5220
5
46
5230
6
48
5240
7
149
5745
8
153
5765
9
155
5775
10
157
5785
11
159
5795
12
161
5805
13
165
5825
Common Problem
1. The screen appears mosaic or the signal connection is unstable
It means that there is a WIFI signal close to the transmission frequency, you can
re-select another channel. (Note: only the receiver is allowed to adjust the channel)
2. When the transmitter and receiver cannot be connected.
Please turn off the transmitter and receiver, then turn them on again at the same
time, and turn on the WPS mode to pair again.
3. When signal frequency is weak
Please try to choose another channel with a wider frequency span. (For ins
tance, the signal of channel 10 is weak, please choose channel 1 or 6, but
not channel 9 or channel 11).
4. The poor WIFI reception of the mobile phone
It is related to the brand and model of the mobile phone. Please try
different mobile phones.
★As we are improving product features and product performance,
so if there is any change on the specification without prior notice.
This manual suits for next models
1
Table of contents