LAMINOX IDRO AGUA Navel 2.0 STD User manual

REMOTE CONTROL 2.0
Navel 2.0 STD
Wi-Fi System
APP INSTALLATION GUIDE

2
BOARD L023
BOARD N100
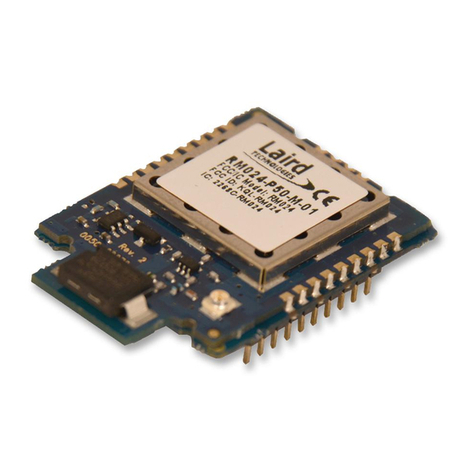
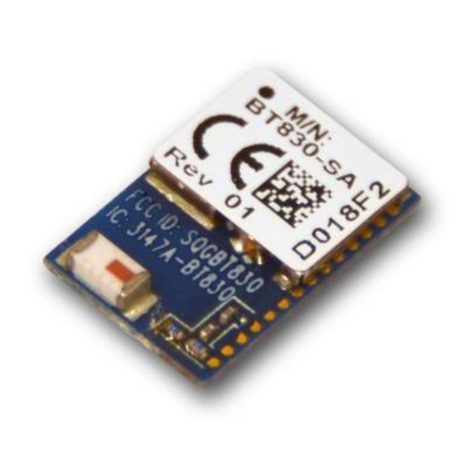
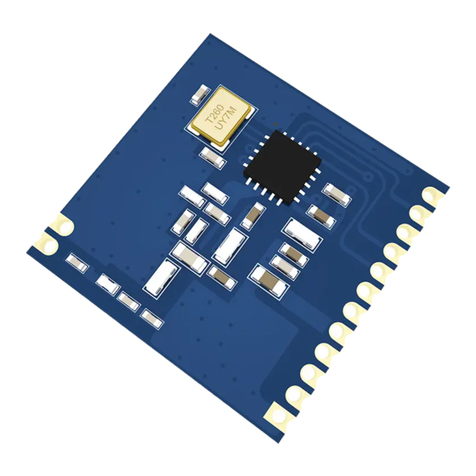
WI-FI module installation
1.
Connect the Wi-Fi module to the electrical network using the appropriate power supply unit provided in the kit.
2.
Connect the module to the SR232 serial connector located behind the stove. Alternatively, if there is no
external serial port, you can connect it directly to the circuit board via the specific connector. (Contact an
authorised service centre for circuit board connection)
EXAMPLE of connection via SR232 serial connector located behind the stove.
EXAMPLE of direct connection to the circuit board.
(Contact an authorised service centre for circuit board connection)

3
LAMINOX REMOTE CONTROL 2.0 App
Download and install the LAMINOX REMOTE CONTROL 2.0 app on your device.

4
xxxxx@gmail.com
xxxxxxx
xxxxxxx
xxxxxx
xxxxx@gmail.com
xxxxxxx
xxxxx@gmail.com
CREATING AN ACCOUNT
In order to use the app, an account must be registered using the wizard described below. Each
app can control multiple WiFi modules that are entered and managed via Home.
This means that one account can be linked to several modules and the same account can be added to several apps
so that other family members can have control on their smartphone.
When you open the app for the first time, click on SIGN UP, enter your e-mail address and create a password of at
least 8 characters.
On the next page, you will have to enter the activation code that will be sent to the e-mail address you
provided. Confirm with the ACTIVATE button.
Entering an existing Account
Click on LOGIN and enter the e-mail address and password that you previously registered, then confirm with the LOGIN button.
Forgotten password:
Click on Forgot your password? An e-mail will be sent to the address you just entered containing a control code that
you can use to create a new password.
It is therefore important to use active e-mail addresses.

5
ENTERING A STOVE
The app has an easy-to-understand wizard that helps you enter a desired stove and connect the module to
your home WiFi in just a few steps.
1 2
Press the + key Press
EXTERNAL MODULE
3 4
Make sure that everything is correctly
connected and that the stove is
powered.
Press CONNECTION OK
Obtain the serial number of the
stove
and the MEC code and the REG CODE
on the second sheet provided.
Press CONTINUE

6
Adding a stove
Enter one of the following names according to the product you have:
ARIA
(Air pellet stoves and air fireplace pellet inserts)
IDRO
(Idro pellet stoves, idro fireplace pellet inserts and IDRA red boilers)
TERMOBOILER
(for all Termoboiler boilers)
TERMOBOILER and Remote Console
(select this if you have a Termoboiler + remote console)
Enter the MAC code and the REG CODE
found on the USER GUIDE sheet
Read the
NOTE at the end of the page
555555-5F
264F28……..
123456
IDRO
Mountain home
Optional Fields
Give a name
Enter the SERIAL number found on the data
label behind the stove
NOTE
The MAC ADDRESS, REG CODE and
APP PASSWORD can be found on the USER
GUIDE sheet in the packaging of your Wi-Fi
module.
5

7
Connect to T009_xxxx
CONNECTING WITH WI-FI
After the first ADD A STOVE step, the wizard continues with module configuration by connecting it to your
home Wi-Fi.
1 2 3 4
Press
CONFIGURE VIA WIFI
ATTENTION
Don't press anything!!
Go to your smartphone
settings
and connect to the Wi-
Fi named T009_xxxx
Once you are connected to
the T009 network, go
back to the app and press
CONNECT AND CONTINUE
5 6 7 8
Select your Wi-Fi, enter the
password then press
CONNECT
An AP PASSWORD may
sometimes be required to
access this page; see the USER
GUIDE
Page 6
Connected Check that two
ORANGE lights are lit on the
module
ATTENTION
Close all applications
Go to your smartphone
settings and re-connect to our
home Wi-Fi
Open the app again.
Your stove’s bar should
appear on the Home screen.
If the app reopens with the page
from step 2, press the arrow at the
top to return to Home
OK

8
Control interface
Example of an interface for a
IDRO stove or boiler
The control interface varies depending on the model of stove or boiler.

9
Resetting the module to change the WiFi connection
You can reset the module by pressing and holding the RESET button for at least 10 seconds.
By doing so, the module will disconnect from the Wi-Fi network to which it was connected.
After resetting, the Wi-Fi configuration procedure can be repeated again by selecting
Wi-Fi CONFIGURATION from the drop-down menu.
Deleting the stove entered
To delete the stove entered, press the menu symbol (3 dots) on the bar, then press
DELETE STOVE in the drop-down menu.
Once the stove has been deleted, you can repeat the initial procedure to enter a new stove.

10
Enable External Term.
This command can be used to
remotely manage the call of a
mechanical chronothermostat
installed in the house.
If this chronothermostat is set to
a desired temperature (e.g. 22°c),
you can manage virtual ON-OFF
via the app, thus allowing you to
start heating the house as
desired.
Use the
Chronothermostat to
switch the boiler
completely on and off.
ATTENTION
If the boiler is switched OFF,
the internal accumulation
tank will cool down.
Enable External Term.
This command can be used to
remotely control the general
ON
-
OFF of the home heating
system in combination with SET
Room Temp.
Room Temp.
This command can be used to
remotely manage the room
temperature read by the remote
console
located in the house.
If you leave the Enable External
Term.
set to ON
, raising or
lowering the temperature will
cause the home heating to start.
Chronothermostats 3and 4
switch the boiler
completely on and off.
ATTENTION
If the boiler is switched OFF,
the internal accumulation
tank will cool down.
Chronothermostats 1and 2
can be used to program the
start of heating in the home
at a specific time. In fact,
these two
chronothermostats activate
the internal pump and do
not activate complete shut-
down of the boiler, allowing
the accumulation tank to
remain warm for any
sanitary requirements.
APP functions in combination with the TERMOBOILER boiler
APP functions in combination with the TERMOBOILER boiler and the REMOTE CONSOLE
11
Troubleshooting
LED STATU
S
PROBLEM SOLUTION
1st Power LED
(green)
Off
The module is not being
powered.
The stove is switched
off.
The module
power supply unit is not
connected
Connect the supplied
external power supply unit.
Make sure
that the stove is being
powered.
Flashing
Data transmission between
the stove
and the Cloud system
- -
On Everything OK. - -
3rd Wi-Fi
LED
(orange)
Off
The module is not connected
to the WiFi
network
- -
Flashing
The module is connecting to
the WiFi network
If flashing persists for more
than 3 minutes, this
indicates that you have
entered an incorrect
password.
Press the reset button for at
least 10 seconds, start the
WiFi configuration procedure
described on page 9 again
On
The module is connected to
the
WiFi network
- -
4th Cloud
LED
(orange)
Off
The module is not
connected to the
Cloud service
No internet
connection
Check the home
modem/router settings
Flashing
Data transmission between
the module and the home
modem/router
-
-
On The module is connected
to the Cloud service
-
Table of contents