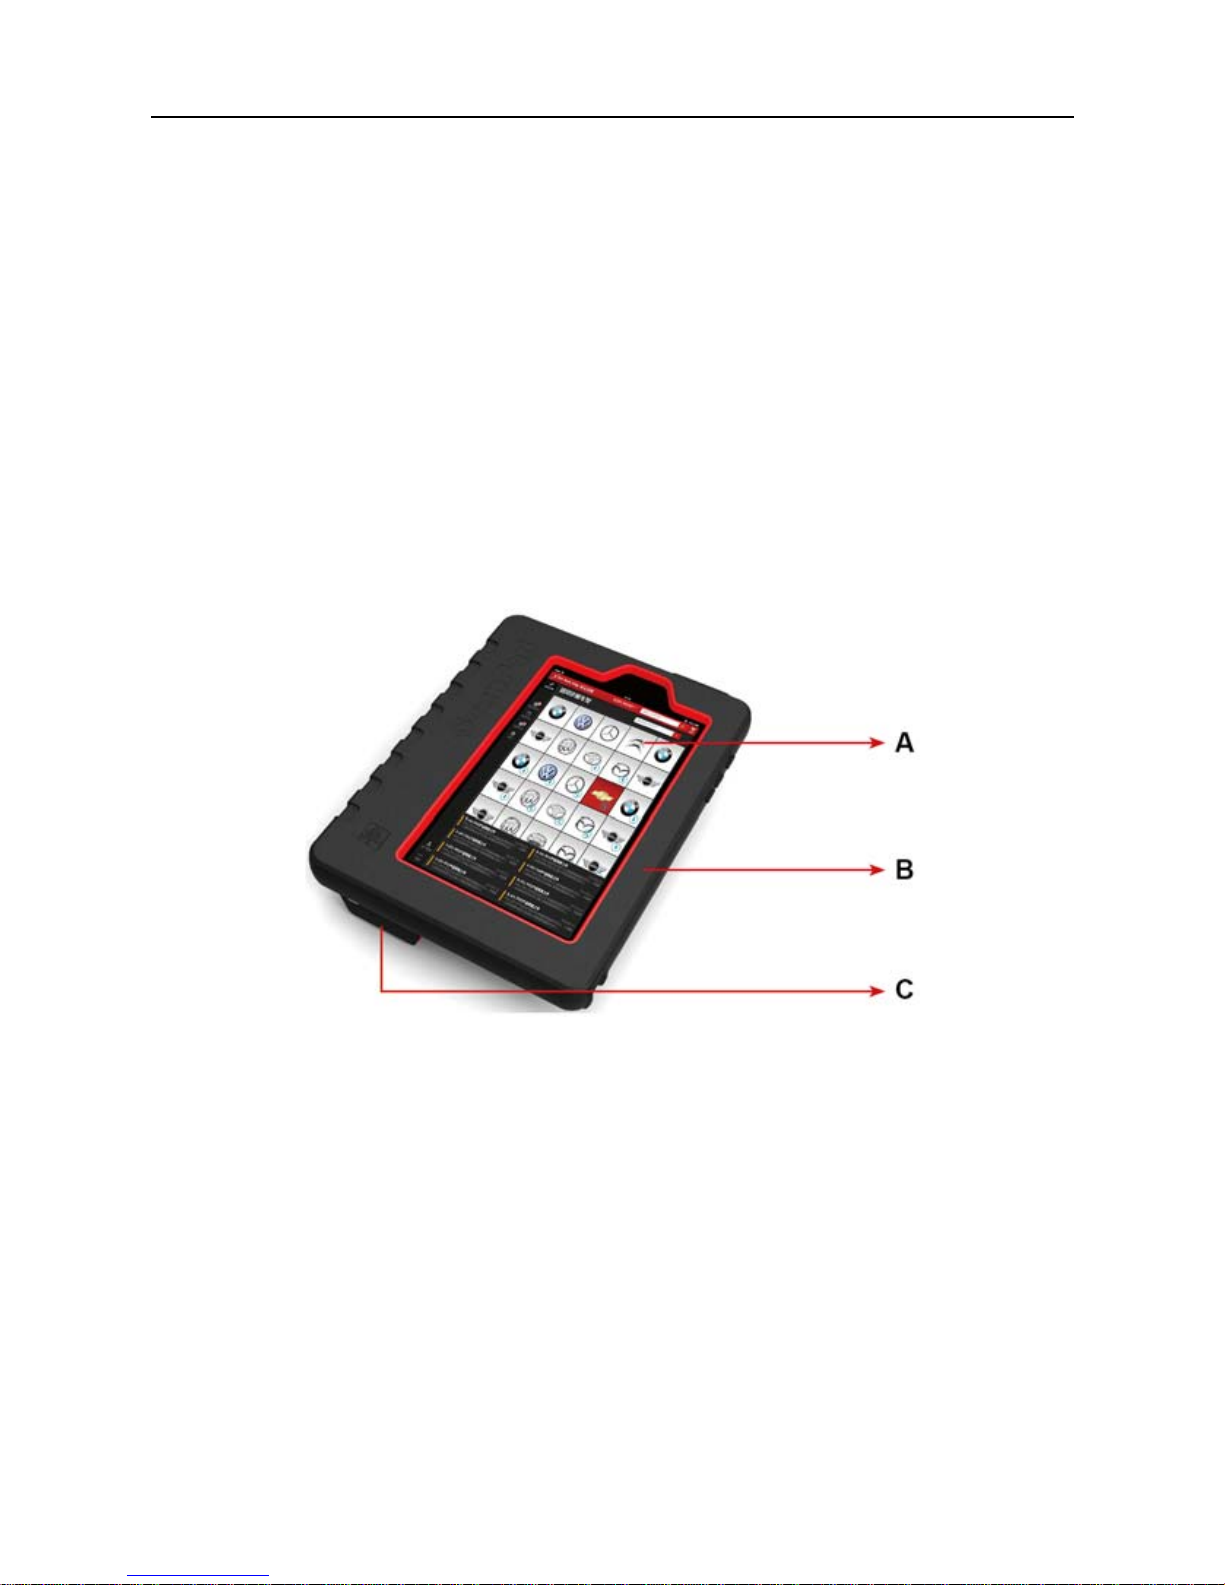
LAUNCH ScanPad 071 User’s Manual — Table of Contents
4.3 BROWSER .................................................. 39
4.3.1 Open browser.................................................................................. 39
4.3.2 Browse a webpage..........................................................................39
4.3.3 Zoom in / zoom out a page..............................................................40
4.3.4 Find on page....................................................................................40
4.3.5 Save favorite webpage to bookmark...............................................40
4.3.6 Open multiple pages........................................................................40
4.3.7 Customize internet settings.............................................................40
4.4 USING BLUETOOTH ........................................... 41
4.4.1 Open Bluetooth................................................................................41
4.4.2 Allow other devices to search for ScanPad 071..............................41
4.4.3 Search other devices and pair ScanPad 071 with it........................41
4.4.4 Send file via Bluetooth.....................................................................41
4.5 CAMERA.................................................... 42
4.5.1 Open and close camera ..................................................................42
4.5.2 Take a photo....................................................................................42
4.5.3 View a photo....................................................................................42
4.5.4 Record a video ................................................................................42
4.5.5 View a video .................................................................................... 43
4.5.6 Customize camera settings............................................................. 43
4.5.7 Customize camrecorder settings.....................................................43
4.6 GALLERY ................................................... 44
4.6.1 Open gallery ....................................................................................44
4.6.2 Browse images................................................................................44
4.6.3 Play video........................................................................................44
4.6.4 Zoom in/ out images........................................................................44
4.7 MUSIC ..................................................... 44
4.7.1 Play audio files ................................................................................44
4.7.2 Music player interface......................................................................45
4.7.3 Create a new playlist.......................................................................46
4.7.4 Delete a playlist ...............................................................................46
4.8 CALENDAR .................................................. 46
4.9 ALARMS .................................................... 46
4.9.1 Add an alarm ...................................................................................46
4.9.2 Delete an alarm ...............................................................................47
4.9.3 Customize your alarm......................................................................47
4.10 FILE MANAGER ............................................. 47
4.11 DISPLAY................................................... 47
4.11.1 Brightness......................................................................................47
4.11.2 Auto-rotate the screen ...................................................................48
4.12 SET SCREEN LOCK........................................... 48