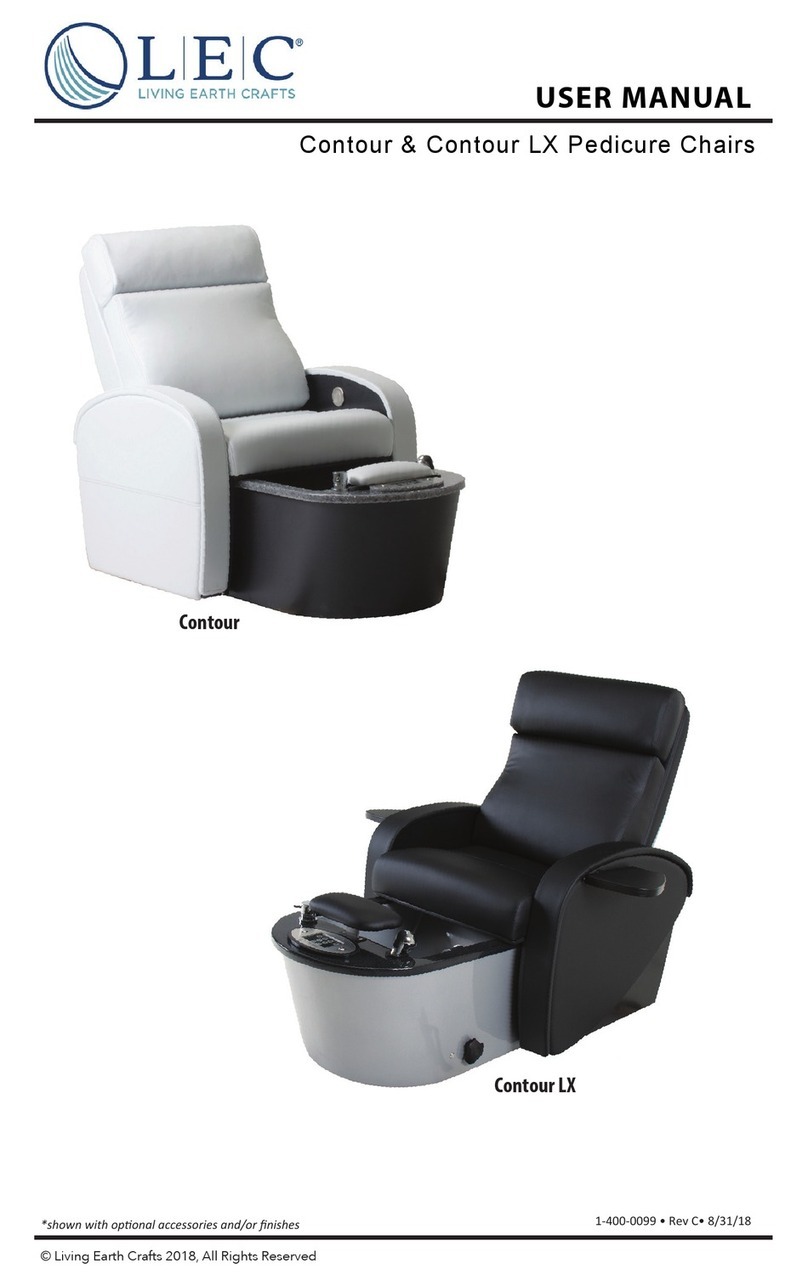
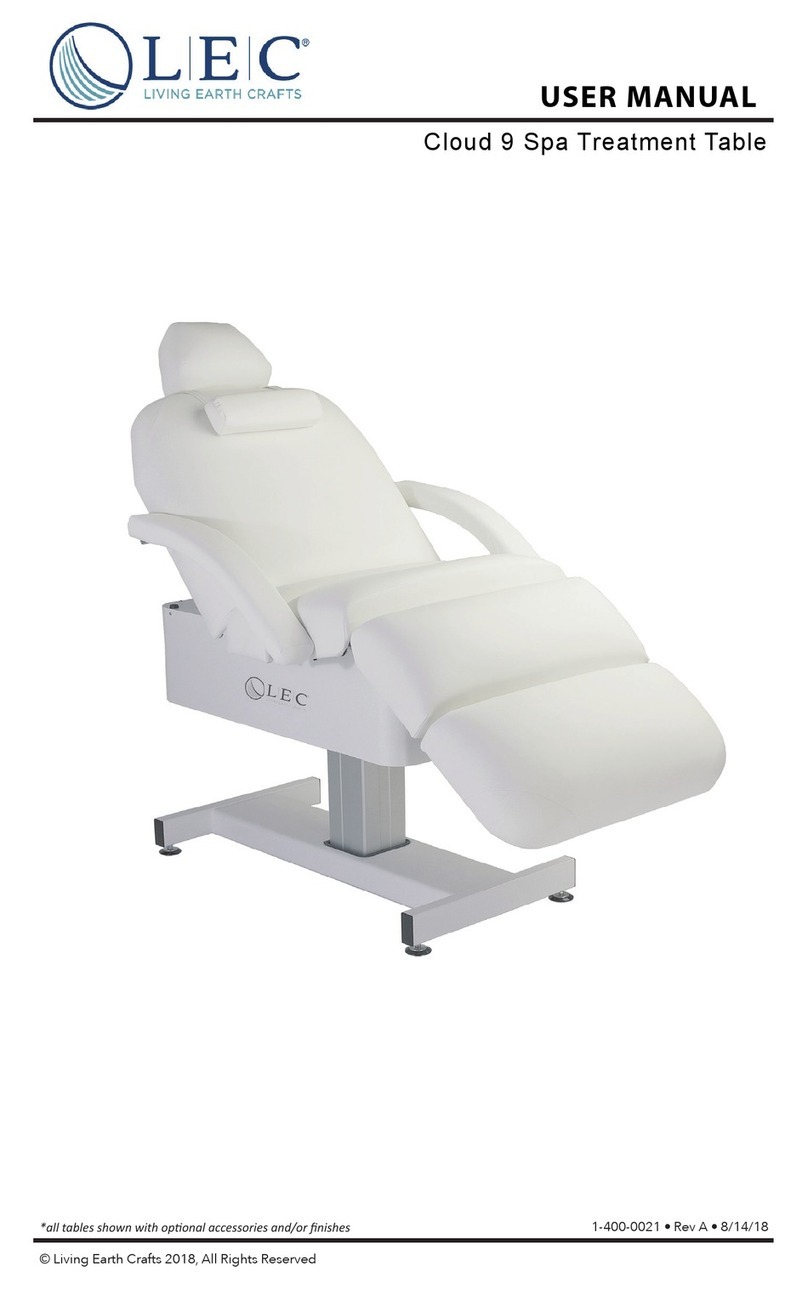
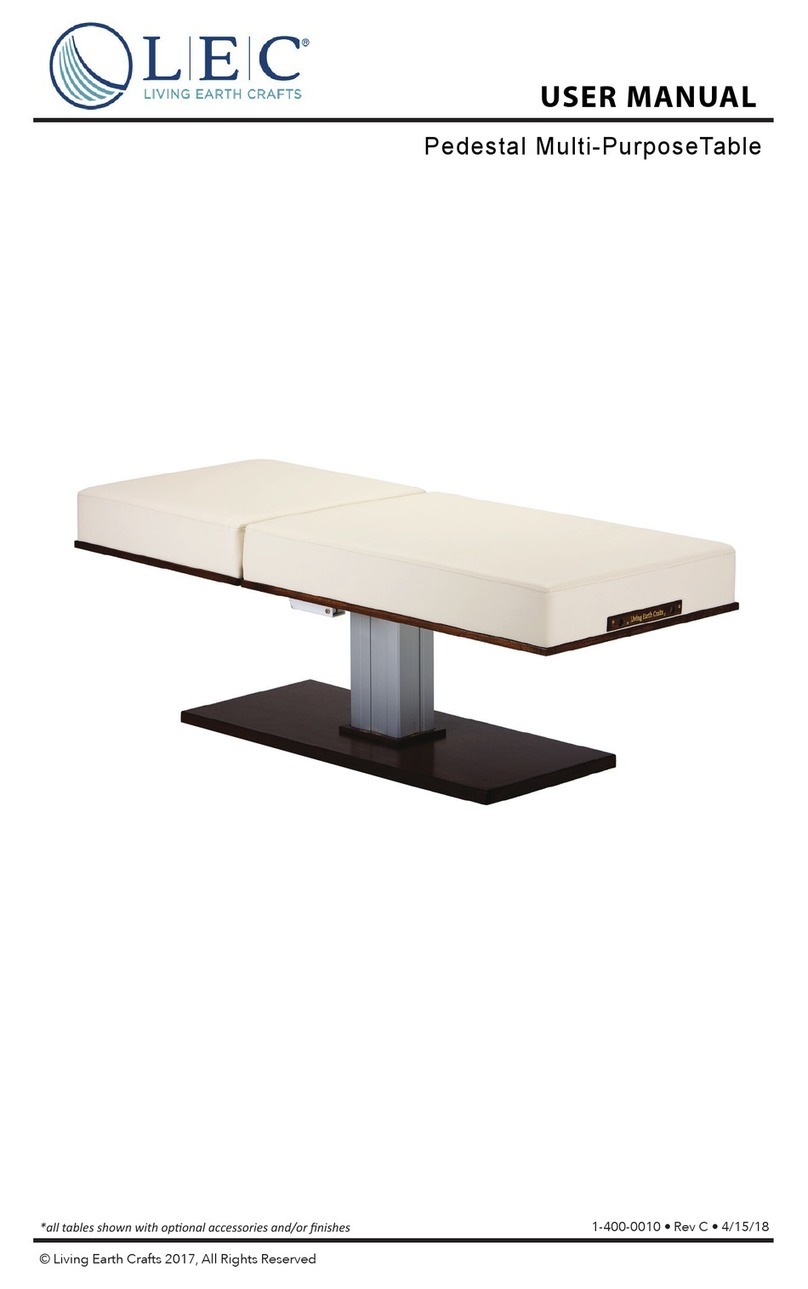
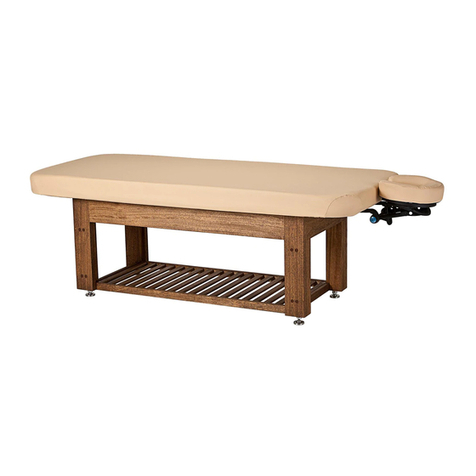
Lec+ Pro Salon Designer Cabinetry Series User manual

Pro Salon™ Table Collection
USER MANUAL
Pro Salon™ Designer Cabinetry Series
Pro Salon™ Kensington
1-400-0012 • Rev B • 8/14/18
© Living Earth Crafts 2018, All Rights Reserved
Pro Salon™ Kensington +Studio
*all tables shown with op onal accessories and/or fi nishes
Pro Salon™ Wright Wood

© Copyright 2018
Living Earth Cras®
All rights reserved. is document or any
portion thereof may not be reproduced
in any way, including photocopying or
translation to another language without
the prior written permission from Living
Earth Cras.
Living Earth Cras® is a registered trade-
mark of Earthlite, LLC.
Legal Notice
e information provided in this document is intended
for informational purposes only and is subject to change
without notice. e information provided in this docu-
ment should not be construed as a commitment by
Living Earth Cras®.
Living Earth Cras® assumes no responsibility for the
accuracy or suitability of the information contained in
this document. is document may contain technical
inaccuracies or errors. Living Earth Cras® makes no
expressed or implied warranties of any kind concerning
the information contained in this document, including,
but not limited to, the implied warranties of merchant-
ability and tness for purpose.
Living Earth Cras® shall not be liable for incidental or
consequential damages in connection with or arising out
of the product, performance, or use of this document
and the information and material it describes.

Introduction
Congratulaons on your purchase of the famously versale Pro Salon™ treatment table. The Pro
Salon™ is the choice of ve-star resorts and spas worldwide because it easily accommodates
a wide range of treatments for massage therapists and spa professionals. With whisper silent
Quietech™ hydraulic actuators, fully arculang electric salon top, and luxurious memory foam
cushioning, all tables in the Pro Salon™ Collecon provide truly discerning clientele with the
ulmate spa experience.
Pro Salon™ tables are designed for licensed therapists and are intended to be used in a
professional spa, massage studio, or similar commercial environment. While no special training is
needed to operate the table, for safety reasons it is important that the instrucons contained in
this manual are reviewed in detail before the rst use. This manual should be read in its enrety
by each professional who will be operang the table to ensure the safety of both operator and
client. This manual should be saved for future reference.
The Pro Salon™ table should not be used in any other manner than described in this manual.
Please read, understand, and follow all safety warnings, labels, and instrucons. Misuse, use of
unnecessary force, or using the warming drawer for unintended or unauthorized procedures can
result in injury to operator, client, and/or equipment.
Detailed instrucons for use and maintenance can be found in this user manual. If you have
further quesons, please contact us at (800) 872-0560 for US customers, or (760) 597-2155 for
internaonal customers. We can also be reached via e-mail at info@livingearthcras.com
Secon 1: Safety Informaon
Safety Symbols
Warnings
Grounding Instrucons
Secon 2: Product Overview
Product Photos
Product Specicaons
Secon 3: Installaon
Moving Your Table
Basic Setup
Leveling Instrucons
Rolling Casters/Wheels
Secon 4: Operang Instrucons
Electrical Specicaons
Hand/Foot Control
Addional Opons
Secon 5: Care & Maintenance
Care Instrucons
Troubleshoong
Warranty Informaon
Contact Us
2
2-3
3
4-5
4-5
6
6
7
7
8
9
10-11
12
13
13
Table of Contents
back cover

READ AND SAVE THESE INSTRUCTIONS
2
IMPORTANT SAFETY INSTRUCTIONS - FOR COMMERCIAL USE ONLY
Read all instructions before using this product.
Safety Symbols
Familiarize yourself with the following
Safety & Warning symbols. They are
designed to prevent damage and injury
to you, your clients, and your new Living
Earth Crafts product.
IMPORTANT: The important safety
instructions and warnings in this manual
cannot cover all possible problems and
conditions that can occur. Use common
sense and caution when installing,
operating, or maintaining this appliance.
Indicates an imminently hazardous
situation which could result in serious
or fatal injury.
Indicates a potentially hazardous
situation which could result in serious
injury.
Indicates a potentially hazardous
situation which could result in
equipment damage and/or injury.
1) Always unplug this furnishing from the electrical outlet before servicing.
2) Never use this furnishing if it has a damaged cord or plug, if it is not working properly, if it has been
dropped or damaged, or dropped into water. Return the furnishing to a service center for examination
and repair.
3) Keep the cord away from heated surfaces.
4) Do not use outdoors.
5) Do not operate where aerosol (spray) projects are being used or where oxygen is being administered.
6) To disconnect, turn all controls to the off position, then remove plug from outlet.
7) Connect this furnishing to a properly grounded outlet only.
RISK OF ELECTRIC SHOCK, FIRE, AND EXPLOSION
SECTION 1: SAFETY INFORMATION
SERVICING A DOUBLE INSULATED PRODUCT
• This is a double-insulated product, with two systems of insulation instead of grounding. No ground-
ing means is provided on a double-insulated product, nor is a means for grounding to be added to
the product.
• Servicing a double-insulated product requires extreme care and knowledge of the system, and is
to be done only be qualied service personnel. Replacement parts for a double-insulated product
must be identical to the parts they replace.
• To reduce the risk of electrical shock, this furnishing has a polarized plug (one blade wider than the
other. This plug will t in a polarized outlet only one way. If the plug does not t fully in the outlet,
reverse the plug. If it still does not t, contact a qualied electrician to install the proper outlet. Do
not change the plug in any way.

READ AND SAVE THESE INSTRUCTIONS 3
1) When lowering any section of the table, make sure that no supplies or any part of yours or your
client’s body is between the top of your table and its base. This could result in injury, or could
damage your table as well as the item. It is recommended that you always return your table top
to the lowest at position to avoid leaving the base exposed.
2) When lowering the table height, be sure there are no foreign obstacles are underneath your table
that could obstruct it from lowering completely. This could damage your table.
3) Never set anything under the table frame to avoid collision if lowered.
4) Never operate your table on an uneven surface. Adjust the leveling feet so that your table is stable.
5) Never raise the head or leg section with a client in the prone position (face down.)
6) Never use or store your table in a wet or very humid environment. Water and excessive moisture
can damage the wood cabinet and electrical components. Evidence of exposure to water or
moisture will void your warranty.
7) If you have purchased the Flexible Armrest Option, never use the Armrests as handholds or body
support mechanisms, especially when setting clients on or off the table.
8) Never drop or insert any object into any opening.
1) Use this furnishing only for its intended use as described in these instructions. Do not use
attachments not recommended by the manufacturer.
2) Do not operate this equipment unless properly trained.
3) Install this furnishing in treatment area not accessible to the public.
4) Close supervision is necessary when this furnishing is used by, or near children, invalids, or disabled
persons.
5) This product does not have “pinch point” protection. Only operate when no possibility of any portion
of the body could be caught and injured while moving the table top upward/downward, or activating
the back/foot tilt.
6) Do not use this furnishing to support video equipment such as televisions or computer monitors.
7) Never attempt to use the Head or Leg lift section to support concentrated weight such as sitting
or standing
To reduce the risk of burns, re, electric shock, or injury to persons:
SECTION 1: SAFETY INFORMATION

Pro Salon
Designer
Cabinetry
Pro Salon
Kensington
Pro Salon
Kensington
+Studio
Pro Salon
Wright Wood
Product
Image*
Available Tops Electric Salon Electric Salon Electric Salon Electric Salon
Top Length 73” 73” 73” 73”
Top Width 28”, 30”, or 32” 28”, 30”, or 32” 28”, 30”, or 32” 28”, 30”, or 32”
Top
Cushioning
Strata 4”
Memory Foam
Strata 6”
Memory Foam
(+ 1” embedded
warmer)
Strata 6”
Memory Foam
(+ 1” embedded
warmer)
Strata 4”
Memory Foam
Top Corner
Style
Varies
(see opposite page) Square Square Square
Degree of Tilt Back TIlt: 0° - 70°
Leg Tilt: 0° - 43°
Back TIlt: 0° - 70°
Leg Tilt: 0° - 43°
Back TIlt: 0° - 70°
Leg Tilt: 0° - 43°
Back TIlt: 0° - 70°
Leg Tilt: 0° - 43°
Height Range Standard: 25” - 37”
Low: 22.75” - 31.75” 26.25” - 37.5” 26.25” - 37.5” Standard: 25” - 37”
Low: 22.75” - 31.75”
Cord Exit
Loca on Head end of table Head end of table Head end of table Head end of table
Base 6 Cabinetry Op ons Cra sman Cabinet Cra sman Cabinet Wright Wood Cabinet
Included
Accessories
Ergonomic
Hand Control X X X
Hands-Free
Foot Control X X X
Adjustment
Levers X
PowerPort
Outlets X X X X
Salon Style
Neck Roll X X X X
Embedded Table
Warmer X X
Chromatherapy
Ligh ng X
Warming
Drawer1X
SECTION 2: PRODUCT OVERVIEW
*tables shown with op onal accessories and/or fi nishes. Measurements may vary due to natural material varia ons.
1 - see Warming Drawer User Manual for instruc ons for use.
4

5
SECTION 2: PRODUCT OVERVIEW
Designer Cabinetry Styles
Tradional Contemporary
Deluxe Classic Cuvee
Modern Crasman
Wright Wood

SECTION 3: INSTALLATION
Moving Your Table
• To avoid damage to your Pro Salon™ table, it is very important that it only be li ed from
certain posi ons on the table (marked with BLUE circles below)
• You may need to plug in your table and raise the table, the back sec on, and/or the leg
sec on for easier access to the base for li ing purposes.
• Li your table by grasping rmly from the bo om of the frame. Do not try to li from
the ns on the Cuvee cabinet or the cabinet doors.
Your Pro Salon™ table comes completely assembled and ready to use.
Ensure you read and follow the unpacking instruc ons included with your shipment.
If you did not receive unpacking instruc ons, please contact LEC customer service before
unpacking your table.
Once the table is unpacked, follow the “Moving Your Table” instruc ons below.
Basic Setup Instructions
Once your Pro Salon™ table is posi oned for use, follow these steps:
• Plug the power cord into a grounded outlet that is properly rated for the table.
• Arrange and secure the power cord so it will not create a tripping hazard.
• Place the hand and foot controls in loca ons where they are safe and accessible.
• Ensure the controls are not in danger of being crushed by the li or lt mechanisms.
• Follow the “Leveling Your Table” instruc ons on the next page.
6
Your table is very heavy - extreme cau on should be used to avoid injury
to yourself, others around you, and your table. DO NOT li or move
without using proper safety procedures/equipment. DO NOT turn the
table on its side for any reason.
Weight & Lift Capacities
The Pro Salon™ is powered by a heavy-duty Quietech hydraulic
li actuators. The recommended li capacity for the Pro Salon
Collec on tables is 650 lbs.
650 lbs.
The back sec on and leg sec on has a maximum weight capacity
of 100 lbs. These sec ons are not meant to hold full body weight.
100 lbs.

Leveling Your Table
Leveling, or balancing, your table is very important during ini al setup and rou ne maintenance.
Your Pro Salon™ table is equipped with leveling feet that can adjust to uneven fl oors.
To adjust the leveler feet:
1. Place the table in the posi on you plan to use it.
2. To determine which foot needs adjus ng, a empt to “rock” your table. If there is any
movement, the leg that is li ing is the one that will need adjus ng.
3. Raise table height approximately 6 inches.
4. Using your hand, or a wrench if necessary, turn the leveling foot in the needed direc on.
(Counterclockwise will lower the overall height, clockwise will raise the overall height)
SECTION 3: INSTALLATION
Table Accessories
All Pro Salon™ tables come with outlets at both ends, speci cally designed for providing a
xed loca on for FacePillow pla orms, salon pillows, and other accessories.
For all available accessories, please visit the Living Earth
Cra s website at www.livingearthcra s.com, or contact
Living Earth Cra s customer service to request a catalog.
7
Rolling Casters/Wheels
If you ordered the op onal rolling caster wheels, it is important that you read this sec on.
1. To engage the wheels, lower table to its lowest posi on. Your table is ready to be moved.
2. To disengage the wheels, raise table 1 or more inches. Your table is now ready to use.
Wheels are intended for smooth surfaces only. Tables with wheels are not intended to roll
over thresholds, cords, or other obstacles. Tables w h wheels are not inteded for use on
stairs. Rolling your table over obstacles can damage your table as well as the obstacle. Rolling
your table over cords can damage the cord insula on.
Use cau on when rolling your table near walls or doors as damage can occur to the wall or
door, as well as the table.
Living Earth Cra s will not be responsible for damage to your table or other objects damaged
by misuse of wheels. Failure to use the wheels in any other manner than described above
could damage your table and void your warranty. Damage to table frame caused by misuse
will not be covered under warranty.
Failure to disengage the wheels when client is ge ng on or o the table
could result in injury. Keep wheels disengaged at all mes when a client is
entering or exi ng the table, as well as while a client is on the table.

SECTION 4: OPERATING INSTRUCTIONS
Important Safety Notes
Always use extreme cauon when making any posion adjustments to
your table. Ensure all body parts and objects are clear from all moving parts.
The described adjustments can be done with a client on the table, but use
cauon to ensure that the client’s weight is supported while posioning the
table secon(s).
Do not sit or put unnecessary amounts of pressure
on the back secon of the table when it is in lt
posion of any level. This can damage or destroy the
lt mechanism and cause harm or bodily injury to
persons. The lt mechanism is intended solely to be
used when a client is properly seated or laying on the
table top. Damage caused in this manner may void
the warranty.
Do not sit or put unnecessary amounts of pressure
on the leg secon of the table when it is in lt
posion of any level. This can damage or destroy the
lt mechanism and cause harm or bodily injury to
persons. The lt mechanism is intended solely to be
used when a client is properly seated or laying on the
table top. Damage caused in this manner may void
the warranty.
Electrical Specications
Spec North America Europe/Asia
Input Voltage 120 VAC 220 VAC
Input Frequency 60 Hz 50 Hz
Consumpon (Standard) 2.7A, 324 Was 1.5A, 324 Was
Consumpon - Warming Drawer Addional 2 Amps Addional 1.1 Amps
Consumpon - LED Lights Addional 0.5 Amps Addional 0.28 Amps
Consumpon - Table Warmer Addional 0.6 Amps Addional 0.33 Amps
Consumpon - Breast Recess Addional 2.5 Amps Addional 1.38 Amps
Output 12-24 VDC 12-24 VDC
Power Strip Rang 12 Amp Max 12 Amp Max
DO NOT store or place anything under the backrest - this can damage
the top and/or lng mechanism. This area is not designed for storage
or as an area to hold accessories and/or masage supplies while
performing any type of service. Placing anything in this area can cause
damage to the table and/or object and will void your warranty.
8

SECTION 4: OPERATING INSTRUCTIONS
Hand Control Operation
Raise Back Section Lower Back Section
Lower Leg Section
Lower Entire Table
Raise Leg Section
Raise Entire Table
Foot Control Operation
Lower Entire Table
Raise Entire Table
Your Pro Salon™ hand control is already connected and ready for use. See below for a
descripon of each buon’s funconality.
Your Pro Salon™ foot control is already connected and ready for use. The foot control allows
you to simply raise and lower the table, allowing convenient hands-free adjustments.
9
Always use extreme cauon when making any posion adjustments to your
table. Ensure all body parts and objects are clear from all moving parts.

SECTION 4: OPERATING INSTRUCTIONS
10
Embedded Table Warmer (Kensington & Kensington+Studio Only)
Your +Studio table is equipped with an embedded table warmer, that can be operated by the
below control panel. The control panel will be mounted to your table cabinet.
Power
Buon
Lower
Temperature
Raise
Temperature
Soft Touch Adjustment Levers (Wright Wood Only)
Your Pro Salon Wright Wood table is equipped with 3 adjustment levers located at the head
end, middle, and foot end of the table (circled in photo below)
Simply press down on the lever to lower the table or table secon, and press up on the lever
to raise the table or table secon.
Breast Recess Operation (Optional)
If your Pro Salon table is equipped with a breast recess, read the instrucons below.
Always use cauon when making any posion adjustments while client
is on the table.
Raised Posion Lowered Posion
Raise &
Lower Table
Raise & Lower
Foot Secon
Raise &
Lower
Head Secon
Always use cauon when making any posion adjustments while client
is on the table.

LED Chroma Lighting Hand Control Operation (Kensington+Studio Only)
Your +Studio table is equipped with color-changing LED accent lighng, allowing you to match
any decor or client preference. With the remote, the user can change the color to any one of
16 colors, or use the preset color changing paerns. See below for instrucons on how to use
the included remote control:
This secon of buons
will turn the LEDs to a
solid color of your choice
These two buons
adjust the dimming On/O Controls
Flashes a variety of colors
Flashes white
Smoothly fades all colors
Flashes red, green, blue
SECTION 4: OPERATING INSTRUCTIONS
11
NOTE: The LED remote control works with infrared and requires an unobstructed line of sight
to the receiver. The LED receiver can be found in the cabinet to the le of the warming drawer

SECTION 5: CARE & MAINTENANCE
With proper maintenance, your Pro Salon™ is designed to give you gears of trouble-free
operaon. To ensure your table will connue to funcon properly and keep its appearance,
we recommend the following.
Category Care Recommendation
Upholstery
Remove day-to-day dirt and smudges with a mild soap and water soluon.
For tough stains and to disinfect, use a (100 to 1) water to bleach soluon.
Spray a damp cloth with the soluon to clean.
Aer each cleaning, gently wipe the upholstery with a damp cloth and clean
water, then allow upholstery to air dry before using or storing.
For more dicult stains, please contact your dealer or please call us directly
for guidance. For best results, use only the products suggested above.
Wood To maintain the wood nish and retouch scratches, use a high quality
furniture wax.
Electronics An-stac electronic aerosol dusters can be used to keep the surfaces of
electronic components, power cables, and plugs free of dust.
Lubricaon &
Mechanical
The stainless steel legs should be cleaned and lubricated oen to maintain
smooth raising and lowering of your table.
To clean, raise the table to its highest posion. Spray WD-40 on the exposed
legs, then wipe with a lint-free cloth from top to boom several mes.
Ensure no foreign material is stuck to the surface. (WD-40 applied thick and
le for 1 minute will help loosen most common materials.)
To lubricate, raise table to its highest posion. Lubricate the exposed legs
using lithium grease, and raise/lower the table 2-3 mes to distribute the
lubricant. Wipe o excess at boom of each leg.
DO NOT USE soap and water for cleaning the legs.
Leveling Feet Regularly check to ensure the table is level and stable.
See page 7 for leveling instrucons.
Cleaning & Ongoing Maintenance
12
DO NOT USE acetone, “Armor All” type cleaners, citrus-based cleaners,
or industrial cleaners. These can seriously damage the upholstery. Such
damage would not be covered under warranty.
RISK OF ELECTRIC SHOCK
Always unplug this furnishing from the electrical outlet before cleaning.

SECTION 5: CARE & MAINTENANCE SECTION 5: CARE & MAINTENANCE
13
This helpful troubleshoong guide will provide you with informaon about how to recognize a
problem with your table, determine possible causes, and nd a soluon.
In the event your specic situaon is not covered in this guide, please contact Living Earth Cras
so our technical support department can assist you. Beyond the troubleshoong guide below, do
not aempt to repair the table yourself. This can void your warranty.
Unauthorized service will not be covered. Please be sure to contact Living Earth Cras Customer
Service rst at (800) 358-8292, (760) 597-2155 Int’l.
Troubleshooting
Issue Solution
Table does not
raise or lower
1. Ensure the table is plugged in.
2. If using a dimmer switch, ensure it is turned to full power.
3. Ensure the outlet in your room is receiving power. This can be done
by plugging in a small appliance and turning it on.
4. Ensure the switch on the aached power strip is turn on.
5. Check the fuse or circuit breaker for blown fuse or tripped breaker.
6. Ensure the controls are securely plugged into the juncon box.
Table does not
raise or lower
evenly
The hydraulic system may need repair. Do not aempt to repair it.
Call Living Earth Cras Customer Service.
Table does not
operate in
accordance with
handset
1. Ensure the handset is plugged into the receptacle nearest the power
cord in the juncon box, located under the table in the cabinet area.
(Note: the foot pedal can be plugged into either of the next two
sockets.)
2. Ensure the handset is securely plugged into the juncon box.
3. If only one or two of the funcons work, even though the controls
are plugged in properly, the juncon box may be faulty. Do not at-
tempt to repair it. Call Living Earth Cras Customer Service.
Warranty Information
Living Earth Cras (LEC) oers an industry best warranty against defects in materials, design,
and workmanship, to the original owner, as follows:
• Frame - limited lifeme warranty*
• Foam and upholstery covering - warranted for three (3) years
• Motors, controls, electronics - warranted for two (2) years, including parts and labor
• Accessories and opons - warranted for one (1) year, unless otherwise noted
LEC may repair or replace defecve components at our discreon. LEC will return the warranted
product, standard shipping pre-paid, to customers in the connental US. Internaonal customers
are responsible for any applicable dues and taxes, as well as all shipping charges inbound and
outbound. Normal wear and tear, and costs associated with maintenance procedures, and
damage caused by accident, misuse, improper maintenance, harsh operang environments or
neglect (which includes tears in the upholstery and damage caused by harsh chemical-based
cleaners) are not covered under this warranty. All warranes are limited to repair or replacement,
at LEC’s discreon, unless otherwise stated.
*Lifeme warranty applies to the original owner, as long as you own your table for 5 years aer
the model is disconnued, or 5 years for private label tables.
RISK OF ELECTRIC SHOCK
Always unplug this furnishing from the electrical outlet before cleaning.

Contact Us
Living Earth Crafts
990 Joshua Way
Vista, CA. 92081
(800) 872-0560
(760) 597-2155 Int’l
(866) 449-8872 fax
Hours of operation:
Monday - Friday
8:00 a.m. to 5 p.m. PST
Saturday - Sunday
Closed
Visit us online at: livingearthcrafts.com
Read our blog at: livingearthcrafts.com/blog
Join us on Facebook®
This manual suits for next models
3
Table of contents
Other Lec+ Indoor Furnishing manuals
Popular Indoor Furnishing manuals by other brands

American Worldwide Imports
American Worldwide Imports DX-0601C Assembly instructions

LDI Spaces
LDI Spaces SAFCO 6689 Assembly instructions

Superfront
Superfront TOP BESTA Mounting instructions

Forte
Forte TZS52RBB Assembling Instruction

Lightolier
Lightolier Lighting Systems LP-9 Specification sheet

Safavieh Furniture
Safavieh Furniture SEA8018 quick start guide

Cello
Cello 502311697 instruction manual

Neo Chair
Neo Chair DBS Assembly instruction

Whalen Furniture
Whalen Furniture Airstream MAL-70BK Assembly instructions

DRAENERT
DRAENERT WHY NOT 1212 Assembly instructions

LDI
LDI SAFCO Vue 3395 Assembly instructions

vedere
vedere DUAS PORTAS 600089 Assembly instructions