www.lectrosonics.com 7
DOWN Arrow Settings
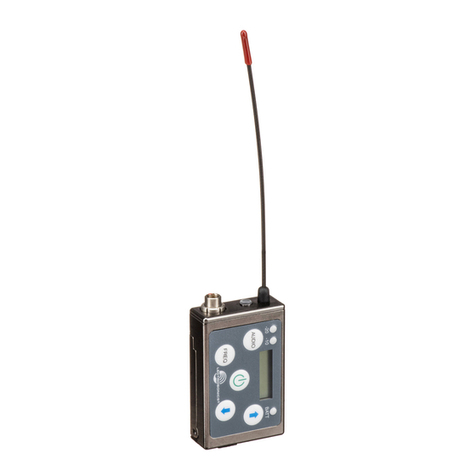
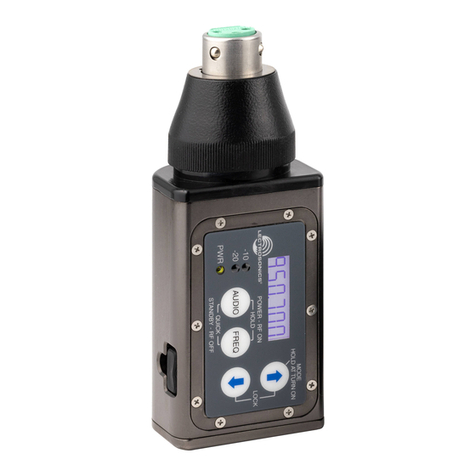
Hold the DOWN arrow button and simultaneously press the AUDIO and FREQ buttons.
Each successive press of the AUDIO button will step through the setup screens.
• Remote Control
• Auto Power Restore
• Audio Mute
Use the UP and DOWN arrow buttons to scroll through the options. The selected op-
tions will automatically be stored when the power is turned off. Press both the AUDIO
and FREQ buttons to exit the menu and turn the power off.
Remote Control
This setting enables the transmitter to respond to audio “dweedle” tones from an app
operating on a mobile device. Use the UP and DOWN arrow buttons to enable or dis-
able the remote function.
•rc on Enables the remote function
•rc oFF Disables the remote function
If a remote control signal is detected but the function is turned off, the message rc
oFF will be displayed briefly on the transmitter’s LCD to confirm that a valid signal was
received, but that the transmitter is not configured to respond to it.
Auto Power Restore
This setting determines how the transmitter is powered up again after the batteries have
become exhausted in normal operation.
When this function is turned on, the unit will power up to normal operation with a brief
press of the AUDIO and FREQ buttons after the batteries have been replaced.
When this function is turned off, the AUDIO and FREQ buttons need to be held in for
the completion of the count to turn the unit back on for normal operation.
This is a unique behavior that takes place only when the batteries fail during opera-
tion. If the unit is turned off manually, a quick press of the buttons will turn it on in the
“standby” mode instead.
The firmware is written this way because the battery caps make contact with the bat-
tery before the cap is seated, and the fact that there are two separate battery caps to
tighten. This allows both batteries to be installed and the caps tightened before power
is restored. It also makes turning the unit back on easier when wearing gloves since the
buttons do not need to be held in.
•PbAc 1 Turns power restore ON
•PbAc 0 Turns power restore OFF
Audio Mute
Beginning with firmware v2.6 on the US version, the AUDIO button can be configured to
work as a mute button by turning this setting on. A quick press of the AUDIO button will
then mute the audio and a message will appear on the LCD confirming that the audio is
muted. Another quick press turns the audio back on.
•At on Enables the audio mute function
•At oFF Disables the audio mute function
During operation, the LCD will continuously display the state of audio muting as a
reminder, showing the audio as ON or OFF.
The AUDIO button will still work to set Input Gain by pressing and holding it in for a few
seconds, however, if the audio is muted, no sound will be heard during the adjustment.
If the transmitter is in “standby,” the Low Frequency Roll-off can be adjusted whether
or not the audio mute function is enabled. When the audio mute function is enabled
and the unit is turned on and transmitting, only the audio level (input gain) can be
adjusted by holding the AUDIO button in for a few seconds.
