Page 3
301 Fulling Mill Road, Suite G ©Copyright 2012 by Legrand,
Middletown, PA 17057 Inc All Rights Reserved.
(800)-321-2343 www.legrand.us
1.2 Installation
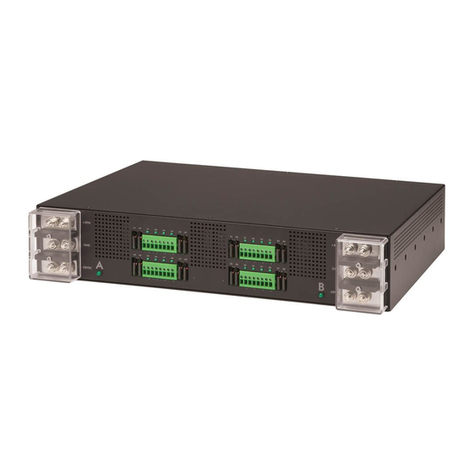
The DA2401 High Power 4 Port PoE Injector is best installed during new construction in two steps; at
“rough-in” after the Electricians are done, but prior to drywall being installed, and at “trim-out” after the
drywall is installed and painted. These steps are detailed below:
A. “Rough-in” steps:
1. A single dedicated Cat 5e/6 should be run in the walls from the structured wiring enclosure
location in the home where the 4 Port High Power PoE Injector will be installed to each
location in the home where an IEEE 802.3at device will be installed (leave extra cable at both
ends).
NOTE: Run Cat 5e/6 cable at least 12” from electrical cabling (preferably in a separate stud
cavity) and cross electrical cables at a 90° angle. Use loose Velcro-style cable ties for
bundling. If stapling is required, use specialty staples to avoid compressing the cable.
2. At the selected locations, refer to the installation instructions provided with the IEEE 802.3at
device for recommended use of electrical gang boxes or low voltage brackets, with the extra
Cat 5e/6 cable in the box, or attached in such a way that it may be fished out after the drywall
is installed.
B. “Trim-out” steps:
1. The Cat 5e/6 cable that was secured at each of the locations should be pulled out and
terminated with an RJ45 plug following standard TIA 568A recommendations and attached to
the IEEE 802.3at device which is then installed.
2. In the structured wiring enclosure the Cat 5e/6 cables from the remote locations are
terminated with RJ45 plugs for direct connection to the DA2401 “Data and Power” output
jacks once the DA2401 is installed.
3. Each 4 Port High Power PoE Injector is first attached to the separately available AC1025
bracket using two of the eight screws provided with the bracket (see Figure 2) and then the
bracket is installed in the structured wiring enclosure by slipping the tabs into the square
holes, and using the push pins in round holes to secure the DA2401.
NOTE: Two of the air holes in each side of DA2401 are threaded to facilitate installation on
the AC1025 bracket.
4. Cat 5e/6 patch cables (available separately) are then connected from an installed switch or
router to the “Data” ports on the 4-Port High Power PoE Injector.
5. The 4 Port High Power PoE Injector is powered with an AC to DC adapter which also needs
to be plugged in to an AC source.
NOTE: If the DA2401 is going to be wall mounted, use the keyhole slots on the rear of the
unit by hanging it on the screws that are first installed in the wall or on a piece of plywood.
