manuals.online logo
Brands
  1. Home
  2. •
  3. Brands
  4. •
  5. Lejonklou
  6. •
  7. Amplifier
  8. •
  9. Lejonklou Sagatun Mono 1.0 User manual

Lejonklou Sagatun Mono 1.0 User manual

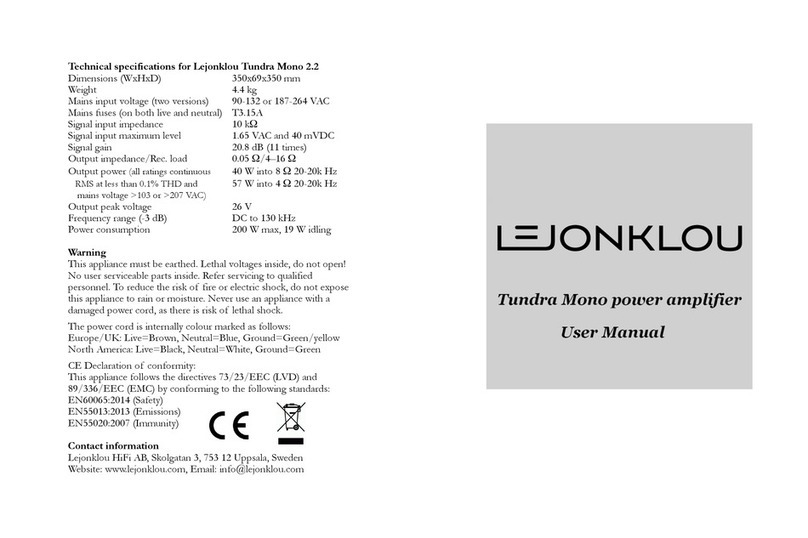
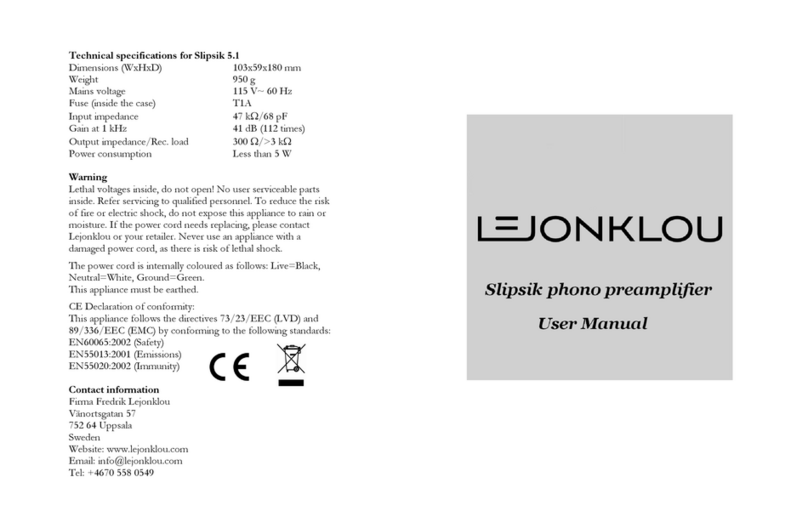
Technical specifications for Lejonklou Sagatun Mono 1.0
Dimensions (WxHxD) 350x69x350 mm
Weight 3.4 kg
Mains input voltage (autorange) 90 132 or 187 264 VAC
Mains fuses (on both live and neutral) T3.15A
Signal input impedance (all inputs) 10 kΩ
Signal input maximum level 5 VAC
Frequency range 2 Hz to 200 kHz
Volume range 80 to +20 dB in 1dB steps
Output impedance 300 Ω
Output recommended load More than 1 kΩ
Output Level 0 to 7.5 VAC
Power consumption Less than 10 W
Warning
This appliance must be earthed. Lethal voltages inside, do not
open! No user serviceable parts inside. Refer servicing to qualified
personnel. To reduce the risk of fire or electric shock, do not
expose this appliance to rain or moisture. Never use an appliance
with a damaged power cord, as there is risk of lethal shock. Clean
using a damp cloth only. Do not stack with other Sagatun or
Tundra amplifiers, because the feet can leave permanent marks!
The power cord is internally colour marked as follows:
Europe/UK: Live=Brown, Neutral=Blue, Ground=Green/yellow
North America: Live=Black, Neutral=White, Ground=Green
CE Declaration of conformity:
This appliance follows the directives 73/23/EEC (LVD) and
89/336/EEC (EMC) by conforming to the following standards:
EN60065:2002 (Safety)
EN55013:2001 (Emissions)
EN55020:2002 (Immunity)
Contact information
Lejonklou HiFi AB, Vänortsgatan 57, 752 64 Uppsala, Sweden
Website: www.lejonklou.com, Email: info@lejonklou.com
PLEASE EAD THIS MANUAL CA EFULLY!
Positioning your Sagatun Mono
Position Sagatun on a flat, rigid surface. The best sounding
support we know is Harmonihyllan. If placing Sagatun on a
Harmonihyllan shelf, make sure the four feet of Sagatun are
centrally positioned in depth and width. The feet may appear
simple in construction, but are in fact carefully chosen for
optimal performance. Tighten the feet using your fingers only.
Connecting your Sagatun Mono
For ultimate sound quality, Sagatun Mono has only one channel.
Please note that the colours white and red inside the RCA
connectors do not correspond to left and right. These connectors
were chosen for best sound quality and the manufacturer refused
to make them in black. Simply ignore the colours inside the RCA!
Sagatun Mono has the following 8 RCA connectors:
Currently not used (but might be in the future)
A Single Source input – any signal on this connector goes
directly to the volume control and then to the outputs. It can
never be switched off, only adjusted in volume.
IN1, IN2, IN3 and IN4 are four inputs, selectable by remote or
with the front buttons.
OUT and OUT are two identical outputs. Please note that if
connecting Sagatun to several power amplifiers, daisy chaining
from one amp to the next is preferable to parallel connection.
The best way to connect Sagatun Mono into a stereo system is one
channel and one Sagatun Mono at a time. Start with left and
connect all the left outputs on your sources to the inputs of the
first Sagatun Mono. Then connect its top output to the left input
of your power amplifier.
When the left channel is connected throughout the system, do the
same with the right channel and the second Sagatun Mono.
Finally switch the system on, sources first and power amps last.
The rear switch
The rear switch has two positions: In NORMAL OPERATION,
the four inputs IN1, IN2, IN3 and IN4 are selectable. In the
SINGLE SOURCE ONLY position, the four inputs are switched
off and only the Single Source input is active.
If you only have one source component, the optimal way to
connect it is to  with the switch in the down position.
The Control Link
The Control Link makes it possible for an infinite number of
Sagatun’s to change volume and input in synch. For instance two
Sagatun Mono’s in a stereo system or eight in a 7.1 home cinema.
MASTER is an output that sends an optical signal whenever
Sagatun is performing a command.
SERVANT is an input that obeys commands from another
Sagatun.
The small slide switch above SELECT determines the operation:
When set in direction MASTER (do this on your first Sagatun
Mono), it will obey your remote control. When set in direction
SERVANT (do this on your second Sagatun Mono), it will ignore
your remote and obey the commands entering the SERVANT
input. Use the supplied 0.5 m Toslink cable to connect MASTER
on one unit to SERVANT on the next.
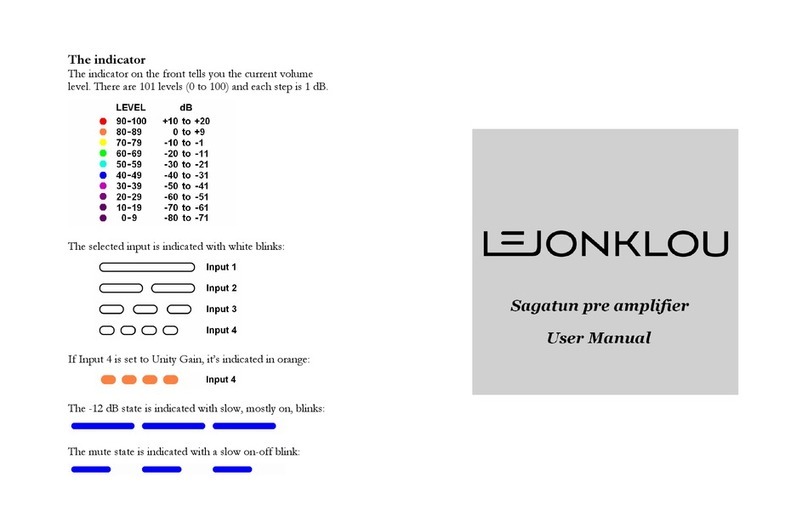
Please read the Sagatun User Manual to learn how to use it.
We hope you will enjoy your Sagatun Mono!
If you have any questions, suggestions or encounter a problem
with it, please contact your retailer or Lejonklou directly.

Other Lejonklou Amplifier manuals

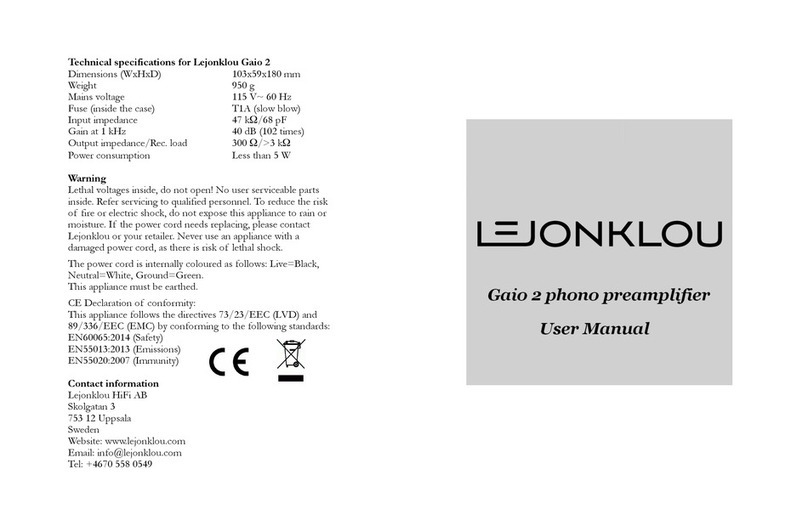
Lejonklou Gaio 2 User manual

Lejonklou

Lejonklou Gaio 2 User manual

Lejonklou Gaio User manual

Lejonklou

Lejonklou Gaio User manual

Lejonklou Slipsik 5 User manual

Lejonklou

Lejonklou Slipsik 5 User manual

Lejonklou Entity User manual

Lejonklou

Lejonklou Entity User manual

Lejonklou Tundra 1.1 User manual

Lejonklou

Lejonklou Tundra 1.1 User manual

Lejonklou Superkikkin User manual

Lejonklou

Lejonklou Superkikkin User manual

Lejonklou KINKI3 User manual

Lejonklou

Lejonklou KINKI3 User manual

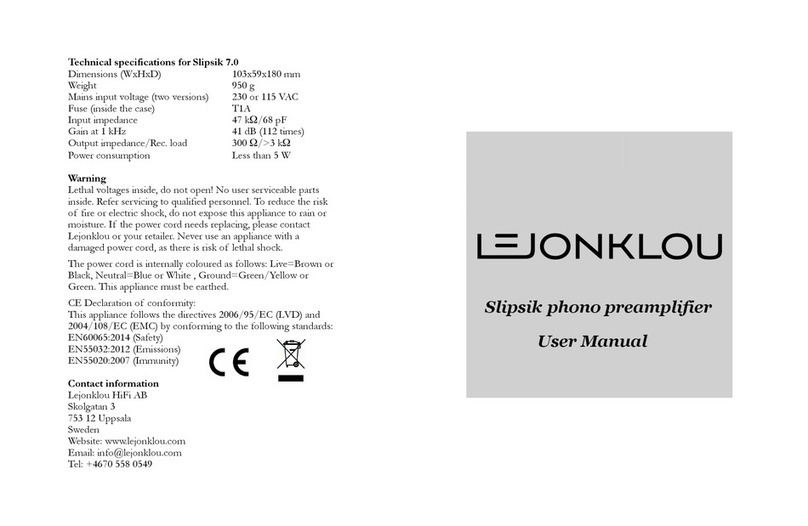
Lejonklou Slipsik 7 User manual

Lejonklou

Lejonklou Slipsik 7 User manual

Lejonklou Boazu 1.1 User manual

Lejonklou

Lejonklou Boazu 1.1 User manual

Lejonklou KINKI3 User manual

Lejonklou

Lejonklou KINKI3 User manual

Lejonklou Sagatun User manual

Lejonklou

Lejonklou Sagatun User manual

Lejonklou Tundra Mono Series User manual

Lejonklou

Lejonklou Tundra Mono Series User manual

Lejonklou KINKI3 User manual

Lejonklou

Lejonklou KINKI3 User manual

Lejonklou GIELLA User manual

Lejonklou

Lejonklou GIELLA User manual

Lejonklou Tundra Mono User manual

Lejonklou

Lejonklou Tundra Mono User manual

Lejonklou Tundra Mono 2 User manual

Lejonklou

Lejonklou Tundra Mono 2 User manual

Lejonklou Sagatun Mono 1.4 User manual

Lejonklou

Lejonklou Sagatun Mono 1.4 User manual

Popular Amplifier manuals by other brands

Crown Geodyne I Service manual

Crown

Crown Geodyne I Service manual

MCM Custom Audio 50-14802 Setup

MCM Custom Audio

MCM Custom Audio 50-14802 Setup

Inter-m V-500 Operation manual

Inter-m

Inter-m V-500 Operation manual

DYNACO Stereo 120 Updating Instructions

DYNACO

DYNACO Stereo 120 Updating Instructions

YORKVILLE AP1020 Service manual

YORKVILLE

YORKVILLE AP1020 Service manual

Arcam Integrated Amplifier Alpha 3 Handbook

Arcam

Arcam Integrated Amplifier Alpha 3 Handbook

Elan Z Series Z-300 Brochure & specs

Elan

Elan Z Series Z-300 Brochure & specs

Taramps Electronics MD 250.1 instruction manual

Taramps Electronics

Taramps Electronics MD 250.1 instruction manual

Majorcom: DPS-240S user manual

Majorcom:

Majorcom: DPS-240S user manual

Pyle PLMRMBT5B user manual

Pyle

Pyle PLMRMBT5B user manual

Harman Kardon HK6600 Technical manual

Harman Kardon

Harman Kardon HK6600 Technical manual

Kenwood L-1000C instruction manual

Kenwood

Kenwood L-1000C instruction manual

Bass Habit Play PP70.2 G2 user manual

Bass Habit

Bass Habit Play PP70.2 G2 user manual

Kingrex PRE-AMP user manual

Kingrex

Kingrex PRE-AMP user manual

Exposure 2010S2 Quick start manual

Exposure

Exposure 2010S2 Quick start manual

Dan D'Agostino Momentum owner's manual

Dan D'Agostino

Dan D'Agostino Momentum owner's manual

NAD 3240PE Instructions for installation and operation

NAD

NAD 3240PE Instructions for installation and operation

AudioEngine N22 quick start guide

AudioEngine

AudioEngine N22 quick start guide

manuals.online logo
manuals.online logoBrands
  • About & Mission
  • Contact us
  • Privacy Policy
  • Terms and Conditions

Copyright 2025 Manuals.Online. All Rights Reserved.