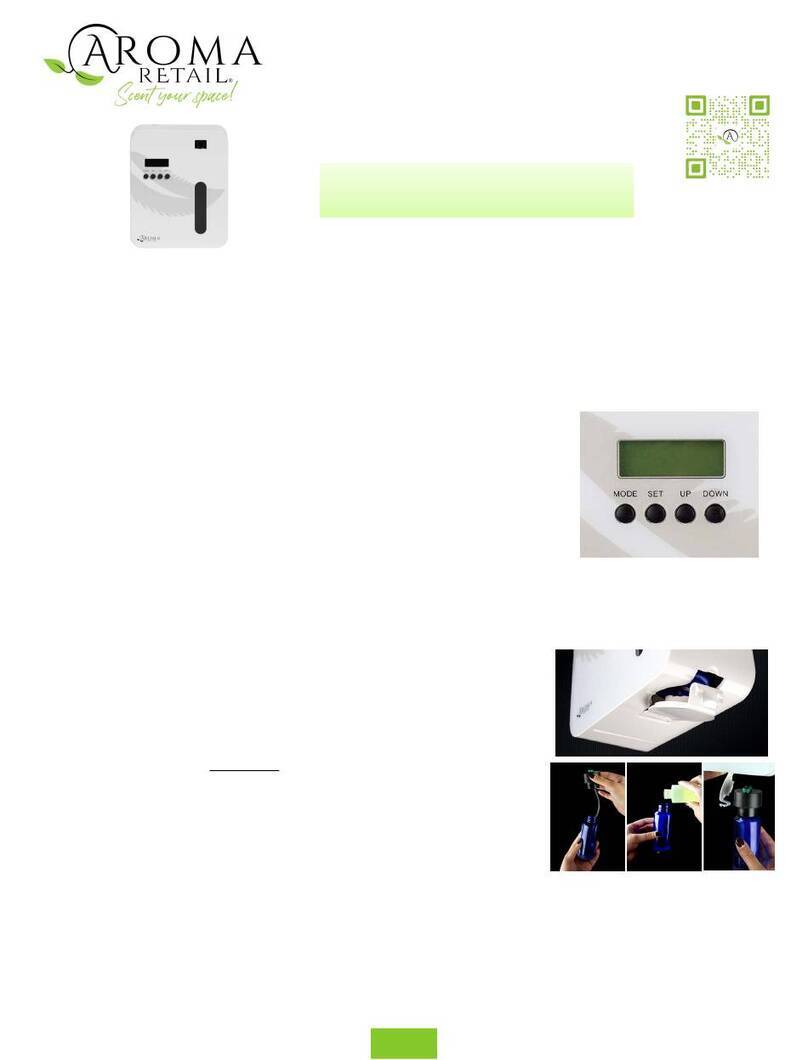
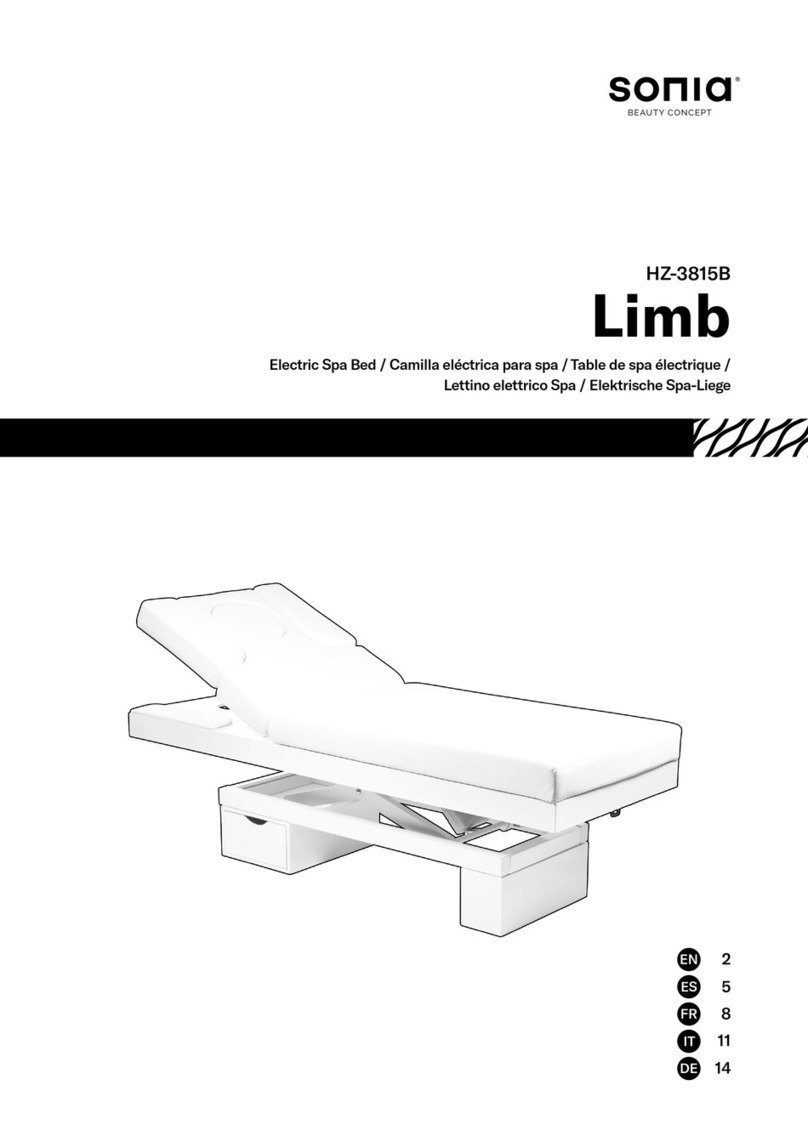
LELIOR IL1000-5M User manual

LÈLIOR
DE PARIS
ARÈNE DE PARIS
5M
IL1000 - 5M
MANUFACTURED FOR:
LÈLIOR GROUP LLC
1226 NW 23RD AVE
FORT LAUDERDALE, FL 33311

English
Setup guide

Congratulations
Congratulations on purchasing your new scent IL1000-5M and Diffuser(s). The
IL1000-5M and Diffuser(s) is the ideal system for larger areas and
environments which utilize HVAC systems.
Instructions
Read the instructions carefully and keep them in a safe place. Set up the machine
according this manual and adjust the scenting strength to the environment. The
machine is now ready to diffuse your essential and aroma oils.
Important Safeguards
Follow basic safety precautions, including:
1. This appliance must only be used by or under the supervision of a responsible adult.
2. Do not place the machine, cable or plug in any liquid; don't use the machine in
a bathroom, near water, or outdoors.
3. Position the power cable to prevent it from being a tripping hazard.
4. Do not use the machine for any other purpose than diffusing of essential oils and
aroma oils. No other substance should be diffused in the machine.
5. Only use the machine with the supplied power cable. Before connecting the
machine to a power outlet, check that the voltage label on the unit is the same as
your power supply.
6. Always switch off and unplug the equipment before moving, cleaning or servicing.
7. Although the machine can be left switched on even when the oil has been used up,
it is recommended to switch the unit off when the fragrance bottle is empty.
8. Always keep the Diffusers in a vertical position if the bottle is in place.
Unpacking the Machine
1. Open the carton Box and remove the protective insert and power cable.
2. Carefully remove the IL1000-5M from its box and bag.
3. Check the contents of the box when unpacking the machine. If you detect any
transport damage, please contact your dealer.
Overview
Diffuser Models:
The fragrance oil is dispersed into a dry mist of microscopic droplets through
pressure of filtered cold air, known as cold air diffusion. This dry mist of fragrance is
released sending a consistent scent to the desired areas.
There are two main components to the machine, the IL1000-5M and theDiffuser.
The IL1000-5M connects to the Diffuser in order to atomize the scent either directly
into a space or through a HVAC system.
Diffuser HVAC
Back / Top Plate
Diffuser Wall
Complete
Diffuser Drum
IL1000-5M Models
:
45
Setup for Non-HVAC
The Wall Diffuser Complete with Cover – is designed to be installed within the scented
space. The IL1000-5M can be positioned on the other side of the wall or in the roof
cavity above the wall. The diffuser features a Silencer which releases the fragrance
directly into the room.
1. Remove the Diffuser cover
a. Remove the single screw located on the top of the unit.
b. Gently slide the cover up approximately 10mm (0.4 in)
c. Remove the cover by moving it away from the diffuser back plate.
(To replace the diffuser cover, reverse removal instructions.)
2. Mount the diffuser to the wall. The Wall Diffuser should be mounted to the wall no
lower than 1.8m (5.9 ft) from the floor and not within 300mm (1 ft) of the ceiling. The
Diffuser must be positioned vertically on the wall, with the fragrant mist exiting straight
up. Follow the detailed instructions in the 'Mounting the Diffuser' section on
3. Position and Install the IL1000-5M. The IL1000-5M should be positioned
in a location with minimal dust; this may require that it be placed on a shelf away from
the floor. As some slight vibration may occur in areas with HVAC units, ensure that the
location will not allow the IL1000-5M to fall under any circumstances.
page 12.
Note: The IL1000-5M must be placed in a well ventilated area.
page 16.
page 17.
Connect the IL1000-5M to a power outlet using the supplied power cable.
4. Connect the air supply. The clear 6mm tube connects the air supply from the
IL1000-5M to the Diffuser's Black Plastic Connection.
5. Insert the fragrance cartridge. Follow the instructions in the 'Install fragrance
cartridge' section on
6. Set the IL1000-5M timer. Follow the instructions in the 'Setting the strength timer'
section on
Diagram for Non-HVAC
This diagram illustrates a side view of the Wall Diffuser mounted to the wall with the
Scent Output tube feed through the wall into the desired scented space.
Wall
Ceiling
Scent Output (Black tube)
Air Supply (Clear tube)
Maximum Length: 30m (98 ft)
Interior Space
Side View
Mounting Height: 1.8m (5.9ft)
67

Setup for HVAC - Wall Diffuser with 500ml bottle
Wall Diffuser – is designed to be mounted to near or onto to the HVAC ducts itself. The
Diffuser features a Hose Coupling connector that allows the fragrant mist to be
transferred to the HVAC Duct via 6mm plastic tubing.
1. Mount the diffuser either to a wall or the HVAC duct itself. The diffuser must be
positioned vertically on the wall or duct, with the fragrance mist exiting straight.
Follow the detailed instructions in the ' Mounting the Diffuser' section on page 12.
2. Position and Install the IL1000-5M. The IL1000-5M should be positioned in a location
with minimal dust; this may require that it be placed on a shelf away from the floor.
As some slight vibration may occur in areas with HVAC units, ensure that the location
will not allow the IL1000-5M to fall under any circumstances.
Connect the IL1000-5M to a power outlet using the supplied power cable.
3. Connect the Air Supply. The clear 6mm tube connects the Air Supply from the
IL1000-5M to the Diffuser's black elbow plastic connection.
4. Connect the Scent Output. The black 6mm tube connects the Scent Output from the
Diffuser metal hose coupling to the HVAC ducting. Make sure the Scent Output tube is
straight without pockets, see the 'Installing the Scent Output tube' section on .
To ensure the tube is attached firmly to the Duct, connect the Scent Point to the
side of the duct, this provides a sealed connection for the 6mm tube to be attached.
We recommend creating an air tight seal with some Silicone in addition to mounting
screws. Follow the instructions in the 'Mounting the Scent Point' section on .
5. Insert the fragrance cartridge. Follow the instructions in the 'Install fragrance
cartridge' section on .
6. Set the IL1000-5M timer. Follow the instructions in the 'Setting the strength timer'
section on .
Note: The IL1000-5M must be placed in a well ventilated area.
page 14
page 14
page 16
page 17
Diagram for HVAC - Wall Diffuser with 450ml (16 fl. oz.) bottle
Airflow Scented Airflow
Scent Point
Scent Output (Black tube)
Maximum Length: 1.2m (4 ft)
Air Supply (Clear tube)
Maximum Length: 30m (98 ft)
89

Setup for HVAC with 2 Liter (0.44 Gallon) Drum
The Drum Diffuser – is designed to be screwed directly onto the top of a 2 Liter
(0.44 Gallon) Drum next to the HVAC Ducts. The diffuser features a Hose Coupling
connector that allows the fragrant mist to be transferred to the HVAC Duct via 6mm
plastic tubing.
1. Screw the diffuser onto the Drum. The Drum should placed next to the HVAC Ducts
and allow easy access for replacing depleted drums in future. The Drum must be
positioned vertically, with the fragrant mist exiting straight up. An optional Drum
Bracket is avaliable allowing a drum to be wall mounted via a secure strap.
2. Position and Install the IL1000-5M. The IL1000-5M should be positioned in a location
with minimal dust; this may require that it be placed on a shelf away from the floor.
As some slight vibration may occur in areas with HVAC units, ensure that the location
will not allow the IL1000-5M to fall under any circumstances.
Connect the IL1000-5M to a power outlet using the supplied power cable.
3. Connect the Air Supply. The clear 6mm tube connects the Air Supply from the
IL1000-5M to the Diffuser's black elbow plastic connection.
4. Connect the Scent Output. The black 6mm tube connects the Scent Output from the
Diffuser metal hose coupling to the HVAC ducting. Make sure the Scent Output tube is
straight without pockets, see the 'Installing the Scent Output tube' section on .
To ensure the tube is attached firmly to the Duct, connect the Scent Point to the
side of the duct, this provides a sealed connection for the 6mm tube to be attached.
We recommend creating an air tight seal with some Silicone in addition to mounting
screws. Follow the instructions in the 'Mounting the Scent Point' section on .
5. Insert the fragrance cartridge. Follow the instructions in the 'Install fragrance
cartridge' section on .
6. Set the IL1000-5M timer. Follow the instructions in the 'Setting the strength timer'
section on .
Note: The IL1000-5M must be placed in a well ventilated area.
page 14
page 14
page 16
page 17
Diagram for HVAC with 2 Liter (0.44 Gallon) Drum
Scent Output (Black tube)
Maximum Length: 1.2m (4 ft)
Airflow Scented Airflow
Scent Point
Ecoscent Diffuser screwed
onto the Fragrance Drum.
Air Supply (Clear tube)
Maximum Length: 30m (98 ft)
10 11

Mounting the diffuser
For Concrete walls:
a. Determine the location of the diffuser
b. Make sure the mounting plate is level, by placing a spirit level on top of the plate.
c. Mark the wall with a pencil through the screw holes.
d. Drill 4 x 8mm (0.3 in) mounting holes and 1 x 10mm (0.4 in) hole for the Air Supply
Tube
e. Use concrete plugs and screws to attach the mounting plate to the wall.
For Stud / Plaster walls:
a. Determine the location of the diffuser. Try to locate a stud with a stud finder and
ensure that at least two screws are fitted against solid material. For the other two
holes, normal fasteners for hollow walls can be used.
b. Make sure the mounting plate is level by placing a spirit level on top of the plate.
c. Mark the wall with a pencil through the screw holes.
d. Drill 4 x 8mm (0.3 in) mounting holes and attach the mounting plate to the wall.
Diagram for mounting the diffuser
Back view
Wall mounting hole
Hole for air supply.
Note: Only applicable
if hose will be fitted
through wall, see
Diagram for Non-HVAC
Wall mounting hole
Top view
Air Supply Inlet
Scent Output
12 13

Mounting the Scent Point
1. Fix the bracket to the HVAC duct using metal thread screws (x4) to secure the
bracket to the HVAC duct.
2. Once secure, use a 8.5mm / 9mm drill-piece and drill through the center of the
bracket into the duct.
3. Insert the rod into the bracket and secure with screw. Note: Insert 3⁄4 of the rod into
the duct straight through any insulation that may be inside the duct. Depending on the
size of the duct, Never insert the the rod to more than half the height of the duct.
4. Insert the Scent Output back tube into the rod, sealing it with duct tap.
5. To check if the fragrance is coming out of the rod, unscrew the screw that holds
the rod in place. Remove and check, re-instert back in and secure to fix the rod into
position.
Note: The Scent Point is not to be used with Flex Ducts, to connect a Flex Duct, simply
use some duct tape and seal off the connection.
Installing the Scent Output tube
It is important that the Scent Output tube is straight, ensuring there are NO pockets or
bends where the fragrance oil can build up. Maxiumum length 1.2m (4ft).
Diagram for mounting Scent Point (this is optional Accessory))
Duct
Insulation
Screw to secure rod Bracket mounting screws (4x)
Rod
Duct tape
Scent Output (Black tube)
Note: There is often insulation inside the ducting system, please ensure the rod and
black tube goes through the insulation. If the rod is not inserted all the way through
the insulation, the scent will not enter the duct so no scent will be detectable in the
desired area.
14 15

Set local time and week
MON
SET
Press SET
button
As the hour flashes,
press UP and DOWN
to adjust the current
hour
Set working hours groups
MON TUE WED THU FRI SAT SUN
SET
EVENT
ON
As the Hour flashes,
press UP and DOWN
to adjust the time of
power-on
Press SET
button
MON TUE WED THU FRI SAT SUN
MODE
EVENT
OFF
As the Hourof
power-off flashes,
press UP and DOWN
to adjust the time of
power-off
Press
MODE
button
MON TUE WED THU FRI SAT SUN
SET
EVENT
OFF
As the Minute of
power-off flashes,
press UP and DOWN
to adjust
Press SET
button
MON TUE WED THU FRI SAT SUN
MODE
EVENT
ON
The LCD display first
working hour group
setting
Press
MODE
button
MON TUE WED THU FRI SAT SUN
SET
EVENT
ON
As the Minute of
power-on flashes,
press UP and DOWN
to adjust
Press SET
button
MON WED THU FRI SAT SUN TUE
SET
SET
EVENT
ON
At this point, the day
of week will flash.
If this day need to be
worked, press UP to
confirm If this day
need to be not
worked, press Down
to confirm
Press SET
button
Set interval time
SCENT
WORK
As the Second of
interval ON flashes,
press UP and DOWN
to adjust the spraying
second.
SCENT
PAUSE
As the Second of
interval OFF flashes,
press UP and DOWN
to adjust the spraying
second.
To finish the setting, press MODE ,
then the device will operate by the settings.
use UP and Down to
adjust the day of
week combination.
Then press SET
button to finish
Then press SET button to finish
Same operation steps for second,
third, forth working hours groups
setting
SET
SET
Then press SET
button to finish
SET MON As the Day of week
flashes, press UP
and DOWN to adjust
the current week day
Press SET
button
SET MON As the Minute flashes,
press UP and DOWN
to adjust the current
Minute
Press SET
button
MODE
Press
MODE
button
MODE
Press
MODE
button
16 17

Maintenance and cleaning
The Diffusers can get blocked if the unit is not cleaned or not used for an extended
period. The Diffuser can be cleaned with methylated spirits or alcohol; it should be
cleaned every time that you change the fragrance bottle.
1. Fill an empty oil bottle with a small amount of denatured alcohol (methylated spirits)
or ethanol and attach to the Diffuser.
2. Switch the unit on for about 30 seconds, then switch off for 15 seconds to let the
methylated spirits or or alcohol drain back into the bottle. Repeat this 3 times and the
diffuser will be clean.
Diffuser Cleaning Pin( this is optional Accessory ):
This System comes with a Diffuser Cleaning Pin to help unclog the diffuser and remove
any oil built over time. The Diffuser Cleaning Pin should be used every three months or
as needed if the Diffuser is not misting as intended.
1. Remove the connector elbow from the diffusers Air inlet. This may take a little force,
we recommend using a flat screw driver or scissors and place between the diffuser and
the elbow connector to create some leverages and push the elbow off the Air Inlet.
2. Insert the Diffuser Cleaning Pin all the way into Air inlet, then remove the Diffuser
Cleaning Pin and repeat this a few times to ensure it is unclogged. Then store the
Diffuser Cleaning Pin away for future use. Do not insert the Diffuser Cleaning Pin into
the Scent output connector, this will cause damange to the diffuser.
Bottle Gasket (Washer):
1. Replace the gasket (washer) inside the diffuser every time your change over your
fragrance bottle or drum. This ensures a closed seal and avoids the fragrance
potentially leaking over time.
Note: Oil stains or fingerprints on the IL1000-5M or a Diffuser can be removed with a
water dampened cloth. Wipe with Methylated Spirits if the mark persists. Keep all
connectors and sockets dry. Do not use harsh or abrasive cleaning agents of
solvents.
Diagram for removal of Elbow Connector
Diagram for Diffuser Cleaning Pin
(Optional Accessory)
Diffuser Cleaning Pin
Hose coupling / Silencer
Air Inlet
18 19

Troubleshooting
1. The IL1000-5M does not work.
a. Check that the power cable is connected and the power is switched on
b. Check that the On/Off switch has been switched On, The LED should light up when
the pump runs.
c. Check if the power supply voltage is compatible with the unit.
Note: Electrical parts may only be repaired and replaced by an authorized service
agent.
2. The Wall Diffuser does not diffuse oil (no misting)
a. Check if the fragrance bottle is attached and filled
b. Check if the air tube is flowing air by disconnecting the tube from the Wall Diffuser. If
there is no airflow, and the IL1000-5M is running, the tube maybe bent at an angle
which blocks air flow.
c. Check if the diffuser is blocked. Follow the instructions in the 'Cleaning and
maintenance' section to clean and unblock the diffuser.
3. The fragrance bottle is leaking oil
a. Check if the bottle is screwed in straight.
b. Check if the bottle gasket (washer) is present between the bottle and the atomiser,
the gasket (washer) may need replacing, please follow the instuctions in the
Maintenance and cleaning section.
c. Check the top of the bottle for unevenness or damage.
d. Check the thread of the bottle for damage caused by cross threading into the
diffuser.
Optional accessories
Drum Bracket: Allows the drum to be wall mounted via a secure strap.
Cleaning Pin
Scent Point
Installing fragrance cartridges
The Diffuser can accept a 500ml (16 fl. oz.) bottle or a 2 liter (0.44 Gallon) Drum of
fragrance oil, depending on the type of diffuser.
To install the fragrance cartridge:
1. Remove the plastic cap of the bottle.
2. Ensure that the base of the diffuser has its O-Ring seal in place and free of debris
and obstruction
1. Press Mode until a letter appears on screen (a, b, c, d, e, f)
2. Move to letter 'd' using the Up and Down buttons
3. Screw the bottle or drum into diffuser, making sure that the thread is lined up and
screwed in straight. Do not force the bottle or drum onto the diffuser if the thread is
not straight as this will damage the bottle or O-Ring and not create the required seal.
Ensure that the bottle or drum is firmly seated on the diffuser.
4. Once the fragrance is installed, make sure that the diffuser is kept vertical at all
times, as fragrant oil may leak out through the diffuser if it is laid on its side.
Note: It is required to diffuse denatured alcohol or methylated spirits through the
diffuser before inserting a new fragrance. We recommend to diffuse denatured alcohol
or methylated spirits as a preventive maintenance procedure each time a new bottle is
inserted or if the system is not going to be used for over one week.
20 21

Warranty
This system and parts come with a warranty against defects in workmanship from the
date of purchase for a period of 12 months. If your product is found to be defective within
the warranty period, under normal use and care, the after-sale service department will
at its own discretion either repair the unit.
Proof of Purchase:
This warranty is valid for the original purchase and is not transferable. Please keep
your purchase docket, tax invoice or receipt as your proof of purchase and as proof of
date on which the purchase was made.
Extent of Warranty:
This warranty is limited to defects in workmanship or parts. All defective products or
parts will be repaired or replaced.
Normal Wear and Tear:
The warranty does not cover normal wear and tear to the products or parts.
The warranty does not cover:
Any defects caused by an accident, misuse, abuse, improper installation or operation,
lack of reasonable care, unauthorised modification, loss of parts, tampering or
attempted repair by a person not authorised by our company.
Any product that has not been installed, operated or maintained in accordance with
the instruction manual provided with the product.
22
Table of contents