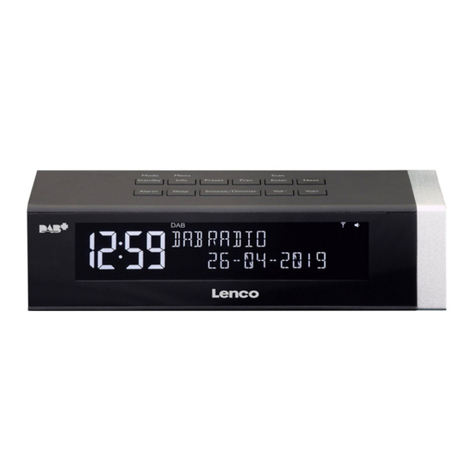
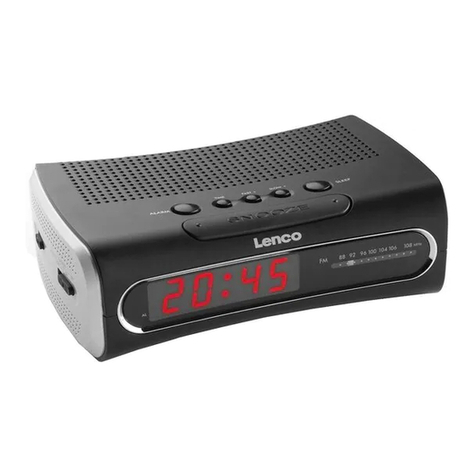
LENCO CR-31 User manual

STEREO CLOCK RADIO WITH
USB/SD/MMC PLAYER
MODEL: CR 31
Instruction Manual

WARNING
PRECAUTIONS
Follow the advice below for safe and appropriate operations.
ON PLACEMENT
• Do not use the unit in places which are extremely hot, cold, dusty, or humid.
• Placetheunitonaatandevensurface.
• Donotrestricttheairowoftheunitbyplacingitinaplacewithpoorairow,bycoveringitwithacloth,
orbyplacingitonacarpet.
ON SAFETY
• WhenconnectinganddisconnectingtheACcord,griptheplugandnotthecorditself.Pullingthecordmaydamage
it and create hazard.
• Whenyouarenotgoingtousetheunitforalongperiodoftime,disconnecttheACpowercord.
ON AC VOLTAGE
• Beforeuse,checkthattheratedvoltageofyourunitmatchesyourlocalvoltage.
ON CONDENSATION
• When left in a heated room where it is warm and damp, water droplets or condensation may form inside the player.
• When there is condensation inside the unit, the unit may not function normally.
• Letitstandfor1to2hoursbeforeturningthepoweron,orgraduallyheattheroomupanddrytheunitbeforeuse.
* Ensureaminimumdistanceof5cmaroundtheapparatusforsufcientventilation.
* Ensurethattheventilationisnotimpededbycoveringtheventilationopeningswithitems,suchasnewspapers,
table-cloths, curtains, etc..
* Donotplacenakedamesources,suchaslightedcandlesontheapparatus.
* Take attention to the environmental aspects of battery disposal.
* Use the apparatus only in moderate climates (not in tropical climates).
* Donotexposetheapparatustodrippingorsplashing.
* Donotplaceobjectslledwithliquids,suchasvases,ontheapparatus.
• Mainsplugisusedasthedisconnectdevice.Itshallremainreadilyoperableandshouldnotbeobstructedduring
intendeduse.Tobecompletelydisconnectedtheapparatusfromsupplymains,themainsplugoftheapparatusshall
be disconnected from the mains socket outlet completely.
Should any trouble occur, disconnect the AC power cord and refer servicing to qualied personnel.
Warning: Do not touch the lens.
DO NOT THROW BATTERIES IN FIRE !
ATTENTION : To reduce the risk
of electric shock, do not remove the
cover. There are no user serviceable
partsinsidetheunit.Referallservicing
toqualiedpersonnel.
The exclamation point within
thetriangleisawarningsign
alertingtheuserofimportant
instructions accompanying
the product.
The lightening flash
with arrowhead symbol
within the triangle is a
warning sign alerting
the user of "dangerous
voltage" inside the unit.
CAUTION
RISK OF ELECTRIC SHOCK
DO NOT OPEN
“In case of malfunction due to electrostatic discharge, reset the apparatus by disconnecting
it from mains supply.”
"Please kindly note that only USB sticker is used in the apparatus."
THE MARKING PLATE IS LOCATED AT THE BOTTOM OF ENCLOSURE OF THE APPARATUS.
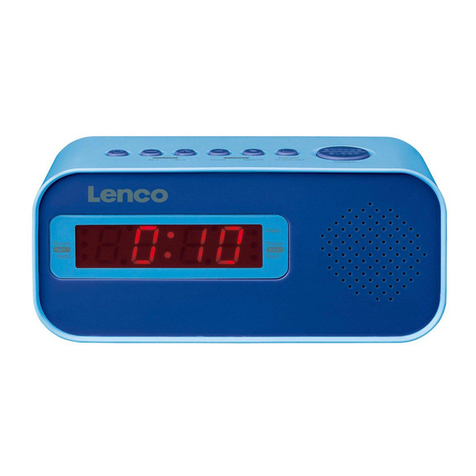
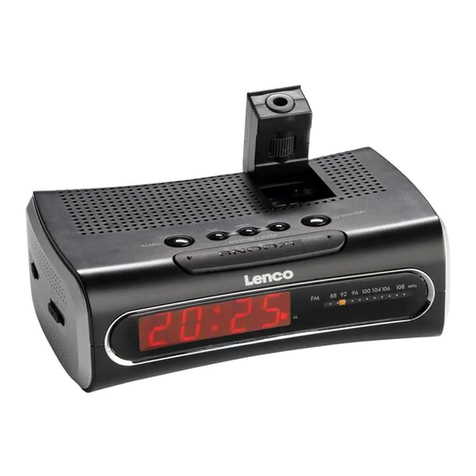
1. FMWIREANTENNA
2. FUNCTIONBUTTON
3. STANDBYBUTTON
4. PLAY/PAUSE/USBBUTTON
5. AL.1BUTTON
6. PLAY/PAUSE/SD/MMCBUTTON
7. AL.2BUTTON
8. AUXINOPENDOOR
9. SNOOZE/DISPLAYBUTTON
10. BUZZER/MUSICBUTTON
11. AUX.INJACK
12.SLEEPBUTTON
13.MIN.BACKBUTTON
14. VOL.UPBUTTON
15. STOPBUTTON
16. VOL.DNBUTTON
17. HOURNEXTBUTTON
18. PROGRAM/CLOCKSETBUTTON
19. DIR.+/PRO.+BUTTON
20. SPEAKER
21. ACCORD
22. SD/MMCPORT
23. LCDDISPLAY
24. USBPORT
25. BATTERYDOOR
CONTROLS
GB1

TURN ON / OFF THE SYSTEM
TheclockisshownwhentheACpowerisconnected.
PresstheSTANDBYbuttontoturntheaudioon.TochangetheaudiomodebetweenTUNER,USB,SD/MMCand
AUXpressFUNCTIONbuttonwhilethepowerison.Theaudiomodeisdisplayed.
CLOCK SETTING
GB2
USING HOUSE CURRENT
Beforeuse,checkthattheratedvoltage
ofyourunitmatchesyourlocalvoltage.
BATTERY BACKUP
The clock time and alarm settings can be protected
againstpowerfailurebya9Vbattery(notsupplied).
In the event of a power failure, The display is blank, but
theclocktimeandalarmsettingsareheldinmemory.
When the power interruption ends, The display ap-
pears again. ( during a power interruption, the clock
timemaygainorlossafewminutesperhourandmay
requireresetting.)
Insert 9V
batter-up.
When the volume decrease, or the sound
distorts, replace all of the batteries with
new ones.
ToACoutlet
TheclockisshownwhentheACpowerisconnected.
1. PressPROGRAM/CLOCKSETbuttonthedigit"00:00"ashs.
2. PressHOUR/NEXT button and MIN./BACK button to adjust hour and minute digit.HOUR/NEXTbuttonand MIN./BACK button to adjust hour and minute digit.andMIN./BACKbuttontoadjusthourandminutedigit.
3. PressPROGRAM/CLOCK SET button again to conrm the setting.PROGRAM/CLOCKSET button again to conrm the setting.buttonagaintoconrmthesetting.
VOL.UP
VOL.DN
POWER SUPPLY
ADJUSTING THE SOUND
TO ADJUST THE VOLUME
PressingtheVOL.UPbuttontoincreasethe
volume or VOL. DOWN button to decrease
the volume.
POWER
FUNCTION
Battery Door

1. Atanymode,bothAL.1orAL.2buttoncanbesetastherealtimeclockisalwaysonatanymode.
2. PressAL.1orAL.2button,thenthedigitwillbeashing,pressingHOUR/NEXT and MIN./BACKHOUR/NEXTand MIN./BACKandMIN./BACK
buttontosethourandminutedigit..
3. Toconrm,pressAL.1orAL.2button,thenAlarmLEDlampwillbeturnon.
AL. 1 AND AL. 2
SNOOZE/DISPLAY
Whenthealarmsounds(USB,SD/MMC,RADIO,BUZZER)atthepresettime,
youcanturnoffthesoundtemporarilybypressingtheSNOOZE/DISPLAY
button.Thealarmwillsoundagainwithin6minutes.
DisplayofthemediainformationbypressingSNOOZE/DISPLAYbutton.
DIR. +/PRO.+
ForUSB:Count-upoffoldernumber.
Connect an external LINE OUT toAUX. IN SOCKET
at the back of unit.
WhentheunitisON,pressFUNCTIONbutton
repeatedlyunitAUXisshownonthedisplay.
AUX. IN
(Plugotherendinto
external source )
GB3
When USB, SD/MMC or Radio is playing, Track number or Frequency will be shown on the display for 5 seconds
and it will changed to Clock Time accordingly. Snooze/ Display button can be pressed for showing the Track
/ Frequency again.

TUNER OPERATION
Tuning a RADIO Station
1. WhentheunitisON,pressFUNCTION
buttonrepeatedlyuntil“TUNER”isshown.
GB4
FOR BETTER RECEPTION
Fully unwind the wire antenna. Then extend the wire antenna
and place it in the position that sounds best.
Note:DoNOTconnecttheFMantennawiretooutsideantenna!!
FM
2. PresstheHOUR/NEXTbuttonandand
MIN./BACKbutton as many times as requiredasmanytimesasrequired
to tune into the desired station. or ,
3. PressandholdtheHOUR/NEXTbutton
and MIN./BACK button for more thanandMIN./BACKbutton for more thanfor more than
1second,scanningstartsautomaticallyandtuner
stopsattherstreceivablebroadcaststation.
5. Tostoptheautotuning,
presstheHOUR/NEXTbuttonandand
MIN./BACKbutton again.again.
RADIO MEMORY FUNCTION
1. Tune to a desired radio station.
2. PressPROGRAM/CLOCKSETbuttontoentertuningsavingmode.(Ifnoactionwillbetakenwithin5secondsthe
programmodewillbeoffautomatically).
3. Programnumber“P--”and"PST"iconwillbeashing.
4. Within5seconds,pressHOUR/NEXTbuttonand MIN./BACK button to select the station.andMIN./BACKbutton to select the station.to select the station.
5. PressDIR+/PRO+toconrmtheProgramnumber.
6. PressPROGRAM/CLOCKSETbuttontoconrmthememory.
7. Repeat above steps to memorize more stations and maximum stored stations are 20 for FM.
8. Tolistentoaprogrammedstation,pressDIR+/PRO+buttontoselect.
9. Tocanceltheprogrammingfunction,press"STOP"button.
“STEREO”iconwillbelitonwhenreceivingstationis
broadcasted in Stereo.

GB5
ForUSB:Tracknumber"001"&"USB"willbeshown,
thetimeofthetrack"00:00"inash,
duringUSBplayback.
ForSD/MMC:Tracknumber"001"&"SD"willbeshown,
thetimeofthetrack"00:00"inash,
duringSDplayback.
TO STOP PLAYBACK
PresstheSTOPbutton.
ForUSB/SD/MMC:Thewords"USb","Sd"and"MMC"willbeshown.
USB display
USB/SD/MMC OPERATION
1. ConnectUSB/SD/MMCdiskintotheUSB/SD/MMCInputofthissystem.
2. PressFUNCTIONbuttonrepeatedlyuntil“USB/SD/MMC”isshownondisplay.
3. The unit will start to read the media and play automatically. The music folders,
track's time and the number of tracks will be shown on the display .
4. PressMIN./BACKbuttonandHOUR/NEXTbuttontoselect
the folder.
USB connector does not support connection with USB extension cable and it is not
designedforcommunicationwithcomputerdirectly.
ManufacturerisnotresponsiblefortheplayabilityofUSB/SD/MMCdiskduetorecording
condition, capacity, interface compatibility, etc.
Duetodifferentformats,someUSB/SD/MMCdisksmaytakelongertimetoberead.
TO INTERRUPT PLAYBACK
Press the PLAY/PAUSE/USBandPLAY/PAUSESD/MMSbutton.
Press the button to resume playback.
1. If you want to fall asleep to music, press SLEEP button.
2. Youmayadjusttheradioorplayer'ssleepfunctiontoplay
from90,75,60,45,30,15minutesofmusicbeforeshutting
itself off automatically.
TO SET SLEEP FUNCTION
CDdisplay
90 75 60 45 30 15 - -
SD/MMCdisplay
USB display
SD/MMCdisplay

GB6
MAINTENANCE
CLEANING THE UNIT
Donotusevolatilechemicalsonthisunit.Cleanbylightly
wipingwithasoftcloth.
IMPORTANT NOTE
Ifanabnormaldisplayindicationoranoperatingproblem
occurs,disconnecttheACpowercord.Waitatleast5seconds,thenreconnecttheACpowercord.
RADIO SECTION
Tuningranges: FM87.5-108MHz
Antennas: FMWireantenna
GENERAL
Outputpower: 2.3W+2.3W
Powerconsumption: ?WATTS
Speaker: 3"4OHM
Phonesjack: 3.5MM
Powersource: AC:230V ~ 50Hz
Dimensions:
MainUnit: 250(L)x98(D)x100(H)mm
Weight 1Kgs
Duetocontinuingimprovement,thefeaturesandthedesignaresubjecttochangewithoutnotice.
SPECIFICATION
Wheretoplacetheitem:
Today’sfurnitureiscoatedwithawidevarietyoflacquersandsynthetic-coatingsthataretreatedwithanextensiverangeofcleaning
products. Therefore, the possibility that some of these substances contain components that react adversely to the rubber feet of the
itemandsoftenthem,cannotbecompletelyexcluded.Therubberfeetoftheappliancecancausediscoloringtofurnituresurfaces.If
necessary, place the appliance on a non-slide surface.
If at any time in the future you should need to dispose of this product please note that: Waste electrical products
should not be disposed of with household waste. Please recycle where facilities exist. Check with your Local
Authority or retailer for recycling advice. (Waste Electrical and Electronic Equipment Directive)
Table of contents
Other LENCO Clock Radio manuals