SOURCE
MENU
CH- CH+
VOL- VOL+ POWER
4.Remote control functions 5.LCD TV panel overview
TV Control Panel
TV Terminal connections
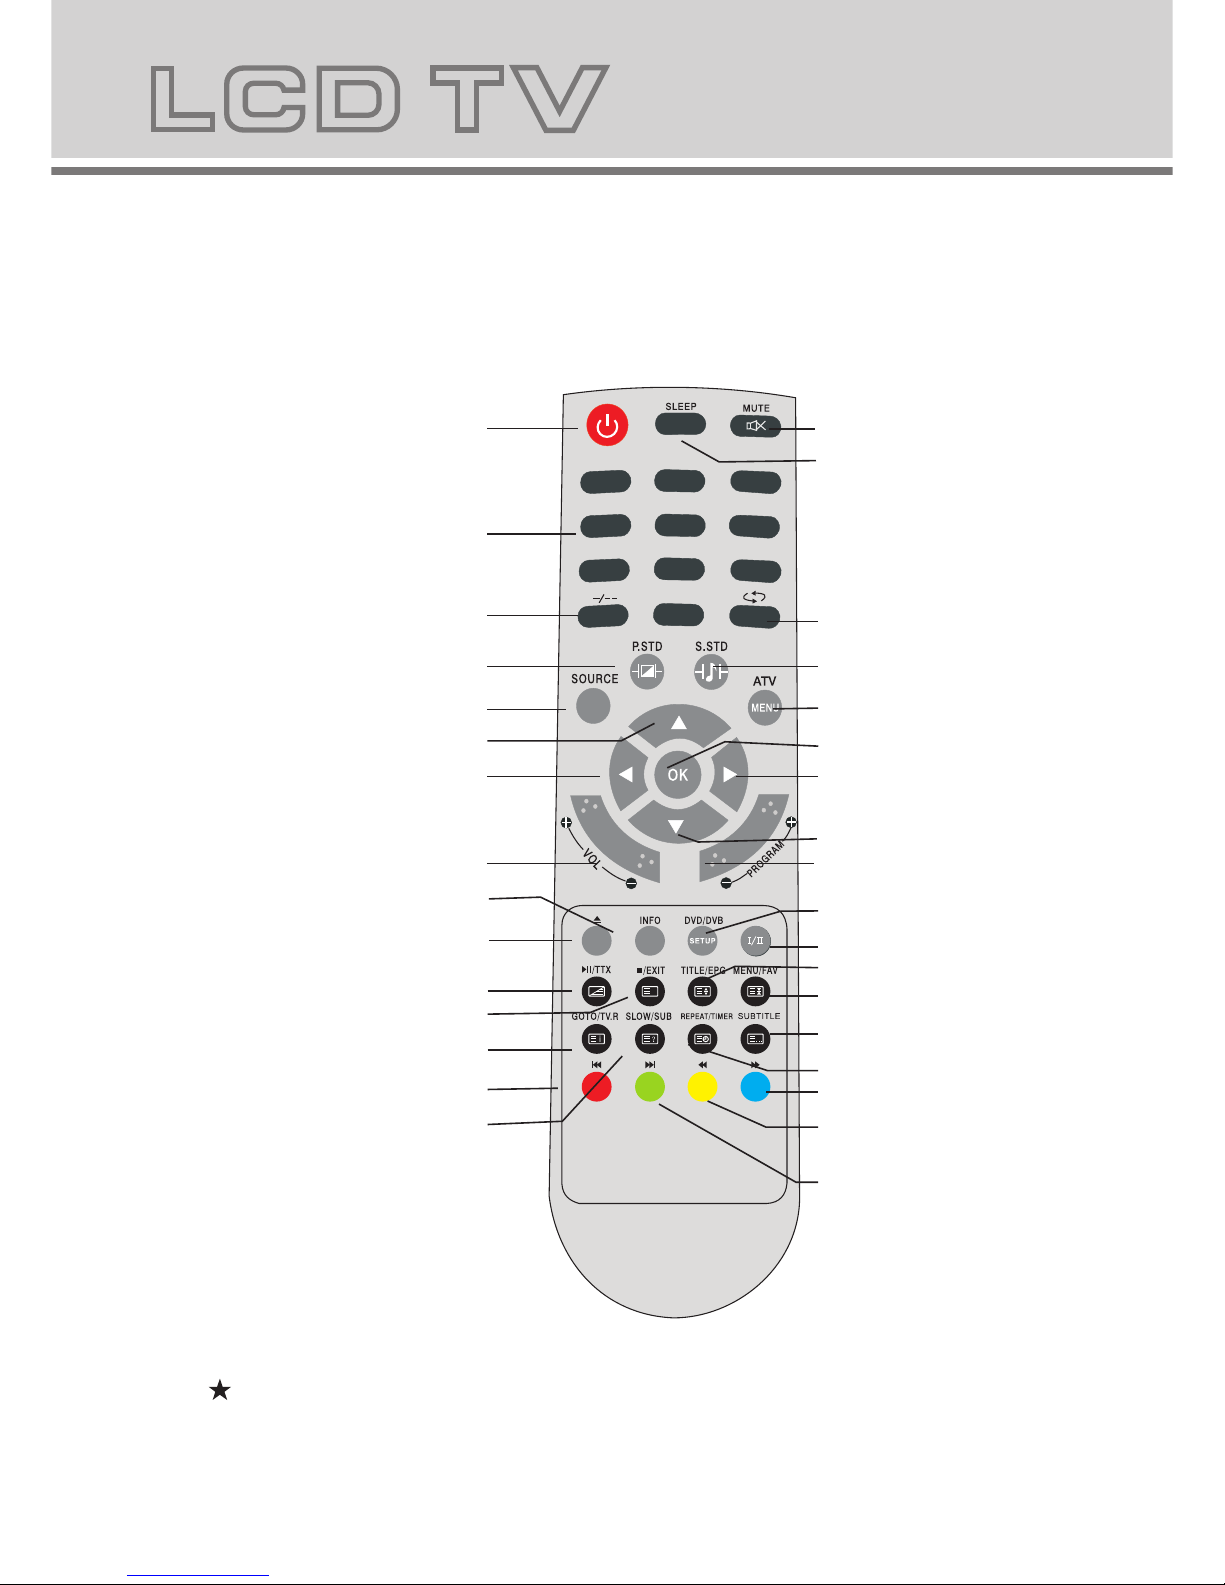
POWER: Power on/off button , press once to turn the TV on and press again to turn the TV off.
SLEEP: Sleep button , setting TV power off time.
MUTE: Mute button , press once to disable the audio and press again to enable the audio.
0,1-9:TV channel selection button.
-/--:TV channel range selection button, select a TV channel by entering 1,2 or 3 digits.To change the channel with the
number keys on the remote control,press this button first to select number of digit,then press the channel number to change.
: Previous channel button , return to the previous channel watched.
SOURCE: Signal source selection button (TV/SCART/PC-RGB/YPbPr/DVB/DVD).
P.STD: P.STD button , setting the picture mode for TV input mode.
S.STD: S.STD button , setting the sound mode.
DISPLAY: Press the display button to view the current channel. Press again to remove the channel information.
MENU: OSD menu button , to enter the TV setup menu.
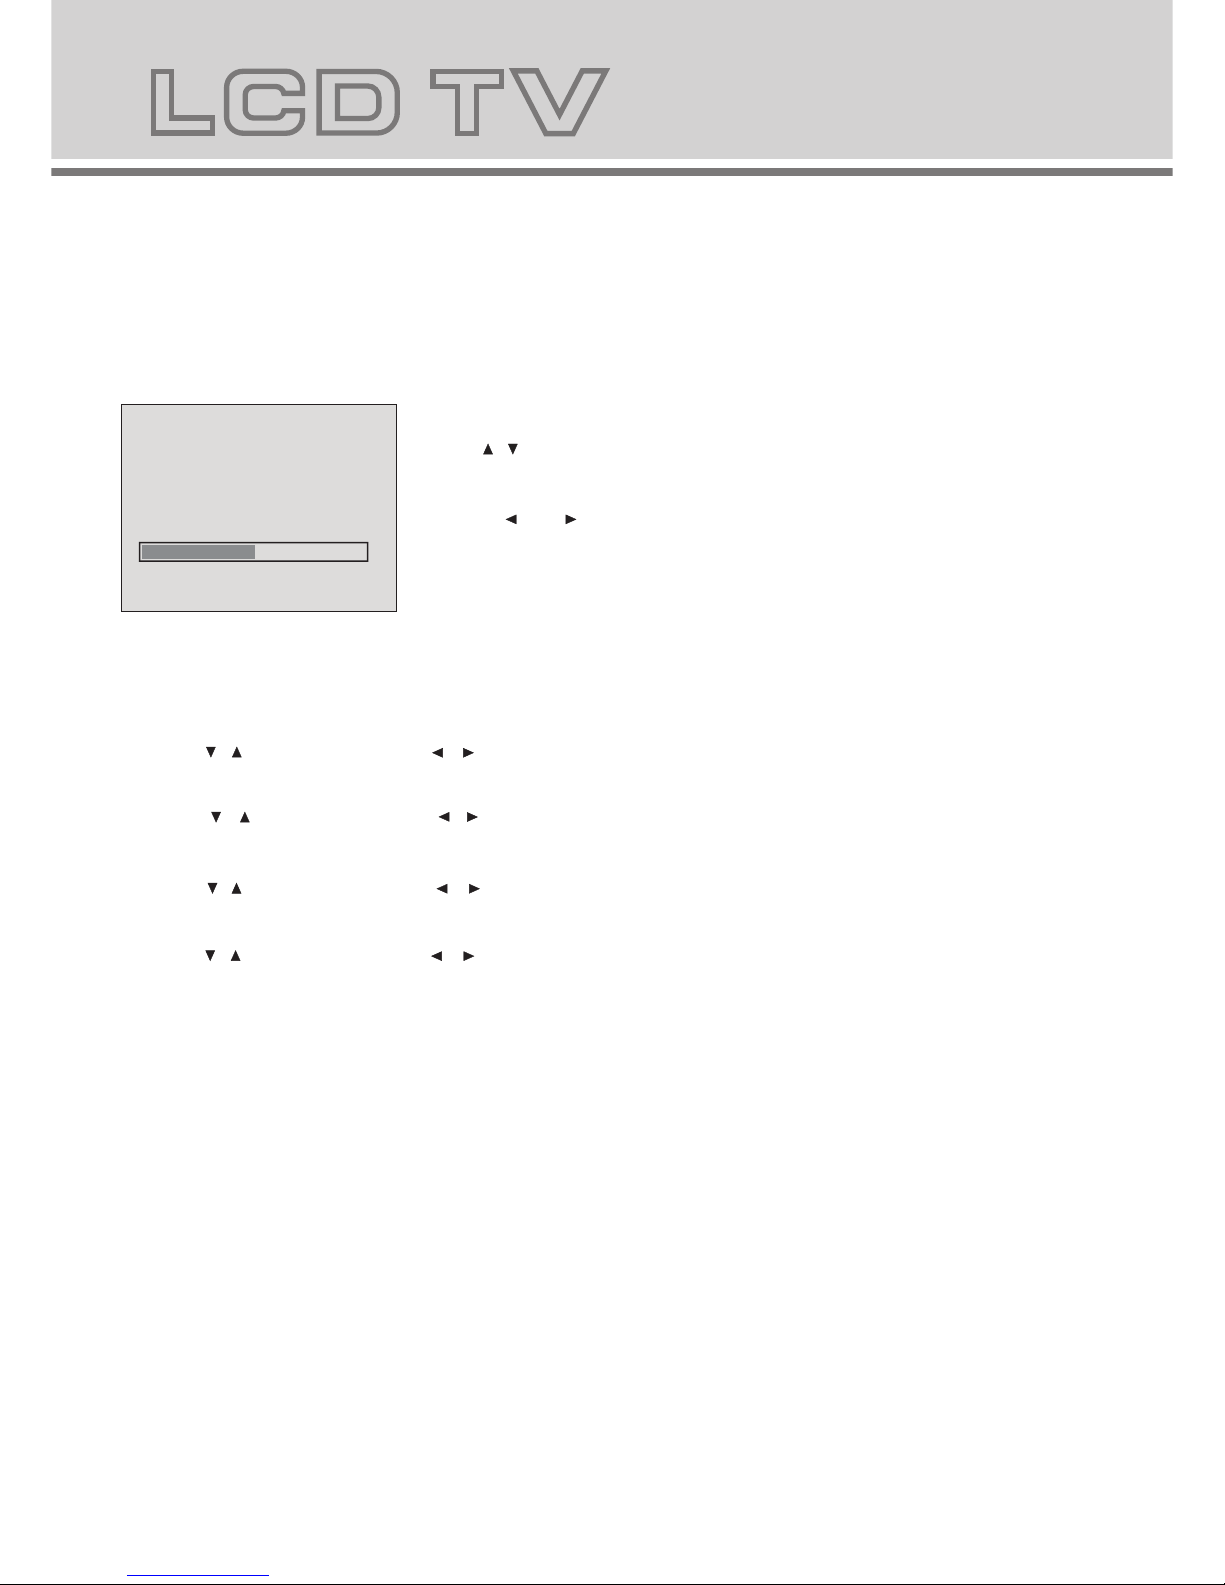
(UP/Down): Up and down buttons of the OSD menu. To change the OSD menu items and to increase or decrease
the channel.
Left/Right): Left and right buttons of the OSD menu. To select the OSD menu items and to increase or decrease
the volume.
VOL+/-: Volume adjusting button, to increase or decrease the volume.
Program+/-:Channel selection button, to increase or decrease channel.
:Press the OPEN CLOSE button when the power is on the disc is pushed out Put the disc on the tray with the data
side facing towards you . Press OPEN CLOSE again to close the disc tray and the unit starts playing automatically
(Without auto play function for JPEG discs)
:When playing the disc,press PLAY/PAUSE once to pause,Press PLAY/PAUSE again to return to normal play.
:When playing DVD,SVCD,VCD,CD disc,press STOP once,the unit will memorize the previous ending point.Press
PLAY/PAUSE button to resume play. Press STOP for the second time to stop playback and clear the memory.
:Press the button for quick forward search.
:Press the button for quick rewind search.
:When playing a DVD disc,press NEXT to play the next chapter .when playing a SVCD,CD disc,press NEXT to PLAY the
next track.
:When playing a DVD disc,press PREV to play the previous chapter.when playing a SVCD,VCD,CD disc,press PREV
to play the previous track.
Slow:When playing SVCD,VCD,DVD discs,press SLOW to select slow speed playing.press PLAY/PAUSE to resume
normal play.
TITLE:When playing a DVD disc,press TITLE to return to the main title page.
GOTO/TV.R:
/
/ (
The GOTO button lets you instantly select a title, chapter or time.Use the navigate buttons to highlight the digit
you want to change.After you entered the desired value, confirm your choice with the ENTER button.In DVB-T
mode, the TV. R button lets you switch between TV and Radio mode In DVD/CD.
press the REPEAT button to repeat a title , chapter, track or whole disc.When playing a DVD dsic, press the
REPEAT button continually, the TV screen willshow in sequence: chapter repeat, all repeat, repeat cancel. When
playing a VCD,CD disc the sequence will be: track repeat, all repeat, repeat cancel. When playing a MP3 disc the
sequence will be: single repeat, directory repeat, file repeat, repeat cancel.
SUBTITLE (for DVD and Super VCD discs)
- Press the SUBTITLE button once to display current subtitle.
- Press again to toggle between different subtitle modes in sequence.
NOTE: For Multi-languages subtitle DVD & Super VCD discs, press the SUBTITLE button to select your favorite subtitle
language.
REPEAT:
SETUP:Press the SETUP button to open the setting menu.
AUDIO:Press the L/R button to choose a different audio channel.
INFO:Press the INFO button for information.
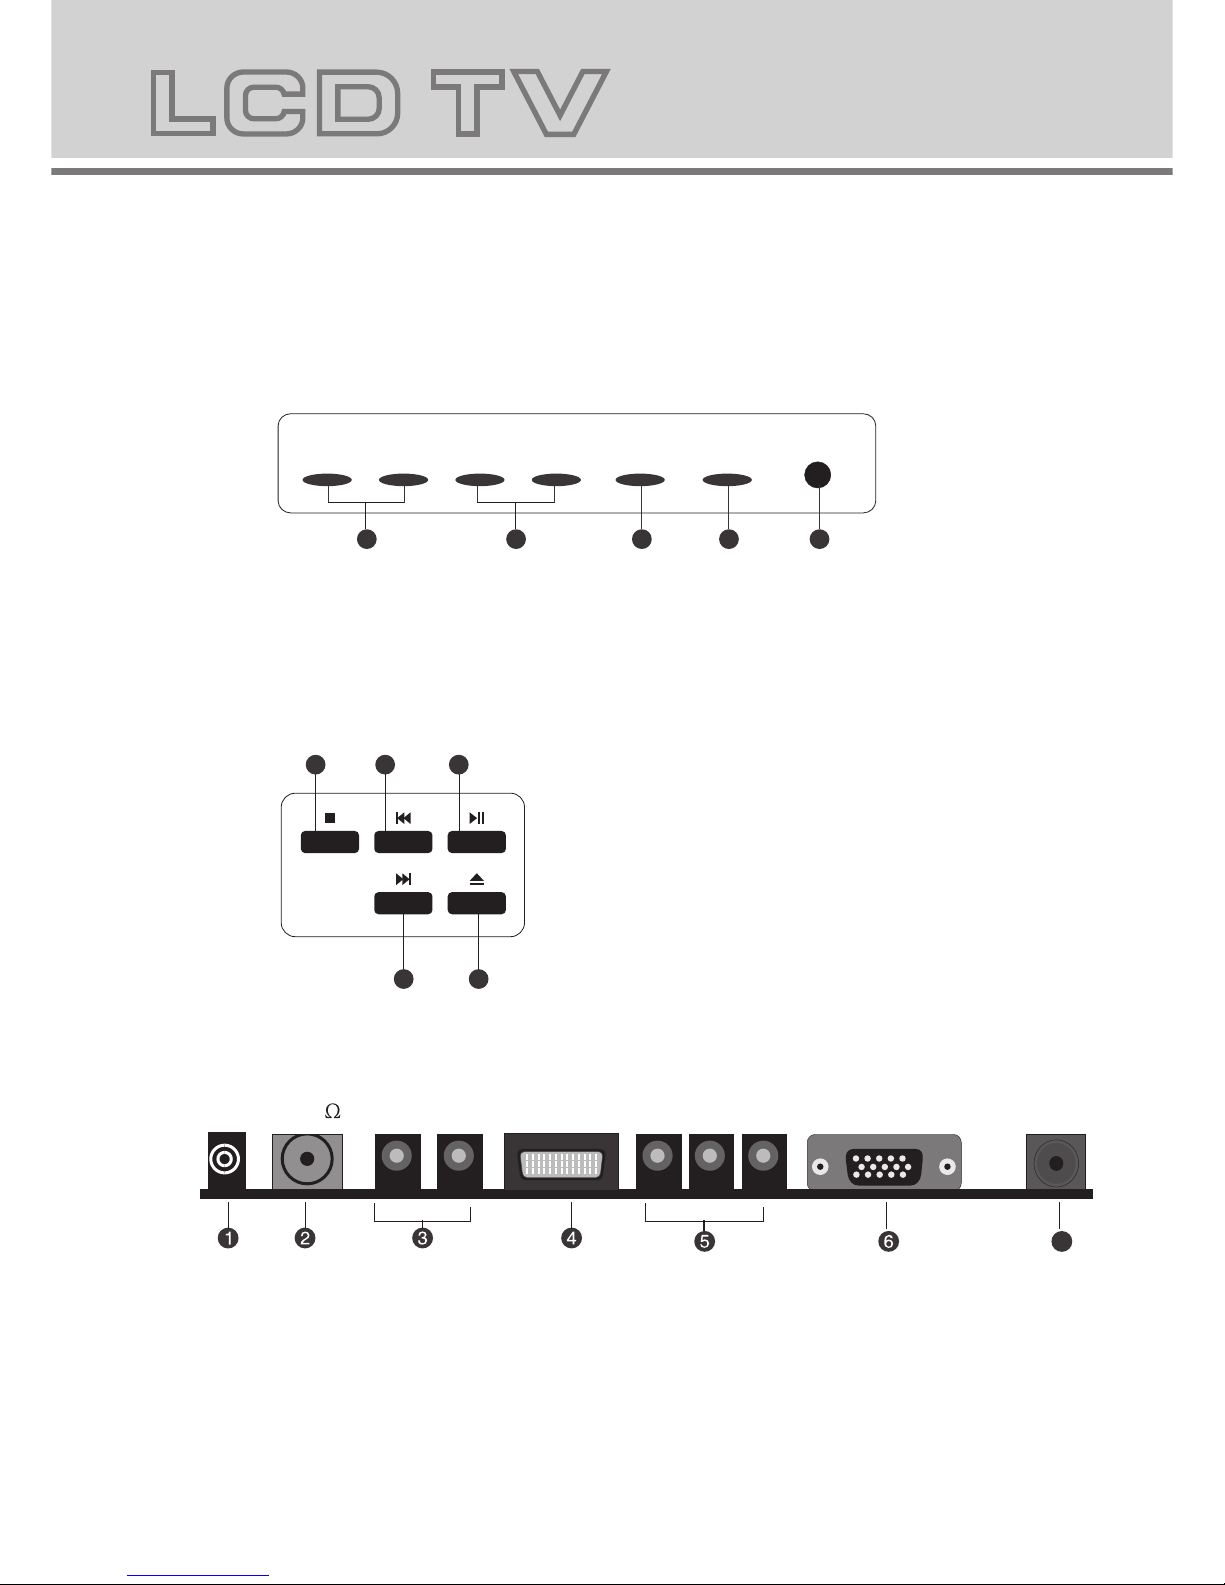
1.Volume adjusting.
2.Channel selecting.
3.Main menu display and confirm.
4.Selecting exterior signal input.
5.On/off button.
RF(75 ) VGA DC-12V
RL
PC
AUDIO
1.PC AUDIO
2.Antenna/close circuit TV network port(75 Ohm VHF/UHF).
3.Audio-L-R input terminal.
4.SCART input terminal ,suitable for a European export machine.
5.Component input terminal.
6.VGA input terminal of simulation signal of PC.
7.DC 12V 5A power input terminal.
12345
123
5
4
1.STOP button
2.PREV button
3.PLAY/PAUSE
4.NEXT button
5.OPEN/CLOSE button
SCART
Y
PbPr
7
56