E8
Make sure all necessary connections are correctly
connected before turn on the power.
The power indicator turns red and the unit is in the standby
mode.
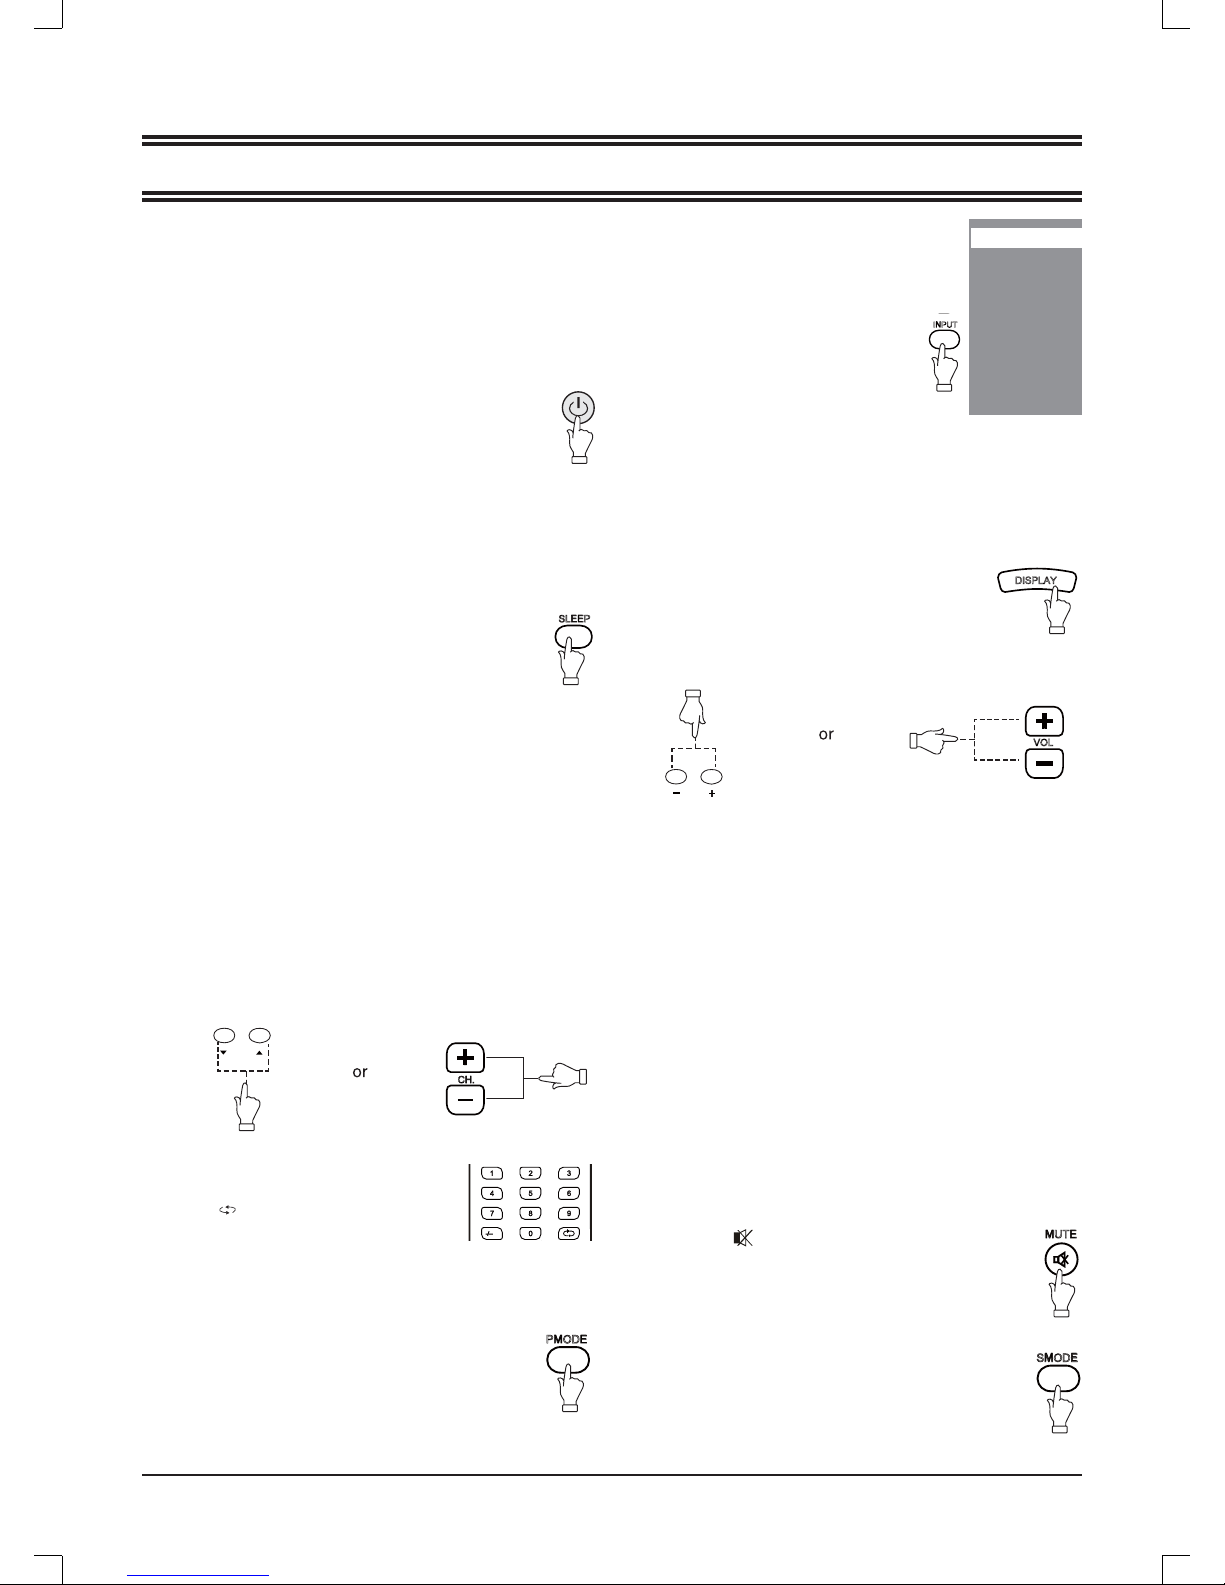
Turn on the power
Press [z] to turn on the main unit.
The power indicator turns blue.
Turn off the power
Press [z] again can turn off the main unit.
The unit is automatically set standby mode.
The power indicator turns red.
Using the Sleep Timer
The sleep timer automatically switches off the power after a
preset time has elapsed. There are 9 time periods available,
press [SLEEP] on the remote control repeatedly to
select the desired sleep time:
0 Min v 15 Min v 30 Min v 45 Min
v60 Min v 75 Min v 90 Min v 105 Min v 120 Min
(The sleep timer starts when the setting is finished.)
To check the remain sleep time
Press [SLEEP] on the remote control, the remain sleep time
appears on the screen for a few seconds.
Select the input source
Turn on the connected necessary external
device. Press [INPUT] to select the proper
input source.
The input source menu appears.
Select the TV channel
After selected "ATV" or "DTV" as input source, you can do
either one of followings to select your channel.
Press [p CH] or [CH o] (or [CH.+] or [CH.-]on the main
unit).
•
Information display
Press [DISPLAY] on the remote control, the related
information of current source appears on the screen
automatically.
NICAM Function
Press [NICAM] on the remote control when input source is "TV".
This operation do no effect to the channels without NICAM
signal.
Once [NICAM] is pressed, it alternates in the different sound
options such as mono, stereo, dual I, dual II.
Selecting the OSD language
The factory setting of OSD (On Screen Display) language is
"English". To edit the OSD.
1. Press [MENU], OSD menu appears.
2. Press [p] until "Function" menu appears.
3. Press [a] to enter the setting menu, and "Language" is
high-lighted.
4. Press [b/a] to set the language to your desired language.
5. Press [MENU] to exit the submenu.
Adjusting the volume
Press [-VOL] to reduce the volume.
Press [VOL+] to increase the volume.
BASIC OPERATIONS
Press [0, 1~9] to input the channel
number directly.
Press [ ] to go back the previous
channel you've watched last time.
•
•Mute function
Press [MUTE ] on the remote control to switch off
the sound temporarily.
Press this button again (or [VOL+]), the sound comes
back.
Selecting the picture mode
Press [PMODE] repeatedly on the remote
control to select the desired picture mode. Selecting the sound mode
Press [SMODE] repeatedly on the remote control to
select the desired sound mode.
DTV
TV
AV
SCART
YPBPR
HDMI
PC
MEDIA
SLEEPSLEEP
-/--
INPUTINPUT
DISPLAYDISPLAY
MUTEMUTE
PMODEPMODE
1. Press [o/p] to move the high-lighted
bar to the desired source item.
2. Press [OK] ( or [b/a] )to confirm.
Information of the selected source name appears on the TV
for a few seconds.
CH.CH.
CH
VOL
VOLVOL
SMODESMODE