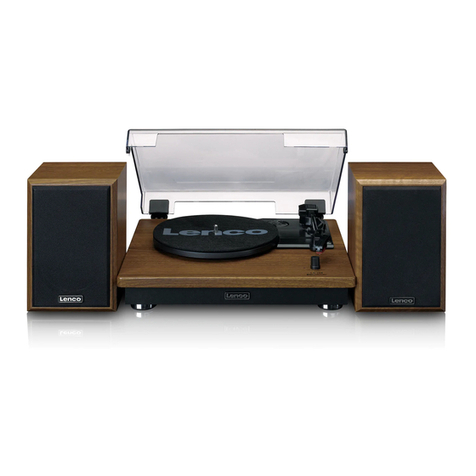
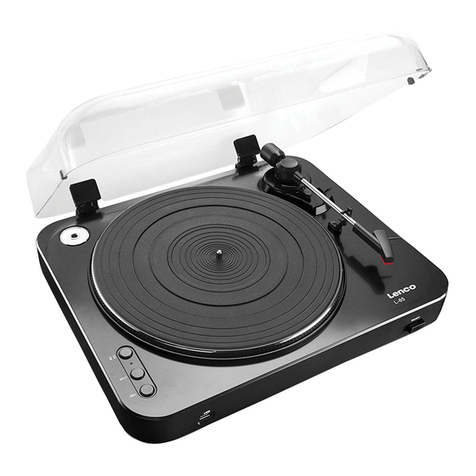
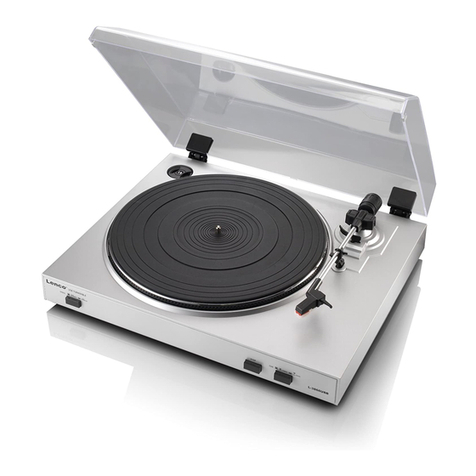
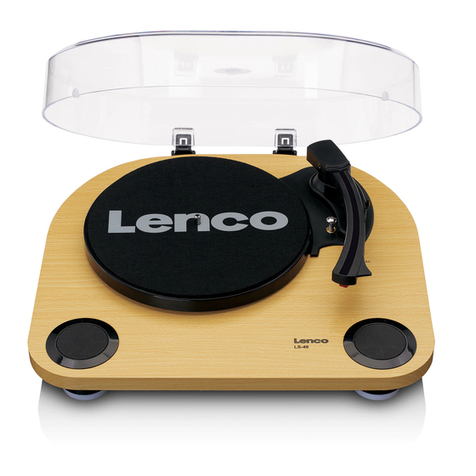
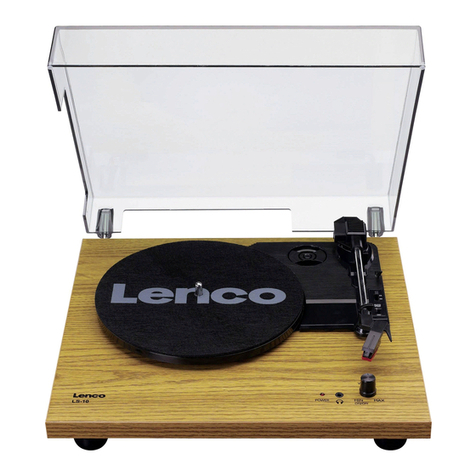
LENCO L-90 User manual

L-90
WOODEN TURNTABLE WITH USB CONNECTION AND BUILT-IN PRE AMPLIFIER
Quick guide
www.lenco.eu

What's in the box, 1x Turntable, 1x Cartridge, 1x Platter inclusive belt, 1x Rubber plate, 1x Dust cover, 2x hinge, 1x
USB Cable, 1x Single puck
Was wird mitgeliefert, 1x Plattenspieler, 1x Cartridge, 1x Platte inklusive Gürtel, 1x Gummi-Platte, 1x
Staubschutzhülle, 2x Scharnier, 1x USB Kabel, 1x Single-Puck
Wat zit er in de doos, 1x Draaitafel, 1x Cartridge, 1x Plaat inclusief riem, 1x Rubber plaat, 1x Stofkap, 2x scharnier, 1x
USB-kabel, 1x Single puck
Quoi dans la boîte, Platine 1x, 1x Cartouche, plaque de 1x, y compris la ceinture, plaque de caoutchouc 1x, 1x
poussière, charnière 2x, 1x câble USB 1x rondelle
Qué hay en la caja, Turntable 1x, 1x Cartucho, incluyendo 1x placa de cinturón, 1x placa de goma, polvo 1x, 2x
bisagra, 1x cable USB 1x Puck
Cosa c'è nella scatola, Turntable 1x, 1x Cartuccia, piastra 1x compreso cinghia, piastra in gomma 1x, Polvere 1x, 2x
cerniera, 1x cavo USB 1x Puck
Co jest w pudełku, Gramofon 1x, 1x kaseta, 1x płyta w tym pasie, płyta gumowa 1x, pył 1x, 2x, 1x zawias kabel USB 1x
Pucku
Mi van a dobozban, Lemezjátszó 1x, 1x kazetta, beleértve a lemez 1x öv, 1x gumilap, por 1x, 2x zsanér, 1x USB kábel
1x Puck
Co je v krabici, Gramofon 1x, 1x kazeta, 1x plech včetně opasku, 1x Pryžové desky, prachu 1x, 2x závěs, 1x USB kabel
1x svítidlo
Mitä ruutuun, Levysoitin 1x, 1x kasetti, 1x levy kuten vyö, 1x Kumi levy, Dust 1x, 2x sarana, 1x USB-kaapeli 1x Puck
Vad finns i lådan, Turntable 1x, 1x Cartridge, 1x plattan med bandet, 1x gummiplatta, Dust 1x, 2x gångjärn, 1x USB-
kabel 1x Puck
1

Lay the platter in the unit and mount the belt
Setzen Sie das Tablett auf dem Gerät und installieren
Sie den Gürtel
Leg het plateau op het toestel en monteer de riem
Placez le plateau sur le périphérique et installer la
ceinture
Coloque la bandeja en el dispositivo e instalar el cinturón
Collocare il vassoio sul dispositivo e installare la cinghia
Umieść tacę na urządzenie i zainstalować pasek
Helyezze a tálcát a készüléket, és telepítse a biztonsági öv
Položte zásobník na zařízení a instalaci pásu
Aseta lokero laitteessa ja asenna hihna
Placera brickan på enheten och installera bandet
2

Install the cartridge
Setzen Sie die Tonerkartusche
Installeer de cartridge
Réinstallez la cartouche
Vuelva a instalar el cartucho
Reinstallare la cartuccia
Zainstaluj ponownie kasetę
Helyezze vissza a patront
Znovu nainstalujte kazetu
Asenna kasetti
Installera patronen
3

Install the counter
weight
Installieren Sie das
Gegengewicht
Installeer het
contragewicht
Installez le contre-poids
Instale el contrapeso
Installare il contrappeso
Zainstaluj przeciw wagi
Telepítse az ellensúly
Nainstalujte protizávaží
Asenna vastapaino
Installera motvikt
4
1
2
3
4

Install the dust cover
Installieren Sie den Staubhaube
Installeer de stofkap
Installez le cache-poussière
Instale la cubierta de polvo
Installare il coperchio antipolvere
Zainstaluj osłonę
Telepítse a porvédőt
Nainstalujte kryt proti prachu
Asenna pölysuoja
Montera dammskyddet
5

Connect the power cable to the wall outlet.
Schließen Sie das Netzkabel an die Steckdose.
Sluit het netsnoer aan op het stopcontact.
Branchez le câble d'alimentation à la prise murale.
Conecte el cable de alimentación al enchufe de la pared.
Collegare il cavo di alimentazione alla presa a muro.
Podłącz kabel zasilający do gniazdka elektrycznego.
Csatlakoztassa a hálózati kábelt a fali aljzatba.
Připojte napájecí kabel do zásuvky.
Liitä virtajohto pistorasiaan.
Anslut strömkabeln till vägguttaget.
6

Connect audio plugs of the turntable to the input on your mixer or audio system.
Verbinden Sie die Audio-Buchsen des Plattenspielers an den Eingang des Mixers oder
Audiosystem.
Verbind de audio pluggen van de platenspeler met uw mixer of audio systeem.
Raccordez les prises audio de la platine à l'entrée de votre mélangeur ou du système audio.
Conecte las tomas de audio del giradiscos a la entrada del mezclador o sistema de audio.
Collegare i jack audio del giradischi all'ingresso del mixer o del sistema audio.
Połącz gniazda audio z gramofonu do wejścia miksera lub systemu audio.
Csatlakoztassa az audio jack az a lemezjátszó bemenet a keverő vagy audio-rendszer.
Připojte audio konektory z gramofonu do vstupu mixu nebo audio systému.
Liitä audio liitäntöihin tasauspöytää syöttää mikserin tai audiojärjestelmän.
Anslut audio anslutningarna på skivspelaren till ingången på din mixer eller ljudsystem.
7

Place a record on the platter, unlock the tone arm and bring it toward the platter. The platter now starts
rotating. Lower the town arm to start playback.
Legen Sie eine Platte auf den Plattenteller, entriegeln Sie den Tonarm und bewegen sie die Nadel auf die gewünschte
Abspielposition. Der Plattenteller beginnt sich zu drehen. Senken Sie den Tonarm ab , der abspielvorgang beginnt.
Plaats een plaat op het plateau, ontgrendel de toonarm en breng deze richting het plateau. Laat de toonarm zakken om
af te spelen.
Déposer un disque sur le plateau, déverrouiller le bras de lecture et positionnez-le au dessus du plateau (sans le
déposer). Lorsque la rotation du plateau démarre veuillez déposer le bras sur le vinyl afin de démarrer la lecture du
disque ou du morceau choisi.
Coloque un disco en el plato, desbloquear el brazo y llevarlo hacia el plato. El disco ya empieza a girar. Baje el brazo
de la ciudad para iniciar la reproducción.
Posizionare un disco sul piatto, sbloccare il braccio e portarlo verso la piastra. Il piatto rotante inizia ora. Abbassare il
braccio città per avviare la riproduzione.
Umieść płytę na talerzu, odblokować ramię i przynieść ją w kierunku talerza.Talerz teraz zaczyna się obracać. Opuść
ramię miasta, aby rozpocząć odtwarzanie.
Helyezzen egy lemezt a tál, kinyit a hangkar és hozza a lemez felé. A tál most forogni kezd. Engedje le a város kar
lejátszás elindításához.
Umístěte záznam na talíři, odemknout tónu ruku a přivést ji k desce.Talíř se začne otáčet. Snižte město ruku pro
spuštění přehrávání.
Aseta kirjaa lautasella avata äänivarsi ja tuoda sen kohti levy.Platter nyt alkaa pyöriä. Laske kaupungin varsi Aloita
toisto.
Placera en post på tallrik, låsa upp tonarmen och föra den mot plattan. Fatet börjar nu rotera. Sänk staden armen för att
starta uppspelningen.
8

Dowload the user manual via
http://www.lenco.eu/user-manuals/
Download der Bedienungsanleitung über
http://www.lenco.eu/user-manuals/
Download de handleiding via
http://www.lenco.eu/user-manuals/
Téléchargez le manuel de l'utilisateur par l'intermédiaire
http://www.lenco.eu/user-manuals/
Descarga el manual de usuario a través de http://www.lenco.eu/user-manuals/
Scarica il manuale per l'uso via http://www.lenco.eu/user-manuals/
Dowload instrukcja obsługi przez http://www.lenco.eu/user-manuals/
Letöltheti a felhasználói kézikönyv segítségével http://www.lenco.eu/user-manuals/
Nahrát uživatelský manuál přes http://www.lenco.eu/user-manuals/
Dowload käyttöopas kautta http://www.lenco.eu/user-manuals/
Ladda hem instruktionsbok via http://www.lenco.eu/user-manuals/
manuals/-http://www.lenco.eu/user
9

IMPORTANT SAFETY INSTRUCTIONS - READ CAREFULLY BEFORE USE.
This symbol indicates that there are important operating maintenance instructions in the user manual accompanying this unit.
This symbol indicates that dangerous voltage is present within this unit constituting a risk of electric shock or personal injury.
CAUTION: TO PREVENT ELECTRICAL SHOCK, DO NOT REMOVE ANY COVER SCREWS. THERE ARE NO USER SERVICEABLE
PARTS INSIDE. REQUEST A QUALIFIED SERVICE PERSON TO PERFORM SERVICING.
Keep these instructions in mind:
Clean only with a slightly damp cloth.
Do not cover or block any ventilation openings. When placing on a shelf leave 5 cm (2”) free space around the whole unit.
Protect the power cord from being walked on or pinched, particularly at plugs, and the point where it exits the unit. Do not place heavy
items on the power cord, which may damage it. Take note that the power cord cannot be reached and pulled by young children, avoiding
injury.
Unplug this unit during lightning storms or when unused for a long period of time.
Keep the unit away from heat sources such as radiators, heaters, stoves, candles and other heat-generating products.
WARNING! NEVER INSERT AN OBJECT INTO THE PRODUCT THROUGH VENTS OR OPENINGS. HIGH VOLTAGE FLOWS IN THE
PRODUCT AND INSERTING AN OBJECT CAN CAUSE ELECTRIC SHOCK AND/OR SHORT INTERNAL PARTS. FOR THE SAME
REASON, DO NOT SPILL WATER OR LIQUID ON THE PRODUCT.
Do not use this unit near water.
Do NOT use in wet or moist areas such as bathrooms, steamy kitchens or near swimming pools.
Do not use this unit when moisture condensation may occur.
NOTE: No naked flames such as candles should be placed on the radio.
This unit has been produced according to all current safety regulations. The following safety tips should safeguard users against careless use
and the dangers connected with such use.
Although this unit has been carefully manufactured and rigorously checked before leaving the factory, as with all electrical appliances, it is
possible for problems to develop. If you notice smoke, an excessive build up of heat or any other unexpected phenomena, you should
disconnect the plug from the mains power socket immediately.
This unit is a class II device. It does not require a grounded connection.
Ensure that the unit is sufficiently ventilated!
The mains plug or appliance coupler is used as the disconnect device, the disconnect device shall remain readily operable.
This unit must operate on a power source specified on the specification label. If you are not sure of the type of power supply used in your
home, consult your dealer or local power company.
The socket outlet must be installed near the equipment and must be easily accessible.
Do not overload AC outlets or extension cords. Overloading can cause fire or electric shock.
Keep away from rodents. Rodents enjoy biting into power cords.
Always hold the plug when pulling out the plug from the mains supply socket. Do not pull the power cord. This can cause a short circuit.
Avoid placing the unit on any surface, which may be subject to vibrations or shocks.
When the unit is not used for long periods of time, unplug the AC power cable for safety reasons.
To clean the unit, use a soft dry cloth. Do NOT use solvents or petrol based fluids. For stubborn stains, you may use a damp cloth with
dilute detergent.
When the unit will not be used for a longer period of time, remove the batteries to avoid damage which can be caused by battery leakage
or corrosion.
Declaration of Conformity
Products with the CE marking comply with the EMC Directive (2004/108/EC) and the Low Voltage Directive (2006/95/EC) issued by
the Commission of the European Community.
This symbol indicates that the relevant electrical product or battery should not be disposed of as general household waste in Europe.
To ensure the correct waste treatment of the product and battery, please dispose them in accordance to any applicable local laws of
requirement for disposal of electrical equipment or batteries. In so doing, you will help to conserve natural resources and improve
standards of environmental protection in treatment and disposal of electrical waste (Waste Electrical and Electronic Equipment Directive).
For information and support; www.lenco.eu
Lenco helpdesk:
Germany 0900-1520530 (Local charges)
The Netherlands 0900-23553626 (Local charges + 1ct P/min)
Belgium 02-6200115 (Local charges)
France 0170480005 (Local charges)
The helpdesk is accessible from Monday till Friday from 9 AM till 6 PM.
In case your device needs repair our helpdesk will redirect you to your local dealer.
Lenco offers service and warranty in accordance to European law, which means that in case of repair (both during and after the warranty
period), you should contact your local dealer. Please note: It is not possible to send repairs to Lenco directly.
Important note: If the unit is opened by a non-official service center the warranty expires.
Where to install?
Locate the unit away from direct sunlight, soft indirect lighting is recommended for comfortable viewing. Place the unit on a sturdy platform of
which the surface should be flat. This will prevent it from falling over. Make sure the unit is located in a position where it cannot be pushed or
hit by objects, as pressure will break or damage the unit, and so that small objects cannot be inserted into the ventilation slots or openings in
the cabinet.
Other manuals for L-90
3
Table of contents
Other LENCO Turntable manuals

LENCO
LENCO L-3808 User manual

LENCO
LENCO L-80 USB - User manual

LENCO
LENCO L-78 USB - User manual

LENCO
LENCO 8711902040958 User manual

LENCO
LENCO L-78 USB - User manual

LENCO
LENCO Classic Phono HOG075 User manual

LENCO
LENCO L-69 User manual

LENCO
LENCO LS-55 User manual

LENCO
LENCO Xemio-560 User manual

LENCO
LENCO Classic Phono TT-115 User manual
Popular Turntable manuals by other brands

Pro-Ject Audio Systems
Pro-Ject Audio Systems Essential III RecordMaster Instructions for use

Clearaudio
Clearaudio TT1-MI Clearaudio electronic

Gemini
Gemini TT-900 user manual

Hitachi
Hitachi HT -350 instruction manual

Harman Kardon
Harman Kardon T40 owner's manual

Roadstar
Roadstar TTL-8743UDJ instruction manual