manuals.online logo
Brands
  1. Home
  2. •
  3. Brands
  4. •
  5. Lennox
  6. •
  7. Indoor Fireplace
  8. •
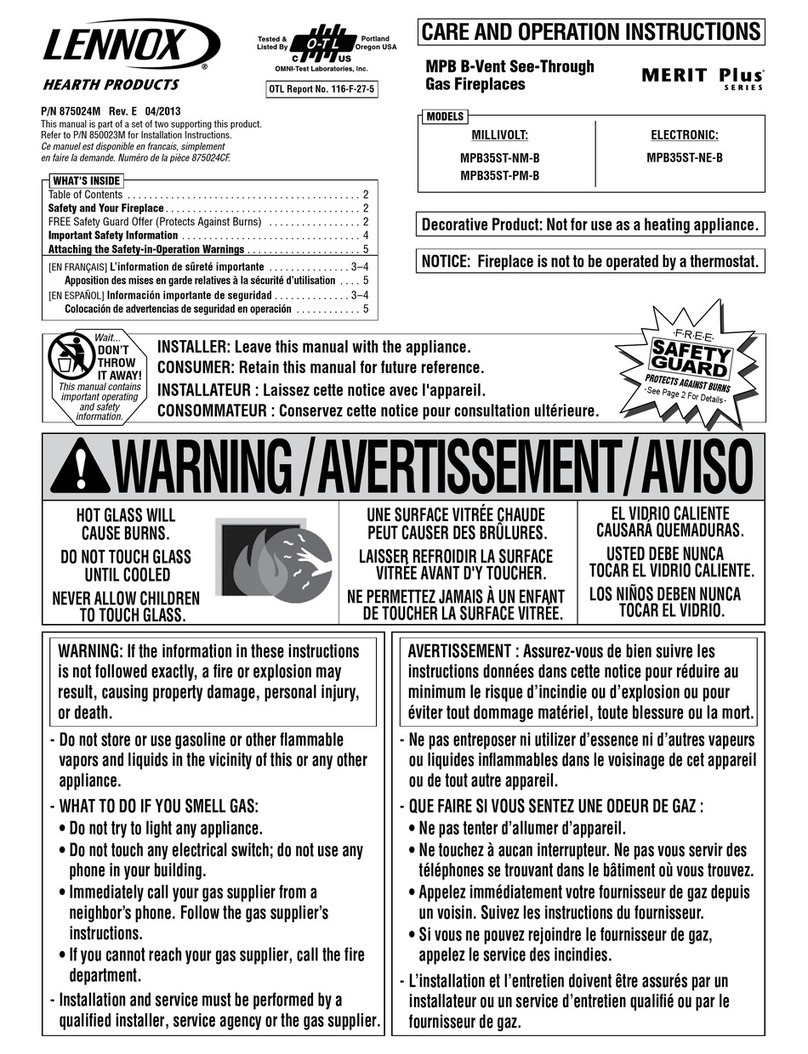
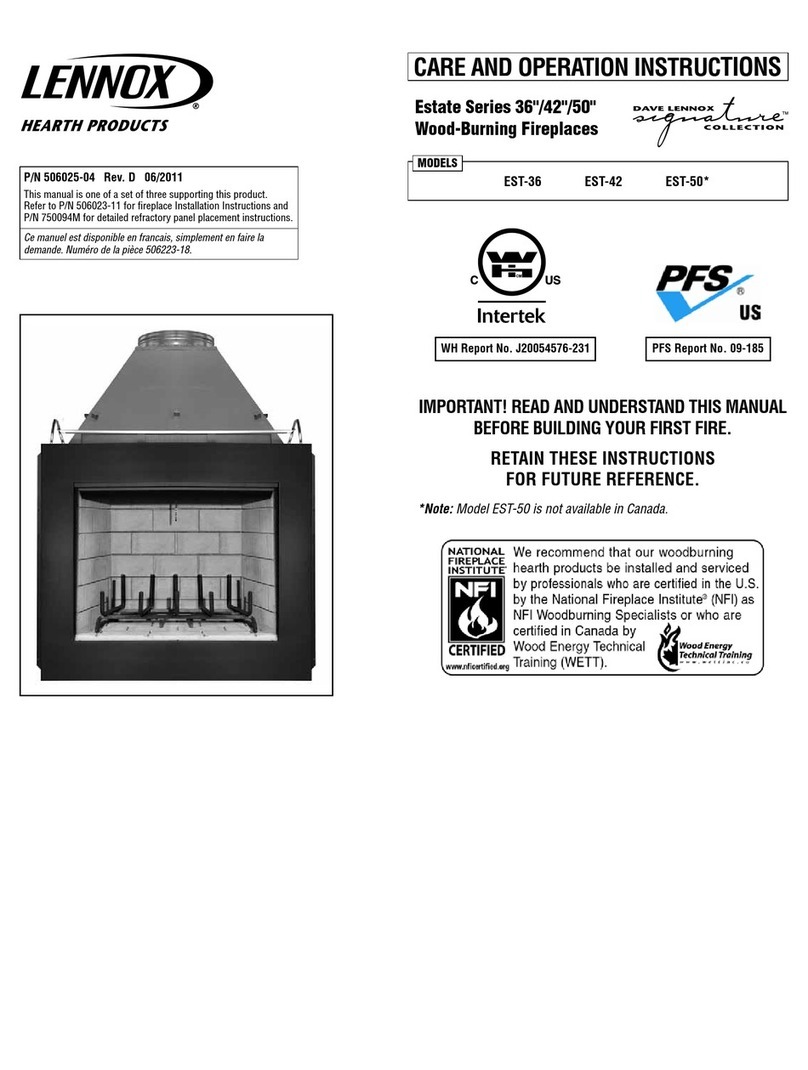
  9. Lennox ESTATE EST-36 User manual

Lennox ESTATE EST-36 User manual

NOTE: DIAGRAMS & ILLUSTRATIONS ARE NOT TO SCALE.
1
HEARTH PRODUCTS
KITS AND ACCESSORIES
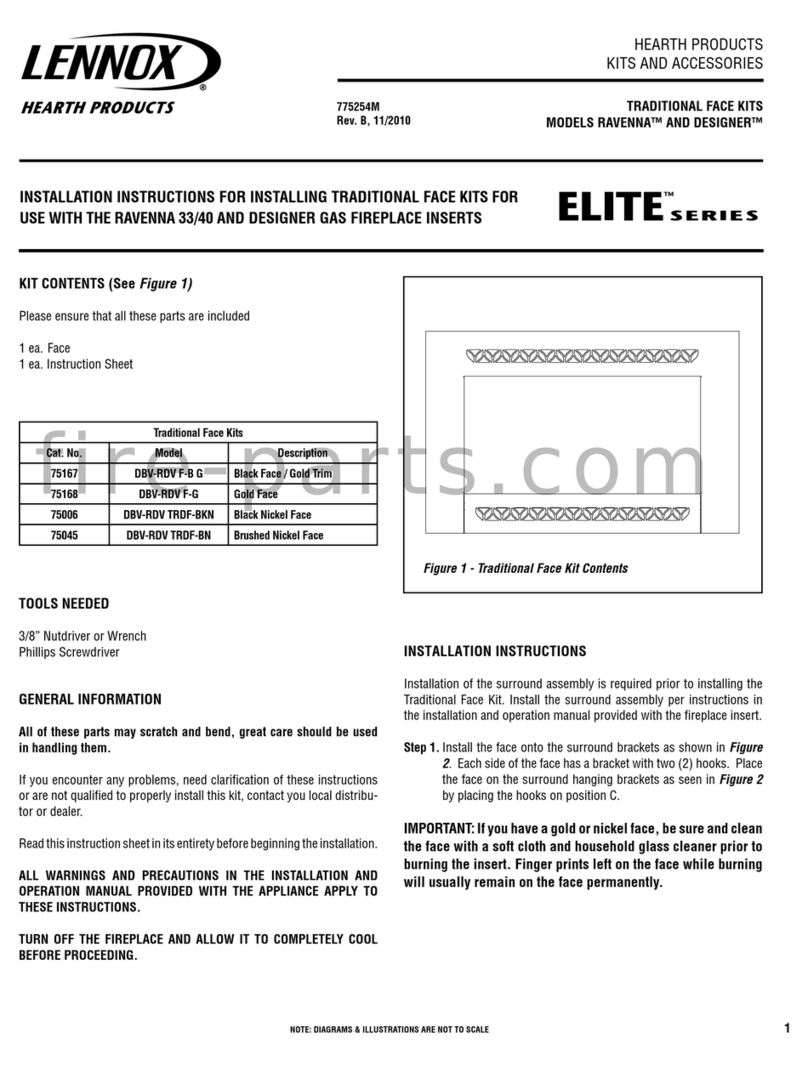
P/N 506019-64, Rev. NC
09/2010 REFRACTORY BRICK PANELS
INSTRUCTIONS FOR INSTALLING REFRACTORY BRICK PANELS
IN ESTATE™SERIES WOOD-BURNING FIREPLACES (MODELS EST-36, EST-42, EST-50)
INSTALLATION INSTRUCTIONS
INSTALLER NOTICE:
•READ ALL THE STEPS BEFORE STARTING THE INSTALLATION.
•
THESE INSTRUCTIONS MUST BE LEFT WITH THE APPLIANCE.
•ALL WARNINGS, PRECAUTIONS, AND INSTRUCTIONS IN THE
INSTALLATION INSTRUCTIONS AND CARE AND OPERATION
MANUALS PROVIDED WITH THE APPLIANCE ALSO APPLY TO
THESE INSTRUCTIONS.
•IF YOU ENCOUNTER ANY PROBLEMS, NEED CLARIFICATION OF
THESE INSTRUCTIONS, OR ARE NOT QUALIFIED TO PROPERLY
INSTALL THIS KIT, CONTACT YOUR LOCAL DISTRIBUTOR OR
DEALER.
KIT CONTENTS
• (1) ea. Left Side Refractory Panel
• (1) ea. Right Side Refractory Panel
• (1) ea. Back Refractory Panel
• (1) ea. Bottom Refractory Panel
The following items, required for this installation, are packaged
in the fireplace literature kit bag:
• (2) ea. Grate Brackets
• (2) ea. Refractory Brackets (EST-36 and EST-42 only)
REQUIRED TOOLS
• Box Cutters or Scissors
• 1/4" Nut Driver
• Phillips Screwdriver
• Large Flathead Screwdriver
GENERAL INFORMATION
This kit contains four refractory brick panels (two sides, one back,
one bottom) and instructions for their installation in Lennox Hearth
Products Estate™Series wood-burning fireplaces, models EST-36,
EST-42, and EST-50.
Step 1.Uncrate refractory panels.
1.1. See Figure 2, below. Remove screws from metal pallet brackets
on outside of pallet assembly.
1.2. Remove top part of pallet assembly.
Rear
Panel
Bottom
Panel
Left and Right
Side Panels Pallet
Brackets
LIFTING HAZARD.
SINGLE-PERSON LIFT COULD CAUSE INJURY.
USE ASSISTANCE WHEN MOVING OR LIFTING.
WARNING
Figure 2
Figure 1: Refractory Brick Panels (Traditional Pattern)
Left Rear Right Bottom
Estate™ Series Model EST-42 with Installed Refractory Brick Panels
(Traditional Pattern)
NOTE: DIAGRAMS & ILLUSTRATIONS ARE NOT TO SCALE.
LENNOX HEARTH PRODUCTS •ESTATE™SERIES WOOD-BURNING FIREPLACES (MODELS EST-36, EST-42, EST-50) •REFRACTORY BRICK PANEL INSTALLATION
2
Figure 4
CAUTION
PINCH POINTS!
Watch your hands.
4.1. Using at least two (2) people, hold the bottom (floor) panel by its
SIDE EDGES.
4.2. Place the FRONT EDGE of floor panel into the firebox first, behind
the front firebox spacers (Figure 5,below).
Step 2. [EST-36/EST-42] Remove lintel extension.
2.1. See Figure 3, below. Using a 1/4" nut driver, remove the lintel
extension by removing three screws.
2.2. Retain the lintel extension and screws for later reinstallation.
Remove 3 screws to remove lintel extension.
Step 3. Adjust position of gas line channels.
Each gas line channel must be adjusted to provide clearance for
installation of the bottom panel.
3.1. See Figure 4 (below) for location of gas line channels.
3.2. Using a hammer, gently tap each gas line channel from inside the
firebox, until each is FLUSH with the INSIDE FIREBOX WALL.
Make sure floor panel does not
cover ventilation holes in front
firebox floor.
Figure 5
Figure 6
Gas Line
Channels
Place FRONT EDGE
of floor panel in first,
BEHIND front spacers.
Figure 7
4.3. Carefully lower the BACK EDGE of the panel. When it is close to
the rear firebox wall, let go of the panel to drop it into position,
taking care not to pinch your fingers between the panel and
the firebox.
4.4. EST-36/EST-42: Push the floor panel as far back as it will go,
so the front edge is BEHIND the front firebox spacers and NOT
covering the front floor ventilation holes (Figure 6, below).
4.5. ALL MODELS: Insert a large flat screwdriver between the floor
panel and the firebox wall to center the floor panel (Figure 7,
below).
EST-36/EST-42:
Front Firebox Floor Ventilation Holes
Step 4. Install bottom (floor) refractory panel.
Lintel Extension [on EST-36 and EST-42 only]
Figure 3
~
WARNING
SINGLE-PERSON LIFT COULD
CAUSE INJURY. USE ASSISTANCE
WHEN MOVING OR LIFTING.
LIFTING HAZARD.
Use large screwdriver
to center floor panel.
NOTE: DIAGRAMS & ILLUSTRATIONS ARE NOT TO SCALE.
LENNOX HEARTH PRODUCTS •ESTATE™SERIES WOOD-BURNING FIREPLACES (MODELS EST-36, EST-42, EST-50) •REFRACTORY BRICK PANEL INSTALLATION
3
Figure 10
5.4. EST-36/EST-42: Refer to Figure 10, below. Rotate the rear spacer
bracket 90° COUNTER-CLOCKWISE, and then push the rear panel
flat against the rear wall of firebox.
5.5. EST-36/EST-42: Temporarily secure the rear panel with one of the
supplied refractory clips and a screw.
NOTE: The rear clip will be used only temporarily, to hold the
rear panel in place while installing the side panels.
EST-50: Snap the top of the panel into the factory-installed
bracket on the rear firebox wall.
Step 6.Install side panels.
6.1. Identify the LEFT and RIGHT SIDE refractory panels, as shown in
Figure 11, below.
6.2. While holding the LEFT SIDE PANEL in the correct position, place
the BOTTOM EDGE into the firebox first; then push the panel up
against the firebox wall (see Figure 12, below).
Step 5.Install grate brackets and rear panel.
5.1. Refer to Figure 8, below. Place the two grate brackets in the
indentations in the back recessed edge of the floor panel.
5.2. Using at least two (2) people, hold the rear panel by the side
edges, with the top edge up (Figure 9, below).
NOTE: The top edge of the rear panel is marked "TOP."
5.3. Place the BOTTOM EDGE of the rear panel on top of the two grate
brackets (as shown in Figure 8, above) and push the rear panel
back against the rear wall of the firebox.
Figure 9
Rotate rear spacer 90°.
LEFT Side Panel RIGHT Side Panel
Front
Edge
Front
Edge
Figure 11
Gas line knockouts are at
BOTTOM END of side panels.
6.3. Pull the side panel FORWARD, until it is sitting flush with the
FRONT edge of the firebox wall and flush on top of the floor panel.
6.4. EST-50: Snap the top of the panel into the factory-installed side
bracket; repeat these steps for the other panel; then skip to Step 7.
The remainder of these steps apply to EST-36 and EST-42 only:
6.5. Using a 1/4" nut driver, secure the top of the side panel in place by
screwing the remaining supplied refractory clip into the firewall.
NOTE: The other refractory clip must remain holding the
rear panel in place until the other side panel is installed.
6.6. Install the other side panel and pull it FORWARD, until it is flush
with the front firebox wall and flush on top of the floor panel.
6.7. Remove the refractory clip temporarily holding the rear panel in
place, and install it on the side wall to secure the second side panel.
6.8. Pull the top of the rear panel forward, so it is flush against the
back edges of the side panels (Figure 13, below). This allows air
to circulate behind the rear panel.
6.9. Rotate the rear spacer bracket 90° CLOCKWISE, to a VERTICAL
position behind the rear refractory panel (see Figure 13, below;
also refer to Figure 10, at left).
Figure 12
TOP
Figure 8
Rear Panel
Grate Bracket
Floor Panel
Grate
Brackets
Figure 13
Rear Spacer
(Return spacer to vertical
position after installing
all panels.)
Rear Panel
Left Side
Panel
[EST-36 / EST-42]
[EST-36 / EST-42]
NOTE: DIAGRAMS & ILLUSTRATIONS ARE NOT TO SCALE.
LENNOX HEARTH PRODUCTS •ESTATE™SERIES WOOD-BURNING FIREPLACES (MODELS EST-36, EST-42, EST-50) •REFRACTORY BRICK PANEL INSTALLATION
4
Figure 16
Printed in U.S.A. © 2010 by Lennox Hearth Products
P/N 506019-64 REV. NC 09/2010
Lennox Hearth Products reserves the right to make changes at any time, without notice,
in design, materials, specifications, and prices, and also to discontinue colors, styles,
and products. Consult your local distributor for fireplace code information.
1508 Elm Hill Pike, Suite 108, Nashville, TN 37210
Step 7. Install grate.
7.1. Install the grate by inserting the two rear legs into the holes in the
grate brackets.
NOTE: The rear legs are spaced closer together than the front.
Step 8. [EST-36/EST-42] Reinstall lintel extension.
8.1. See Figure 15, below. Reinstall the lintel extension using the three
(3) screws previously removed.
Step 10. Install optional bi-fold glass doors.
Optional bi-fold glass doors can be installed in front of the firescreens.
For information, see the "Accessories" section in the fireplace Care and
Operation manual (P/N 506025-04).
EST-36 and EST-42 only:
Reinstall lintel extension with 3 screws.
Lintel Extension
Figure 15
~
Screen Rod Installation (cutaway view)
NOTE: Attach mesh screens to rods
BEFORE installing rods inside lintel.
Step 9. Install mesh firescreens.
9.1. Place one of the provided screen rods through the loops at the
top of one of the provided mesh firescreens.
9.2. Insert the straight end of the rod into the hole inside one end of
the lintel, as shown in Figure 16, below.
9.3. Using a 1/4" nut driver and one of the provided screws, attach the
other end of the rod to the top inside of the lintel, as shown in
Figure 16, below.
9.4. Repeat these steps for the other rod and firescreen.
Figure 14
Screen Rod Installation Detail
(As viewed looking up into lintel, without screens attached)
Lintel
(on all models)
Lintel Extension
(on EST-36/42 only)
~
~
Insert grate legs into holes in brackets.

Other manuals for ESTATE EST-36

3

This manual suits for next models

2

Other Lennox Indoor Fireplace manuals

Lennox Merit MLBV-35NM User manual

Lennox

Lennox Merit MLBV-35NM User manual

Lennox Signature LSS-40CP User manual

Lennox

Lennox Signature LSS-40CP User manual

Lennox MLDVT-30NM User manual

Lennox

Lennox MLDVT-30NM User manual

Lennox MPD-3328 Series User manual

Lennox

Lennox MPD-3328 Series User manual

Lennox Montebello MDLX40IN User manual

Lennox

Lennox Montebello MDLX40IN User manual

Lennox LSM40ST-N User manual

Lennox

Lennox LSM40ST-N User manual

Lennox EDV4540CPM User manual

Lennox

Lennox EDV4540CPM User manual

Lennox Country Canyon C310 User manual

Lennox

Lennox Country Canyon C310 User manual

Lennox MPDT33RNM User manual

Lennox

Lennox MPDT33RNM User manual

Lennox BRENTWOOD SP User manual

Lennox

Lennox BRENTWOOD SP User manual

Lennox Merit Series User manual

Lennox

Lennox Merit Series User manual

Lennox Elite ELDV-35NM User manual

Lennox

Lennox Elite ELDV-35NM User manual

Lennox MONTECITO ESTATE MONTEST User manual

Lennox

Lennox MONTECITO ESTATE MONTEST User manual

Lennox Brentwood LV User manual

Lennox

Lennox Brentwood LV User manual

Lennox MLDVT-30NM User manual

Lennox

Lennox MLDVT-30NM User manual

Lennox ESTATE EST-36 User manual

Lennox

Lennox ESTATE EST-36 User manual
Lennox MERIT Plus MPDP35IN User manual

Lennox

Lennox MERIT Plus MPDP35IN User manual

Lennox Montebello DLX Series User manual

Lennox

Lennox Montebello DLX Series User manual

Lennox Montebello MDLX40IN-PV User manual

Lennox

Lennox Montebello MDLX40IN-PV User manual

Lennox B-VENT METIT Series User manual

Lennox

Lennox B-VENT METIT Series User manual

Lennox SHRL 33 DV INS Owner's manual

Lennox

Lennox SHRL 33 DV INS Owner's manual

Lennox ADAGIO-MN User manual

Lennox

Lennox ADAGIO-MN User manual
Lennox EARTH STOVE 2800HT User manual

Lennox

Lennox EARTH STOVE 2800HT User manual

Lennox MONTECITO ESTATE User manual

Lennox

Lennox MONTECITO ESTATE User manual

Popular Indoor Fireplace manuals by other brands

Napoleon NEFL42CHD-1 manual

Napoleon

Napoleon NEFL42CHD-1 manual

Masport WOOD FIRE installation guide

Masport

Masport WOOD FIRE installation guide

JAYLINE SS280 Installation & operation instructions

JAYLINE

JAYLINE SS280 Installation & operation instructions

Heat-N-Glo SL-32S Installation

Heat-N-Glo

Heat-N-Glo SL-32S Installation

kozy heat Bellingham 52 quick start guide

kozy heat

kozy heat Bellingham 52 quick start guide

Paragon Fires ROOM SEALED INSET LIVE FUEL EFFECT GAS FIRE owner's manual

Paragon Fires

Paragon Fires ROOM SEALED INSET LIVE FUEL EFFECT GAS FIRE owner's manual

Monessen Hearth LCUF32CR-B Installation & owner's manual

Monessen Hearth

Monessen Hearth LCUF32CR-B Installation & owner's manual

PuraFlame Galena owner's manual

PuraFlame

PuraFlame Galena owner's manual

Dimplex Toluca Deluxe instruction manual

Dimplex

Dimplex Toluca Deluxe instruction manual

SEI TENNYSON FA8544AO Assembly instructions

SEI

SEI TENNYSON FA8544AO Assembly instructions

Dru G25 installation manual

Dru

Dru G25 installation manual

Capital fireplaces Designline DL700 Installation and user instructions

Capital fireplaces

Capital fireplaces Designline DL700 Installation and user instructions

IronStrike VINTAGE VINT-DVS-U Installation and operation

IronStrike

IronStrike VINTAGE VINT-DVS-U Installation and operation

ACR Heat HERITAGE N25 Installation and operating instruction manual

ACR Heat

ACR Heat HERITAGE N25 Installation and operating instruction manual

European Home HVF-42 Installation, operation and owner's manual

European Home

European Home HVF-42 Installation, operation and owner's manual

Quadra-Fire MTVERNINSAE-MBK Owner's manual operation & care

Quadra-Fire

Quadra-Fire MTVERNINSAE-MBK Owner's manual operation & care

Harman Home Heating Accentra Insert Installation & operating manual

Harman Home Heating

Harman Home Heating Accentra Insert Installation & operating manual

Trimline Fires Zircon 1024 installation instructions

Trimline Fires

Trimline Fires Zircon 1024 installation instructions

manuals.online logo
manuals.online logoBrands
  • About & Mission
  • Contact us
  • Privacy Policy
  • Terms and Conditions

Copyright 2025 Manuals.Online. All Rights Reserved.