Step 3: Enable Advanced Diagnostics
Protect your investment and peace of mind with active monitoring of system
operations through your Lennox S40 Smart Thermostat. This feature is free of
charge and provides basic maintenance reminders, alerts you of potential issues,
and can even allow you to remotely share diagnostics with your local Lennox
dealer to troubleshoot and fix problems. This proactive care helps eliminate
downtime and avoid unnecessary service visits and repair costs, ensuring
nothing short of perfect air.
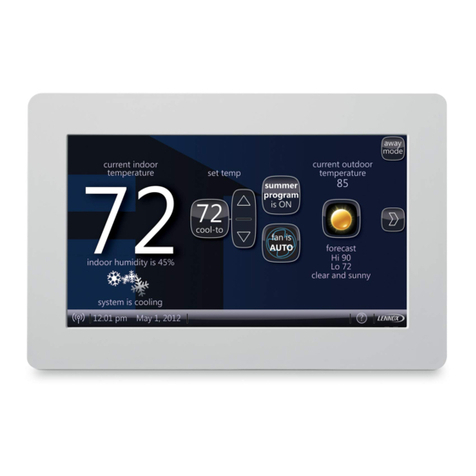
From your thermostat’s home screen,
go to Menu > Settings > Dealer Support Services
There are two screens under this section, Service Contact Info and Dealer Support
Access. If you wish to allow your service provider direct access for troubleshooting
your system, then select the following (highly recommended):
Remote Sharing:
“ON” - Allows your Lennox Dealer to remotely evaluate the status of your system
to ensure optimal performance.
Advanced Diagnostics & Troubleshooting:
• “ON/ALWAYS” - You will always give authorization to your Lennox Dealer to
troubleshoot your system remotely.
• “OFF” - You will not give authorization to your Lennox Dealer to troubleshoot
your system and address system performance remotely.
Alerts and Notications:
• “ON” - Allows your Lennox Dealer to receive updates when your system
needs maintenance.
Note: All three options must be toggled on for Advanced Diagnostics &
Troubleshooting to function.
Step 4: Download the Lennox Smart Thermostat App
Search for the “Lennox Smart Thermostat App” in the Apple App Store or on
Google Play, and download to your smartphone or tablet.
You can now access your account through either your Lennox Smart Thermostat
or the app. Add a new thermostat, create a new account, or change your settings,
whenever you want.
From your home screen, go to Menu > User Account and enter your credentials.
If you already have an account and are connecting multiple thermostats, select
“Existing Account” and use your credentials to connect them.
Step 1: Connect your thermostat to Wi-Fi
From your thermostat’s home screen, go to Menu > Settings > Wi-Fi. Toggle
the Wi-Fi option to “ON” and select on “Not Connected.”
• The thermostat will automatically list the Wi-Fi networks it discovered.
Troubleshooting:
• Choose 2.4Ghz (if applicable).
• Ensure you are logged in to your own Wi-Fi network and not one nearby that
you’re not authorized to use.
Step 2: Create Your Account and Login Credentials on
your Lennox Smart Thermostat
Once your Lennox Smart Thermostat is connected to Wi-Fi, you’re ready to
create an account and take control. If you already have an account, simply sign in
using your email and password.
Create Your Account
From your thermostat’s home screen, go to Menu > User Account.
1. Select “Create New Account.”
2. Enter account details such as your first and last name, phone, email address,
and password.
3. Toggle whether you want to receive email updates and reminders. By signing
up for email updates, you will receive a monthly performance report.
4. Click to allow your dealer to receive service alert (highly recommended).
5. Click to agree to the Lennox End User Licensing Agreement (EULA).
6. Enter your information and select “Next.” Enter your country/region, address,
city, state, and zip code.
7. Select “Create Account.”
Welcome to Your Home Comfort Command Center
Let’s get started
Account Creation Screen

