Lenovo Bretford LVR3X-G2 User manual

USER GUIDE
LVR3X-G2

USER GUIDE • LVR3X-G2
Thank you for choosing Bretford
Thank you for choosing Bretford for your store and charge needs. We hope you enjoy your new
product! As original product owner, Bretford stands behind you and your investment. Take a moment
to register your warranty for enhanced support and product information, at Bretford.com/start.
Keyed Rear Access Door
Easily access power outlets
and plug in cables.
Padlock
Included programmable
padlock helps keep
devices secure.
2
Teacher Device Slot
Store and charge
teacher device in a
tucked away slot.
Device Drawer
Stores, charges and organizes
VR headsets and wireless
controllers.

USER GUIDE • LVR3X-G2
Features and Specifications
Model #
LVR3X-G2 three drawer cart
Dimensions (W x D x H)
Cart
29.25 x 28.5 x 44.5 inches
Shipping Box
32 x 40 x 52 inches
Weight
Shipped: 274 lbs.
Unboxed: 244 lbs.
Shipping
Ships fully assembled
Standard Colors
Concrete and Red
What’s in the Box
LVR3X-G2
Combination Padlock
Power Cord
Hardware Pack
Certifications
LVR3X-G2 has been listed to
UL 60950-1 Safety of Information
Technology Equipment.
Device Drawer
25 lbs.
3

USER GUIDE • LVR3X-G24
Wiring the Device Drawers
1. Open the rear access door.
2. Plug the USB Power Bricks (included with the VR
Classroom Kit) into the outlets in each of the three
drawers (12 bricks per drawer). Note: Within each
drawer, leave the center outlet empty.
3. While still facing the back of the cart, route four of the
power brick cables in the top drawer through the hole on
the left side, and route the other eight cables through
the hole on the right side. This will bring all 12 cables
into the interior of the top drawer.
4. Once all of the cables have been routed to the interior of
the drawer, move to the front of the cart.
5. Pull the top drawer out to its fully-extended position.
6. Remove the two thumb screws at the back of the drawer
and then remove the cover.
7. Lay the set of four cables into the cable management
channel in the bottom right of the drawer, and then lay
the set of eight cables into the cable management
channel in the bottom left of the drawer.
8. Replace the cover (do not replace thumb screws at this
time) and route each cable through its nearest Cable
Retention Slot and move it to the desired hole location.
9. Once the cables have been routed to their proper
resting place, re-install the thumb screws.
10. Repeat steps 3-9 for the middle drawer and then for the
bottom drawer.
11. Place the VR Headsets (USB-C port facing up) and
Wireless Controllers into their respective storage
areas (see picture to the left for proper orientation of
headsets) and plug the cables into the headsets.
Wireless Controller
Storage
VR Headset Storage
(headsets in middle and
right rows face forward with
USB-C ports facing up;
headsets in left row face
backward with USB-C ports
facing up)
Protective Rubber Mat
USB Power Bricks
Cable Retention Slots
Instructions

USER GUIDE • LVR3X-G2 5
Wiring the Teacher Tablet Charging Cable
(Top Drawer)
1. Open the front access doors.
2. From the back of the cart, plug the Lenovo charging cable for
the teacher tablet into the center outlet of the top drawer.
3. Route the cable loosely below the bottom of the top drawer,
and then move to the front of the cart.
4. Pull the top drawer out to its fully-extended position, exposing
the bottom of the drawer.
5. Locate the flange for the cable to be zip tied near the device
slot itself.
6. Zip tie the cable to the flange, allowing the adapter side of the
cable to hang from below.
7. Return the drawer back to its position inside the cart.
Note: Be sure to plug the cable into the teacher tablet before
sliding the tablet into its slot. Be sure to unplug the cable from the
teacher tablet before removing the tablet from the cart.
Wiring a Wireless Router
(Middle Drawer)
1. Open the front and rear access doors.
2. From the back of the cart, plug the power adapter cable into
the center outlet of the middle drawer.
3. Push on the drawer until it is fully extended out of the front of
the cart (this distance is the amount of cable slack that needs
to exist before the next step).
4. With the drawer extended, route the power adapter cable up
through the grommet in the right upper corner of the back of
the cart.
5. Zip tie the power adapter cable to the holes just inside the
rear door frame.
6. Plug the power cable into the back of the router and secure
the router to the top of the cart (via Velcro strips or other
attachment method).
7. Return the drawer back to its position inside the cart.

USER GUIDE • LVR3X-G26
Product Warranty
Bretford Manufacturing, Inc. (hereinafter “Bretford”) designs and
manufactures its products to provide dependable operation. Bretford
therefore guarantees that all products it manufactures are free from
defects in materials or workmanship on the date of shipment. Any
product that under normal use fails to function within the time
periods specified below and is found defective in materials or
workmanship upon inspection by Bretford, will at Bretford’s discretion
be either be repaired or replaced with the same or a functionally
equivalent product, at no charge to you, the end customer.
This warranty is inapplicable where, in the judgment of Bretford, the
defect is attributable to abnormal wear, incorrect application, abuse,
accident, misuse, modification or damage after shipment from
Bretford’s facility, including damage caused by your failure to
maintain the item properly.
TO THE EXTENT PERMITTED BY APPLICABLE LAW: (A)
BRETFORD IS NOT LIABLE FOR ANY DIRECT, INDIRECT,
INCIDENTAL OR CONSEQUENTIAL DAMAGES ARISING OUT OF
THE USE OF THE PRODUCT OR THE SERVICE IT PROVIDES;
(B) THE WARRANTY AND REMEDIES DESCRIBED ABOVE ARE
EXCLUSIVE AND IN LIEU OF ALL OTHER WARRANTIES,
EXPRESS OR IMPLIED. TO THE EXTENT PERMITTED BY LAW,
BRETFORD REJECTS ALL IMPLIED AND STATUTORY
WARRANTIES, INCLUDING THE IMPLIED WARRANTIES OF
MERCHANTABILITY AND FITNESS FOR A PARTICULAR
PURPOSE. IF IMPLIED WARRANTIES CANNOT BE REJECTED
UNDER APPLICABLE LAW, THEN SUCH WARRANTIES ARE
LIMITED IN DURATION TO THE APPLICABLE DURATION OF
THIS WARRANTY. NOTE THAT YOU MAY HAVE OTHER RIGHTS
PROVIDED BY LAW.
Help & Support
Warranty claims should be processed by the end customer
contacting the Bretford Customer Support Team. Prior to contacting
Bretford, please have ready the model number, serial number and
date of manufacture of the unit you are making the claim for.
Model number, serial number and date of manufacture can all be
found on the Bretford label inside the product.
Bretford’s Customer Support Team can be contacted in one of the
following ways:
Hours of operation: Mon-Fri, 8 a.m. to 4:30 p.m. CST
Telephone: +1-866-866-4758
Important Safety Notices
Product for Indoor Use Only.
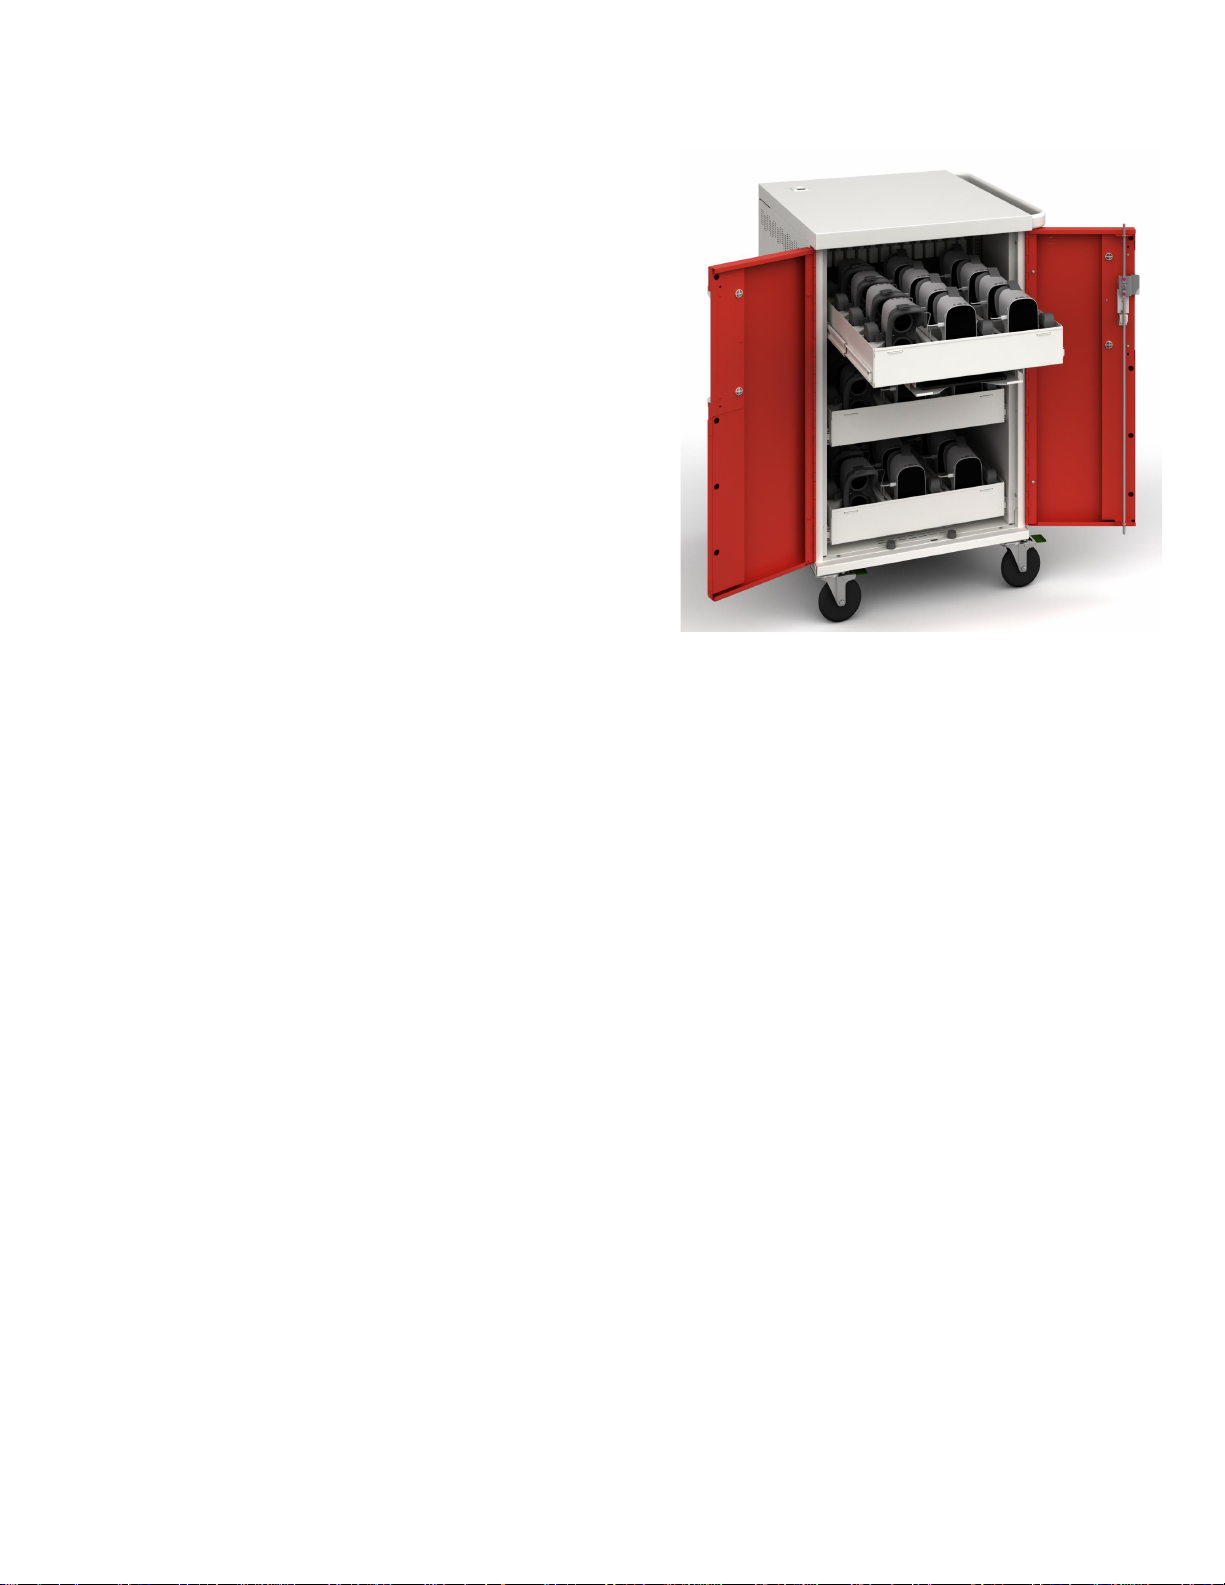
User can plug up to (38) devices in at one time (36 VR devices,
(1) tablet, (1) wireless router).
Unplug cart from the wall before plugging in any devices to the
device drawer.
Do not plug the cart in if the switch or power cord has been
damaged.
Do not plug the power cord into another extension cord or re-
locatable power tap.
Unplug cart before moving to a different location.
Ensure casters are locked before operating cart doors.
Be sure to lock up cart in a secure environment after every use.
Do not share the lock combination with any unauthorized
persons.
The socket-outlet shall be installed near the equipment and
shall be easily accessible.
Table of contents
Other Lenovo Batteries Charger manuals