manuals.online logo
Brands
  1. Home
  2. •
  3. Brands
  4. •
  5. Let's Go Aero
  6. •
  7. Tent
  8. •
  9. Let's Go Aero Tentris SummitHaus User manual

Let's Go Aero Tentris SummitHaus User manual

Fiberglass, shock-corded with metal tips - grey
Fiberglass, shock-corded w/bends & metal tips - grey
Fiberglass, shock-corded with caps- grey, short
REV051920
QTY. PART NAME DESCRIPTION
Velcro Tent Body
Velco Expansion Strips
Main Body Poles
Doorway Awning Poles
Doorway Awning Support Poles
Carry Bag
Pole Bag
Stake Bag
Guy Lines
Stakes
Pole Bungee Wrap
1
4
4
2
2
1
1
1
4
4
7
Review your parts list above to make sure all parts have been
included in your package.
For assistance: Call Let’s Go Aero, 719-630-3800 or 877-464-2376
Monday-Friday 8:30-5:00 pm MST.
For additional product information and related acces-
sories, visit our website: www.LetsGoAero.com
SummitHaus Tent Manual
LittleGiant & SpecOps Trailer Camper Upfit
(Gray)
(Gray with Bends)
(Gray, Short)
(Gray)
Main Body Pole
Main Body Pole
Doorway Awning Pole
Doorway Awning Support Pole
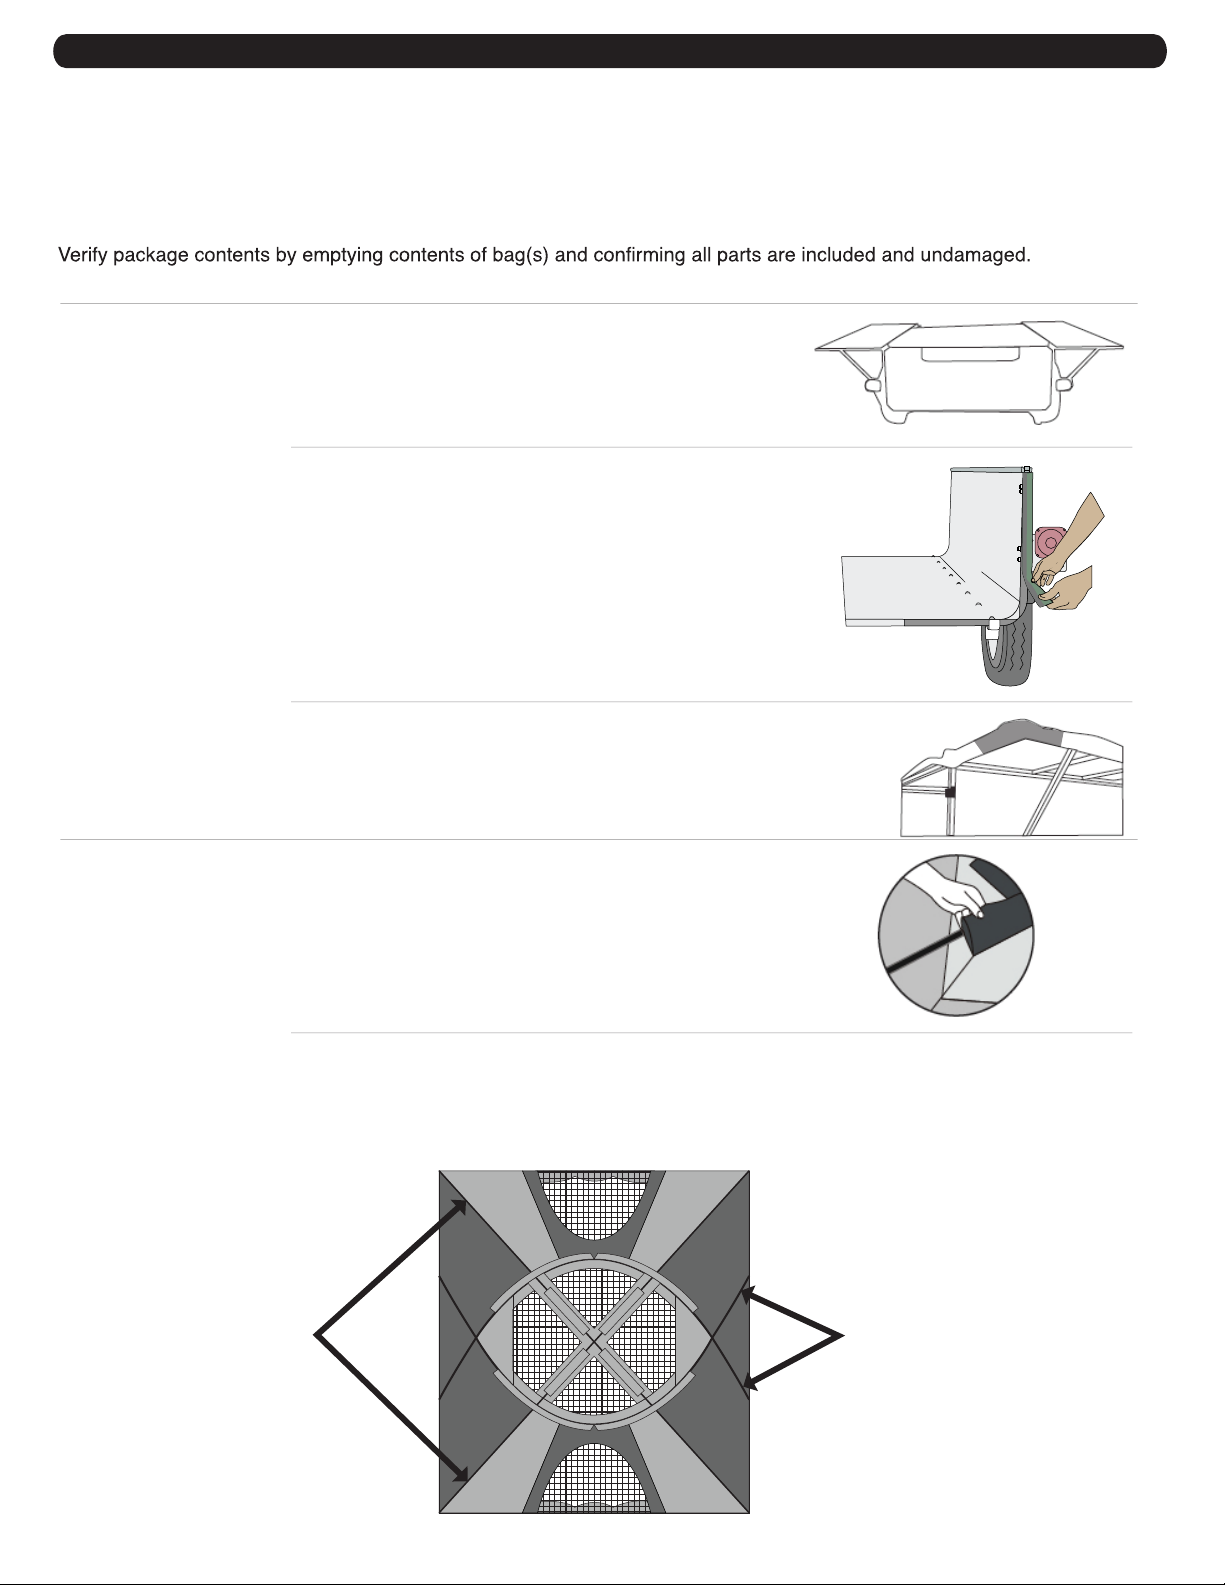
WE ADVISE YOU TO ASSEMBLE THIS PRODUCT AT LEAST ONCE AT HOME BEFORE GOING ON A TRIP.
-
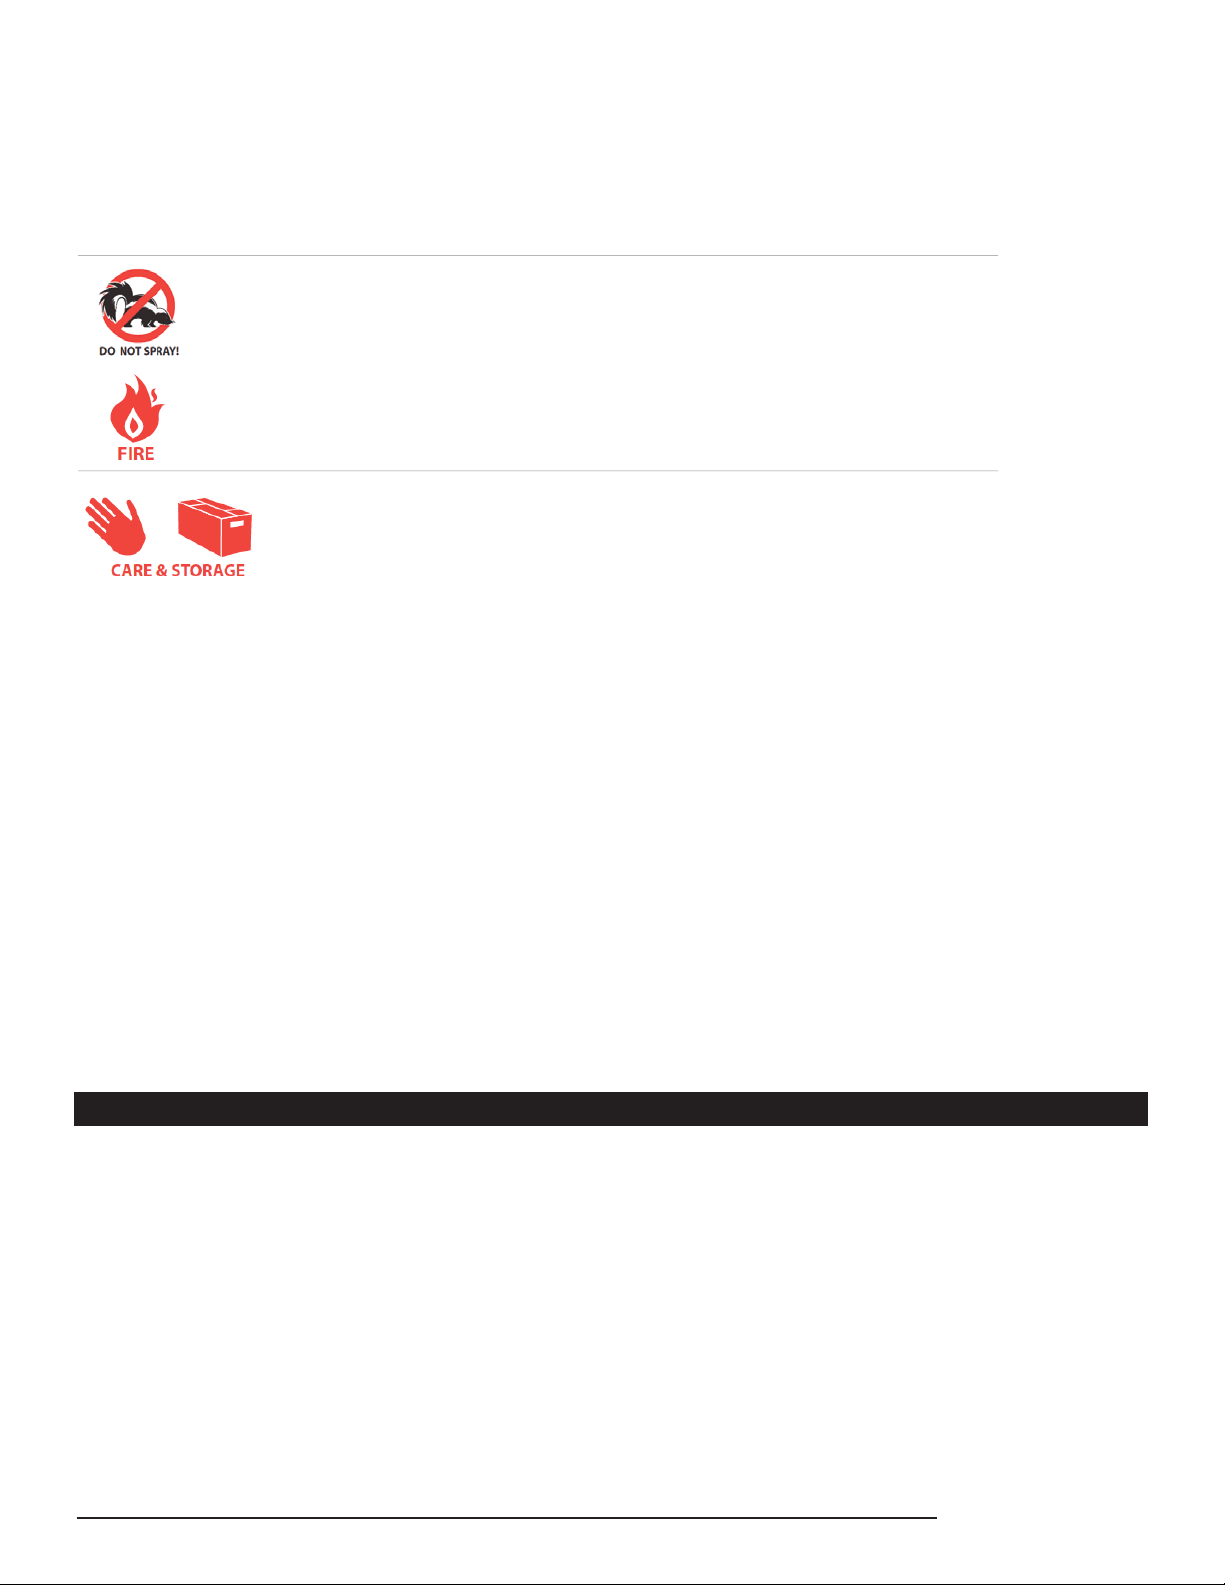
IMPORTANT NOTICE: You may compromise the original FIRE RETARDENCY and WATER REPELLENCY protective coatings when you apply sprays
or other chemical treatments to your tent. This fabric has been factory-treated and is HIGHLY WATER-REPELLANT; however, it is NOT WATER-
PROOF. All tents can experience seam leakage during wet weather. If you desire additional moisture protection, use a seam sealing compound
ONLY; be sure to follow the manufacturer’s directions.
Important: Prolonged exposure to sunlight that causes UV damage and/or the use of non-recommended foreign substances on synthetic material may
damage the fabric properties and IS NOT COVERED BY THE LIMITED WARRANTY.
REPAIRING A TEAR:
For small tears use a self-adhesive patch kit or polyurethane based sealer compound. We recommend a repair shop for larger tears.
Zipper Maintenance:
Nylon coil sippers are self-repairing. In the event of separation, move the slider to the beginning of the zipper tape and re-work zipper.
WARNING: KEEP ALL FLAME AND HEAT SOURCES AWAY FROM THIS PRODUCT FABRIC. THIS FABRIC IS NOT
FIREPROOF! It is made with flame resistant fabric, which meets CPAI-84 specifications. The application of any foreign
substance to the fabric may render the flame-resistant properties ineffective.
Do NOT ERECT NEAR an open flame. NEVER use any fuel burning. oxygen consuming devices, or any device that produces
fumes – including, but not limited to: cooking stoves, lanterns, candles, hibachis, or heaters – in or around your product.
Inhalation of fumes may result in carbon monoxide poisoning, injury and/or death.
This product is NOT machine washable or machine dryable.One of the easiest ways to damage your product is storing it
while wet. If you must close camp in the rain, follow these guidelines carefully:
• As Soon As Possible: Open the tent and ensure that every area of fabric is clean and completely dry before rolling up for storage.
• If necessary, hang the tent outside or loosely drape over a ladder in your garage or spare room for a few days, turning it inside and out to prevent
trapping pockets of water or debris.
• Use a soft brush to wipe away surface dirt.
To clean your product: Hand wash using a mild dishwashing soap and softbristle brush, then allow the fabric to completely air dry.
Don’t neglect the frame: Whip down all parts - steel, plastic, and fiberglass
- before putting away for next season’s use. Salts from ocean air can and do affect damage if not dealt with as quickly as possible.
Storing a wet fabric for as little as 24 hours in warm weather is likely to cause fabric to mildew. Once mildew sets in, the stains are permanent. Stains
cannot be removed without potential harm to the fabric’s coatings; chemicals or cleaning agents used to remove dirt and stains may irreversibly harm
the fabric.
Salts, mildew and other causes and subsequent effects are NOT covered under the limited warranty.
If your product does not work properly because of a defect in materials or workmanship, Let’s Go Aero Inc. will, for 1 Year from the
date of purchase, at its option either (a) repair our product with new or refurbished parts, or (b) replace it with a new product. The
decision to repair or replace will be made by Let’s Go Aero Incorporated. If repair is needed during the limited warranty period, the
purchaser will be required to furnish a sales receipt as proof of purchase indicating date of purchase, amount paid, and place of
purchase. Product will not be covered under warranty due to damages resulting from misuse, excessive or abusive usage, and/or
inclement weather conditions (i.e. windstorms, hurricanes, lightening stormes, tornadoes). In such events, the consumer assumes cost
of needed parts. Let’s Go Aero is not responsible for normal wear and tear, zipper exhaustion, or the natural breakdown in materials
that occurs with extended use.UNDER NO CIRCUMSTANCES SHALL LET’S GO AERO INC BE LIABLE FOR ANY INCIDENTAL OR
CONSEQUENTIAL DAMAGES. Some states do not allow the exclusion or limitation of incidental or consequential damages, so the
above limitation may not apply to you.LET’S GO AERO INC EXPRESSLY EXCLUDES ALL WARRANTIES, INCLUDING, BUT NOT
LIMITED TO, ANY IMPLIED WARRANTIES OF MERCHANTABILITY AND FITNESS FOR A PARTICULAR PURPOSE. Some states
do not allow the exclusion or limitation or implied warranties, so the above limitation may not apply to you.HOW TO OBTAIN WARRAN-
TY SERVICE: Call Let’s Go Aero at 719-630-3800 or 877-464-2376 during business hours. You must have a copy of your purchase
receipt from an authorized dealer (or Let’s Go Aero if purchased directly from us) as proof of purchase at time of call.
Limited 1 Year Warranty
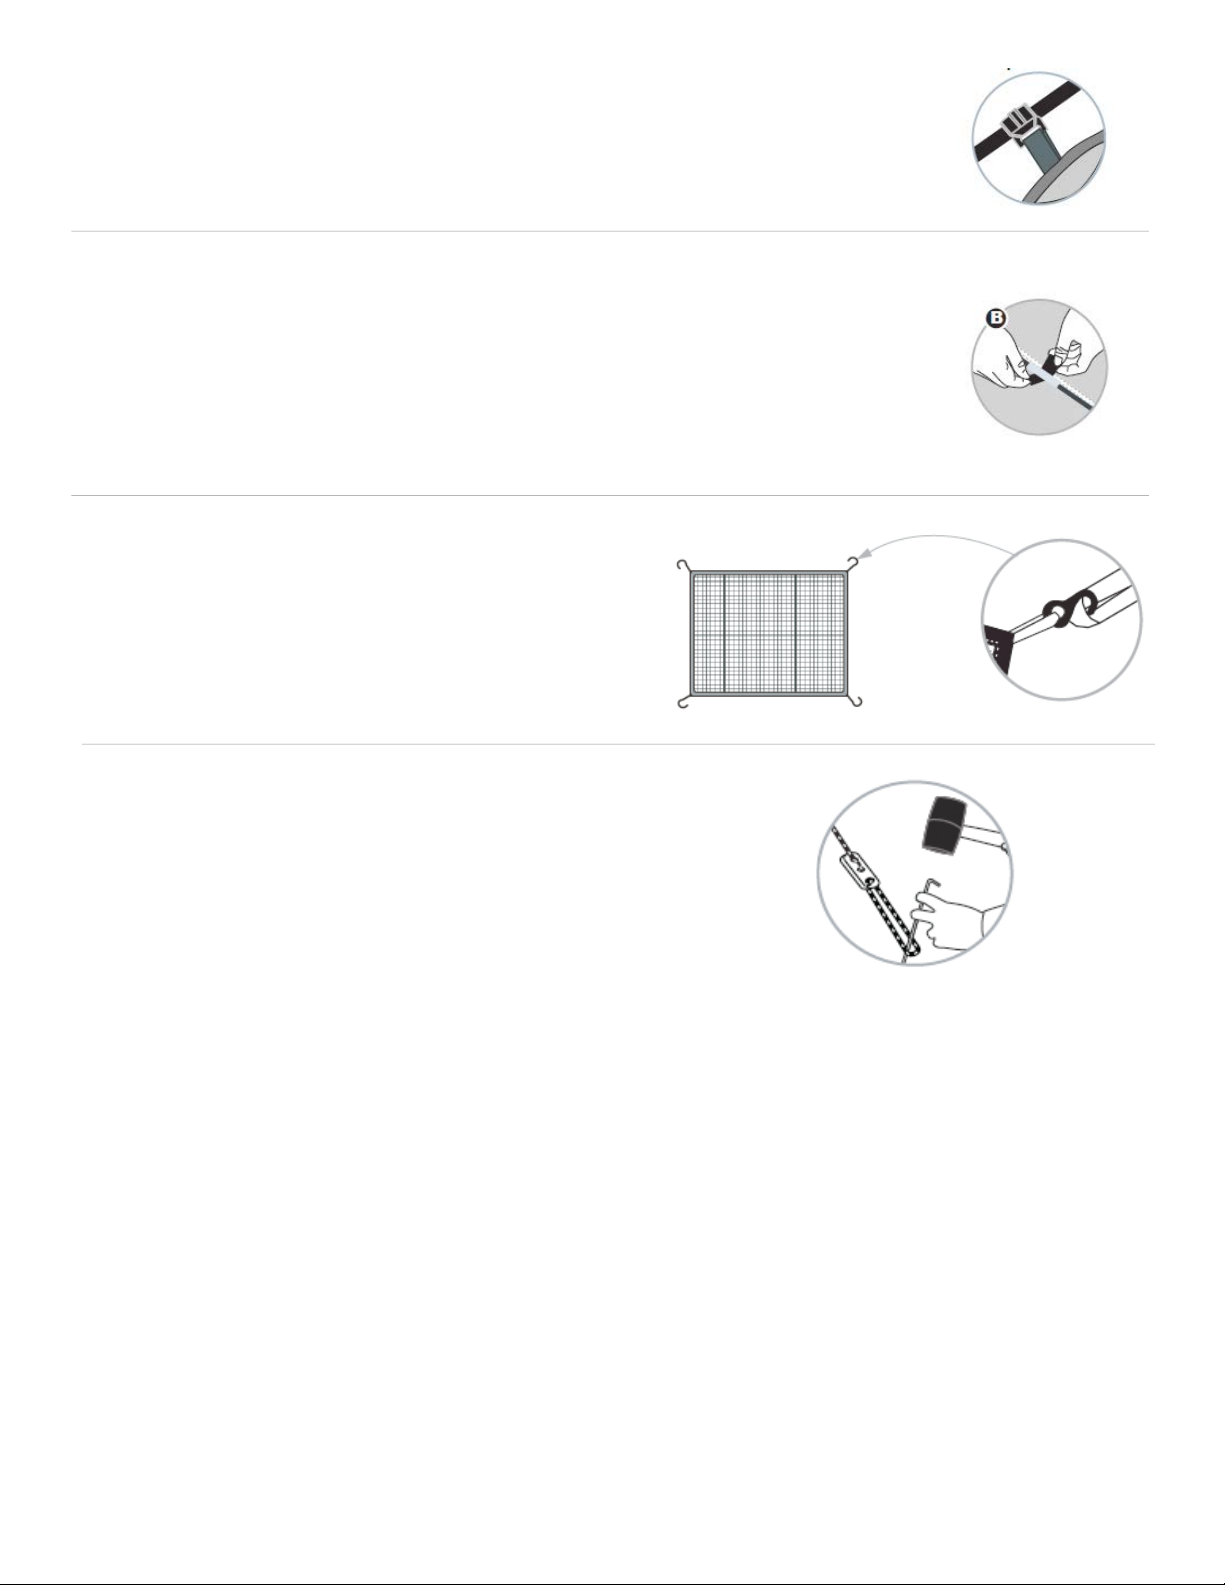
Obtain a familiarity with the assembly and disassembly process to ensure preparadness should you find yourself setting up in the
dark or adverse weather conditions.
THIS RECREATIONAL PRODUCT REQUIRES ADULT SUPERVISION TO ASSEMBLE.
* Unless otherwise specified all instructions will be given assuming the assembler is facing the front opening of the tent.
* Carefully fold out your poles. Make sure each pole segment is “seated” into the next section
before flexing the pole during set-up. Sort poles by type and length; refer to parts list descriptions.
* Do not drop tent pole bag. Do not bounce tent bag on its end to remove tent, as these actions may damage the shock-corded and/or pole ends.
ASSEMBLY INSTRUCTIONS
STEP 1: Verify Package Contents
Tip: Do this at home before you leave on your trip.
STEP 2: Attach Tent Fabric to Trailer
A) Attach Camper Deck Panels to both sides of Trailer.
Place both end gates in center section of trailer.
C)
B)
Open and spread out tent over camper decks and align doors in the right locations.
Start by velcroing each cornor of the decking first.
With the all four corners in place, press down the remaining of the velcro sides.
Extend Fiberglass poles and place in position ready for instllation. Sort by size and
colors.
STEP 3: Install Poles
INSTALL THE OTHER
TWO (2) MAIN TENT POLES
INSTALL FIRST TWO
(2) POLE SETS
A)
Locate th e15ft four Main Tent Poles (uniform in length); install first two (2) pole sets, feed each pole through trnt
sleeves to opposing side of each corner. The other two (2) Main Tent Poles are to be installed starting near the
middle of the tent, feed through tent sleeeve to parallel middle tent pocket. Erect the tent by installing the pole ends
in the corner pockets first and then in the middle pockets.
B)
Apply Velcro Tent Expansion Strips to the front vertical sides of the trailer
TIP: Expansion strips are for optional use to provide added surface area for ease of
doorway zipper use. Strips may remain attached to tent for storage.
C) Using the black clips and greeen tent ties, attach the tent body to the corner pole sets.
A) Unfold the rainfly and pull it over the tent body and attch the rainfly at the four
corner. Secure rainfly by wrapping nylon fasters (located on the underside of the
fly) around the tent.
B) Install the Door Awning Poles (2) in the rainfly over each end of the camper and
lock the metal end tips in the side stell latches. Install the 32in Door Awning
Support Poles directly above the door.
STEP 4: Attach Rainfly
STEP 5: Install the Gear Loft
To install the Gear Loft, simply attach its S-Hooks to the fabric
loops inside tent ceiling.
TIP: Gear loft is for storing light weight items only.
STEP 6: Stake Guy Lines
To secure guy lines, locate guy line plastic slider and look for the portion of the
line opposite the knot. Pull this portion, forming a loop (works like a slip knot).
Extend guy line to ground and stake. Repeat with remaining guy lines.
Tip: Stakes provided are for solid ground. Camping in sand?
We suggest corkscrew style.

Other Let's Go Aero Tent manuals

Let's Go Aero Tentris ArcRV SAR205 User manual

Let's Go Aero

Let's Go Aero Tentris ArcRV SAR205 User manual

Let's Go Aero Tentris ArcHaus ARC-10 User manual

Let's Go Aero

Let's Go Aero Tentris ArcHaus ARC-10 User manual

Let's Go Aero Tentris ArcHaus SAR031 User manual

Let's Go Aero

Let's Go Aero Tentris ArcHaus SAR031 User manual

Let's Go Aero Tentris TreeHaus TRE-07 User manual

Let's Go Aero

Let's Go Aero Tentris TreeHaus TRE-07 User manual

Let's Go Aero Tentris TreeHaus User manual

Let's Go Aero

Let's Go Aero Tentris TreeHaus User manual

Popular Tent manuals by other brands

GigaTent CT120 owner's manual

GigaTent

GigaTent CT120 owner's manual

EURO E90BCSS Installation, use & maintenance instruction manual

EURO

EURO E90BCSS Installation, use & maintenance instruction manual

Sunjoy 10'x12' Bay Window Gazebo instruction manual

Sunjoy

Sunjoy 10'x12' Bay Window Gazebo instruction manual

Tuindeco 42.7916 Assembly instructions

Tuindeco

Tuindeco 42.7916 Assembly instructions

PACIFIC PLAY TENTS 20408 instructions

PACIFIC PLAY TENTS

PACIFIC PLAY TENTS 20408 instructions

Classic Accessories 71827 instructions

Classic Accessories

Classic Accessories 71827 instructions

Clarke CIG91015 Assembly instructions

Clarke

Clarke CIG91015 Assembly instructions

PartySpace AIRSPACE ZODIAC manual

PartySpace

PartySpace AIRSPACE ZODIAC manual

GigaTent MM006 owner's manual

GigaTent

GigaTent MM006 owner's manual

NETTUNO Marine Equipment SUPERIOR Assembly instructions

NETTUNO Marine Equipment

NETTUNO Marine Equipment SUPERIOR Assembly instructions

Maison Battat B. spaces Happy Hideaway Kids' Play Tent... Assembly instructions

Maison Battat

Maison Battat B. spaces Happy Hideaway Kids' Play Tent... Assembly instructions

komodo KDCMPTNT4PA user manual

komodo

komodo KDCMPTNT4PA user manual

Coleman TIOGA 10 14'x14' instructions

Coleman

Coleman TIOGA 10 14'x14' instructions

Harbor Freight Tools BIG TOP 92928 Assembly instructions

Harbor Freight Tools

Harbor Freight Tools BIG TOP 92928 Assembly instructions

Torpedo7 Large 6 instructions

Torpedo7

Torpedo7 Large 6 instructions

skandika outdoor EASY AIR 3XL Setup Instruction

skandika outdoor

skandika outdoor EASY AIR 3XL Setup Instruction

Grand Canyon DOLOMITI 6 manual

Grand Canyon

Grand Canyon DOLOMITI 6 manual

ZANE ARTS ZEKU-L manual

ZANE ARTS

ZANE ARTS ZEKU-L manual

manuals.online logo
manuals.online logoBrands
  • About & Mission
  • Contact us
  • Privacy Policy
  • Terms and Conditions

Copyright 2025 Manuals.Online. All Rights Reserved.