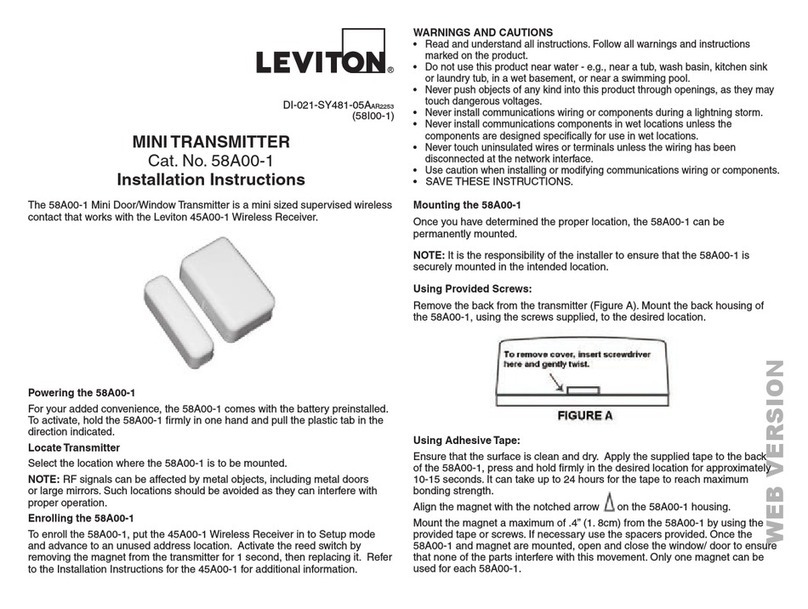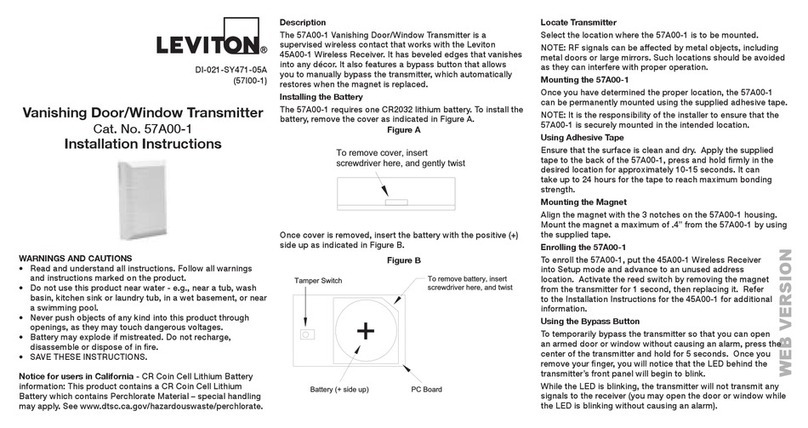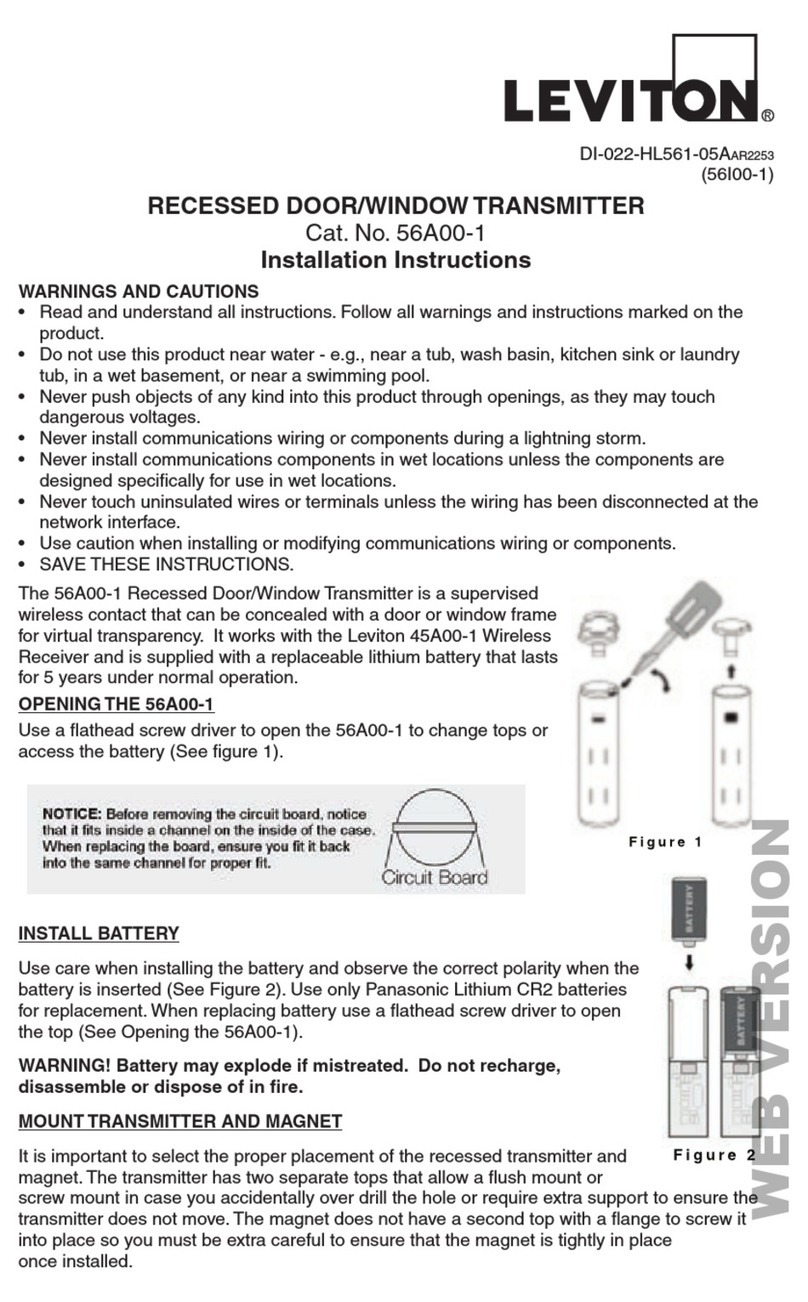
Using the 2 Additional Zone Inputs
NOTE: Yo u mayusenormallyclosedexternalcontactsconnectedtothe‘Zone2’and
‘Zone3’inputs.
Amaximumof25feetofwirecanbeusedforeachrun.
To enrollthehardwirezoneinputs,putadvancetoanunusedaddresslocation.To enroll
Zone2,shortbetween‘Common’(themiddleterminal)and‘Zone2’(totheleft)for1
second,thenopen.To enrollZone3,advancetoanunusedaddresslocationandshort
between‘Common’and‘Zone3’(totheright)for1second,thenopen.Refertothe
InstallationInstructionsforthe45A00-1foradditionalinformation.
For Technical Assistance Call: 800-824-3005 - www.leviton.com DI-021-SY461-05AAR2123
©2013LevitonMfg.Co.,Inc.
FOR CANADA ONLY
Forwarrantyinformationand/orproductreturns,residentsofCanadashouldcontactLevitoninwritingatLeviton
Manufacturing of Canada Ltd to the attention of the Quality Assurance Department, 165 Hymus Blvd, Pointe-
Claire (Quebec), Canada H9R 1E9orbytelephoneat1 800 405-5320.
Using the 46A00-1 for Garage Door Protection
NOTE:Notsuitableforconditionsbelow-10°Candabove75°C.The46A00-1isa
perfectwaytosecureagaragedoorwithouthavingtorunwiresoralignamagnet.
1) RemoveJumper3.
2) Lookattheorientationofthesensortoensurethatwhenthegaragedooris
CLOSEDthetiltswitchismakingaconnection.OncethegaragedoorisOPEN,the
tiltswitchshouldnotbemakingcontact.Seegures.
Not Ready
(Garage Door Open)
Secure
(Garage Door Closed)
Mounting Bracket
Screwthesuppliedmountingbrackettoadoorframe,andthenattachthesensor.To
releasethebracket,takeasmallscrewdriverandcarefullyliftuponthebrackettabwhile
movingthesensorupandawayfromthetab.
Magnet and Spacer
Ifneeded,addthespacertothemagnettomakeitlonger.Carefullyinsertascrewdriver
andopenthemagnet.Addthespacerandreplacethemagnet.
LEVITON LIMITED WARRANTY
Levitonwarrantsto the originalconsumerpurchaser and notforthebenetof anyoneelse that productsmanufacturedby
LevitonundertheLevitonbrandname(“Product”)willbefreefromdefectsinmaterialandworkmanshipforthetimeperiods
indicatedbelow,whicheveris shorter:• OmniPro II and Lumina Pro: three (3)yearsfrom installationor 42months from
manufacturedate. • OmniLT, Omni IIe, and Lumina: two(2)yearsfrominstallationor30monthsfrommanufacturedate. •
Thermostats, Accessories: two(2)yearsfrominstallationor30monthsfrommanufacturedate. • Batteries: Rechargeable
batteriesinproductsarewarrantedforninety(90)daysfromdateofpurchase.Note:Primary(non-rechargeable)batteries
shipped in products are not warranted. Products with Windows®Operating Systems: During the warranty period,
Levitonwillrestore corrupted operating systemsto factorydefault at no charge, providedthat theproduct hasbeen used
as originally intended. Installation of non-Leviton software or modication of the operating system voids this warranty.
Leviton’sobligationunder this LimitedWarrantyis limitedto therepair orreplacement, atLeviton’soption, ofProduct that
fails due to defect in material or workmanship. Leviton reserves the right to replace product under this Limited Warranty
with new or remanufactured product. Leviton will not be responsible for labor costs of removal or reinstallation of
Product.The repaired or replaced product is then warranted under the terms of this Limited Warranty for the remainder
of the Limited Warranty time period or ninety (90) days, whichever is longer.This Limited Warranty does not cover PC-
basedsoftwareproducts.Leviton is not responsible for conditions or applications beyond Leviton’s control. Leviton
is not responsible for issues related to improper installation, including failure to follow written Installation and
operation instructions, normal wear and tear, catastrophe, fault or negligence of the user or other problems external
to the Product. To view complete warranty and instructions for returning product, please visit us at www.leviton.com.
FCC Compliance
ThisequipmenthasbeentestedandfoundtocomplywiththelimitsforaClassBdigitaldevice,pursuant
topart15oftheFCCRules.Theselimitsaredesignedtoprovidereasonableprotectionagainstharmful
interferenceinaresidentialinstallation.Thisequipmentgenerates,usesandcanradiateradiofrequency
energyand,ifnotinstalledandusedinaccordancewiththeinstructions,maycauseharmfulinterference
toradiocommunications.However,thereisnoguaranteethatinterferencewillnotoccurinaparticular
installation.Ifthisequipmentdoescauseharmfulinterferencetoradioortelevisionreception,which
canbedeterminedbyturningtheequipmentoffandon,theuserisencouragedtotrytocorrectthe
interferencebyoneormoreofthefollowingmeasures:
- Reorientorrelocatethereceivingantenna.
- Increasetheseparationbetweentheequipmentandreceiver.
- Connecttheequipmentintoanoutletonacircuitdifferentfromthattowhichthereceiverisconnected.
- Consultdealeroranexperiencedradio/TVtechnicianforhelp
No Spacer
With Spacer
Usehereinofthirdpartytrademarks,servicemarks,tradenames,brandnamesand/orproductnamesarefor
informationalpurposesonly,are/maybethetrademarksoftheirrespectiveowners;suchuseisnotmeanttoimply
afliation,sponsorship,orendorsement.


