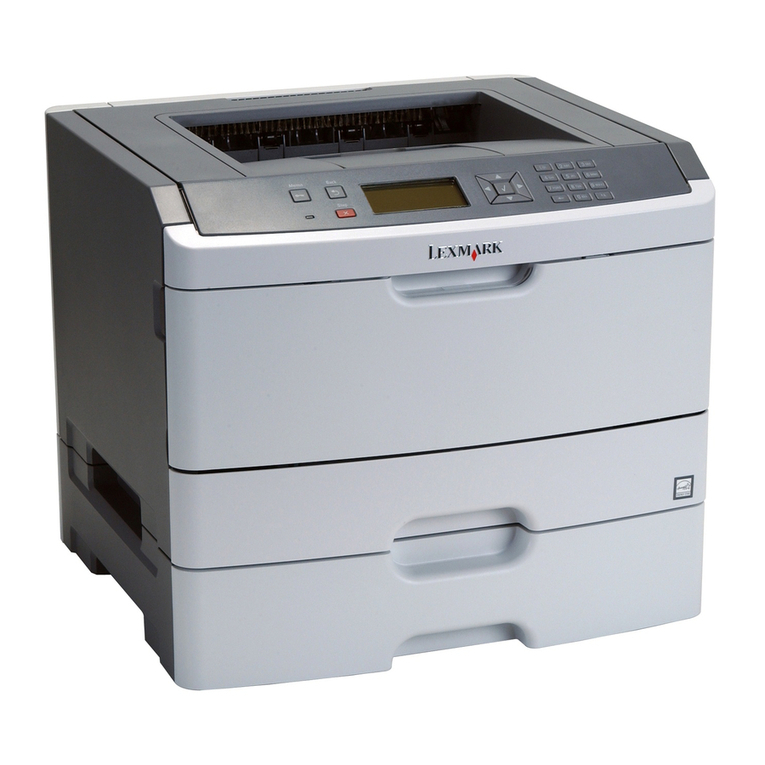
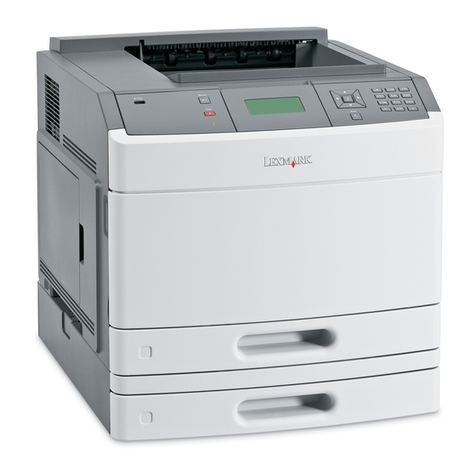
Lexmark™ C752
Clearing Jams
Guide
Avoiding jams
The following hints can help you avoid paper jams:
•Use only recommended paper. Refer to the
Card Stock & Label Guide available on the
Lexmark Web site at www.lexmark.com/
publications for more information about which
paper provides optimum results for your printing
environment.
•Do not remove paper trays while a job is
printing. Wait for a Load Tray <x> or Ready
message before you remove the tray.
•If you need detailed information before
purchasing large quantities of customized
paper, refer to the Card Stock & Label Guide.
•Do not load wrinkled, creased, or damp paper.
•Never mix media types within a tray.
•Flex, fan, and straighten paper before you load
it.
•Do not overload the trays or the multipurpose
feeder. Make sure the stack height does not
exceed the maximum height indicated.
•Push all trays firmly into the printer after loading
them.
•Make sure the guides in the trays are properly
positioned for the size paper you have loaded.
•Do not send jobs to staple, hole punch, or offset
for transparencies, labels, or card stock.
•We recommend that transparencies, labels,
card stock, and envelopes not be sent to the
optional mailbox or optional finisher. These
specialty media types should be sent to the
standard bin.
•If a jam should occur, clear the entire paper
path.
Clearing jams
Understanding jam messages
Area A
1Release the levers on each side of the
multipurpose feeder to lay it flat.
2Press the pick assembly release lever, and
remove all media and jams.
3Return the feeder to its working position, and
reload your paper.
Area B
1Open the left access door until it clicks into
place.
2Remove all visible paper. Remove any torn
paper from the printer.
3Close the door.
4Open Tray 1, and make sure the entire paper
stack is pushed all the way down into the tray.
Message What to do
200 Paper Jam Clear Area B and Area T1.
201 Paper Jam Clear Area D, Area K, and Area L.
202 Paper Jam Clear Area K and Area L.
230 Paper Jam Clear Area E and Area J.
24<x> Paper
Jam
Clear Area B, Area C, and Area
T<x>.
250 Paper Jam Clear Area A and Area D.
27<x> Paper
Jam
Clear Area M.
