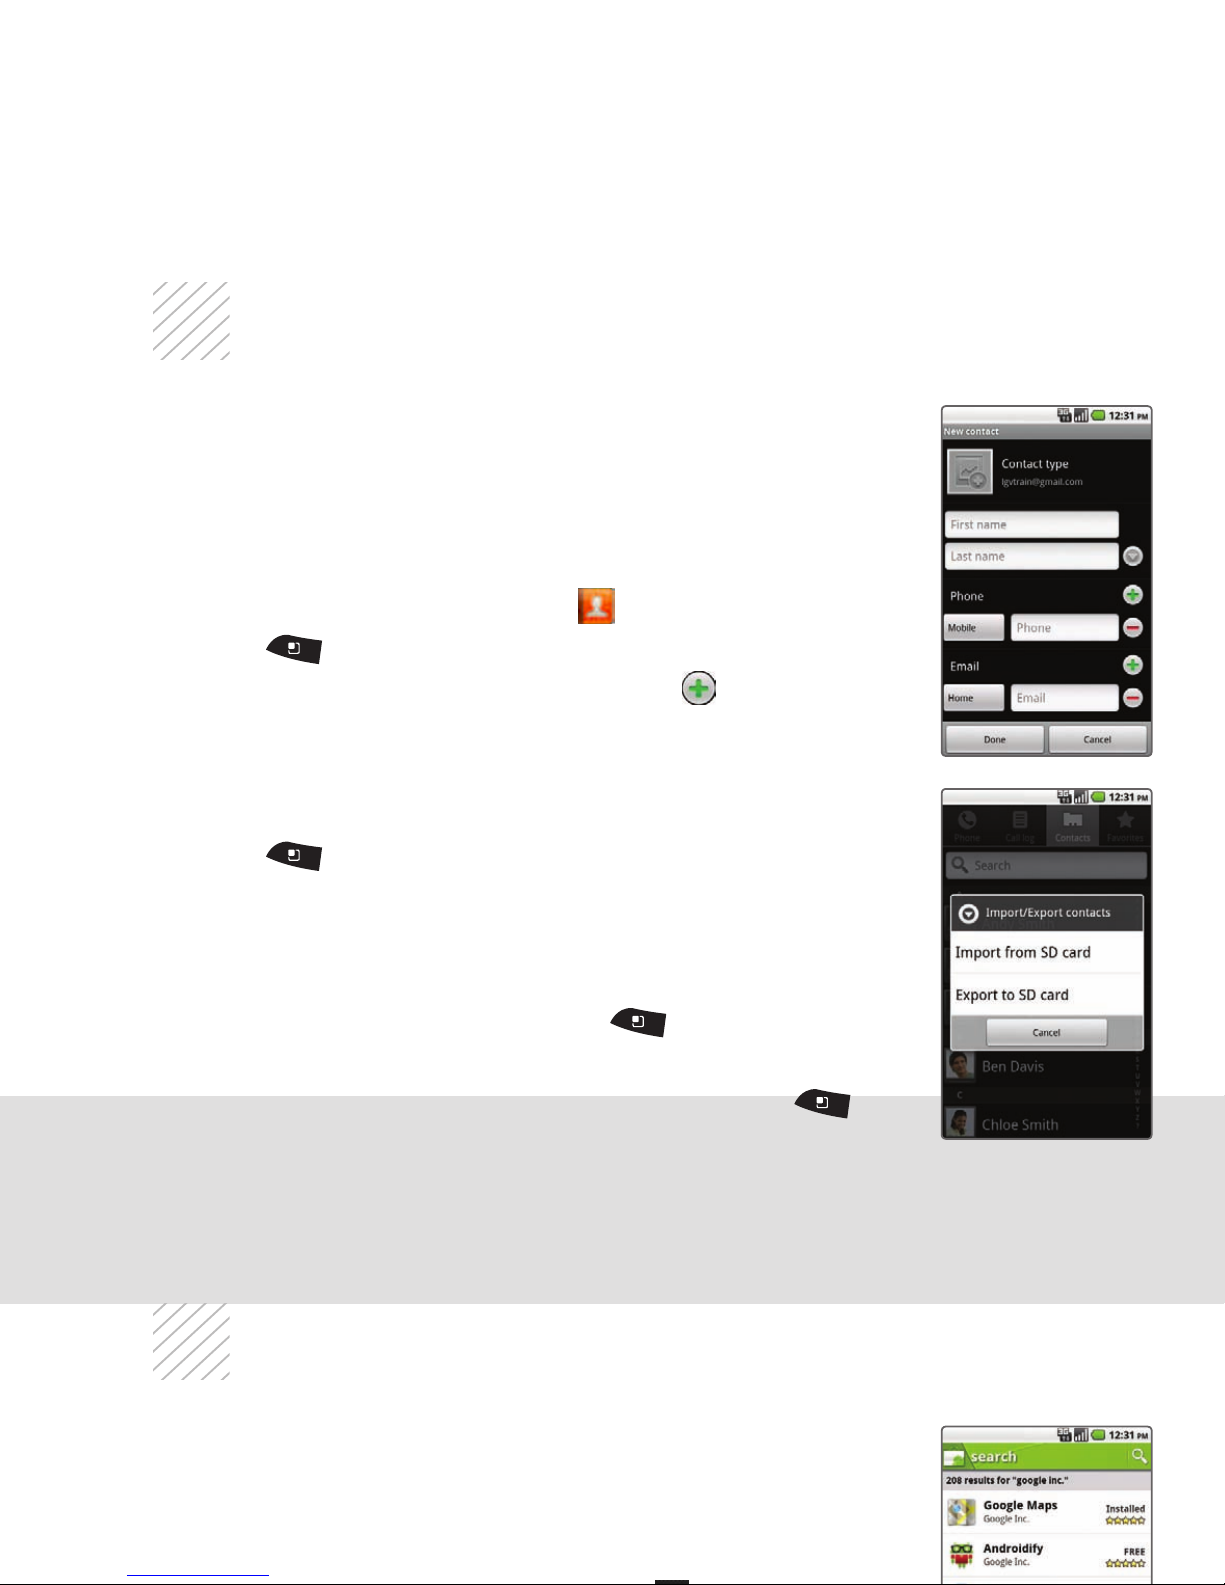
Touch Screen and NavigationSet Up Gmail™
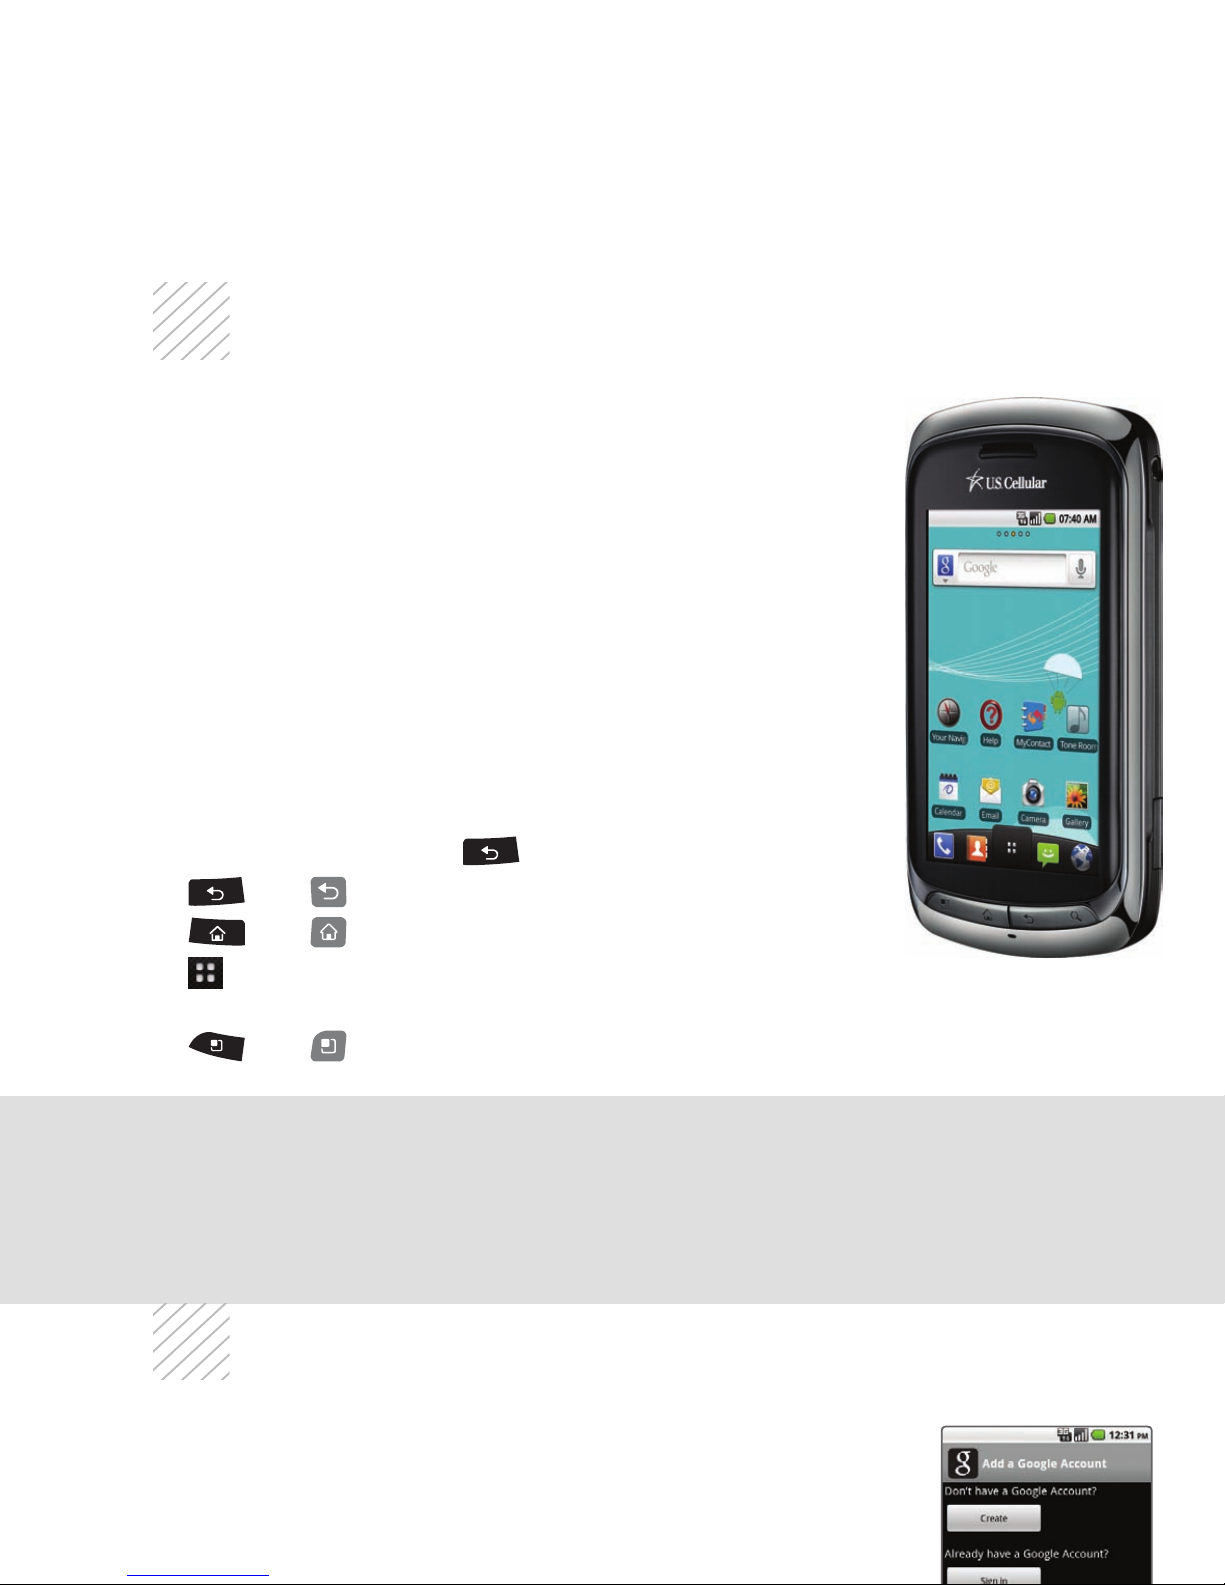
LG Genesis features external and internal touch screens
that make navigation as quick and easy as a simple tap
or swipe of the finger.
Navigation Tips
• Use your fingertip to lightly touch the screen and
select options.
• Use quick flicks of your finger on the touch screen
to scroll up/down and left/right.
• The Notification Bar includes timely information,
including new message, email, and voicemail
notifications; missed calls; and calendar reminders.
Touch the bar and slide it down with your finger to
see full details. Press to close the bar.
• and : Return to previous screen.
• and : Return to the main home screen.
• : Open the Application Launcher, where you can
find all of your applications.
• and : Open a contextual menu with more
options for the current screen.
Entering Text
The internal touch screen does not permit text entry.
Use the full keyboard for entering text when composing
text messages, emails, etc.
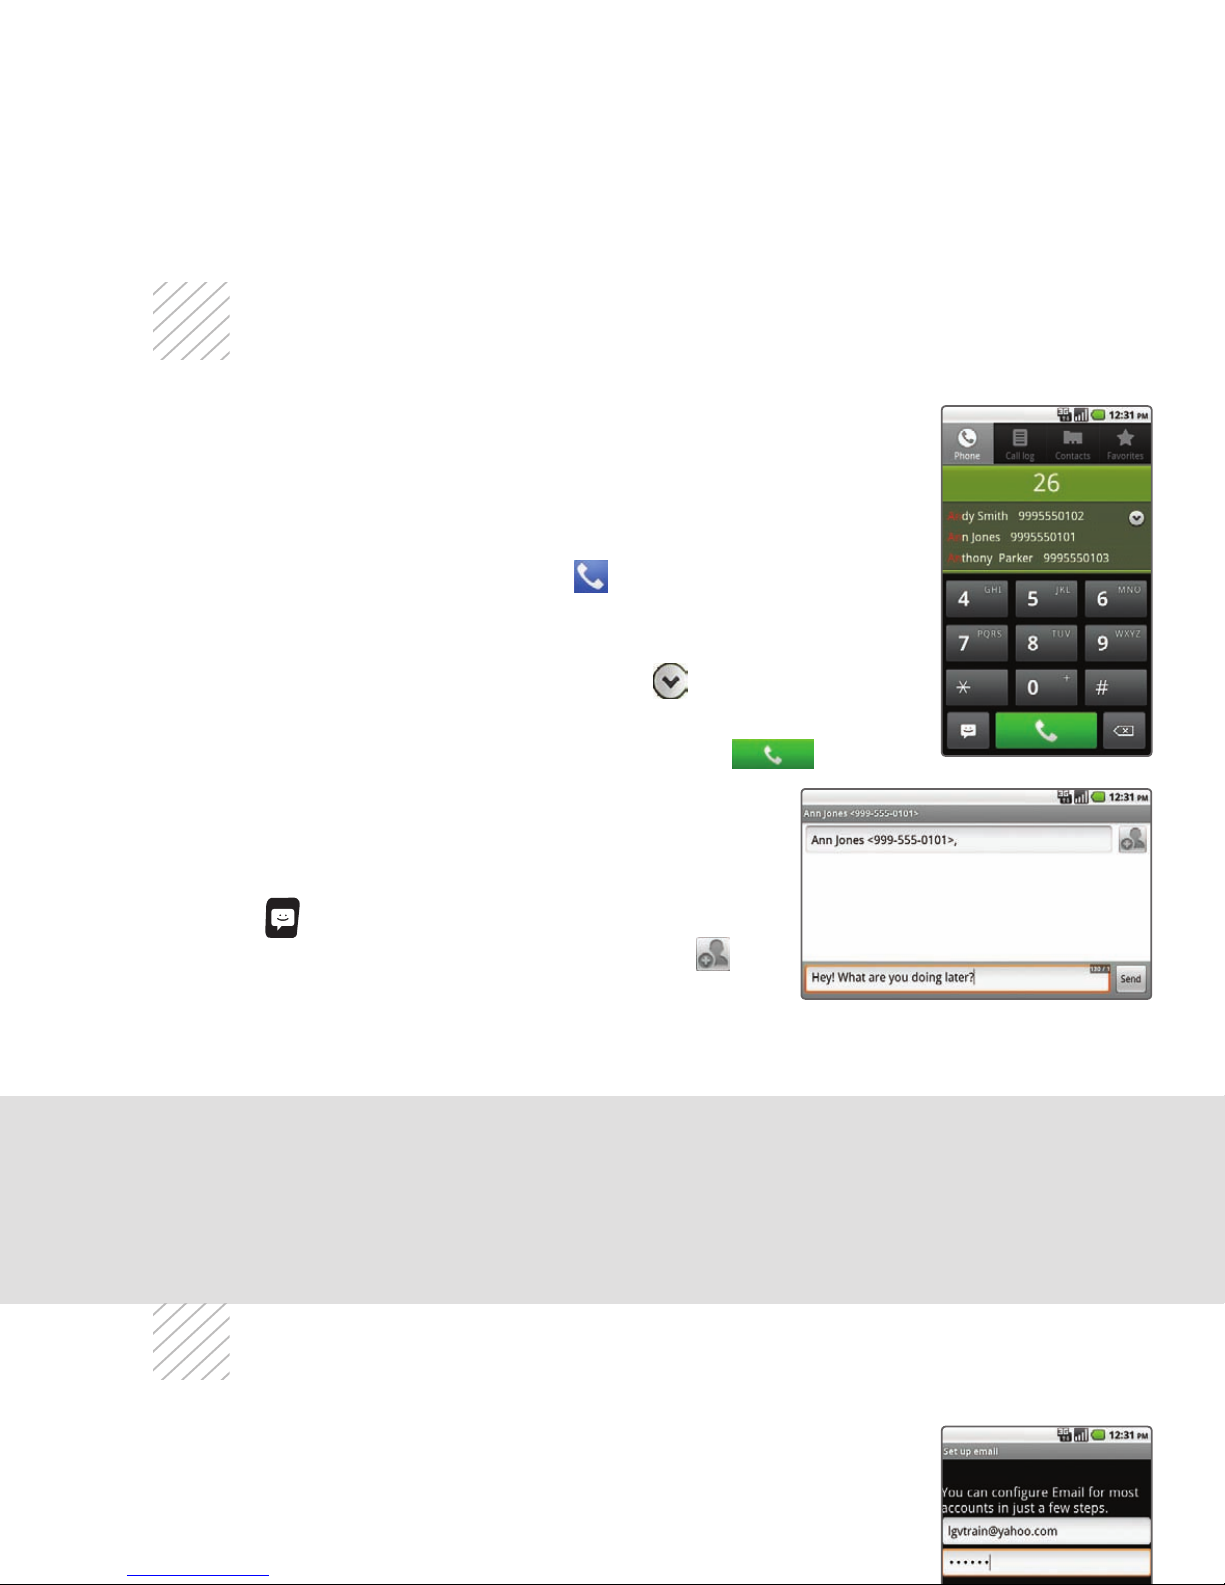
In addition to providing mobile access to your Gmail
inbox and syncing your Gmail contacts, setting up
a Google account on Genesis will allow you to take
advantage of many of your phone’s other great features,
such as Google Talk™ and Android Market™.
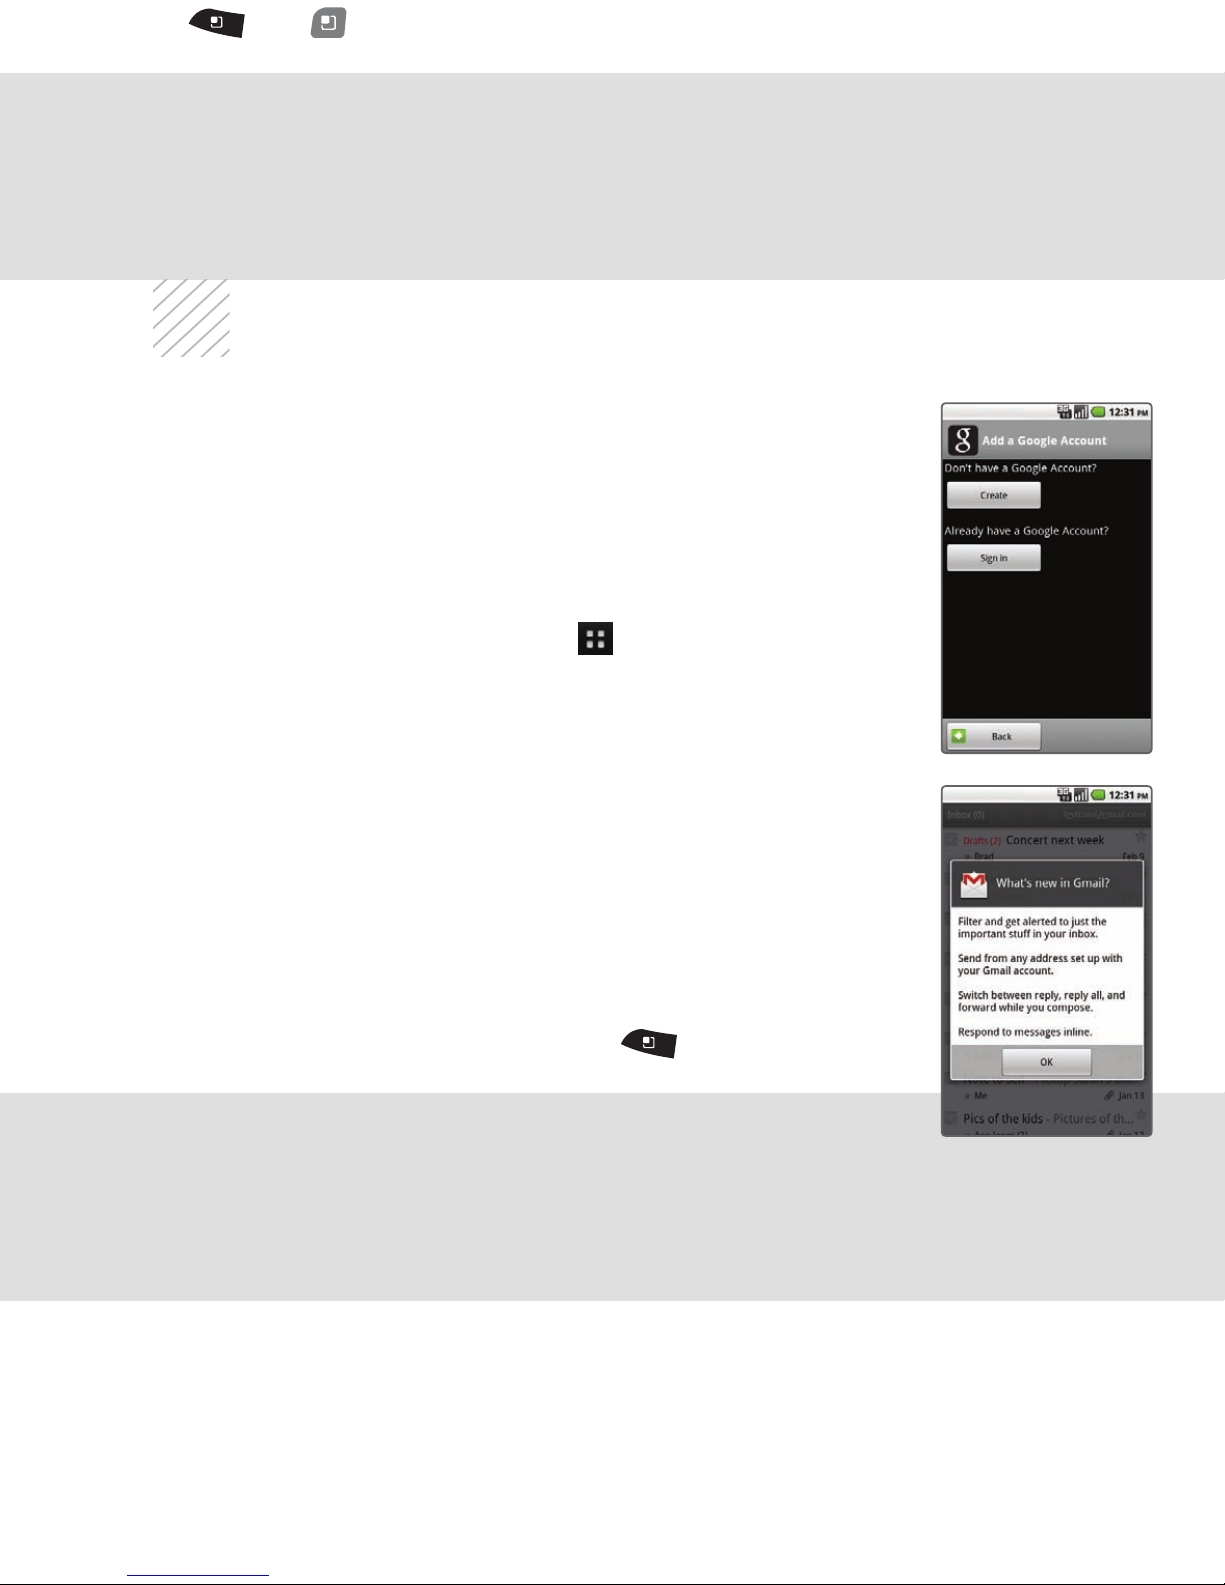
Sign in to a Google Account
1. From the Home screen, touch > Gmail.
2. Read the information and touch Next to continue.
3. Touch Sign in. (You may also create a Google Account
if you don’t yet have one. Just touch Create and
follow the on-screen steps.)
4. Enter the username and password associated with
your Google Account and touch Sign in again.
5. Touch Finish setup.
6. Once syncing is complete, you will be taken to
your inbox. Touch OK to close the What’s new in
Gmail? prompt.
7. Touch an email to read it, or press for
more options.


 User manual")