Renaming a Photo
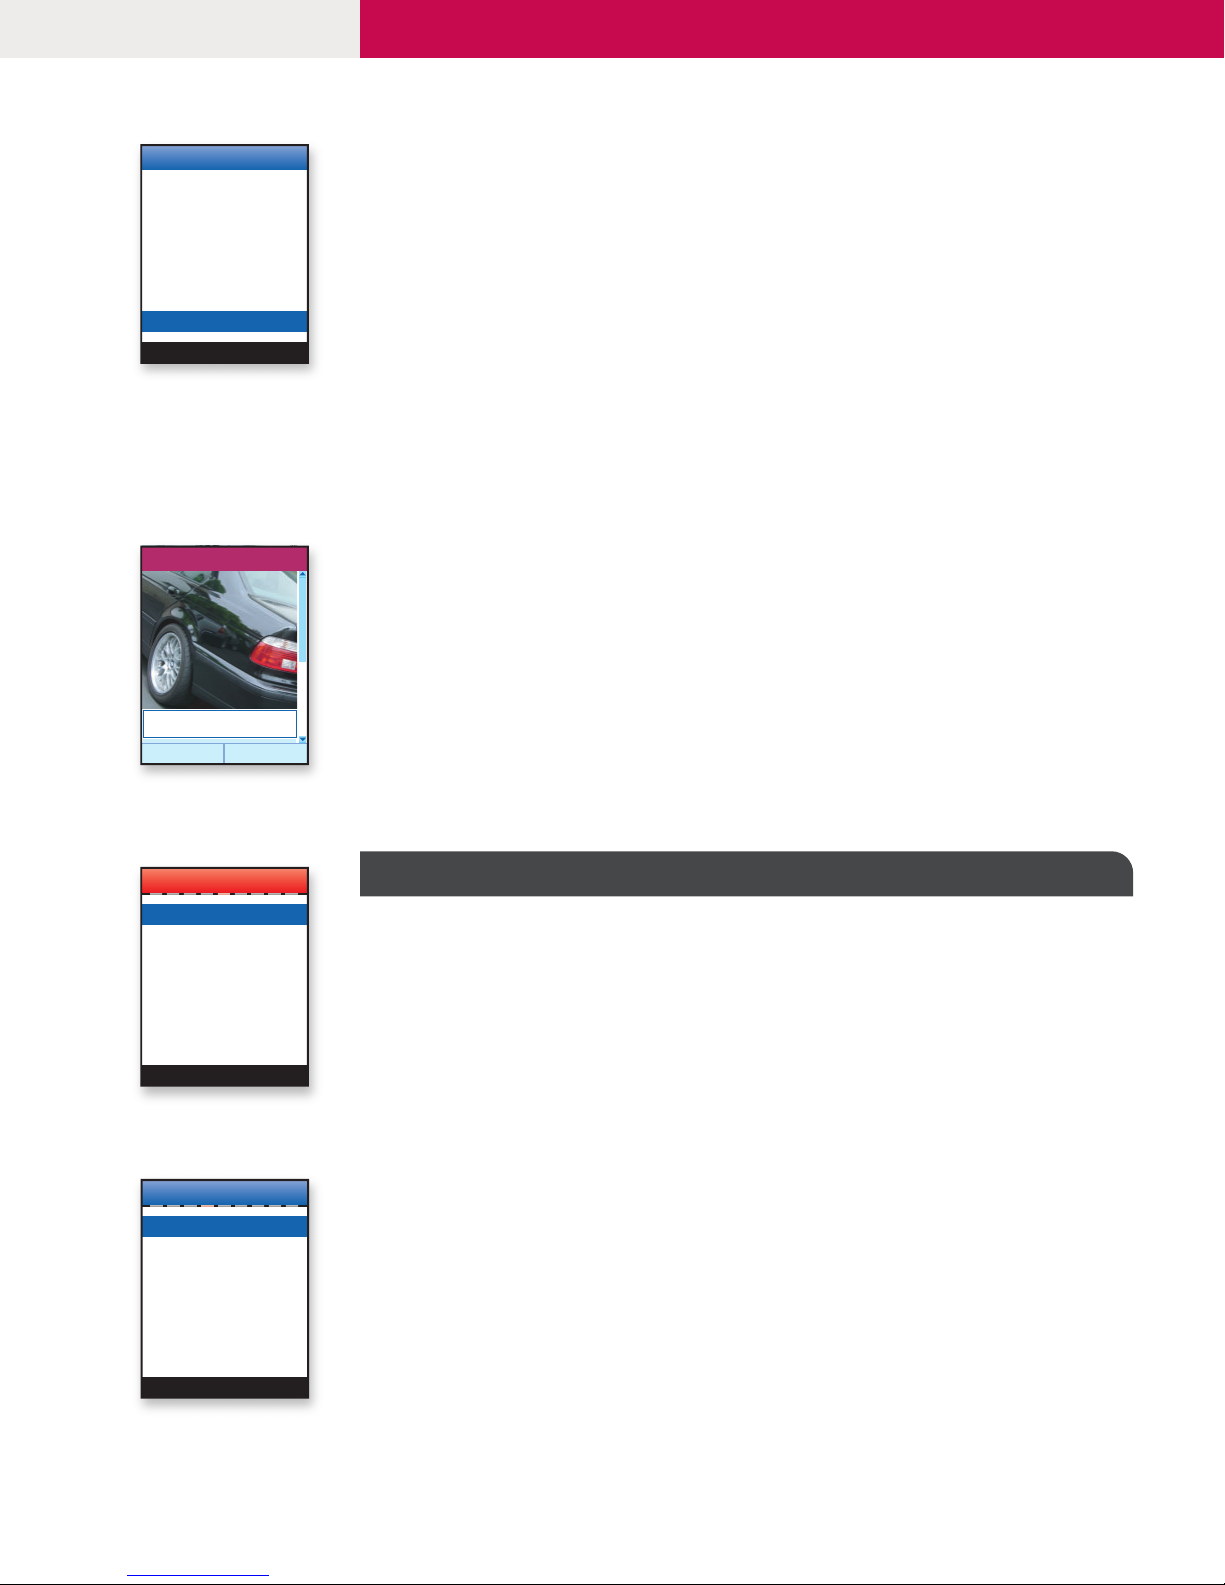
1. From the Camera (6) menu, select Gallery (2).
2. Select All Pictures (1), General Pictures (2) or Phonebook Pictures (3).
3. Use the Navigation Key to select an image.
4. Press Left Soft Key for Options.
5. Select Rename (6) and press OK.
6. Erase the previous image name, enter a new image name and press Left Soft Key for Save.
Deleting a Photo
1. From the Camera (6) menu, select Gallery (2).
2. Select All Pictures (1), General Pictures (2) or Phonebook Pictures (3) and press OK.
3. Use the Navigation Key to select an image.
4. Press Left Soft Key for Options.
5. Select Delete (4).
6. Select Yes (1) and press OK.
Sending a Photo
1. From the Camera (6) menu, select Gallery (2).
2. Select All Pictures (1), General Pictures (2) or Phonebook Pictures (3) and press OK.
3. Use the Navigation Key to select an image.
4. Press Left Soft Key for Options, select Send Photo (2).
5. Enter the text and/or use the Navigation Key to select a sound you wish to send.
6. Press Right Soft Key for Menu and select Send (1).
7. Press Left Soft Key for Yes when prompted if you would like to send this message.
8. Select Address Book to search for an existing contact, press Left Soft Key for Select or use the
Navigation Key and enter an email or phone number and press Left Soft Key for Done.
9. Press Right Soft Key for Menu and select Send MMS (1).
DOWNLOADING MEDIA MALL CONTENT
Ringtones, games, applications, utilities and graphics can be downloaded and run on the phone.
Downloading New Content from MEdia Mall
1. From the MEdia Mall (5) menu, select from Shop Ringtones (1), Shop Games (2),
Shop Graphics (3), Shop MMS (4) or Shop Applications (5) and press OK.
2. Once connected, choose the content you want to download.
Access MEdia Home
1. From the MEdia Mall (5) menu, select MEdia Home (6).
2. Select What's Hot (1), Email (2), Games (3), Tones & Graphics (4), Chat & Meet (5),
CNNtoGo (6), Weather.com (7), ESPN Sports (8), My Info (9), More... (10 ).
3. Choose the category you wish to access and press Left Soft Key for OK.
ACCESSING THE WEB
The new L1200 is enabled by the Openwave 6.2 (WAP 2.0) Browser to access the Web.
To Connect to the Internet
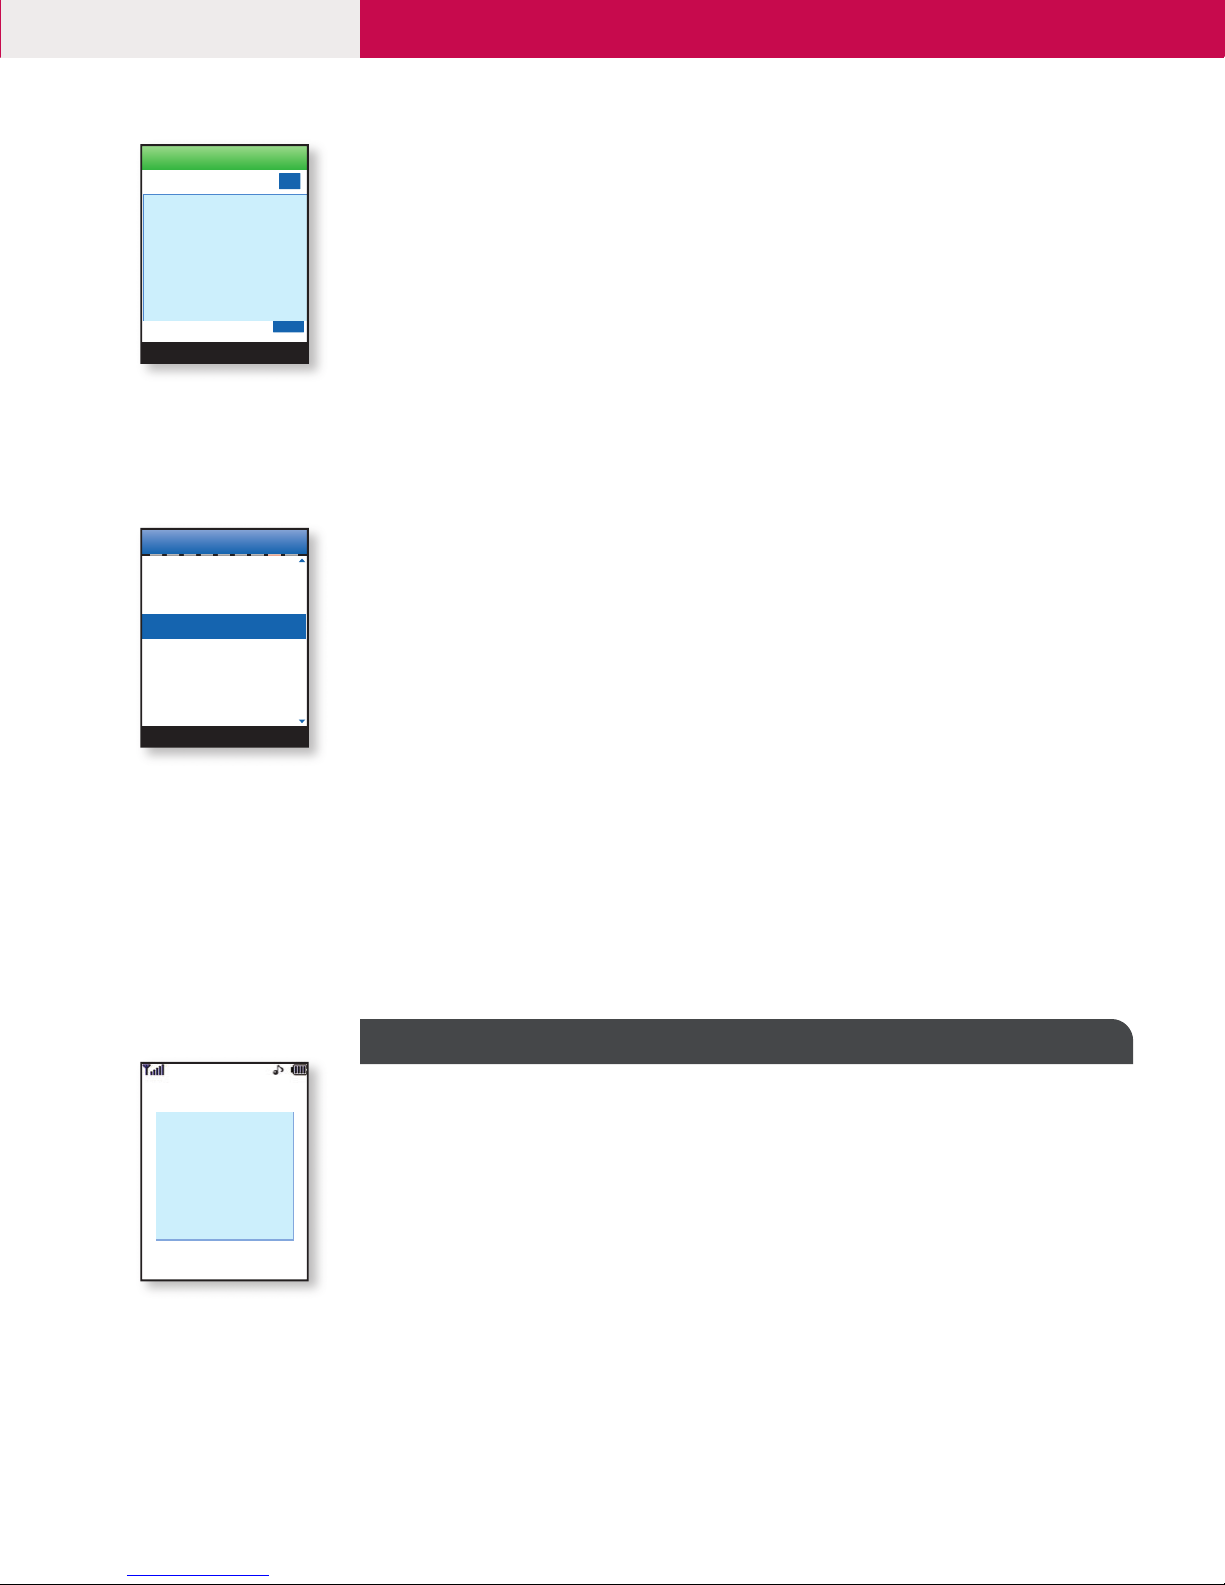
1. From the MEdia Net (4) menu, select MEdia Home (1).
2. Once connected the Cingular homepage is displayed.
3. To exit the browser at any time, press the END key and press Left Soft Key for Yes.
L1200
CONNECTIVITY FEATURES
3