LG PD251W User manual
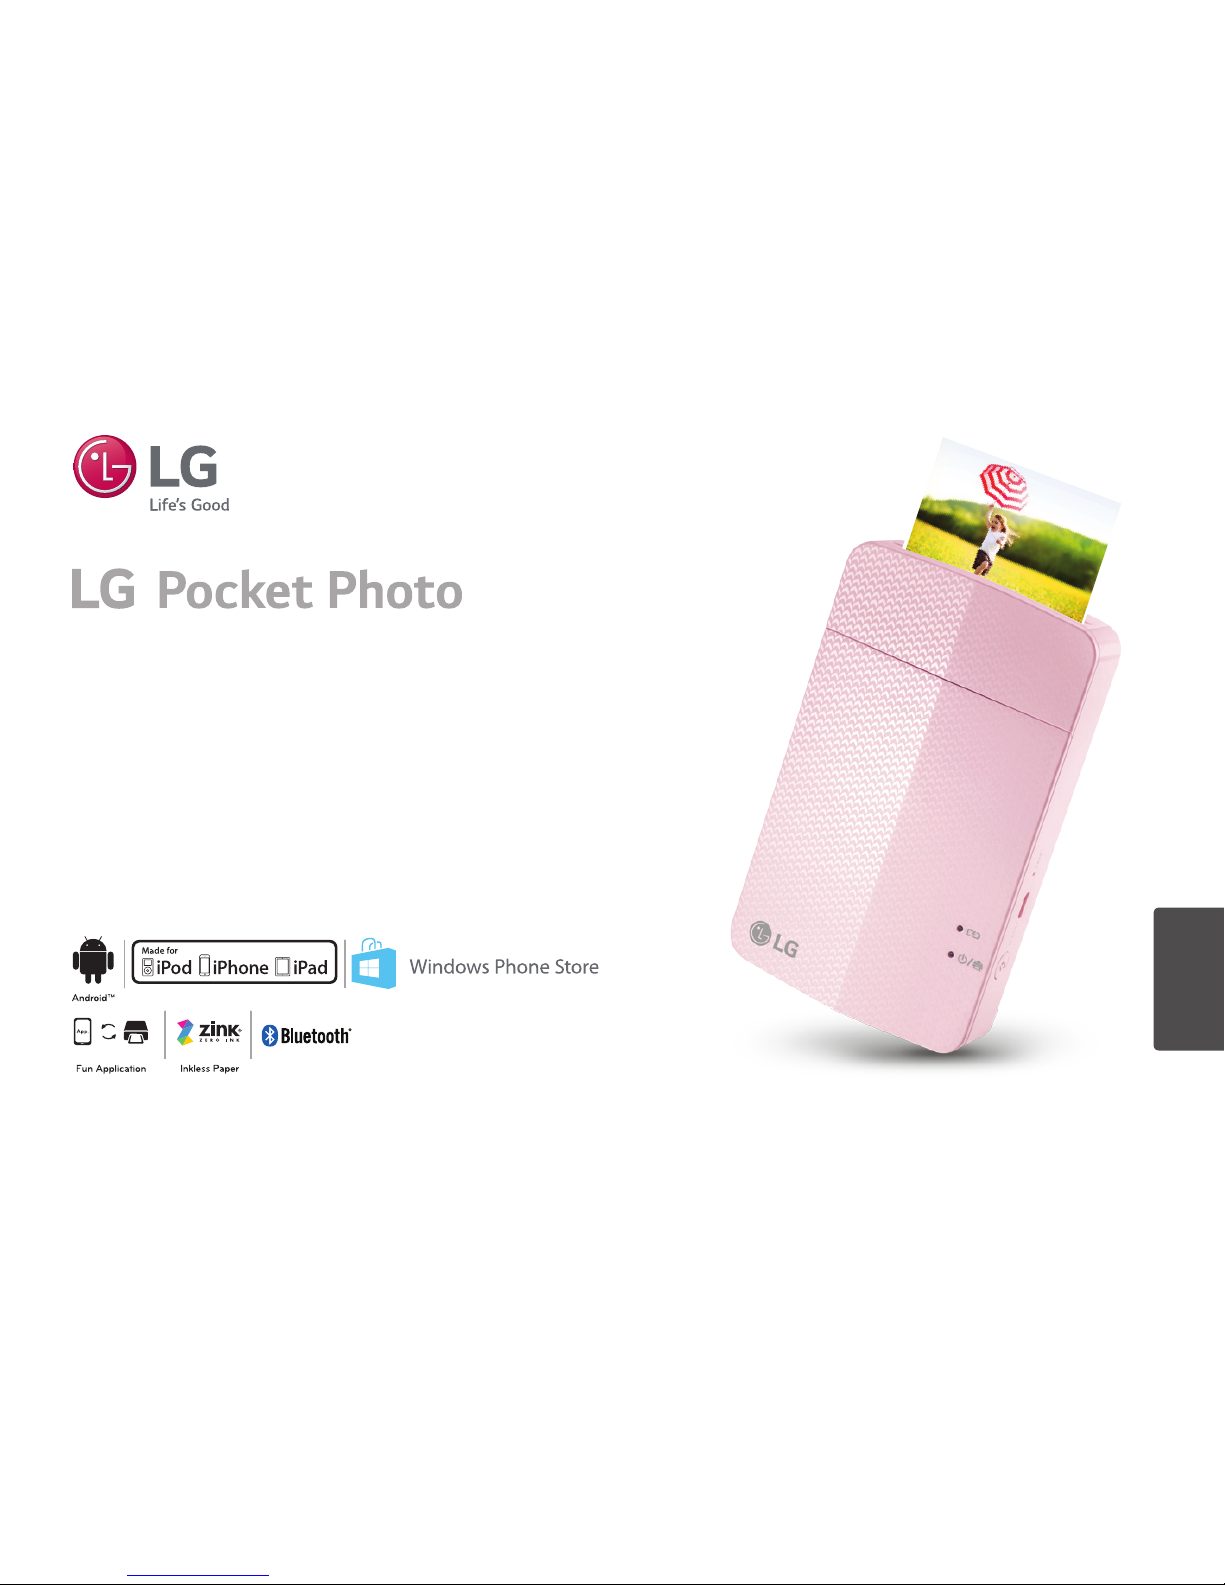
Owner’s manual
Please read this manual carefully before operating
your device.
MODEL :
PD251W/ PD251P/ PD251Y/ PD251TW
ENGLISH
The actual device may differ from the image.
Bluetooth®
2
Safety information
CAUTION: TO REDUCE THE RISK OF ELECTRIC SHOCK
DO NOT REMOVE COVER (OR BACK) NO USER-
SERVICEABLE PARTS INSIDE REFER SERVICING TO
QUALIFIED SERVICE PERSONNEL.
This lightning ash with arrowhead
symbol within an equilateral triangle is
intended to alert the user to the presence
of uninsulated dangerous voltage within
the product’s enclosure that may be of sucient
magnitude to constitute a risk of electric shock to
persons.
The exclamation point within an
equilateral triangle is intended to alert
the user to the presence of important
operating and maintenance (servicing)
instructions in the literature accompanying the
product.
WARNING: TO PREVENT FIRE OR ELECTRIC SHOCK
HAZARD, DO NOT EXPOSE THIS PRODUCT TO RAIN
OR MOISTURE.
WARNING: Do not install this equipment in a
conned space such as a book case or similar unit.
CAUTION: Do not use high voltage products around
this product (ex. Electrical swatter). This product may
malfunction due to electrical shock.
CAUTION: Do not block any ventilation openings.
Install in accordance with the manufacturer’s
instructions.
Slots and openings in the cabinet are provided
for ventilation and to ensure reliable operation of
the product and to protect it from over heating.
The openings shall never be blocked by placing
the product on a bed, sofa, rug or other similar
surface. This product shall not be placed in a built-
in installation such as a bookcase or rack unless
proper ventilation is provided or the manufacturer’s
instruction has been adhered to.
CAUTION
RISK OF ELECTRIC SHOCK
DO NOT OPEN

3
CAUTION concerning the Power Cord
Most appliances recommend they be placed upon a
dedicated circuit;
That is, a single outlet circuit which powers only
that appliance and has no additional outlets or
branch circuits. Check the specication page of this
owner’s manual to be certain. Do not overload wall
outlets. Overloaded wall outlets, loose or damaged
wall outlets, extension cords, frayed power cords, or
damaged or cracked wire insulation are dangerous.
Any of these conditions could result in electric
shock or re. Periodically examine the cord of your
appliance, and if its appearance indicates damage
or deterioration, unplug it, discontinue use of the
appliance, and have the cord replaced with an exact
replacement part by an authorized service center.
Protect the power cord from physical or mechanical
abuse, such as being twisted, kinked, pinched, closed
in a door, or walked upon. Pay particular attention
to plugs, wall outlets, and the point where the cord
exits the appliance.
The Power Plug is the disconnecting device. In case
of an emergency, the Power Plug must remain readily
accessible.
This device is equipped with a portable battery or
accumulator.
Safety way to remove the battery or the battery
from the equipment: Remove the old battery
or battery pack, follow the steps in reverse order
than the assembly. To prevent contamination of
the environment and bring on possible threat
to human and animal health, the old battery or
the battery put it in the appropriate container
at designated collection points. Do not dispose
of batteries or battery together with other
waste. It is recommended that you use local,
free reimbursement systems for batteries and
accumulators. The battery shall not be exposed to
excessive heat such as sunshine, re or the like.
NOTICE: For safety making information including
product identication and supply ratings, please
refer to the main label inside the apparatus.

4
CAUTION:
yThe apparatus should not be exposed to water
(dripping or splashing) and objects lled with
liquids, such as vases, shouldn’t be placed on the
apparatus.
yMinimum distance around the apparatus for
sucient ventilation, no less than 5 cm.
yThe ventilation should not be impeded by
covering the ventilation openings with items, such
as newspapers, table-cloth, curtains etc.
yNo naked ame sources, such as lighted candles,
should be placed on the apparatus.
yThe unit’s internal lithium battery should only be
serviced by an authorised service centre.
Device operating temperature
When operating in cold weather, the device
shall not print. Bring it inside from the cold and
give about 10 min to adjust to the specied
operating temperature (5 °C - 40 °C). Then try
printing again. (For the appropriate use, it is
recommended not to operate it outdoors in
winter.)
, Note
CAUTION when using this product in
environments of low humidity
yIt may cause static electricity in
environments of low humidity.
yIt is recommended to use this product after
touching any metal object which conducts
electricity.
> Caution

5
Contents
Safety information ......................2
STEP 1 Getting Started ..................6
Supplied items............................6
Product Overview.........................6
Power On / O ............................7
STEP 2 Charging Battery .................7
STEP 3 Inserting Photo Paper ............9
Cleaning printer head using Smart Sheet 10
About photo paper ......................11
Paper Jam Solution ......................12
STEP 4 Installing App ................. 12
Installing App for Android phone ........12
App Setting .............................13
Installing App for iPhone ................14
Setting Bluetooth of iPhone .............14
Installing App for Windows phone .......15
Setting Bluetooth of Windows phone ....15
STEP 5 Printing Photo ................. 16
Printing using Android phone ...........16
Printing using iPhone ....................19
Printing using Windows phone ..........21
Using the edit mode .....................23
Notes on the printing ....................23
Checking where to buy paper ...........24
Updating the device .....................25
Checking Label........................ 26
About LED Indicator ................... 27
Specications ......................... 29
Troubleshooting ...................... 30

6
STEP 1 Getting Started
Supplied items
USB cable
yDepending on the model or region, supplied
items may dier. (ex. USB cable etc.)
LG Pocket Photo Printer Simple manual
Product Overview
Paper exit slot
(1) Power button
LED indicator
Paper tray (CHARGE)Micro USB
port (for recharging)
(RESET)Reset hole

7
Power On / O
Press (1) power button for 2 sec. to turn on
or o.
yWhen turning the device on, LED indicator
ashes for 3 sec. Then printing is
available.
yFor more information, see “About LED
indicator”.
, Note
STEP 2 Charging Battery
This device uses a built-in battery. Before using it,
fully charge the battery using a Smart phone USB
data cable (Micro 5 pin) or adapter. (Refer to below)
Battery charging time : 1.5 hours
Checking the charging status with LED indicators
yPower-o : Charging : Full charge :
y0 % : ashes for about 30 sec. and turns o.
yLG Pocket Photo is always charged when
connected to the power supply except for being
printed.

8
yTo charge this product, you must always use a DC
5V, 1A or more. Certied/Listed Adapter which
complies with LPS.
yHandle with care during charging to prevent
electric shock.
yDo not place near heating appliance.
yDo not disassemble or deform.
yDo not give shock on.
yAvoid too high or low temperature or
humidity.
> Caution
yYou can connect the device to PC using a
Smart phone USB data cable, but charging
time can be longer.
yThe operating time on battery may vary
depending on the battery status, operational
status and environment conditions.
yWhen the battery is discharged, printing is
available after charging it for more than 10
min. (Charge in full to print in a row.)
, Note

9
STEP 3 Inserting Photo
Paper
1. Open the upper cover.
2. Unpack the photo paper pouch you bought.
3. Slide smart sheet (blue) and photo papers
together into the paper slot, then close the upper
cover. Smart Sheet will be ejected automatically
before rst printing.
yDo not insert more than 10 Photo papers and
1 Smart Sheet. Otherwise 2 papers may be
ejected at once or paper jam may occur.
yOnce the pack is unwrap, keep the remaining
papers after using in an airtight plastic bag.
ySmart sheet and photo papers are not supplied.
Arrange all papers and smart sheet to end
of rear.
Smart Sheet
with Barcode
side down
Photo Paper
with White side up

10
Cleaning printer head using Smart
Sheet
Smart sheet (Cleaner)
When you insert new smart sheet and photo papers,
this device scans the barcode of smart sheet to
maintain optimized photo paper. (It will be ejected
before the rst printing.)
To maintain the best quality, remove foreign material
of the head using cleaning feature.
When using Smart Sheet, it should be used
with photo papers in the same pouch.
yUsing smart sheet from other pouch may
result in low quality.
yIf print quality is abnormal or low, print
out the smart sheet 3-5 times repeatedly.
yReuse the smart sheet until use up the
photo papers from same pouch.
Note on Smart sheet
Other manuals for PD251W
1
This manual suits for next models
3
Table of contents
Other LG Printer manuals

LG
LG 27MP35VQ User manual

LG
LG Pocket Photo Specification sheet

LG
LG PD239SF Specification sheet

LG
LG Pocket Photo PD239W User manual

LG
LG PD251W Specification sheet

LG
LG Pocket Photo PD221 User manual

LG
LG Pocket Photo PD233 User manual

LG
LG Pocket Photo PD233T User manual

LG
LG Pocket Photo PD239P User manual

LG
LG Pocket Photo PD239W User manual


