3. Capture Image
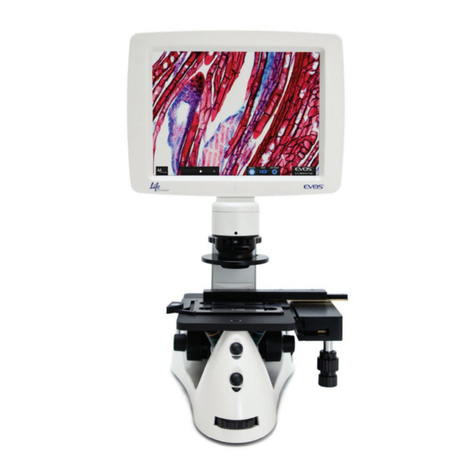
a. Place sample on stage over objective opening
b. Turn on light by selecting light bulb icon
c. Focus image using focus knobs
d. Capture image(s) then press “Processing” button
a. Adjust brightness and contrast as needed
b. Save image to USB flash drive and print image
Limited Product Warranty
Life Technologies Corporation and/or its affiliate(s) warrant their products as set forth in the Life Technologies’ General Terms and Conditions of Sale found on Life Technologies’ website at
www.lifetechnologies.com/termsandconditions. If you have any questions, please contact Life Technologies at www.lifetechnologies.com/support.
DISCLAIMER - LIFE TECHNOLOGIES CORPORATION AND/OR ITS AFFILIATE(S) DISCLAIM ALL WARRANTIES WITH RESPECT TO THIS DOCUMENT, EXPRESSED OR IMPLIED, INCLUDING BUT NOT LIMITED TO
THOSE OF MERCHAN
THOSE OF MERCHANTABILITY, FITNESS FOR A PARTICULAR PURPOSE, OR NON-INFRINGEMENT. TO THE EXTENT ALLOWED BY LAW, IN NO EVENT SHALL LIFE TECHNOLOGIES AND/OR ITS AFFILIATE(S) BE
LIABLE, WHETHER IN CONTRACT, TORT, WARRANTY, OR UNDER ANY STATUTE OR ON ANY OTHER BASIS FOR SPECIAL, INCIDENTAL, INDIRECT, PUNITIVE, MULTIPLE OR CONSEQUENTIAL DAMAGES IN
CONNECTION WITH OR ARISING FROM THIS DOCUMENT, INCLUDING BUT NOT LIMITED TO THE USE THEREOF.
© 2012 Life Technologies Corporation. All rights reserved. The trademarks mentioned herein are the property of Life Technologies Corporation and/or its affiliate(s) or their respective owners.
3 December 2012
3. Capture Image
a. Place sample on stage over objective opening
b. Turn on light by selecting light bulb icon
c. Focus image using focus knobs
d. Capture image(s) then press “Processing” button
4. Process Image
a. Adjust brightness and contrast as needed
