Page 6 of 11
SR516 ARCHITECTURAL CONTROLLER
Version 1.00 OWNERS MANUAL 12/16/2020
www.lightronics.com
Lightronics Inc. 509 Central Drive, Virginia Beach, VA 23454 757 486 3588
1. Scene #1 will be turned ON when the toggle
switch is pushed up.
2. Scene #1 will be turned OFF when the toggle
switch is pushed in the down.
3. Scene #2 will be toggled on or off each time the
momentary pushbutton switch is pushed.
SR516 CONFIGURATION SETUP
The behavior of the SR516 is controlled by a set of
function codes and their associated values. A full list
of these codes and a brief description is shown below.
Specific instructions for each function are provided in
this manual.
11 Bank A, Scene 1 Fade Time
12 Bank A, Scene 2 Fade Time
13 Bank A, Scene 3 Fade Time
14 Bank A, Scene 4 Fade Time
15 Bank A, Scene 5 Fade Time
16 Bank A, Scene 6 Fade Time
17 Bank A, Scene 7 Fade Time
18 Bank A, Scene 8 Fade Time
21 Bank B, Scene 1 Fade Time
22 Bank B, Scene 2 Fade Time
23 Bank B, Scene 3 Fade Time
24 Bank B, Scene 4 Fade Time
25 Bank B, Scene 5 Fade Time
26 Bank B, Scene 6 Fade Time
27 Bank B, Scene 7 Fade Time
28 Bank B, Scene 8 Fade Time
31 Blackout (OFF) Fade Time
32 ALL Scenes and Blackout Fade Time
33 Simple Switch Input #1 Options
34 Simple Switch Input #2 Options
35 Simple Switch Input #3 Options
36 Not Used
37 System Configuration Options 1
38 System Configuration Options 2
41 Mutually Exclusive Group #1 Scenes
42 Mutually Exclusive Group #2 Scenes
43 Mutually Exclusive Group #3 Scenes
44 Mutually Exclusive Group #4 Scenes
88 Factory Reset - Invokes a default configuration
A diagram at the back of this manual gives a quick
guide to programming the unit.
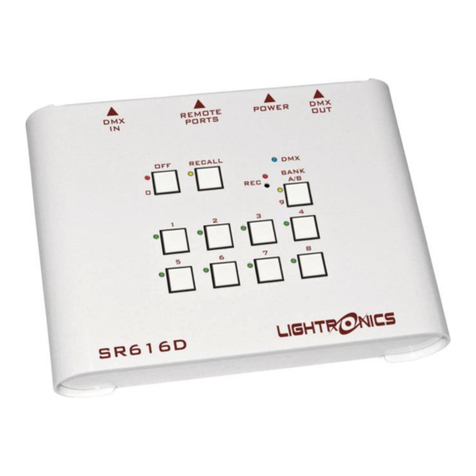
RECORD BUTTON
This is a very small recessed pushbutton in a small
hole in the faceplate. It is just below the RECORD
LED (labeled REC). You will need a small rod (such
as a ball point pen or paper clip) to push it.
ACCESSING AND SETTING FUNCTIONS
1. Hold down REC for more than 3 seconds. The
REC light will begin blinking.
2. Push RECALL. The RECALL and REC lights
will blink alternately.
3. Enter a 2 digit function code using the scene
buttons (1 - 8). The scene lights will flash a
repeating pattern of the code entered. The unit
will return to its normal operating mode after
about 60 seconds if no code is entered.
4. Push RECALL. The RECALL and REC lights
will be ON. The scene lights (in some cases
including the OFF (0) and BANK (9) lights) will
show the current function setting or value.
Your action now depends on which function was
entered. Refer to the instructions for that function.
You can enter new values and push REC to save them
or push RECALL to exit without changing the values.
SETTING FADE TIMES (Function Codes 11 - 32)
The fade time is the minutes or seconds to move
between scenes or for scenes to go ON or OFF. The
fade time for each scene can be individually set. The
allowable range is from 0 seconds to 99 minutes.
Fade time is entered as 4 digits and can be either
minutes or seconds.
Numbers entered from 0000 - 0099 will be recorded
as seconds.
Numbers 0100 and larger will be recorded as even
minutes and the last two digits will not be used. In
other words, seconds will be ignored.
After accessing a function (11 - 32) as described in
ACCESSING AND SETTING FUNCTIONS:
1. The scene lights + OFF (0) and BANK (9) lights
will be flashing a repeating pattern of the current
fade time setting.
2. Use the scene buttons to enter a new fade time (4
digits). Use OFF for 0 and BANK for 9 if needed.
3. Push REC to save the new function setting.
