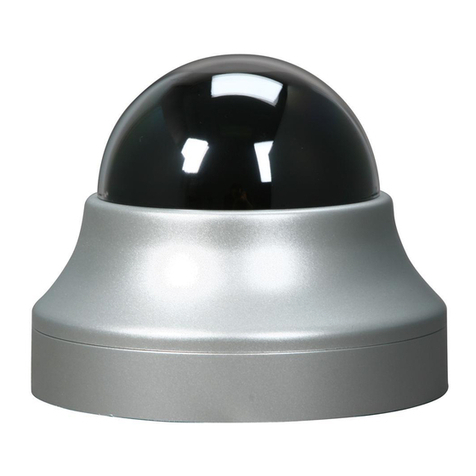
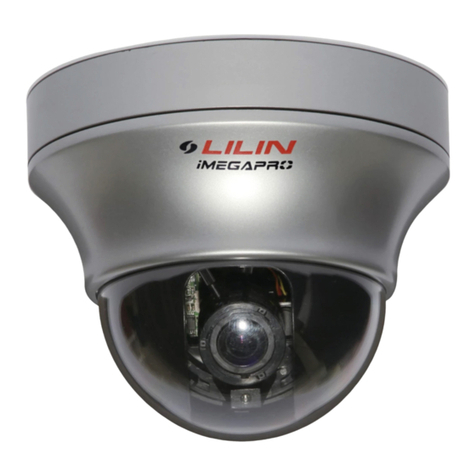
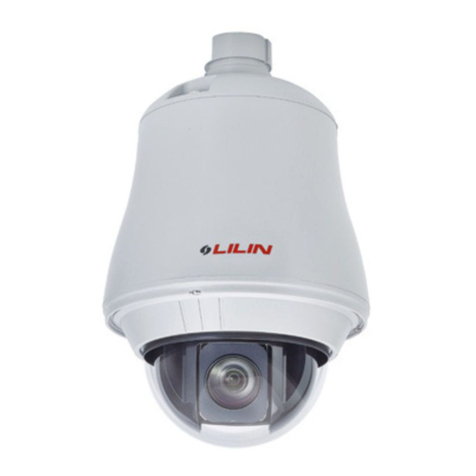
Lilin PIH 7000IP User manual

Quick Installation Guide
IP Fast Dome Camera

Power/Network LED
Camera Base
Dome Cover
Camera Case
Decoration Ring
RJ-45 Jack
RS-485 In/Out Jack
Alarm In/Out Jack
Video In/Out Jack
Power In Jack
Follow these steps to install your IP Fast Dome:
1. Familiarize yourself with the IP Fast Dome - (this page)
2. IP Fast Dome Hardward Installation - (Page 3)
3. IP Fast Dome Software Setup - (Page 7)
For more information, please visit our web site http://www.meritlilin.com
Page1of12IP Fast Dome Quick Installation Guide
Chapter 1. STRUCTURAL ELEMENT

Chapter 2. FAST DOME CAMERA SETUP
DIP Switch Setting
Camera ID Switch
Camera Function Switch
Alarm Mode Switch
Fan Power Switch
Chapter 2-1. Fan Power Switch
Chapter 2-2. Alarm Mode Switch
Chapter 2-3. Camera Function Switch
Turn the number 2 switch to ON position to activate the internal fan. This will maintain the
temperature inside and make the electric parts longer life.
Alarm Mode can be set as Lock or Release mode. Turn number 1 switch to ON position to
choose Release mode. Turn number 1 switch to OFF position to choose Lock mode.
Fast Dome has 6 alarm inputs and 1 output, which can be set either NC (normally close) or
NO (normally open) mode. Turn number 2 switch to ON position to choose NC mode.
Turn number 2 switch to OFF position to choose NO mode.
Turn number 1 switch to ON position for AGC function
Turn number 2 switch to ON position for BLC function
Turn number 3 switch to ON position for AWB function
Turn number 3 switch to OFF position for Manual White Balance (MWB)
When fast dome is set to MWB, turn number 4 switch to ON for Outdoor (color temp. 3200K)
or to OFF for Indoor (color temp. 6300K)
Page2of12IP Fast Dome Quick Installation Guide

Chapter 2-4. Fast Dome ID Address Setting Refer Chart
Up to 64 Fast Dome Camera can be serial linked in one system.
Therefore each dome is addressed by ID switch located at the base of the Fast Dome.
Below is the address setting for camera 1~64:
1 5432 76 8
ON
15432 76 8
ON
1 5432 76 8
ON
1 2 34 5
ON
867
1 5432 76 8
ON
1 2 34 5
ON
867
ON
1 2 34 5 867
1 5432768
ON
12345
ON
867
12 34 5 867
ON
76854321
ON
15432768
ON
1 5432 76 8
ON
1 2 34 5
ON
867
1 5432768
ON
ON
1 2 34 5 867
15432768
ON
12 34 5 867
ON
15432768
ON
1
ON
2345 867
1 5432
ON
768
18672345
ON
12345
ON
867
1
ON
2345 867
12 34 5 867
ON
15432768
ON
15432768
ON
12345
ON
867
1 5432
ON
768
12345 867
ON
15432768
ON
17685432
ON
15432768
ON
12 34 5 867
ON
1 5432
ON
768
15432768
ON
1
ON
2345 867
18672345
ON
12345
ON
867
1
ON
2345 867
1 5432
ON
768
12 34 5 867
ON
15432768
ON
15432768
ON
12345
ON
867
17685432
ON
15432768
ON
12345 867
ON
12345 867
ON
15432768
ON
1 5432 768
ON
12345 867
ON
12 34 5 867
ON
1
ON
5432 768
12345 867
ON
12 34 5 867
ON
1 5432768
ON
15432768
ON
1
ON
5432 768
12345 867
ON
1 5432 768
ON
12345 867
ON
17 33 49
1
218
34 50
5135
193
5236
204
5337
215
5438
226
5539
237
5640
248 64
63
62
61
60
57
59
58
48
47
46
45
44
41
43
42
32
31
30
29
28
25
27
26
16
15
14
13
12
9
11
10
12 34 5 867
ON
1 5432768
ON
Chapter 3. HARDWARE INSTALLATION
Attached Mounting
Embedded Mounting
Page3of12IP Fast Dome Quick Installation Guide

Page4of12IP Fast Dome Quick Installation Guide
Chapter 3-1. Embedded Mounting
1. Drill a 3/32" (2.4mm) hole at the center of the chosen area.
2. Use a pencil and a compass to mark a circle 6.7" (170mm) in diameter and cut the circle.
Step 1 Ceiling Preparation
120
93mm
120
120
Ring size and screw location
Step 2 The Ceiling Ring
1. Attach the ring to ceiling.
2. Tighten the three tapping screws into the ceiling or three machine screws with screw nuts.
Step 3 The Fix Ring
1. Turn the dome cover anti-clockwise.
2. Separate the dome cover from camera.
3.PutonthethreeLshapescrewnuts.
Step 4 Camera Setting
1. Untighten the three screws from the base.
2. Turn the camera body anti-clockwise.
3. Separate the camera body from the base.
4. Attach fix ring with screw nuts.
5. Tight the three black screw into the screw nuts.
4. Unplug the connection cable.
5. Setting Fast Dome Camera.

Step 5 Attach the Camera Body and Base
TXDI -
TXDI+
GNDALARM 1
Step 6 Connection
VIDEO
OUT Network
1. Reconnect the connection cable.
2. Attach camera body to base.
3. Turn camera body clockwise to tight position.
4. Tight the three screws to fix the camera body.
1. Connect RS-485 cable.
2. Connect video signal cable.
3. Connect alarm output cable.
4. Connect Ethernet cable.
Step 7 Install Camera Body and Decoration Ring
1. Put camera body and the fix ring into the hole.
2. Turn the camera body clockwise to tight position.
3. Tighten three black screws.
4. Put on decoration ring.
5. Turn the ring clockwise to tight position.
Step 8 Install The Dome Cover
Note : After dome cover is attached, use glass-cleaning cloth to clean dome cover.
Unclean dome cover may affect camera performance.
1. Attach dome cover to camera body.
2. Turn the dome cover clockwise to tight position.
Page5of12IP Fast Dome Quick Installation Guide

Chapter 3-2. Attached Mounting
1. Turn the dome cover anti-clockwise.
2. Separate the dome cover from camera.
3. Untighten the three screws from base.
Step 1 Fix The Base
120120
120
72mm
Base size and screw location
Step 2 Attach Camera Body and Base
4. Turn the camera cover anti-clockwise.
5. Separate the camera body from the base.
6. Unplug the connection cable.
7. Attach base to ceiling.
8. Tighten three tapping screws into the ceiling.
9. Setting Fast Dome Camera.
1. Reconnect the connection cable.
2. Attach camera body to base.
3. Turn camera body clockwise to tight position.
Step 3 Connection
1. Connect RS-485 cable.
2. Connect video signal cable.
3. Connect alarm output cable.
4. Connect Ethernet cable.
TXDI -
TXDI+
GNDALARM 1
VIDEO
OUT Network
Page6of12IP Fast Dome Quick Installation Guide

Page7of12IP Fast Dome Quick Installation Guide
Step 4 Install Decoration Ring and Dome Cover
Note : After dome cover is attached, use glass-cleaning cloth to clean dome cover.
Unclean dome cover may affect camera performance.
1. Put on Decoration ring to base.
2. Tighten the three screws.
3.Putondomecovertocamerabody.
4. Turn dome cover clockwise to tight position.
Chapter 4. SOFTWARE INSTALLATION
Note:
In order to control IP Fast Dome via both keyboard and web page, please set the ID switch.
Once the ID switch is set, please also set the ID of the web page.
Chapter 4-1. Assign IP by IP Installer
IP Installer is a Windows 98/ME/NT/2000 program. It is the software providing an easier way for
the setting of IP address and network configurations of IP Fast Dome.
Using this tool, you can easily set multiple IP Fast Domes at the same time with the batch setting
function. By utilizing IP Installer, the setting process is largely simplified and the setting time is
effectively shortened. Moreover, IP installer can not only save all the configurations of IP Fast
Dome as backup, but also restore the previous configurations of IP Fast Dome.
Double click the mouse left button on the IP Installer icon.
*Execute IP Installer

IP Fast Dome Quick Installation Guide
Always consult your network administrator before assigning the IP address to your IP Fast Dome
/ Video Server.
Make sure that the IP Fast Dome is powered on and correctly connected to the network.
Obtain the IP address not used yet from your network administrator.
MAC address : Each IP Fast Dome has a unique Ethernet address (MAC address) shown on the
top of the IP Fast Dome base as the serial number (S/N), 12 digits, e.g. 000429-XXXXXX.
Note : You have to separate base from body to see the MAC address. For instruction, please
refer to Chapter 3-1 step 4 to separate the base.
*Preparation before IPAssignment
Page8of12
The IP Installer form is displayed on the screen.
Click this button to search the
IP Fast Dome / Video Server in the LAN.
ListalltheIPFastDome/VideoServer
found in the LAN.
TEST OK
S/N:
00429-011BF0
M/N:
POF0312

IP Fast Dome Quick Installation Guide
Select the MAC address of your IP Fast Dome in the list. The MAC address is identical to the
unit's S/N. Click the menu bar View/Property to open the Property Page for the selected item.
After filling in the properties, chick the OK button to submit the settings for the unit and the
settings are activated immediately.
*Assign the IPAddress to IP Fast Dome
Page9of12

Page 10 of 12IP Fast Dome Quick Installation Guide
To access the Home Page of the selected unit, run the View/Open Web on the menu bar. If
your browser is opened and automatically connected to the IP Fast Dome Home Page, it
menas you have assigned an IPAddress to the unit successfully. Now you can close the IP
Installer and start to use your IP Fast Dome.
*Verify the IPAddress and Open the Home Page
Chapter 4-2. Assign IPAddress by ARP
Before using IP Fast Dome, users must set the IP address in advance. There are two different
ways to set IP address into IP Fast Dome.
Note before IP assignment
Make sure the IP Fast Dome is powered on and connected to the network correctly.
Obtain a unique IP address from your network administrator.
Each IP Fast Dome has a unique Ethernet address (MAC address), which is recorded
as 12 digits serial number labeled at the bottom side of IP Fast Dome / Video Server /
Network Camera, e.g. 000429XXXXXX.
The following example uses the PC with the IP address 192.168.0.1 and is going to setup
IP Fast Dome with the IP address 192.168.0.200 whose MAC address is 000429000150.
those addresses featured as examples in this document, always consult
your network administrator before assigning an IP address.
The IP address assigned to the IP Fast Dome shall be the same IP domain (presented as
same subnet mask) as the PC IP address. In our case, a PC IP address is 192.168.0.1
and the IP Fast Dome is 192.168.0.200, so the subnet mask shall be 255.255.255.0.
If a PC subnet mask is 255.255.255.128 or higher, then the domain can't cover
192.168.0.200, so the setting won't take effective.
For speedily installing and easily setting the IPAddress, there are provides an IP
Installer Wizard for you. Please install the application and see the user's manual for
detailed description and usage.
Do not use
Step 1 In Windows, open DOS window.
Enter DOS by <Start Program MS-DOS Prompt>
Step 2 Ensure the IP address assigned to IP Fast Dome doesn't occupy by other Host.
In DOS window, entering <ping 192.168.0.200> shall get time out message.

Page 11 of 12IP Fast Dome Quick Installation Guide
C:\> ping 192.168.0.200
Pinging 192.168.0.200 with 32 bytes of data:
Request time out.
Request time out.
Request time out.
Request time out.
Ping statistics for 192.168.0.200:
Packets : Sent = 4, Received = 0, Lost=4(100% loss)
Approximate round trip times in milliseconds:
Minimum = 0ms, Maximum = 0ms, Average = 0ms
C:\>
Step 3 Enter command <arp-s [IP Fast Dome IPAddress] [IP Fast Dome MAC Address]>.
In DOS, enter arp-s 192.168.0.200 00-04-29-00-01-50.
Step 4 Enter command <ping-t [IP Fast Dome IPAddress]> shall get constant reply after
3~4 timeouts, then prress CTRL-C to exit pinging.
In DOS, enter ping-t 192.168.0.200
C:\> arp-s 192.168.0.200 00-04-29-00-01-50
C:\> ping-t 192.168.0.200
Pinging 192.168.0.200 with 32 bytes of data:
Request time out.
Request time out.
Request time out.
Reply from 192.168.0.200: bytes = 32 time = 5ms TTL = 255
Reply from 192.168.0.200: bytes = 32 time = 4ms TTL = 255
Ping statistics for 192.168.0.200:
Packets: Sent = 7, Received = 4, Lost=3(42%loss),
Approximate round trip times in milliseconds:
Minimum = 4ms, Maximum = 5ms, Average = 2ms
C:\>
Control-C
Reply from 192.168.0.200: bytes = 32 time = 4ms TTL = 255
Step 5 Complete the setting and verify the installation. Then, open your web browser
(e.g. Internet Explore) and enter the IP address in the Location/Address field.
Consequently, the IP Fast Dome video home page will be opened.
Enter http://192.168.0.200 in Location/Address field of Internet Explore, then the
Internet live video can be opened.

Page 12 of 12IP Fast Dome Quick Installation Guide
Chapter 4-3. Verify and Complete the Installation from Your Browser
Start your browser and enter the IPAddress of your IP Fast Dome in the location/address field.
The IP Fast Dome Camera can support Microsoft Internet Explorer and Netscape. But the voice
feature (Video Server / Network Camera only) can only be run under Microsoft Internet Explorer.
When browsing the Home Page at the first time with the Microsoft Internet Explorer, you must
temporarily lower your security settings to perform a one-time-only installation of ActiveX
component into your workstation, as described below.
From the Tools menu, select Internet Options.
Click the Security tab and make note of your current security settings.
Set the security level to Low and click OK.
Type the Internet Address or Host Name for your IP Fast Dome into the Address field.
A dialog asking if you want to install wcp10.cab will appear. Click yes to start the
installation.
Once the ActiveX installation is complete, return the security settings to their original
value, as noted above.
To continue the configuration of your own application, click the configure button in the top
left corner of this window.
Note:
In order to control IP Fast Dome via both keyboard and web page, please set the ID switch.
Once the ID switch is set, please also set the ID of the web page.

DISTRIBUTOR:
66-7000IPOOE-4
Table of contents
Other Lilin Security Camera manuals

Lilin
Lilin D/N HD IR IP CAMERA User manual

Lilin
Lilin PIH - 7625 User manual

Lilin
Lilin PIH-2522 User manual

Lilin
Lilin iMEGAPRO IPR2522ES User manual

Lilin
Lilin IPR424ESX User manual

Lilin
Lilin SP9364 User manual

Lilin
Lilin IPG1052ES User manual

Lilin
Lilin Z2R8022EX25 User manual

Lilin
Lilin iMEGAPRO LD2122E User manual

Lilin
Lilin PIH-802 User manual

Lilin
Lilin CMD2182 User manual

Lilin
Lilin IPD2322ESX User manual

Lilin
Lilin CMR7082N/P3.6 User manual

Lilin
Lilin ZHR8182 User manual

Lilin
Lilin IPS6228E User manual

Lilin
Lilin IPR722-IVS User manual

Lilin
Lilin Z2R8852AXK User manual
Lilin
Lilin ZR8022EX10 User manual

Lilin
Lilin Ultra Series User manual

Lilin
Lilin PIH-2222 User manual