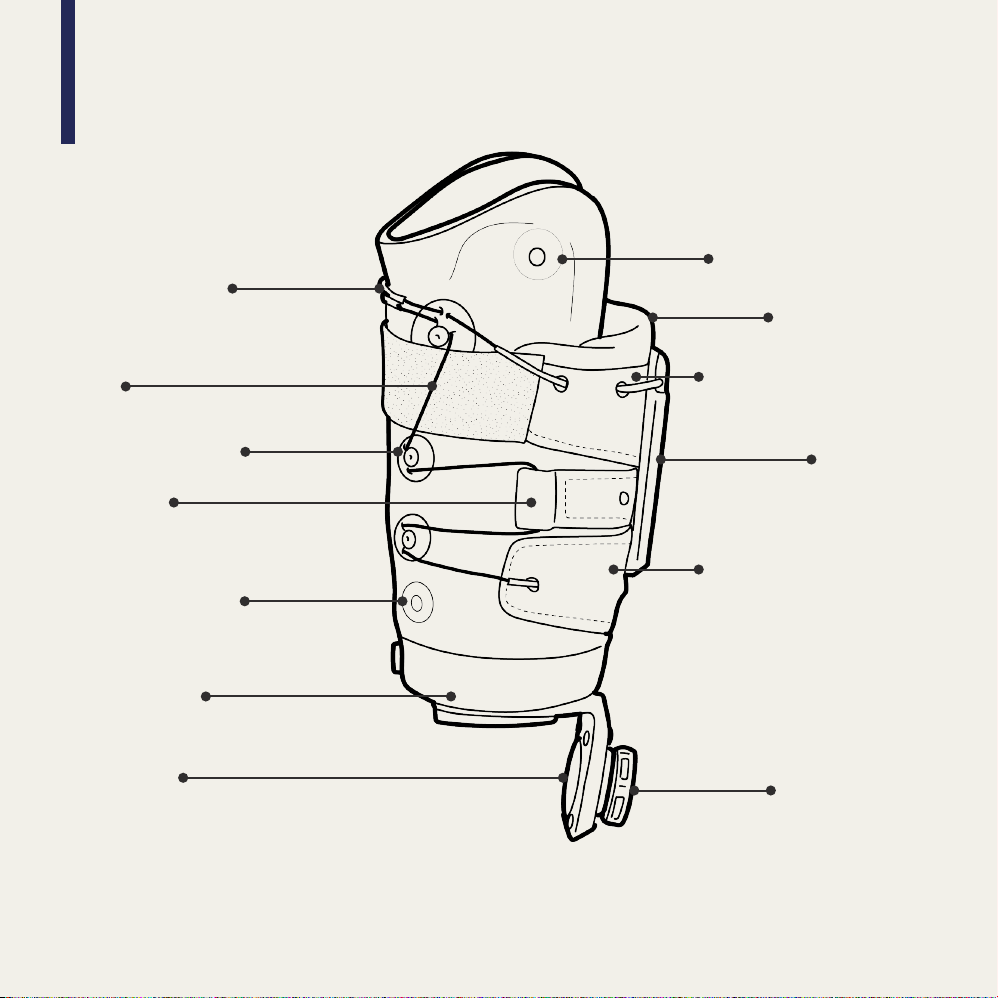
Troubleshooting
Problem Possible Solution(s)
Patient having too
much pressure on
distal tibia
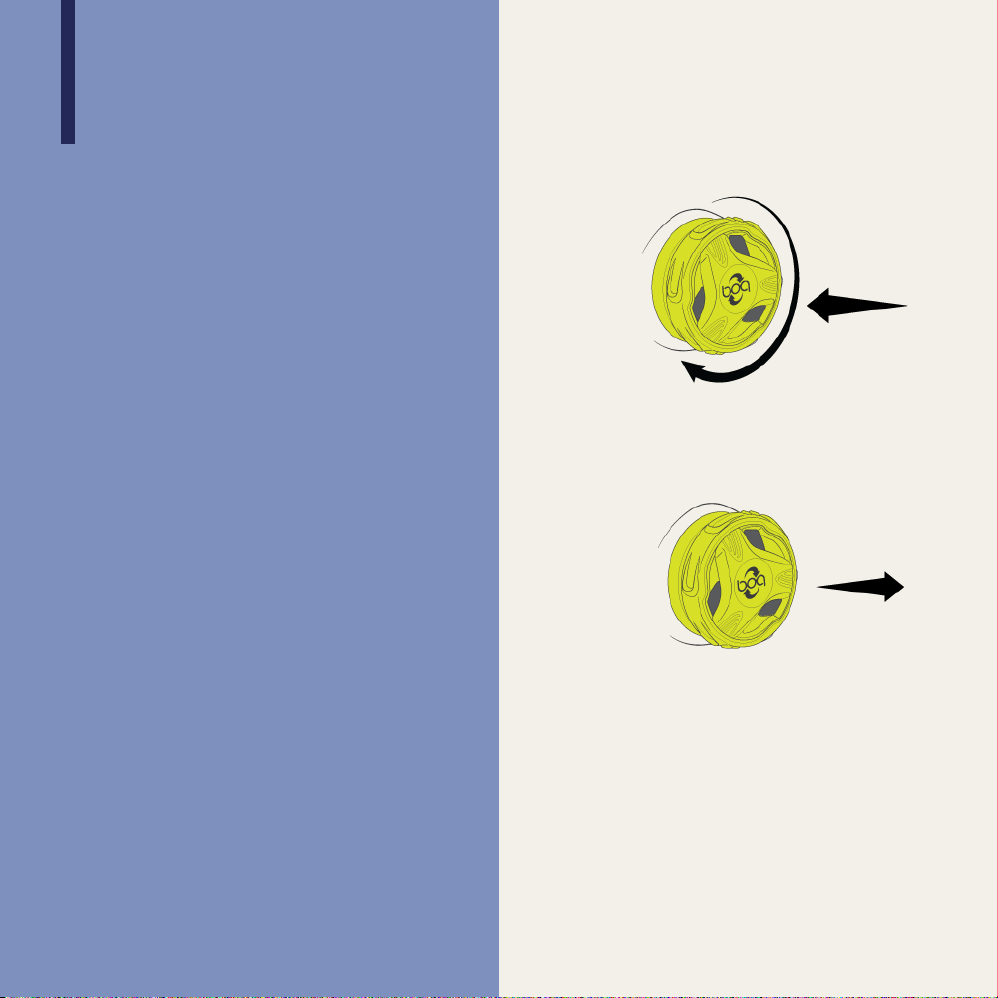
• Turn BOA®dial clockwise
• Make sure alignment is correct
• Move pressure management strap laterally
• Increase posterior pad size/thickness
• Heat remold to increase loading
• Add socks or padding as you would in a traditional socket
Patient having too
much pressure on
distal fibula
• Turn BOA®dial clockwise
• Make sure alignment is correct
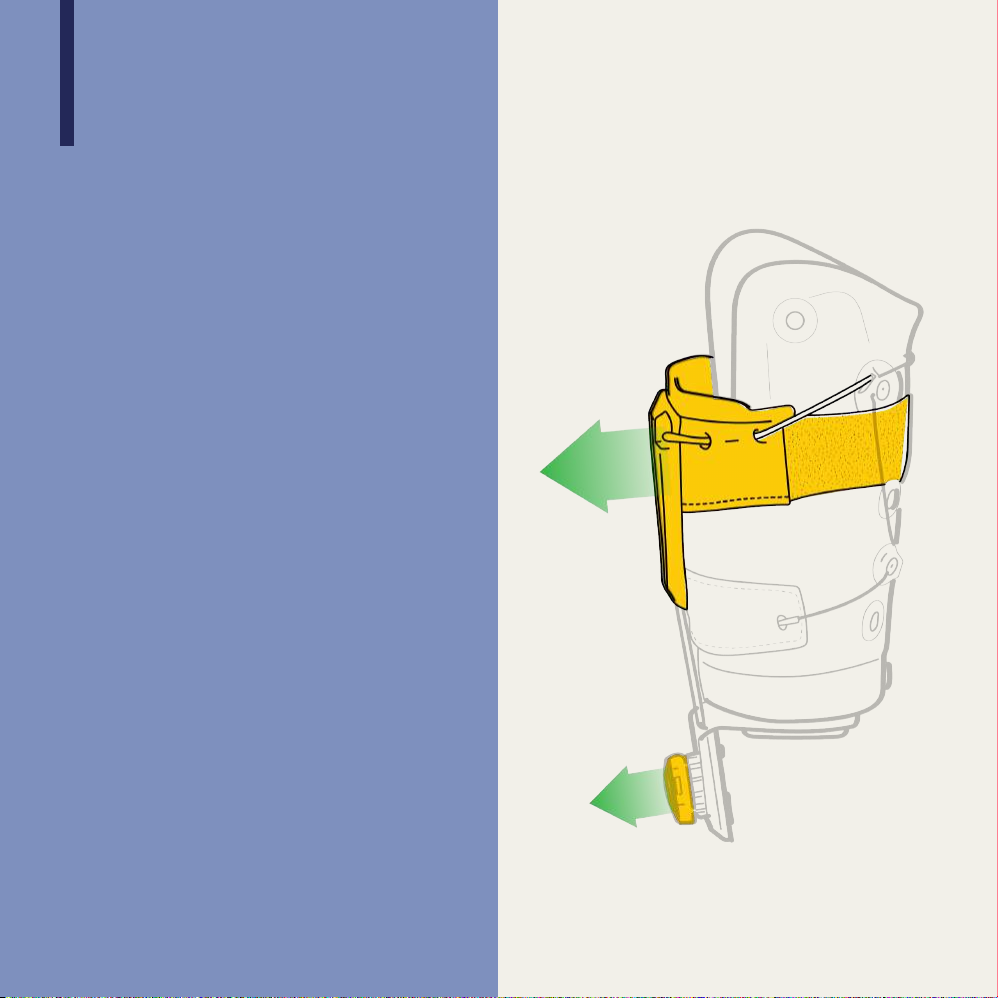
• Move anterior guides to offload sensitive areas
• Heat remold to increase relief
• Add socks or padding as you would in a traditional socket
Patient having
fibular head pressure
• Turn BOA®dial clockwise
• Make sure alignment is correct
• Move anterior guides to offload sensitive areas
• Shift posterior pressure pad laterally
• Heat remold to increase relief
• Add socks or padding as you would in a traditional socket
Posterior tissue
pinching or localized
posterior pressure
• Adjust posterior pad size
• Adjust posterior wall height (refer to appendix)
Lack of suction in
socket
• Ensure proper circumferential fit
• Ensure proper installation of valve (refer to appendix)
• Add socks or padding as you would in a traditional socket
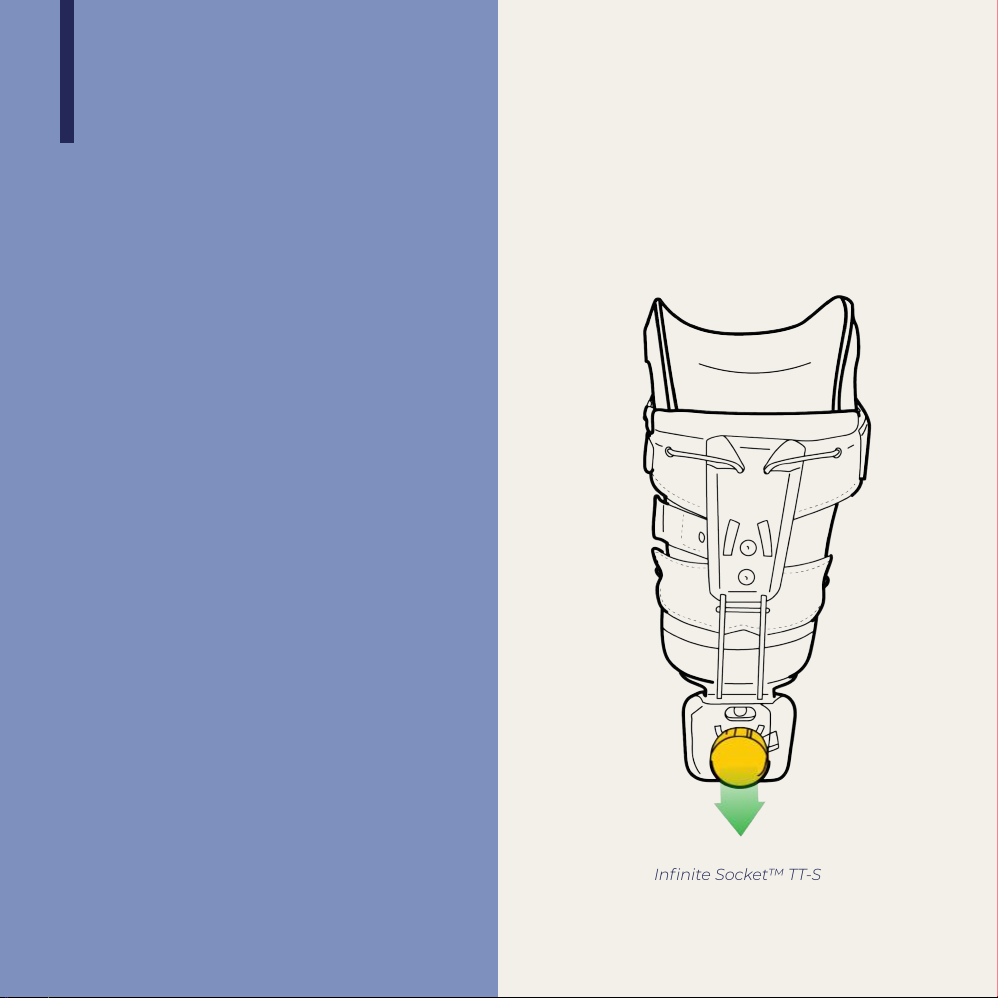
Clicking Noise • Refer to Technical Appendix
10
For specics of how to perform adjustments, please refer to technical
appendices