2
lci1.com 574-537-8900 Rev: 02.08.19
Solera®Side Shade
Installation and Owner’s Manual
(For Aftermarket Application)
CCD-0001263
Introduction
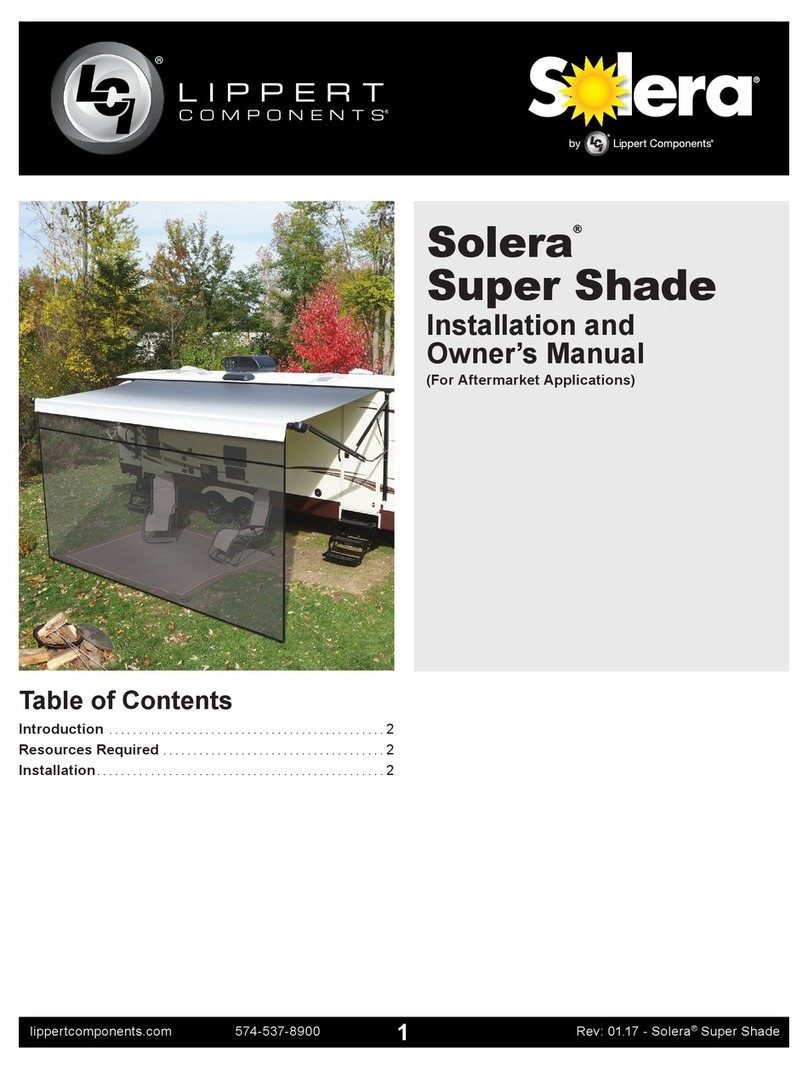
The Solera®Side Shade is designed for use on most
recreational vehicle units and is available in a variety of
sizes to t even the largest unit. The Side Shade can be
used on Solera®Awnings as well as Carefree Awnings
and Dometic Awnings.
Additional information about this product can be obtained
from lci1.com/support or by downloading the free MyLCI
app. The app is available on iTunes®for iPhone®and iPad®
and also on Google Play™for Android™users.
iTunes, iPhone and iPad are registered trademarks of
Apple Inc.
Google Play and Android are trademarks of Google Inc.
Installation
NOTE: There are 2 sets of brackets that can be mounted,
1 set on each end of the awning. The brackets allow the
shade to be moved to either side of the unit depending on
the sun’s location.
1. Mount the upper bracket ½” past the edge of the fabric
and ½” below the awning rail with the #10 screw or molly
rivet provided (Fig.1).
2. Starting on 1 end of the roll tube, position a roll tube
bracket ush with the valance roll tube channel, ½” from
the fabric. Mark the mounting holes on the roll tube. Drill
the holes using a ⁄” drill bit. Mount the bracket using the
pop rivets provided (Fig.2).
Fig.1
IF STAKING SOLERA®SIDE SHADE TO THE GROUND, BE
SURE TO DISABLE ANY AND ALL SELF RE-TRACKING WIND
SENSING OPTIONS ON THE AWNING. FAILURE TO DO SO
COULD RESULT IN DAMAGE TO THE AWNING AND UNIT.
Resources Required
• Cordless or Electric Drill or Screw Gun
• Appropriate Drive Bits
• Rivet Gun
• ⁄” Drill Bit
fabric awning rail
valance roll tube channel
Fig.2
MOVING PARTS CAN PINCH, CRUSH OR CUT. KEEP
CLEAR AND USE CAUTION.
