7 8
07 08
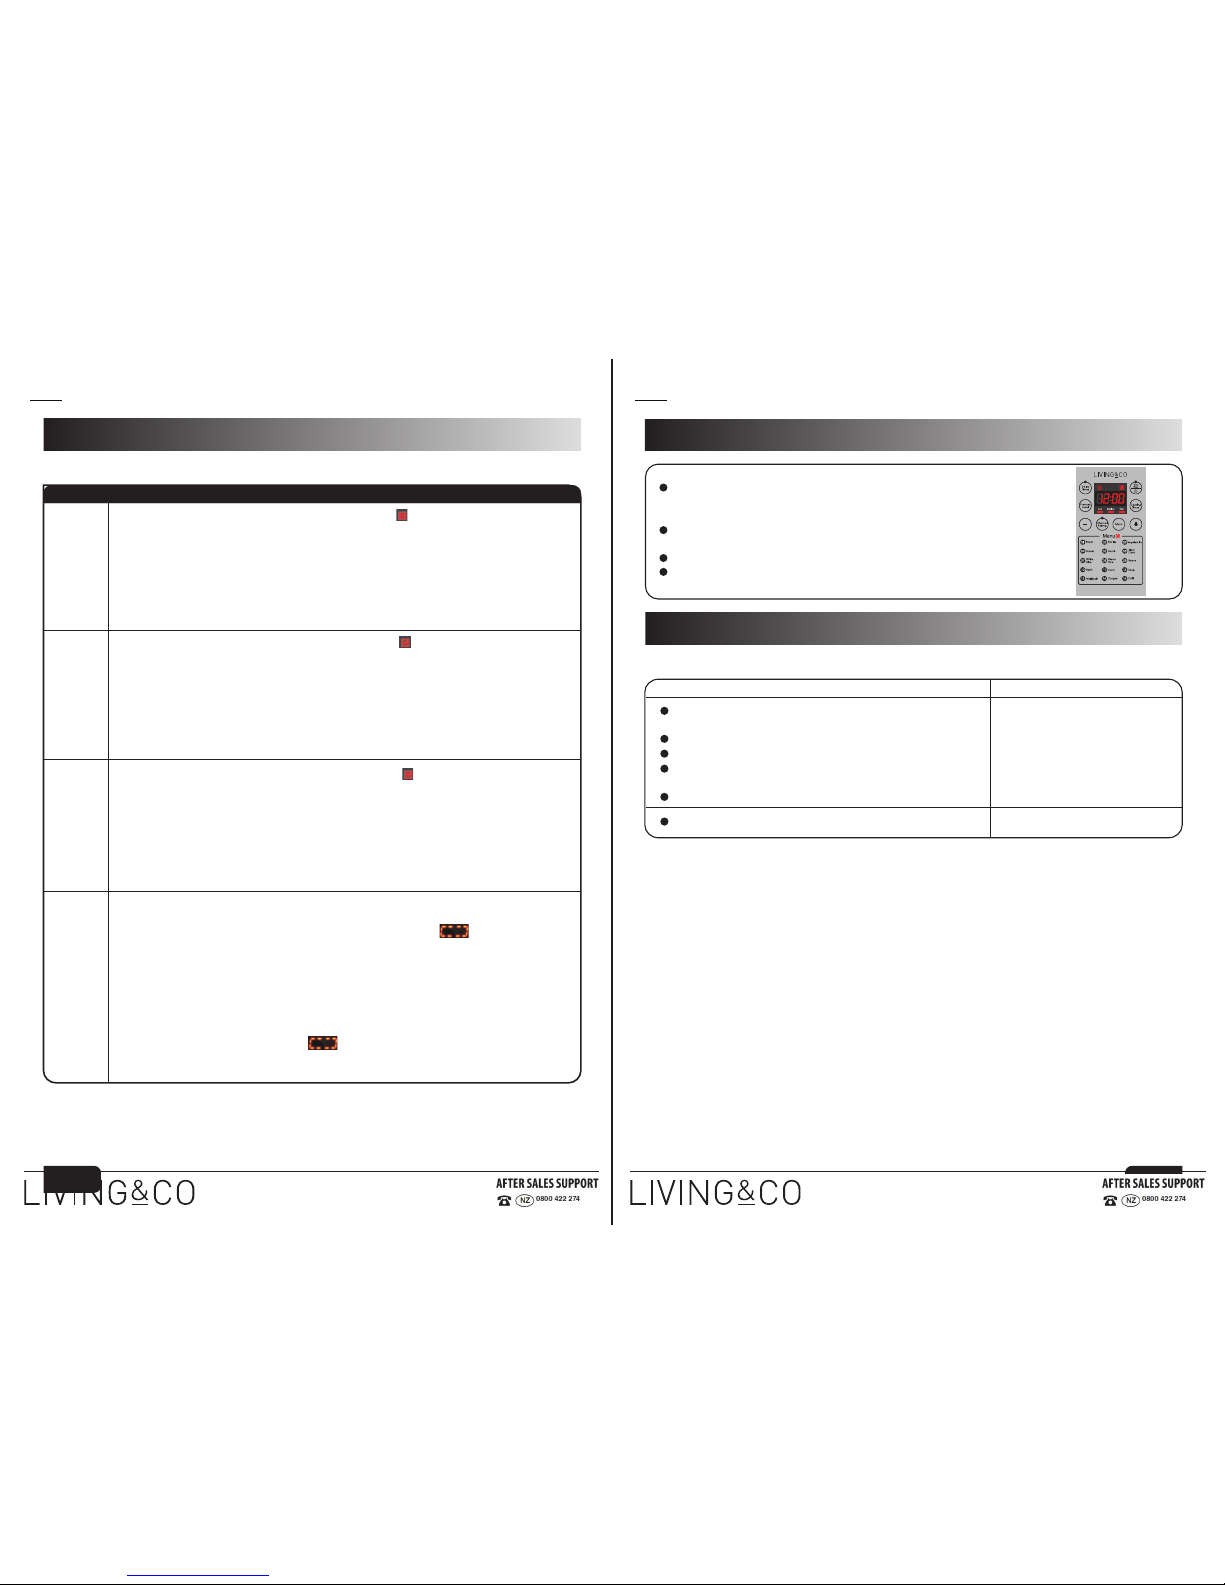
Operation Guidelines
White Rice
Brown Rice
Beans
Broth
Curry
1. Normal cooking: Under standby state, press the “Menu” button,“ ” indicator lights on, the digital screen
flashes “P01”, then press “+” six times, the digital screen displays “P07”. 10s later if no button is pressed,
the product automatically starts cooking at “White Rice”, the digital screen displays “P07”, and starts
countdown when pressure rises in the cooker.
2. Preset cooking: Under standby state, press the “Menu” button, then press “+” six times, the digital screen
displays “P07”, press the “Delay Timer” button again,“Delay Timer” indicator flashes, the digital screen
flashes the time, start to adjust the preset time, press the “+''/“-” button to adjust minute, press it once to
adjust by 10min. 10s after setting, the product automatically starts preset cooking at “White Rice”, the digital
screen displays the finishing time and starts countdown.
3. Exit work state: Press the “Keep Warm” button to exit the current work state.
1. Normal cooking: Under standby state, press the “Menu” button,“ ” indicator lights on, the digital screen
flashes “P01”, then press “+” seven times, the digital screen displays “P08”. 10s later if no button is pressed,
the product automatically starts cooking at “Brown Rice”, the digital screen displays “P08”, and starts
countdown when pressure rises in the cooker.
2. Preset cooking: Under standby state, press the “Menu” button, then press “+” seven times, the digital
screen displays “P08”, press the “Delay Timer” button again,“Delay Timer” indicator flashes, the digital
screen flashes the time, start to adjust the preset time, press the “+''/“-” button to adjust minute, press it once
to adjust by 10min. 10s after setting, the product automatically starts preset cooking at “Brown Rice”, the
digital screen displays the finishing time and starts countdown.
3. Exit work state: Press the “Keep Warm” button to exit the current work state.
1. Normal cooking: Under standby state, press the “Menu” button,“ ” indicator lights on, the digital screen
flashes “P01”, then press “+” eight times, the digital screen displays “P09”. 10s later if no button is pressed,
the product automatically starts cooking at “Beans”, the digital screen displays “P09”, and starts countdown
when pressure rises in the cooker.
2. Preset cooking: Under standby state, press the “Menu” button, then press “+” eight times, the digital
screen displays “P09”, press the “Delay Timer” button again,“Delay Timer” indicator flashes, the digital
screen flashes the time, start to adjust the preset time, press the “+''/“-” button to adjust minute, press it once
to adjust by 10min. 10s after setting, the product automatically starts preset cooking at “Beans”, the digital
screen displays the finishing time and starts countdown.
3. Exit work state: Press the “Keep Warm” button to exit the current work state.
1. Normal cooking: Under standby state, press the “Menu” button,“ ”indicator lights on, the digital screen
flashes “P01”, then press “+” nine times, the digital screen displays “P10”. 10s later if no button is pressed,
the product automatically starts cooking at “Broth”, the digital screen displays “P10”, and starts countdown
when pressure rises in the cooker.
2. Preset cooking: Under standby state, press the “Menu” button, then press “+” nine times, the digital
screen displays “P10”, press the “Delay Timer” button again,“Delay Timer” indicator flashes, the digital
screen flashes the time, start to adjust the preset time, press the “+''/“-” button to adjust minute, press it once
to adjust by 10min. 10s after setting, the product automatically starts preset cooking at “Broth”, the digital
screen displays the finishing time and starts countdown.
3. Exit work state: Press the “Keep Warm” button to exit the current work state.
1. Normal cooking: Under standby state, press the “Menu” button,“ ”indicator lights on, the digital screen
flashes “P01”, then press “+” ten times, the digital screen displays “P11”. 10s later if no button is pressed,
the product automatically starts cooking at “Curry”, the digital screen displays “P11”, and starts countdown
when pressure rises in the cooker.
2. Preset cooking: Under standby state, press the “Menu” button, then press “+” ten times, the digital screen
displays “P11”, press the “Delay Timer” button again,“Delay Timer” indicator flashes, the digital screen
flashes the time, start to adjust the preset time, press the “+''/“-” button to adjust minute, press it once to
adjust by 10min. 10s after setting, the product automatically starts preset cooking at “Curry”, the digital
screen displays the finishing time and starts countdown.
3. Exit work state: Press the “Keep Warm” button to exit the current work state.
Operation Guidelines
Function
Operation Guidelines
After supplying power, the default is standby and the digital screen flashes “----”
1. Normal cooking: Under standby state, press the “Menu” button,“ ” indicator lights on, the digital screen
flashes “P01”, 10s later if no button is pressed, the product automatically starts cooking at “Meat”, the digital
screen displays ” P01”, and starts countdown when pressure rises in the cooker.
2. Preset cooking: Under standby state, press the “Menu”button, press the “Delay Timer” button again,
“Delay Timer” indicator flashes, the digital screen flashes the time, start to adjust the preset time, press the
“+''/“-” button to adjust minute, press it once to adjust by 10min. 10s after setting, the product automatically
starts preset cooking at “Meat”, the digital screen displays the finishing time and starts countdown.
3. Exit work state: Press the “Keep Warm” button to exit the current work state.
Meat
Poultry
Vegetable
Steam
Saute
Slow Cook
Standby
1. Normal cooking: Under standby state, press the “Menu” button,“ ”indicator lights on, the digital screen
flashes “P01”, then press “+” one time, the digital screen displays “P02”. 10s later if no button is pressed, the
product automatically starts cooking at “Poultry”, the digital screen displays “P02”, and starts countdown
when pressure rises in the cooker.
2. Preset cooking: Under standby state, press the “Menu” button, then press “+” one time, the digital screen
displays “P02”, press the “Delay Timer” button again,“Delay Timer” indicator flashes, the digital screen
flashes the time, start to adjust the preset time, press the “+''/“-” button to adjust minute, press it once to
adjust by 10min. 10s after setting, the product automatically starts preset cooking at “Meat”, the digital
screen displays the finishing time and starts countdown.
3. Exit work state: Press the “Keep Warm” button to exit the current work state.
1. Normal cooking: Under standby state, press the “Menu” button,“ ”indicator lights on, the digital screen
flashes “P01”, then press “+” two times, the digital screen displays “P03”. 10s later if no button is pressed,
the product automatically starts cooking at “Vegetable”, the digital screen displays “P03”, and starts
countdown when pressure rises in the cooker.
2. Preset cooking: Under standby state, press the “Menu” button, then press “+” two times, the digital screen
displays “P03”, press the “Delay Timer” button again,“Delay Timer” indicator flashes, the digital screen
flashes the time, start to adjust the preset time, press the “+''/“-” button to adjust minute, press it once to
adjust by 10min. 10s after setting, the product automatically starts preset cooking at “Vegetable”, the digital
screen displays the finishing time and starts countdown.
3. Exit work state: Press the “Keep Warm” button to exit the current work state.
1. Normal cooking: Under standby state, press the “Menu” button,“ ”indicator lights on, the digital screen
flashes “P01”, then press “+” three times, the digital screen displays “P04”. 10s later if no button is pressed,
the product automatically starts cooking at “Steam”, the digital screen displays “P04”, and starts countdown
when pressure rises in the cooker.
2. Preset cooking: Under standby state, press the “Menu” button, then press “+” three times, the digital
screen displays “P04”, press the “Delay Timer” button again,“Delay Timer” indicator flashes, the digital
screen flashes the time, start to adjust the preset time, press the “+''/“-” button to adjust minute, press it once
to adjust by 10min. 10s after setting, the product automatically starts preset cooking at “Steam”, the digital
screen displays the finishing time and starts countdown.
3. Exit work state: Press the “Keep Warm” button to exit the current work state.
1. Normal cooking: Under standby state, press the “Menu” button,“ ”indicator lights on, the digital screen
flashes “P01”, then press “+” four times, the digital screen displays “P05”. 10s later if no button is pressed,
the product automatically starts cooking at “Saute”, the digital screen displays countdown “0:30”.
2. Exit work state: Press the “Keep Warm” button to exit the current work state.
1. Normal cooking: Under standby state, press the “Menu” button, “ ”indicator lights on, the digital screen
flashes “P01”, then press “+” five times, the digital screen displays “P06”. 10s later if no button is pressed,
the product automatically starts cooking at “Slow Cook”, the digital screen displays countdown “8:00”.
2. Exit work state: Press the “Keep Warm” button to exit the current work state.