manuals.online logo
Brands
  1. Home
  2. •
  3. Brands
  4. •
  5. Lock4Safe
  6. •
  7. Lock
  8. •
  9. Lock4Safe HOME2 User manual

Lock4Safe HOME2 User manual

In case of an entry error, wait 10 seconds and begin again.
The new codes can be changed by the user.
The codes must be different.
00 01 minutes de-activates Time Delay
Do not spray cleaning solvent on or in the entry unit.
USER INSTRUCTIONS
I001
EN
190114
Electronic High Security Locks
Type HOME2
Your high security lock is produced to the highest standards. Please take a few
moments and study this manual before you begin.
The lock features a Main Code and a Secondary Code. With the main code a secondary
code and features of the lock can be activated or disabled
If not done so already, in the following table you can checkmark the features that are active
in your lock.
Active
Feature
Description
X
DIAGNOSTIC
Always active. Allows testing the electronics of Lock
and Entry Unit.
X
MANIPULATION
PROTECTION
Always active. After input of four consecutive invalid
codes the keypad is blocked for 5 minutes. During this
period any key press causes a long signal. After
expiration, entry of two more invalid codes restarts the
5 minute blocking period.
TIME DELAY
If active, the user must wait a determined period before
the lock can only be opened.
Make yourself familiar with the signals the lock emits.
Each key press is confirmed with an audio and light signal.
A double signal indicates that the last entry was valid 
A long beep indicates that the last entry was invalid 
Safety reference:
All codes are to be securely stored. Do not use personal data (i.e. Birthdays, telephone numbers etc.)
as the code. Change the factory code before you start using the safe!
© 2019 www.lock4safe.com
ADDING THE SECONDARY CODE
1. Press and hold Key [1] until double signal.
The light remains on during the following actions.
2. Enter main code (Double signal).
3. Enter new opening code (Double signal)
Repeat new opening code (Double signal)
DELETING THE SECONDARY CODE
1. Press and hold Key [3] until double signal.
The light remains on during the following action.
2. Enter main code (Double signal).
MAINTENANCE
The lock inside the door does not need maintenance; however, the boltwork of the safe
should be checked periodically by a professional, depending on the frequency of usage.
Keep the door frame area clear of items or paper that could disturb the locking
mechanism. Vacuum the bolt holes in the frame periodically to remove dust and debris.
Clean the entry unit with a damp cloth and mild soap only
SETTING TIME DELAY VALUES
1. Can only be performed with the Main Code during open period!
2. Press and hold Key [9] until double signal.
The light remains ON during the following actions.
3. Enter Main Code.
4. Enter Delay period value, from 00 to 99 minutes i.e. five (5) min
5. Enter Open Period value, from 00 to 19 minutes, i.e. two (2) min
6. Confirm values (double signal).
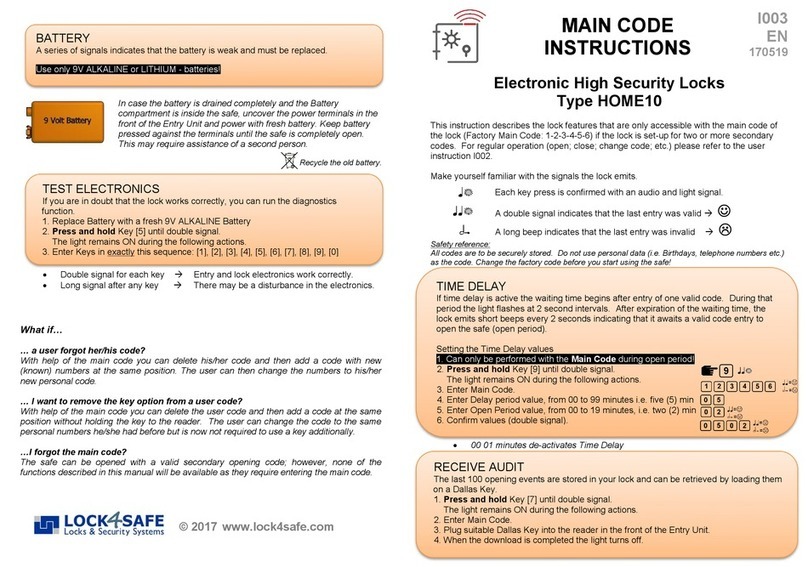
In case the battery of the Delta Entry is drained completely, use the power terminals in the front of the
Entry Unit and power with fresh battery. Keep battery pressed against the terminals until the safe is
completely open. This may require assistance of a second person.
If not opened within a few seconds, the lock secures automatically or begins beeping (in
that case, push any key to secure the lock).
If code entry failed on first attempt, wait 20 seconds before re-entering.
Three long beeps indicate the lock bolt is jammed. Release the handle and re-enter
code.
While the safe is open, pay attention that no unauthorized persons can tamper with the
lock.
Time Delay values can be changed with the main code but only in the Open Period
In case of entry errors (long signal), the old code remains valid.
Different from a Cell Phone, when using a Code-Word with 6 letters, press each key once only.
Double signal for each key Entry and lock electronics work correctly.
Long signal after any key There may be a disturbance in the electronics.
A. Stationary Entry Units
PULSE
PREMIER
Stationary Entry Units are used with
automatic and semi-automatic locks. If a
valid code has been entered, the lock
electronics removes the blocking and the
door handle can be turned to open.
To lock the door, simply turn the handle
back into locking position.
(If the lock beeps every ten seconds while
open, push any key after turning the
handle into locking position.)
Battery Compartment
in the bottom of Entry
Battery Compartment
in the bottom of Entry
B. Turnable Entry Units
DELTA
PULSE
After code entry these Entry Units are
rotated clockwise to unlock the door. In
most cases the door is opened by turning a
separate handle.
The Entry unit remains turned while open.
After the door is closed (handle in locking
position), the entry unit is rotated back until
straight.
Note: Units can be mounted stationary (in
that case see A.)
Battery Compartment
inside Safe
Battery Compartment
in the bottom of Entry
© 2019 www.lock4safe.com
TO OPEN
Enter code (factory Main Code = 1-2-3-4-5-6)
TO OPEN WITH TIME DELAY
If time delay is active, the waiting time begins after entry of one valid code. During that
period the light flashes at 2 second intervals. After expiration of the waiting time, the
lock emits short beeps every 2 seconds indicating that it awaits a valid code entry to
open the safe (open period).
MANIPULATION PROTECTION
Entry of four consecutive invalid codes causes the keypad to be blocked for 5 minutes.
During this period, the light flashes every 10 seconds and any key press causes a long
signal. After expiration, entry of two more invalid codes restarts the 5 minute blocking
period.
CHANGING CODES
1. Always open the safe first before you change your code!
2. Press and hold Key [0] until double signal.
The light remains ON during the following actions.
3. Enter old code (double signal)
4. Enter new code (double signal) and
Repeat new code (double signal)
BATTERY
A series of signals indicates that the battery is weak and must be replaced.
Use only 9V ALKALINE batteries! Recycle the old battery.
For long battery life order Lithium batteries Art. Nr. LS-LA9V
When opening the safe for the first time…
Depending on lock type and entry unit, the opening and closing procedure differs.
Please locate the type of your entry unit (A. or B.) in the list below:
TEST ELECTRONICS
If you are in doubt that the lock works correctly, you can run the diagnostics function.
1. Replace Battery with a fresh 9V ALKALINE Battery
2. Press and hold Key [5] until double signal.
The light remains ON during the following actions.
3. Enter Keys in exactly this sequence: [1], [2], [3], [4], [5], [6], [7], [8], [9], [0]
Other Lock4Safe Lock manuals

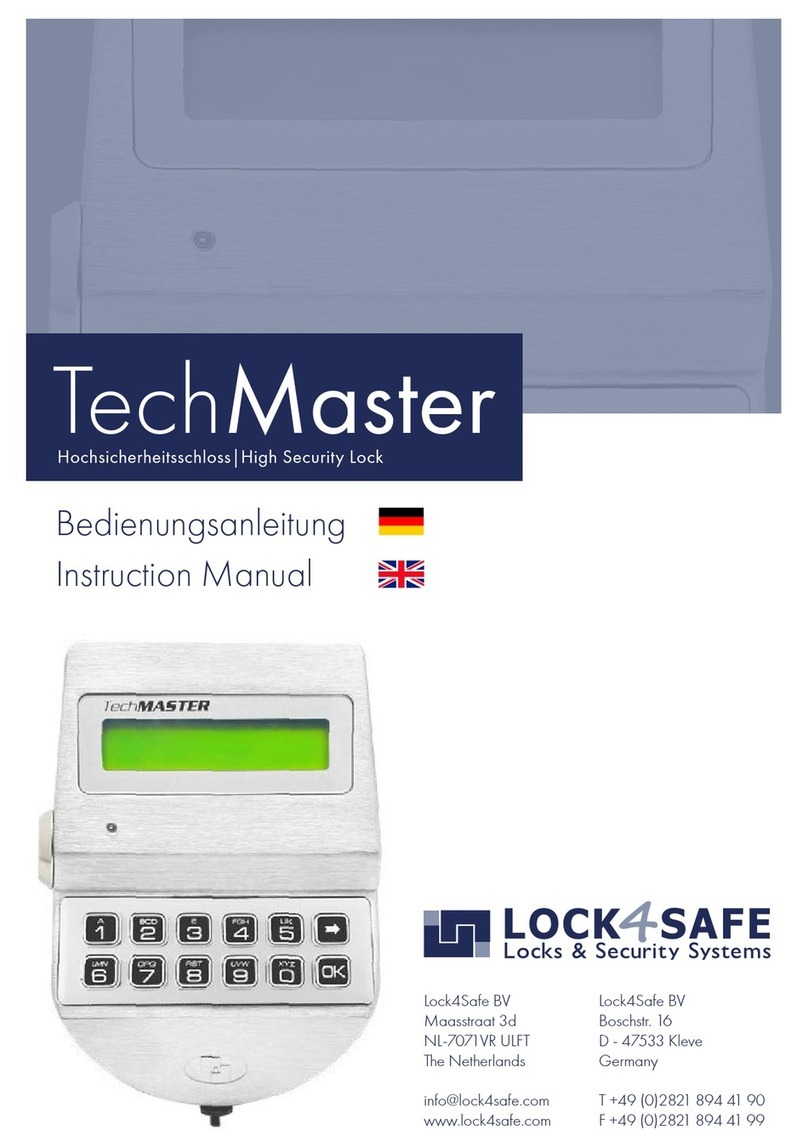
Lock4Safe TechMaster User manual

Lock4Safe

Lock4Safe TechMaster User manual

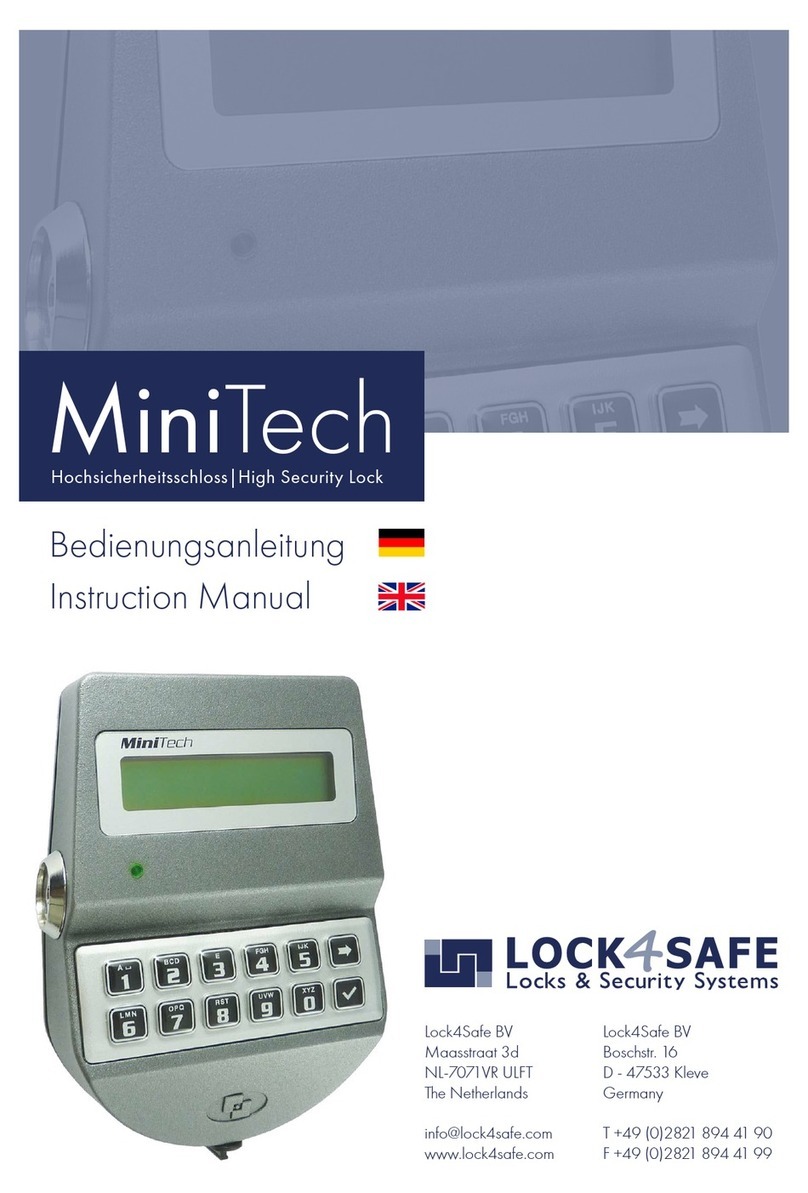
Lock4Safe MiniTech User manual

Lock4Safe

Lock4Safe MiniTech User manual

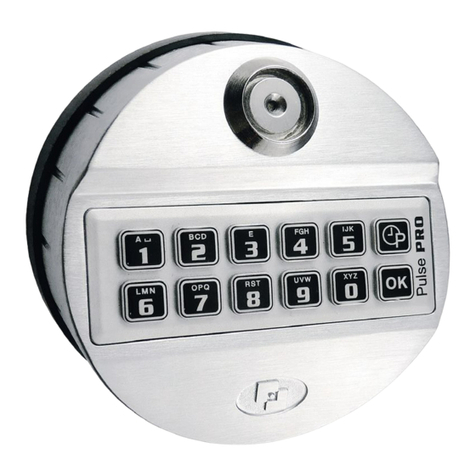
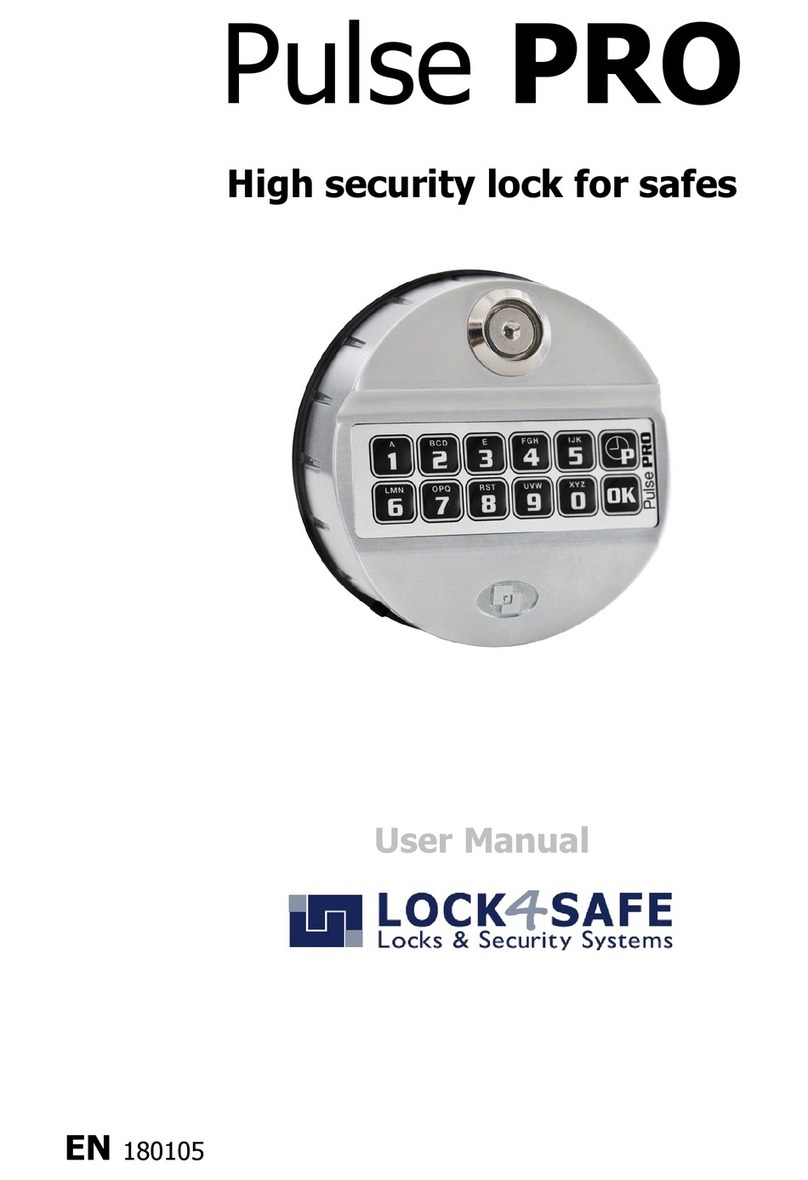
Lock4Safe Pulse PRO User manual

Lock4Safe

Lock4Safe Pulse PRO User manual

Lock4Safe MiniTech User manual

Lock4Safe

Lock4Safe MiniTech User manual

Lock4Safe HOME10 User manual

Lock4Safe

Lock4Safe HOME10 User manual

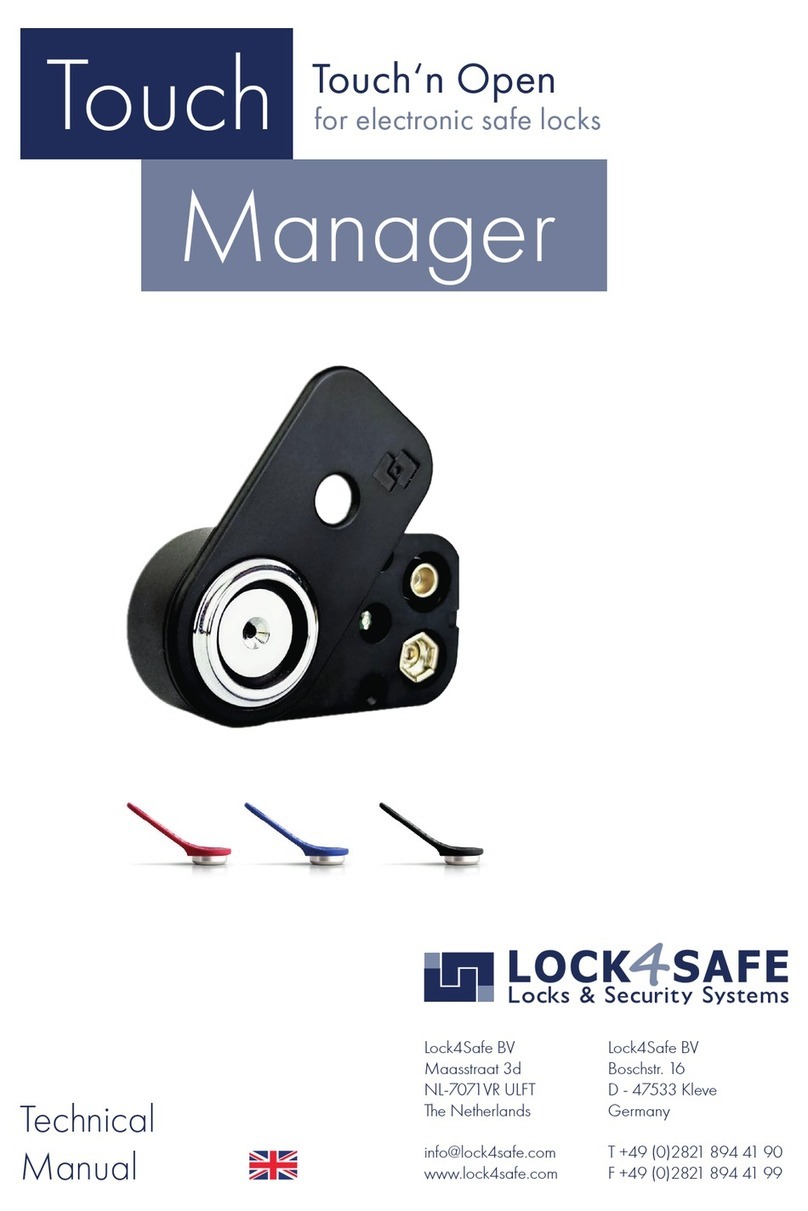
Lock4Safe TouchManager User manual

Lock4Safe

Lock4Safe TouchManager User manual

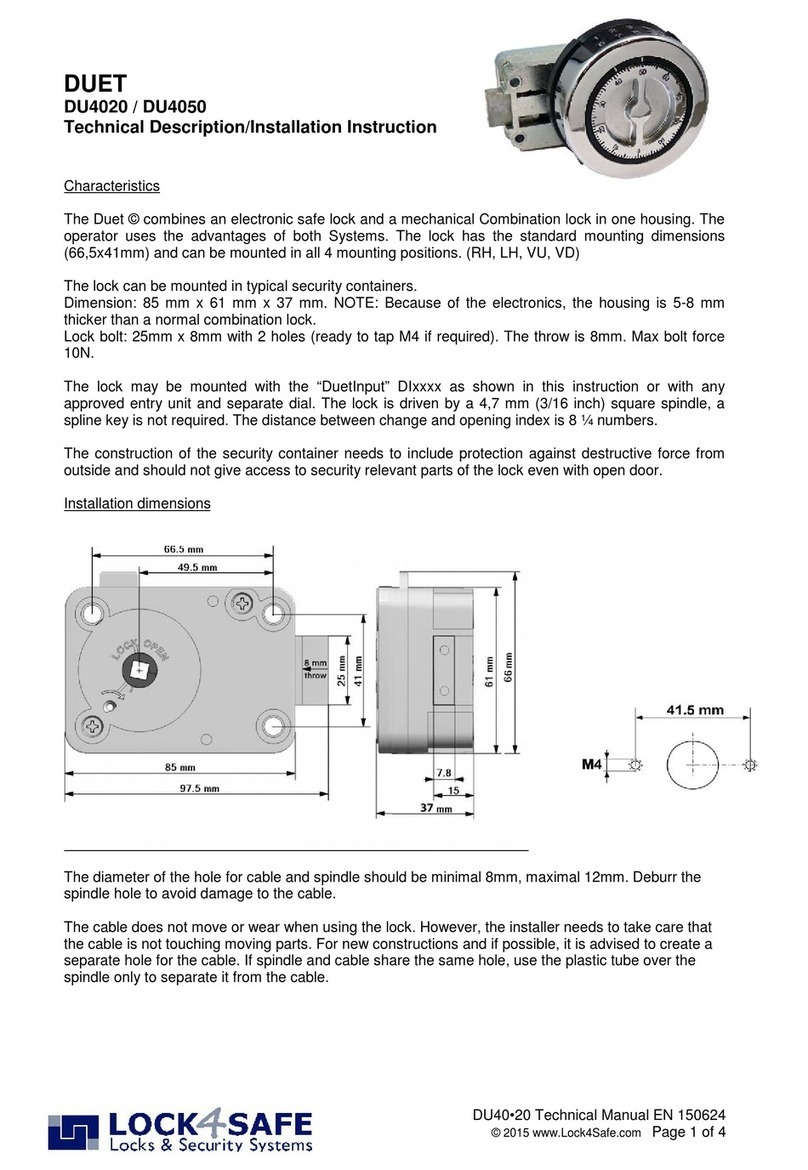
Lock4Safe DUET DU4020 User manual

Lock4Safe

Lock4Safe DUET DU4020 User manual

Lock4Safe Pulse PRO User manual

Lock4Safe

Lock4Safe Pulse PRO User manual

Lock4Safe Pulse PRO User manual

Lock4Safe

Lock4Safe Pulse PRO User manual

Popular Lock manuals by other brands

DigitalHome Smart Lock LS100 user manual

DigitalHome

DigitalHome Smart Lock LS100 user manual

Gianni Industries Electromechanical Lock installation instructions

Gianni Industries

Gianni Industries Electromechanical Lock installation instructions

Hafele Sola operating instructions

Hafele

Hafele Sola operating instructions

CDVI C3S12 Product presentation

CDVI

CDVI C3S12 Product presentation

AmazonBasics TravelSentry B07SZ7732P manual

AmazonBasics

AmazonBasics TravelSentry B07SZ7732P manual

FORTEZA F-S2000 installation manual

FORTEZA

FORTEZA F-S2000 installation manual

HMF 3503 instruction manual

HMF

HMF 3503 instruction manual

Simons Voss Technologies LockNode MP Z4 quick guide

Simons Voss Technologies

Simons Voss Technologies LockNode MP Z4 quick guide

Hafele ER5000 installation guide

Hafele

Hafele ER5000 installation guide

LOX EM5700D installation manual

LOX

LOX EM5700D installation manual

SmartLinc 40169 User operating instructions

SmartLinc

SmartLinc 40169 User operating instructions

Alarm Lock DL4100 Series Tech tips

Alarm Lock

Alarm Lock DL4100 Series Tech tips

Secu E4000R operating instructions

Secu

Secu E4000R operating instructions

Gainsborough 1851 installation instructions

Gainsborough

Gainsborough 1851 installation instructions

Euro-Locks Nimbus 396 Series User instructions

Euro-Locks

Euro-Locks Nimbus 396 Series User instructions

ABH 6600-B-AB Series Installation

ABH

ABH 6600-B-AB Series Installation

G-U BKS detect3 B 31 Series Assembly instructions

G-U

G-U BKS detect3 B 31 Series Assembly instructions

Assa Abloy OneSystem 319N Safety instructions

Assa Abloy

Assa Abloy OneSystem 319N Safety instructions

manuals.online logo
manuals.online logoBrands
  • About & Mission
  • Contact us
  • Privacy Policy
  • Terms and Conditions

Copyright 2025 Manuals.Online. All Rights Reserved.