manuals.online logo
Brands
  1. Home
  2. •
  3. Brands
  4. •
  5. Lock4Safe
  6. •
  7. Lock
  8. •
  9. Lock4Safe HOME10 User manual

Lock4Safe HOME10 User manual

In case the battery is drained completely and the Battery
compartment is inside the safe, uncover the power terminals in the
front of the Entry Unit and power with fresh battery. Keep battery
pressed against the terminals until the safe is completely open.
This may require assistance of a second person.
Recycle the old battery.
Double signal for each key Entry and lock electronics work correctly.
Long signal after any key There may be a disturbance in the electronics.
What if…
… a user forgot her/his code?
With help of the main code you can delete his/her code and then add a code with new
(known) numbers at the same position. The user can then change the numbers to his/her
new personal code.
… I want to remove the key option from a user code?
With help of the main code you can delete the user code and then add a code at the same
position without holding the key to the reader. The user can change the code to the same
personal numbers he/she had before but is now not required to use a key additionally.
…I forgot the main code?
The safe can be opened with a valid secondary opening code; however, none of the
functions described in this manual will be available as they require entering the main code.
MAIN CODE
INSTRUCTIONS
I003
EN
170519
Electronic High Security Locks
Type HOME10
This instruction describes the lock features that are only accessible with the main code of
the lock (Factory Main Code: 1-2-3-4-5-6) if the lock is set-up for two or more secondary
codes. For regular operation (open; close; change code; etc.) please refer to the user
instruction I002.
Make yourself familiar with the signals the lock emits.
Each key press is confirmed with an audio and light signal.
A double signal indicates that the last entry was valid 
A long beep indicates that the last entry was invalid 
Safety reference:
All codes are to be securely stored. Do not use personal data (i.e. Birthdays, telephone numbers etc.)
as the code. Change the factory code before you start using the safe!
00 01 minutes de-activates Time Delay
© 2017 www.lock4safe.com
TIME DELAY
If time delay is active the waiting time begins after entry of one valid code. During that
period the light flashes at 2 second intervals. After expiration of the waiting time, the
lock emits short beeps every 2 seconds indicating that it awaits a valid code entry to
open the safe (open period).
Setting the Time Delay values
1. Can only be performed with the Main Code during open period!
2. Press and hold Key [9] until double signal.
The light remains ON during the following actions.
3. Enter Main Code.
4. Enter Delay period value, from 00 to 99 minutes i.e. five (5) min
5. Enter Open Period value, from 00 to 19 minutes, i.e. two (2) min
6. Confirm values (double signal).
RECEIVE AUDIT
The last 100 opening events are stored in your lock and can be retrieved by loading them
on a Dallas Key.
1. Press and hold Key [7] until double signal.
The light remains ON during the following actions.
2. Enter Main Code.
3. Plug suitable Dallas Key into the reader in the front of the Entry Unit.
4. When the download is completed the light turns off.
BATTERY
A series of signals indicates that the battery is weak and must be replaced.
Use only 9V ALKALINE or LITHIUM - batteries!
TEST ELECTRONICS
If you are in doubt that the lock works correctly, you can run the diagnostics
function.
1. Replace Battery with a fresh 9V ALKALINE Battery
2. Press and hold Key [5] until double signal.
The light remains ON during the following actions.
3. Enter Keys in exactly this sequence: [1], [2], [3], [4], [5], [6], [7], [8], [9], [0]

ATTENTION:
To maintain the high security level when more than 4 codes are used together with silent
alarm option, the code length switches automatically to 7 digits. The amount of additional
opening codes (positions available) is determined at set-up and cannot be changed. Before
starting to activate additional opening codes, you should check the status of each position
as follows:
POSITION TABLE
Write down here to whom you gave an opening code
POS
DATE
KEY
NAME
1
2
3
4
5
6
7
8
9
In case of an entry error, wait 10 seconds and begin again.
All codes can be changed by the different users themselves.
All codes must be different.
All codes in the lock have the same length, 6 or 7 digits
To disable the key option the code needs to be deleted
If delay value is set to 00 the position 9 – code acts as regular opening code
Long signal indicates position was unoccupied.
This feature is not available if the lock is set to Dual Mode.
© 2017 www.lock4safe.com
ADDING AN OPENING CODE
1. Press and hold Key [1] until double signal.
The light remains on during the following actions.
2. Enter main code.
3. Enter selected position [1]-[9] (Double signal if position free)
4. Enter new opening code twice (Double signal after each)
ADDING ELECTRONIC KEY OPTION
For enhanced security you can add an electronic key (Dallas i-Button) to any of the
secondary codes. Just follow the steps of “adding an opening code”, however, press
the key against the reader after each code entry in step 4.
TD OVERRIDE CODE (POSITION 9)
If Time Delay is active (Delay value above 00), the code stored at position 9
automatically becomes a Time Delay Override Code. This code is no longer an
opening code. Instead it allows bypassing the delay time. If a valid opening code is
entered subsequently, the lock will immediately open.
DELETING AN OPENING CODE
To delete a code you do not need to know the personal code numbers of the user
who’s code is deleted. The code position is then cleared and a new code can be
added at that position (see: Adding an opening code)
1. Press and hold Key [3] until double signal.
The light remains on during the following action.
2. Enter main code.
3. Enter selected position [1]-[9] (Double signal indicates position deleted)
DISABLE / ENABLE ALL OPENING CODES
With this feature all secondary codes can be disabled. That means the codes are
kept at their positions however the lock will deny opening. Once re-enabled, all
secondary codes will work normally.
To toggle all secondary opening codes from Enabled to Disabled or back:
1. Press and hold Key [2] until double signal.
The light remains on during the following actions.
2. Enter main code.
MANAGING THE CODES
With the main code, up to nine additional opening codes can be added or deleted.
The opening codes are numbered from position one [1] to position nine [9]. To
easily keep track of which positions are used, it is suggested to fill out the table
below.
CHECK CODE STATUS
1. Press and hold Key [7] until double signal.
The light remains ON during the following actions.
2. Enter Main Code.
3. Enter [1] for position 1.
Single signal position is available but no code active
Double signal position is available and an active code is stored
Long signal position is not available (no code can be stored)
Enter [2] for position 2, [3] for position 3 and so forth.
4. Enter [0] to exit the function.

Other Lock4Safe Lock manuals

Lock4Safe TechMaster User manual

Lock4Safe

Lock4Safe TechMaster User manual

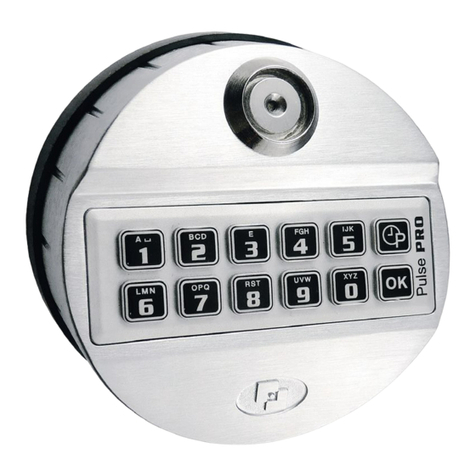
Lock4Safe Pulse PRO User manual

Lock4Safe

Lock4Safe Pulse PRO User manual

Lock4Safe TouchManager User manual

Lock4Safe

Lock4Safe TouchManager User manual

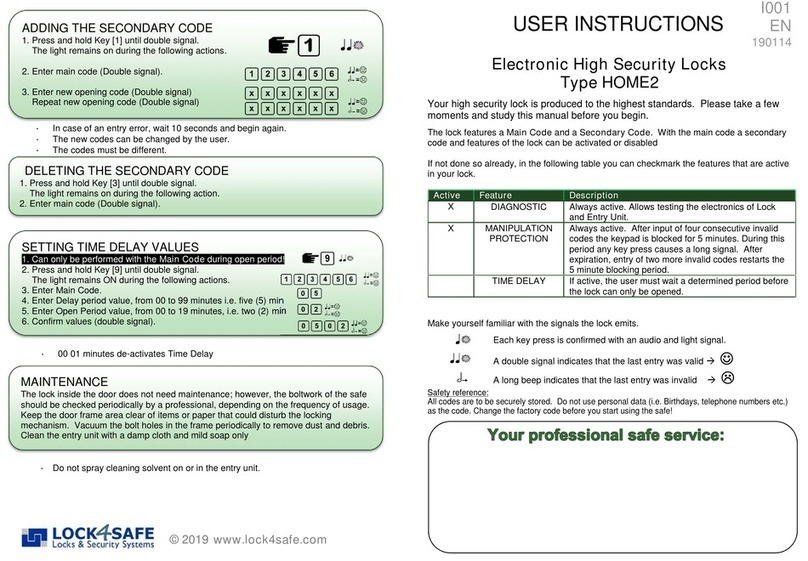
Lock4Safe HOME2 User manual

Lock4Safe

Lock4Safe HOME2 User manual

Lock4Safe MiniTech User manual

Lock4Safe

Lock4Safe MiniTech User manual

Lock4Safe MiniTech User manual

Lock4Safe

Lock4Safe MiniTech User manual

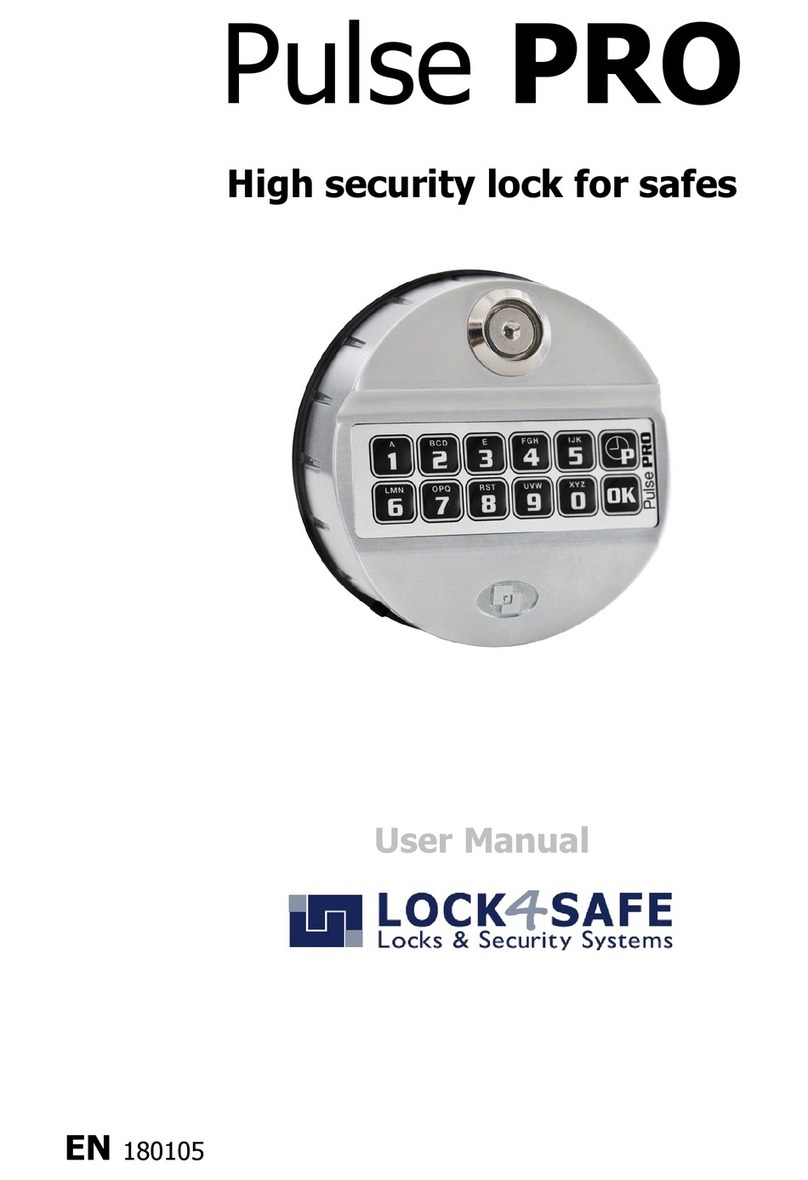
Lock4Safe Pulse PRO User manual

Lock4Safe

Lock4Safe Pulse PRO User manual

Lock4Safe Pulse PRO User manual

Lock4Safe

Lock4Safe Pulse PRO User manual

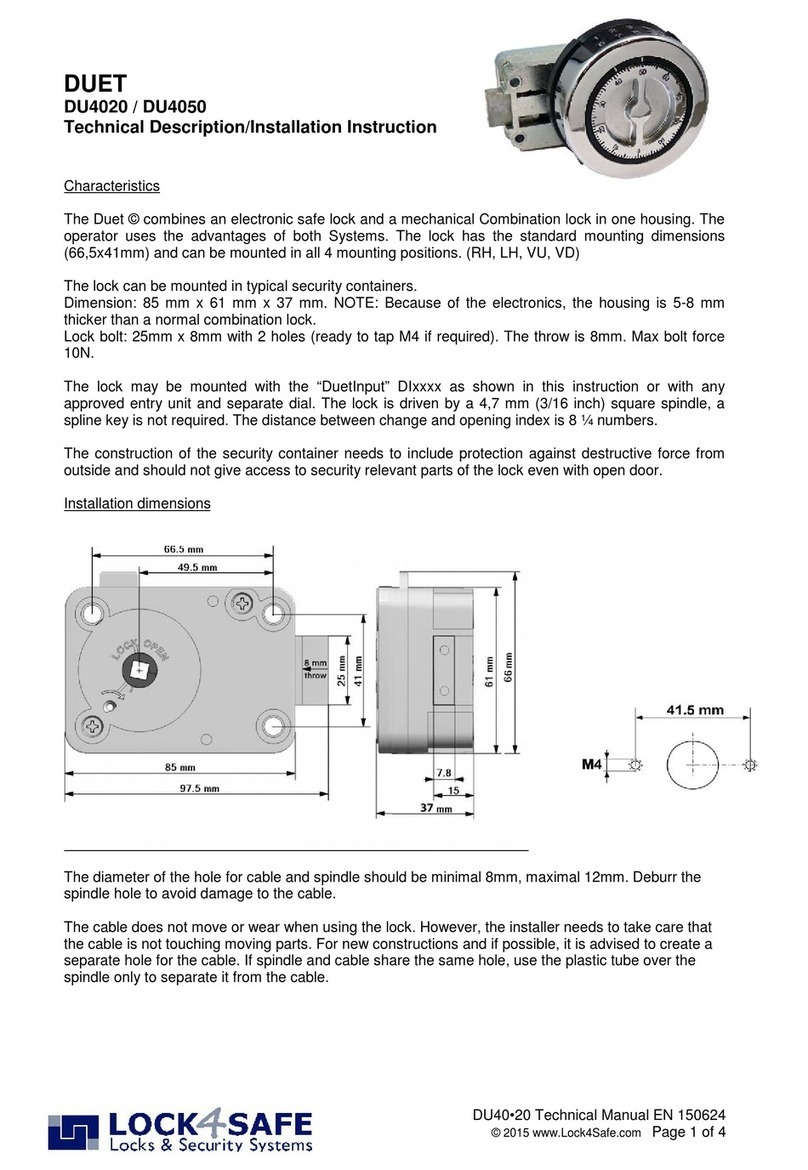
Lock4Safe DUET DU4020 User manual

Lock4Safe

Lock4Safe DUET DU4020 User manual

Popular Lock manuals by other brands

Simon ZV-ELIMATIC operating manual

Simon

Simon ZV-ELIMATIC operating manual

Prime-Line E-2496 installation instructions

Prime-Line

Prime-Line E-2496 installation instructions

Assa Abloy Yale Real Living Assure Lock SL Series Installation and programming instructions

Assa Abloy

Assa Abloy Yale Real Living Assure Lock SL Series Installation and programming instructions

Alarm Lock Trilogy DL1300 Programming instructions

Alarm Lock

Alarm Lock Trilogy DL1300 Programming instructions

SMONET Y001 manual

SMONET

SMONET Y001 manual

Gianni Industries 10010ST specification

Gianni Industries

Gianni Industries 10010ST specification

Assa Abloy HES 5000 Series installation instructions

Assa Abloy

Assa Abloy HES 5000 Series installation instructions

CARD Smart-Ashley YDL100SF Instruction for users

CARD

CARD Smart-Ashley YDL100SF Instruction for users

Schlage M490DE Installation instructions and use

Schlage

Schlage M490DE Installation instructions and use

UNV OEA-ML12-280 installation guide

UNV

UNV OEA-ML12-280 installation guide

HW-TEC DBLOCK10EL installation guide

HW-TEC

HW-TEC DBLOCK10EL installation guide

Schlage ND72 installation instructions

Schlage

Schlage ND72 installation instructions

HAUL MASTER 95831 Assembly and operation instructions

HAUL MASTER

HAUL MASTER 95831 Assembly and operation instructions

Assa Abloy hes RF0010 Installation supplement

Assa Abloy

Assa Abloy hes RF0010 Installation supplement

Safety first GSL quick start guide

Safety first

Safety first GSL quick start guide

Dynex DX-LTLOCK quick start guide

Dynex

Dynex DX-LTLOCK quick start guide

Igloohome Smart Keybox 3 Installer/user guide

Igloohome

Igloohome Smart Keybox 3 Installer/user guide

Clippasafe 71-4 instructions

Clippasafe

Clippasafe 71-4 instructions

manuals.online logo
manuals.online logoBrands
  • About & Mission
  • Contact us
  • Privacy Policy
  • Terms and Conditions

Copyright 2025 Manuals.Online. All Rights Reserved.