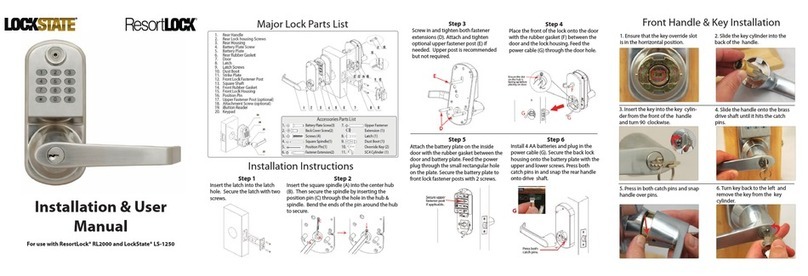
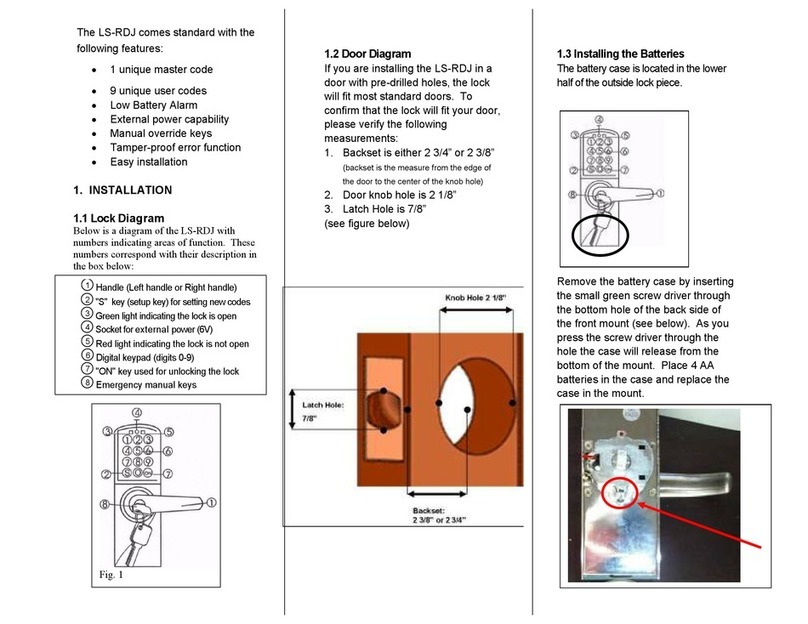
Connect Lock to WiFi Router
Configuring the lock to connect with WiFi router can occur either before of aer
lock installaon.
Create an Account and Add Lock to Portal Heart Beat Interval Explained
Default Settings
Keypad Programing Functions
Connect the front toback cable, then install baeries. If baeries were installed before
connecng the cable, remove a baery temporarily to reset the lock.
1
On your phone or laptop, go to your WiFiSengs.
From Cell Phone:
In your phone sengs, select Wi-Fito view networks
From PC:
In your system tray, select network center icon
2Select the network starng with
“RemoteLock-“
3
Open a web browser and
go to192.168.0.1
4Select the router name
you wishto connect the
lock to, then enter the
routers passphrase.
5Click Submit.
6
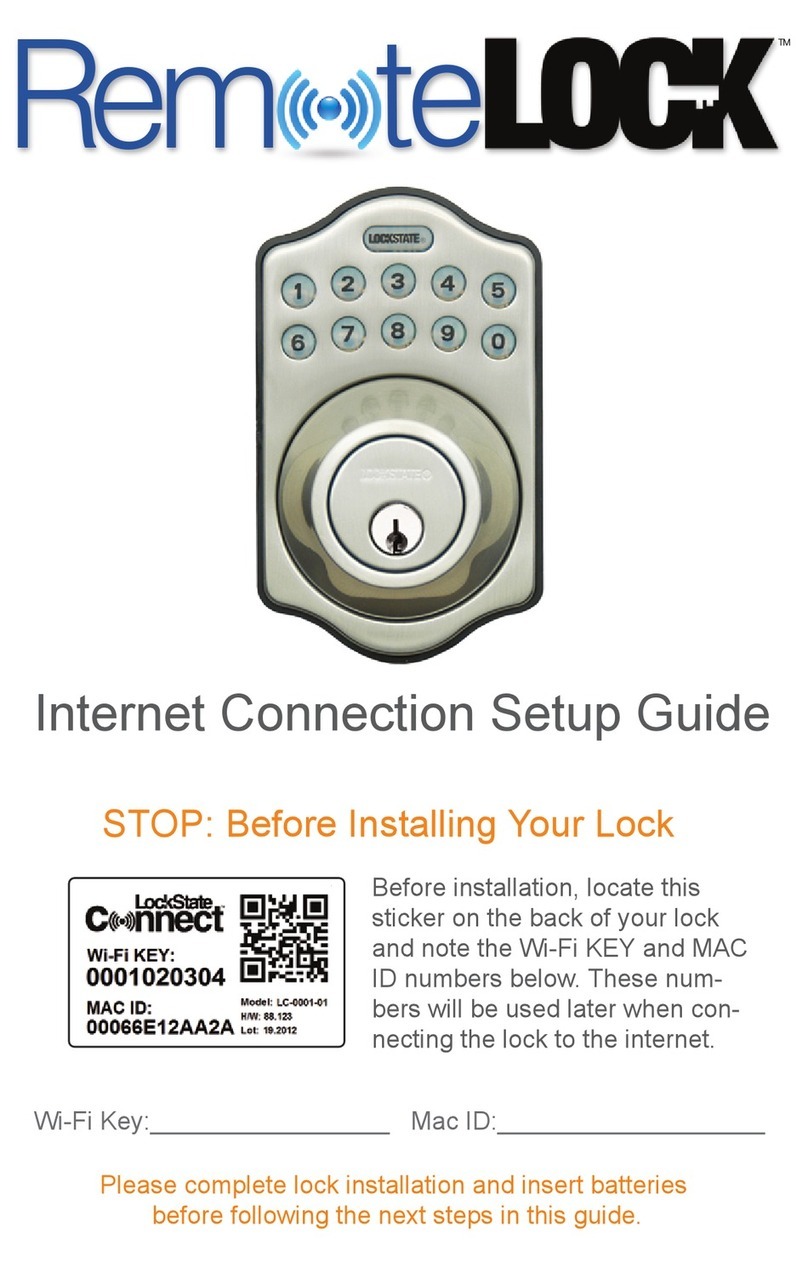
INSTRUCTIONS To register for an account, please go towww.RemoteLock.com/signup. Select the desired
plan on this page when you sign up. To sign in to an exisng account, go to
www.RemoteLock.com/login. Please note that these addresses forward to our web portal
domain DeviceWebManager.com.
Once logged into your account…
1. Click into the Locks secon in the upper navigaon
2. Select Add Lock
3. Select the Model # LS-6i
4. Enter the Serial Number found on the scker included on the back of your lock
and on the box the lock was packaged in
5. Click Create Lock
When “awake”, WiFi radios consume a fair bit of powerfrom the baeries that power your lock.
As such, during normal operaon the WiFi radiogoes to sleep for set intervals of me. We call
this the Heart Beat Interval. When the WiFi radiois asleep, messages that you send from the
web portal will not be received unl the WiFi radio wakes up and connects to the internet.
However, please note that anyme you press the keypad, the WiFi radio will wake up. So, if a
user unlocks the door, this event will be reported immediately.
On the Sengs Page for your lock, you will see a drop-down for the “WiFi Update Interval”. The
default value for this out of the box is 20 minutes. If you want to see yourlock respond
immediately to commands (like lock or unlock) from the portal, you can set this to “Always On”.
Noce the tradeoff this drop-downshows betweensleep interval and baerylife. Once you
have saved this seng on the portal, press a buon on yourlock so that it can receive this new
seng. Then you can issue commands from the portal and see the lock react right away.
Make sure to set your lock back to an Update Intervalsuch as 20 or 30 minutes so your
baeries will last longer!
Unlocking Door with User Code
To unlock the door witha User Code, enter the User code followed by the # key. Think of the
pound key as the enter buon.
Example:1234 #
Fromthe keypad, there are several funcons/sengs
that can be set. These funcons can also be performed
remotely from the app.
The below funcons are notrequired for setup.
All keypad programming follows the same general
flow of:
Programing Code # Funcon Code # Value (If Needed) #
100: Change Programing Code
The programing code is like a password. This code
allows you to program the lock via the keypad and can
be 4 - 8 digits long. The default programing code is
123456. Toset a new programing code, enter the
following on the lock’s keypad:
Current Programing Code # 100 # New Programing Code #
Example: 123456 # 100 # 87654321 #
If successful, you will see two green flashes with two
beeps. If failed, youwill see red lights and beeps.
110: Add Local UserCode
Local user codes are intended to be used as a backup to
User Codes created via the internet. If the internet is
unavailable, you can programa Local Code via the
keypad at the lock. Noaccess schedules can be applied
to Local Codes. Codes can be 4 - 8 digits long.
Programing Code # 110 # Local Code #
Example: 123456 # 110 # 4321 #
It may take a minute for your lock to show as connected. When it connects with your account,
you will see your current lock status, as well as values for your baery level and WiFi signal
strength. Refresh your web page if needed.
120: Delete LocalUser Code
Programing Code # 120 # Local Code #
Example: 123456 # 120 # 4321 #
130: Erase All Local Codes
Programing Code # 130 #
Example: 123456 # 130 #
300: Show WiFi Status
Check to see if lock is successfullyconnected to the
Internet.
Responses: 2 green beeps = successfully connected
1 green, 2 red beeps = in AP mode
1 green, 3 red beeps = no internet access
1 red, 1 green beeps = in Sleep mode
4 short red beeps = Disconnected/Error
Addional Keypad Funcons
131: Reset Local Codes to 1234
135: Factory Reset –Delete all Codes, Schedules &
Events
160: Mute Keypad
161: UnMute Keypad
270: Passage Mode: Disabled (set to auto-lock aer
unlocked)
271: Passage Mode: Enabled (will stay unlocked
aer unlocking)
312: Reset WiFi Connecon(Forget Network)
320: EnterAP Mode (add to addional network)
411: Enter
*, 411,
*to force WiFi wake up
(if wake onkey press seng is off)
Out of the box, or if the lock is reset to factory defaults, default sengs are:
Keypad Programming Code:123456
UserCode: 1234
Passage Mode: Disabled
Auto-lock delay duraon: 5 seconds
Keypad Sound: Enabled
HeartBeat Interval 20 Minutes
