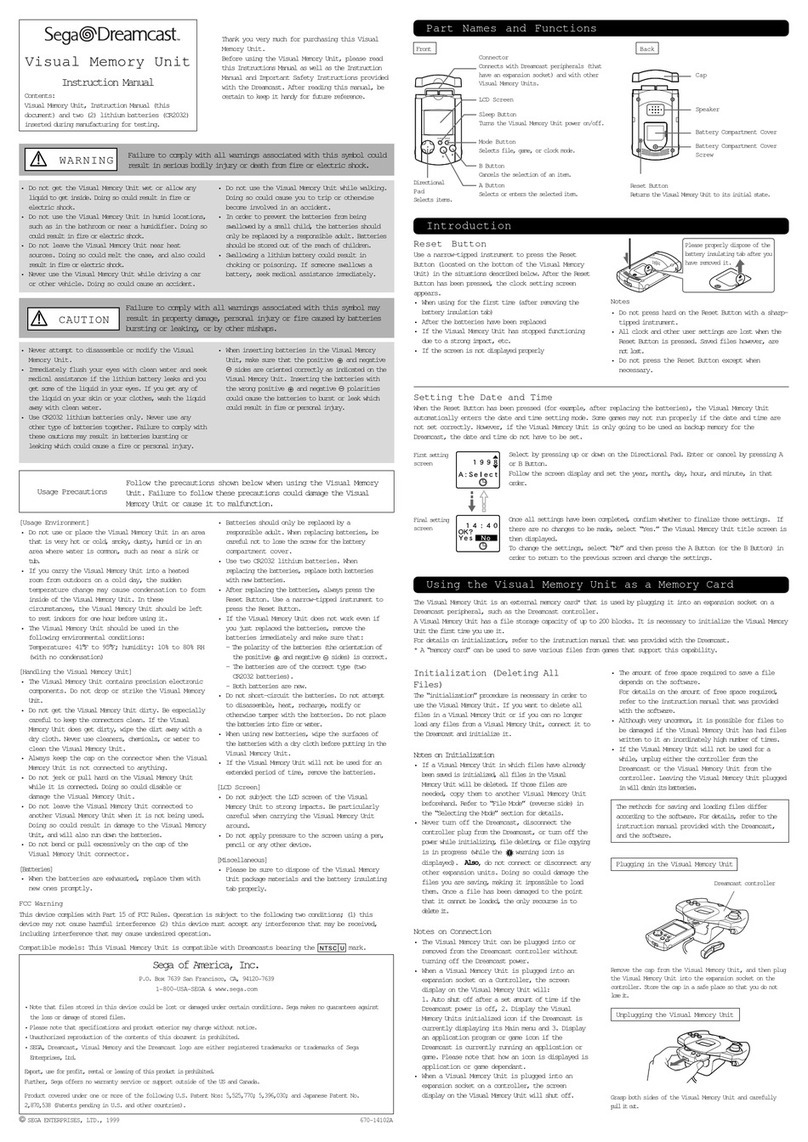
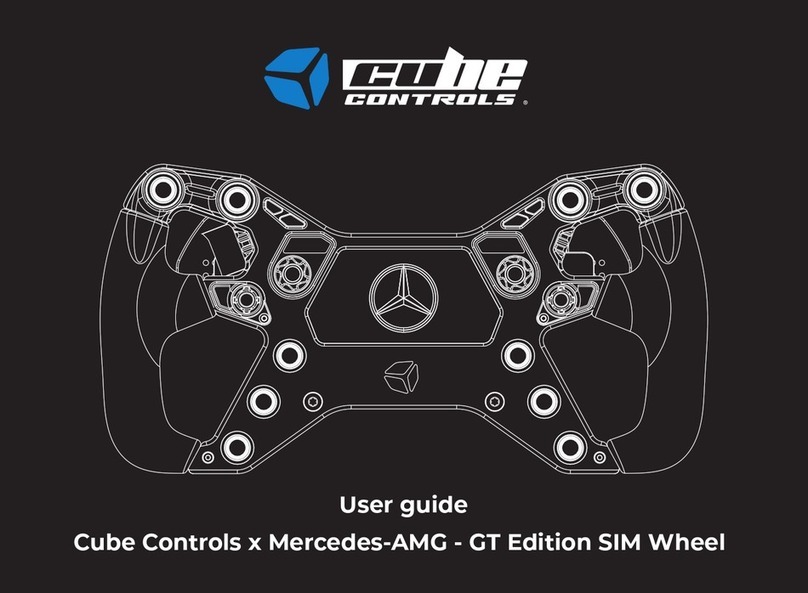
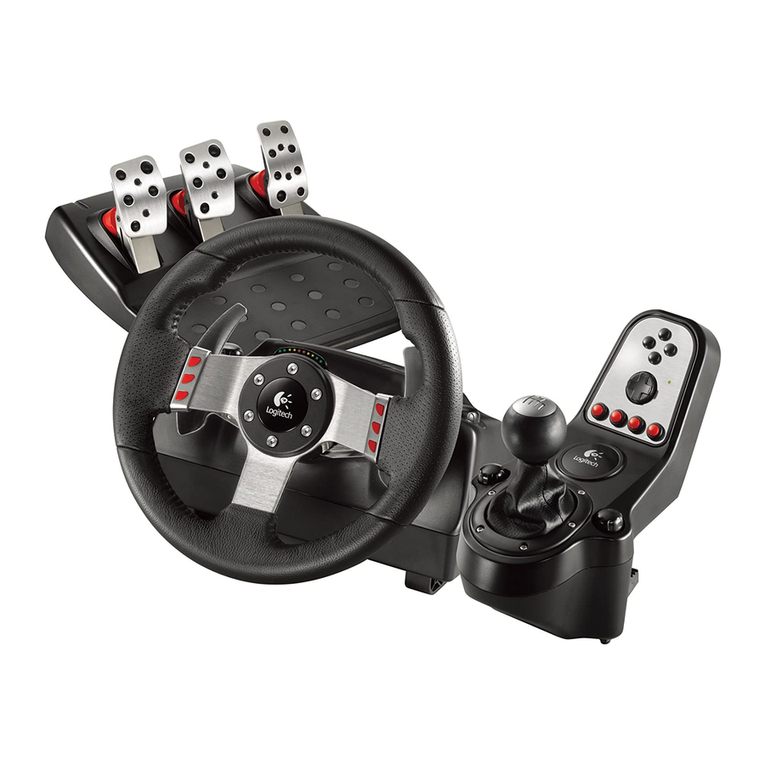
Logitech PRO RACING WHEEL User manual

PRO RACING WHEEL
for PC
pour PC
SETUP GUIDE|GUIDE D’INSTALLATION

ENGLISH . . . . . . . . . . . 3
DEUTSCH . . . . . . . . . . 27
FRANÇAIS. . . . . . . . . . .51
ITALIANO . . . . . . . . . . 75
ESPAÑOL . . . . . . . . . . 99
PORTUGUÊS . . . . . . . . 123
NEDERLANDS . . . . . . . 147
SVENSKA . . . . . . . . . . 171
DANSK. . . . . . . . . . . .195
NORSK . . . . . . . . . . . 219
SUOMI. . . . . . . . . . . .243
ΕΛΛΗΝΙΚΆ . . . . . . . . . .267
ПО-РУССКИ . . . . . . . . . 291
PO POLSKU. . . . . . . . .315
MAGYAR. . . . . . . . . . .339
363. . . . . . . . . . . . .
ČESKÁ VERZE. . . . . . . .387
SLOVENČINA . . . . . . . . 411
УКРАЇНСЬКА . . . . . . . . .435
EESTI. . . . . . . . . . . . .459
LATVISKI. . . . . . . . . . 483
LIETUVIŲ . . . . . . . . . .507
БЪЛГАРСКИ . . . . . . . . . 531
HRVATSKI . . . . . . . . . .555
SRPSKI. . . . . . . . . . . .579
SLOVENŠČINA . . . . . . 603
ROMÂNĂ . . . . . . . . . .627
TÜRKÇE . . . . . . . . . . . 651
675 . . . . . . . . . . . . .
699. . . . . . . . . . . . .

3 ENGLISH
1
2
3
CONNECTIVITY
1 USB connection to PC
2 Peripheral ports*
3 Power connector
*NOTE:
–Not a standard USB connection. Only
Logitech racing peripherals will function in
these ports. Other USB peripherals will not
function and should not be connected.
Please ensure that the power connector is fully
inserted; otherwise, your PRO Wheel may not
function correctly. As you insert the connector,
you might feel a small click, but you can push
past this until the connector is fully inserted.
Do not use excessive force to insert the
connector.

4 ENGLISH
INSTALLATION
1 DESK
1a. Place the wheel base on your desk and
ensure the feet at the bottom are aligned
against the edge.
1b. Insert the clamp into the hole at the front.
1c. Tighten the clamp by adjusting
the screw handle.
Once the clamp has come into contact
with the desk, you only need between
a half and one full turn of the handle to
achieve the correct level of clamping.
Do not overtighten.
< 50 mm (1.97 in)
1a
1b 1c
NOTE:
–Also be aware of the construction of your
desk and its suitability for clamping a
high-torque wheel to it. Some desks use
a hollow-core construction, for example,
where you have a top piece of material
and a bottom piece. Those pieces are
likely to be thin and are unlikely to stand
up to the forces applied when the wheel is
clamped in place. Logitech recommends
only clamping your PRO Wheel to a desk
made from a solid material, such as MDF
or wood.

5 ENGLISH
2 RACING SEAT
2a. Use the three bolt holes on the
underside of the PRO Racing wheel to
attach it to most major racing seats.
–You will need 3 x M6X1 bolts (not
included) with a maximum depth
inside the wheel base of 15mm.
Remember to account for the
thickness of the surface that you
are attaching the wheel base to.
–Using a longer bolt than this will
damage the wheel unit, so use
washers if needed to ensure that
the bolts do not encroach too far
inside the wheel base.
–You only need to hand tighten.
Do not use power tools to tighten
the bolts.
2b. You can use the included cover to ll
the clamp hole when attaching to
a racing seat.
WARNING:
–Do not use the wheel rim as leverage
to assist you when getting into or out
of your racing seat as this will damage
your PRO Racing Wheel.
M6X1
M6X1 L = T + 15MM
T L
2a
2b

6 ENGLISH
3 ATTACHING WHEEL RIM
3a. Connect the wheel rim to the wheel
base, ensuring that the sha is
aligned correctly.
3b. Attach the wheel by locking the
quick release ring in its “squeezed”
position. There’s no need to hold it
there while attaching the wheel rim.
3c. Push the wheel rim onto the sha
on the wheel base until you hear the
quick release ring lock into position.
3a
3b
3c
*click*
*click*

7 ENGLISH
POWER ON AND SOFTWARE
1 Power on the wheel by pressing the Power button
on the front of the wheel base. The wheel rim
will spin slightly to check its calibration and then
centre itself.
2 The settings display on the wheel base will then
prompt you to choose which platform you wish
to play on.
3 Use either the le or the right dial on the
steering wheel to select the platform and then
push the dial in until it clicks to make your
selection.
–On PC you must rst download and install the
latest version of the Logitech G HUB soware
at www.logitechG.com/GHUB. Once that is
installed you can begin racing in the title of
your choice. Remember that some titles will
require that you rst congure the wheel in
the control settings of the game before it will
function.
You may also wish to make use of the G923
compatibility mode for some titles which may
be required to either make the wheel work, or to
simplify set up. Details of how to access this can be
found in the section of the manual that covers the
settings display.
Once nished, to power o the wheel, press and
hold the power button for 2 seconds.
ON
12
3
logitechG.com/ghub

8 ENGLISH
FEATURES
1 Gear Down
2 Y, X and LT buttons
3 Directional Pad
4 Camera and LSB buttons
5 Le Dual Clutch Paddle
6 Le Adjustment Dial and push button*
7 Gear Up
8 A, B and RT buttons
9 Menu and RSB buttons
10 Right Dual Clutch Paddle
11 Right Adjustment Dial and push button*
12 G1 button
1 OLED Settings display and RPM LEDs
2 Settings button
3 Power button
4 Clamp recess cover
3
5
6
4
1 7
9
11
12
10
8
2
1 2
3
4

9 ENGLISH
Included with the wheel rim is a set of labels
allowing you to customise your button labelling
with either commonly used racing functions
or the button numbering that many PC titles
actually use to dierentiate each button. Using
the labels makes it easier to remember the
function of each button.
Before applying the labels it is recommended
to clean the area with isopropyl alcohol in order
to ensure good adhesion of the labels. It is also
recommended that they are applied only to a
at surface.
A recommended example of label
placement can be seen in the image to the
right, along with a table showing the button
number that each main button will display as,
in certain racing titles (numbers 12-26 are used
for gear positions with an attached shier, or
the rotation clicks of the dials).
BUTTON LABELING
AB
Y
X
LT RT
LSB G1 RSB
A1
B3
X2
Y4
5
6
LT 8
RT 7
9
10
LSB 12
RSB 11
L Dial 27
R Dial 24
G1 28

10 ENGLISH
Your Logitech G PRO Racing Wheel features
a direct drive motor that will provide force
feedback with supported games and systems.
In supported titles, you will also experience our
next generation approach to force feedback:
TRUEFORCE.
TRUEFORCE integrates directly with game
physics and audio to unlock high-denition,
real-time force feedback. Tire grip, suspension,
weight, horsepower — even unique engine sound
resonance — are immediately and accurately
felt through the wheel.
For a list of supported titles visit
logitechG.com/support/pro-racing-wheel
FORCE FEEDBACK
NOTE:
The direct drive motor in your wheel can
produce very high levels of torque (up to 11 Nm).
Please exercise caution when using the wheel
and set the level of force feedback that is
within the limits of the person using it. This is
not a children’s product and is not intended for
use by children under 14 years old.
If you crash a vehicle whilst racing in a
simulation title, the wheel may pull itself out of
your hands. Do not attempt to stop the wheel
from moving as this may result in injury. You can
usually stop the wheel by pausing the game. On
PC, this can be done using your keyboard (oen
the Escape key, but other games may dier).
Under heavy use, you may notice a slight odor
from the exhaust at the back of the wheel. This
is normal and will fade over time.
Additionally, if you run exceptionally long
racing sessions with the wheel at maximum
torque, certain parts of the wheel may become
warm to the touch, especially the quick release
collar on the steering wheel and the quick
release adapter on the wheel base. In such
circumstances, it is recommended that you
allow your PRO wheel to cool down before
removing the wheel rim and / or moving the
wheel base from where it is mounted.
11 ENGLISH
SETTINGS
Press the Settings button on the wheel base to
access the Settings menu. In the settings menu
you can congure dierent settings for your
wheel (and pedals, if attached) in 5 dierent
onboard proles or directly adjust the currently
active prole in G HUB. You can then easily
switch between proles when you change game
titles (or even when you change cars in the same
game title). All settings are “live adjustable” and
will take eect as soon as you nish adjusting.
The 5 dierent onboard proles can be renamed
using G HUB.
Menu Navigation
Use either of the adjustment dials on the wheel to
scroll up/down menus or adjust a setting. Press the
dial in to select or to conrm a selection.

12 ENGLISH
Prole
Change the active prole for the wheel.
You have a choice of 5 onboard proles.
On PC, you have an additional option
called G HUB; if you select this, then
the wheel will use the settings for the
currently active prole in G HUB. If you
make adjustments to any of the settings
on the wheel using the settings display
then those changes will also be reected
in the currently active prole in G HUB.
The names of the onboard proles can be
edited using G HUB.
Strength
Allows you to set the overall peak
strength of the force feedback felt
through the wheel, between 1 and 11Nm
of torque.

13 ENGLISH
Force Feedback Filter
Each driving simulation will run the physics and
force feedback at dierent speeds - some only at
60Hz, with others 300Hz or more. With a highly
responsive direct drive wheel, it’s desirable to lter
out frequencies above which the simulation can’t run
at. If you leave this at its default AUTO setting, then
this will cover the vast majority of simulations and
provide a smoother experience. If you wish, you can
manually adjust this with settings from 1 (least lter)
to 15 (maximum lter), allowing you to feel some
more of the smaller eects that some titles produce,
at the expense of introducing a bit more noise into
the force feedback.
TF Audio
Sets the strength of the Audio eects output for
games that support TRUEFORCE. The Audio eects
will replicate dierent aspects of your racing title such
as engine note, tire grip or road surface.
NOTE:
It is usually recommended that the Trueforce Audio
setting is set at a low enough level to receive the
additional information that it provides without
overwhelming the overall experience. Think of the
level of vibration that you get through the wheel of
an actual car and aim for that. Some titles provide
additional levels of control within their control options
menus by allowing you to adjust individual elements
of the audio; separating out the engine, tire and road
audio, for example.

14 ENGLISH
Angle
Change the overall operating angle range of the wheel.
For most game titles, titles you should leave this at 1080
degrees and the titles will handle matching the correct
range of rotation for the car that you’re driving. For those
that don’t or if you want to override what the game is
doing, then this will enable you to do so.
Brake Force
This setting is only available if a compatible set of pedals
are attached to the PRO Wheel. It allows you to set the
level of force required to achieve 100% braking. As you
adjust the level, you can press the brake pedal to see the
axis output, making it easy to tune to your preference.
Dampener
This setting enables you to alter the feeling of the wheel in
a manner that can make it feel more realistic. Direct Drive
wheels are far more responsive than older force feedback
wheels and this can result in some unusual behavior when
running older titles that don’t support TRUEFORCE, the
most common of which is when driving down a straight
part of a track. In some titles, you may experience a
sensation where the wheel starts to move le and right
rapidly around the centre. This is the wheel reacting to
signals from the game telling it to stay centered, but over-
reacting due to the responsiveness of the wheel. Setting a
level of Dampening will help lter this out, but remember
that any level of dampening will result in an increasingly
less responsive wheel as you increase the percentage.
We therefore recommend keeping the setting as low
as possible to avoid impacting the performance of the
wheel.

15 ENGLISH
L Paddle / R Paddle Mode
The Dual Clutch Paddles can be assigned to one of
several dierent axes:
Clutch
Gas
Brake
Handbrake
Axis A
Axis B
Axis A/B are a pair of additional non-specic axes that can
be assigned to other functionalities outside of the normal
sim racing scenarios e.g. look le / right. Support for these
in console titles will depend on the developer.
Gas and Brake enable dierently-abled gamers to still
participate in sim racing with the essential analog control
over those functions that’s needed for better control.
Handbrake control is a key requirement for driing and
rally racing.
Clutch opens up the possibility of enabling dual clutch
functionality on the wheel. Dual clutch can be better
thought of as a launch assist feature that will enable
maximum traction and launch speed from grid starts in
races.
NOTE:
In order for the Dual Clutch functionality to operate, both
paddles need to be assigned to the Clutch function.

16 ENGLISH
Clutch Bite
Use this setting to tune the Dual Clutch paddles axis
value to the game/car you are using and achieve
perfect standing starts. See the next section of
the manual for more details.
RPM Mode
The RPM LEDs have several preset patterns from
which you can choose. In addition, you can create
your own custom patterns with G HUB and save
them to the onboard memory of the wheel.
RPM Brightness
Adjusts the overall level of brightness of the RPM LEDs.
Home Screen
You can use the options here to change what
is shown on the Settings display when not
adjusting the settings of the wheel or pedals.
The Settings display on your PRO Wheel has
four modes of display
1 Dynamic
2 Test
3 Prole
4 Torque

17 ENGLISH
Dynamic
Supports potential future updates to the screen
functionality. Defaults to the Test function.
Test
By default when you turn your wheel on and there
is no racing game title running, the display will be
showing the Test screen. On this screen, you can
move the wheel, the dual clutch paddles and press
the pedals of a compatible pedal set (if attached)
to see the axis response.
Prole
Displays which prole you currently have the wheel
set to.
Torque
Displays the live and average torque output of
the wheel.

18 ENGLISH
Compatibility Mode
On PC especially, some racing titles won’t recognize
the PRO Wheel automatically. When this occurs, you
can usually recongure the controls of the game
and assign the PRO Wheel so that it works, but in
some titles, you may nd it easier to enable the
G923 compatibility mode.
When you choose the G923 option in the
compatibility mode, the wheel will restart and
appear to the PC/console as if it is the G923 wheel.
Those games which have native support for the
G923 will therefore automatically set the wheel up
so that it works (it’s also essential that you have a
compatible set of pedals attached to the wheel
as well).
In the G923 mode, many of the settings mentioned
above are not available. You will be able to adjust
Strength, FFB Filter, Dampener and Brake Force, but
your only other option is the Compatibility Mode,
which you can use to switch the wheel back to its
original PRO Wheel mode. The Dual Clutch paddles
will only function as Gas and Brake in this mode. It
is therefore recommended that you remain in PRO
Wheel mode whenever possible in order to always
have access to the full feature set of the wheel.
Platform
By default, your PRO Wheel will always prompt
you to choose which platform you wish to use
when you power it on. If you wish to stop this from
happening, then you can force the wheel to always
start in one mode (for example, you only play on
PC). The Platform setting has a number of options:
–On Startup (default)
–Xbox (only present if you attach an Xbox-
compatible wheel rim)
–PC
Simply select the choice that you wish and the
next time the wheel is powered on, it will choose
that option for you automatically.

19 ENGLISH
1 In the game title that you want to use, start a practice
or time trial session in the car of your choice.
2 Navigate to the D Clutch Bite setting on the Settings
display of your PRO Wheel.
3 Fully press the le Dual Clutch Paddle, select 1st gear
using the gear paddle and engage full gas / throttle.
4 Whilst keeping the Dual Clutch Paddle fully pressed,
use the right adjustment dial on the wheel to adjust
the value on the display until you see the car beginning
to move onscreen.
5 Now experiment with standing starts using the
directions below and adjust the value until you’re
happy with the traction that you’re getting in-game.
SETTING THE DUAL CLUTCH
Using a dual clutch system from a grid start in a
race enables you to achieve maximum traction
without the need to nd the bite point of your
clutch pedal - this can give you a signicant
advantage at the start of a race. To use the dual
clutch system in-game:
1 At race start, fully depress both of the Dual
Clutch Paddles.
2 Select rst gear using the Gear Up Paddle and
fully depress the gas pedal.
3 As soon as you get the green light for race start,
immediately release the right Dual Clutch Paddle.
The car should start moving as the bite point of
the clutch is engaged.
4 Smoothly release the le Dual Clutch Paddle in
order to achieve maximum traction.
It’s worth practicing this last step and modifying
the bite point setting several times to nd a method
that works for you. Once you have it perfected, this
feature can help make up several places on the grid.
NOTE:
Support for the dual clutch function is not possible
in some games. A list of games that support the
dual clutch feature can be found at
logitechG.com/support/pro-racing-wheel
USING THE DUAL CLUTCH

20 ENGLISH
G HUB AND CUSTOM RPM PATTERNS
G HUB WHEEL SETTINGS
Logitech G HUB enables the following features on
the PRO Wheel:
–Button programming with proles that can be
linked to games
–Adjustment of wheel settings, such as Rotation
Angle and TRUEFORCE strength
–Creation of custom RPM LED patterns
–Edit game proles and custom RPM LED patterns
in onboard memory
–Testing of the wheel’s various axes
Sensitivity
Alters the output response of the wheel to be
more or less sensitive. Leaving this slider at 50%
will provide a linear 1:1 output. Between 51% and
100% will make the wheel increasingly more
sensitive around the centre movement of the
wheel. Between 0% and 49% will make the wheel
increasingly less sensitive around the center
movement of the wheel.
All other settings match those present in the
Settings display on the wheel base and are
described earlier in the manual.
G HUB LIGHTSYNC/RPM LED SETTINGS
The PRO Racing Wheel has a number of default RPM
lighting patterns already set in its memory and available
to choose within G HUB. Game developers can also
directly address the RPM LEDs if they wish to, recreating
the exact behavior of the car that they are simulating.
However, you can also edit custom lighting patterns that
are present in the memory on the wheel. This enables
console users to also take advantage of this feature - set
everything up on your Windows PC, save to the wheel’s
memory and then connect it to your console.
Any eect, including your own custom eects can be
copied using the copy icon that appears to the right of
any eect when you select it.
Overall brightness of the RPM LEDs can be changed using
the slider underneath the drop down menu of eects.
Other manuals for PRO RACING WHEEL
1
Table of contents
Languages:
Other Logitech Video Gaming Accessories manuals

Logitech
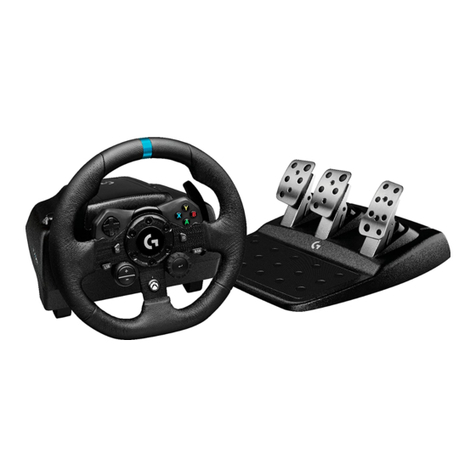
Logitech G923 User manual

Logitech
Logitech HEAVY EQUIPMENT BUNDLE User manual

Logitech
Logitech G27 RACING WHEEL User manual

Logitech
Logitech G27 RACING WHEEL User manual

Logitech
Logitech 9923 User manual

Logitech
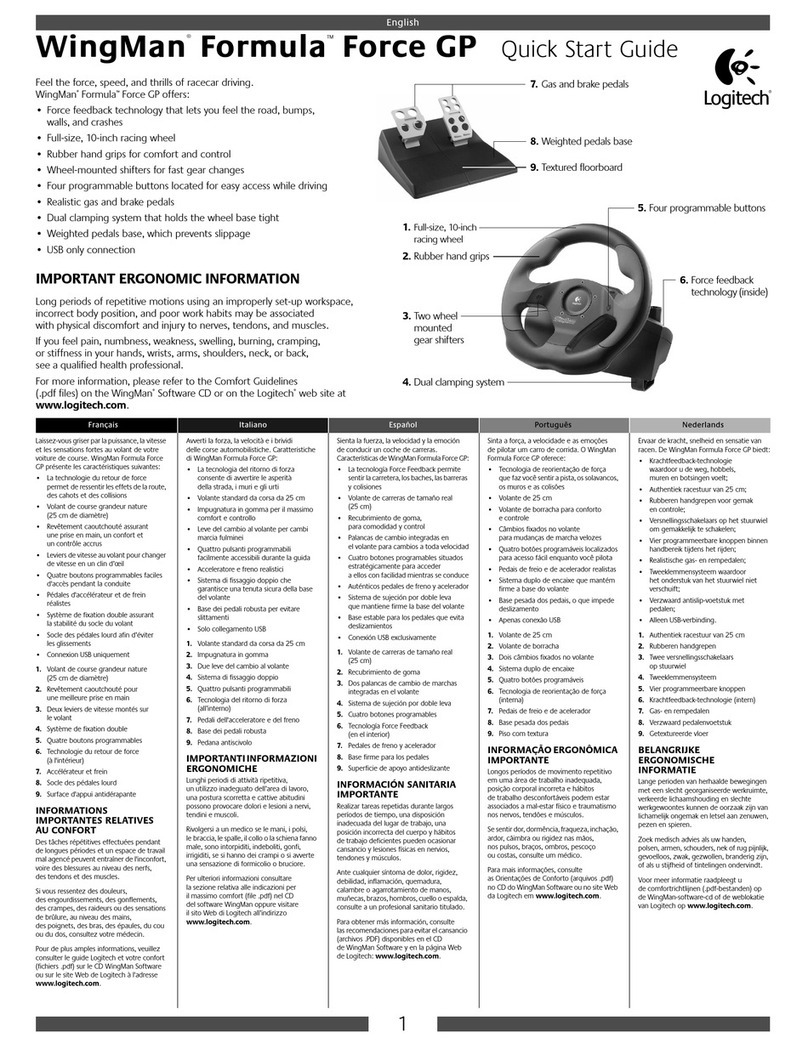
Logitech WingMan Formula GP User manual

Logitech
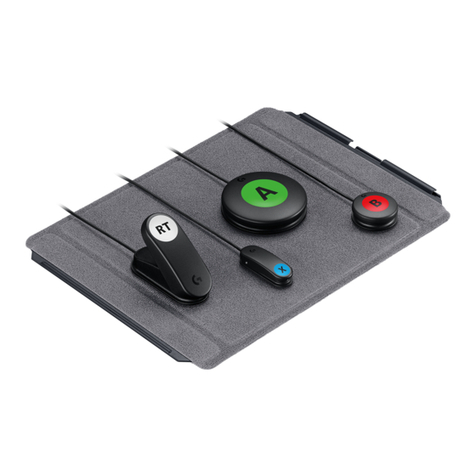
Logitech ADAPTIVE GAMING KIT User manual

Logitech
Logitech WingMan Formula Force GP User manual

Logitech
Logitech CLOUD GAMING HANDHELD User manual

Logitech
Logitech HEAVY EQUIPMENT SIDE PANEL User manual