manuals.online logo
Brands
  1. Home
  2. •
  3. Brands
  4. •
  5. Lorex
  6. •
  7. Intercom System
  8. •
  9. Lorex B463AJ Series User manual

Lorex B463AJ Series User manual

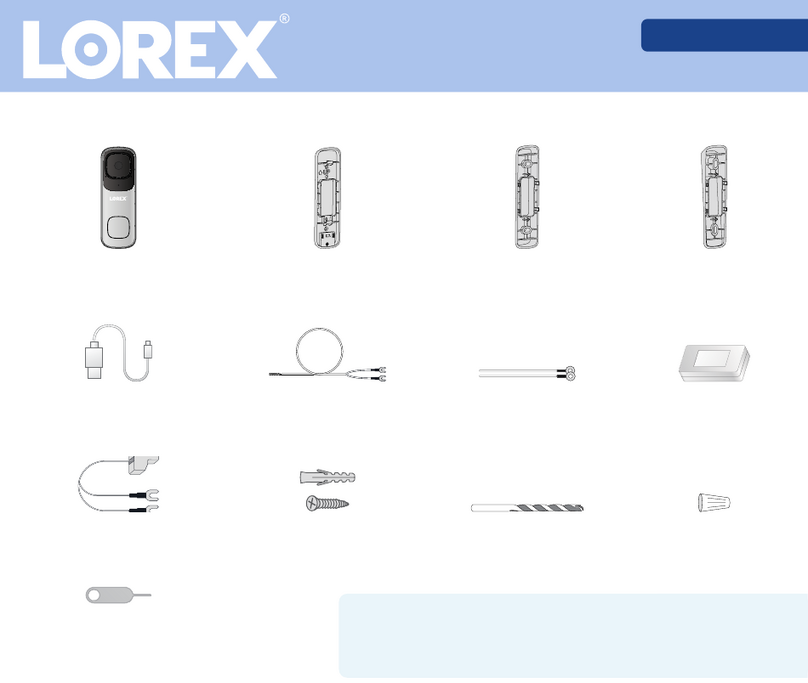
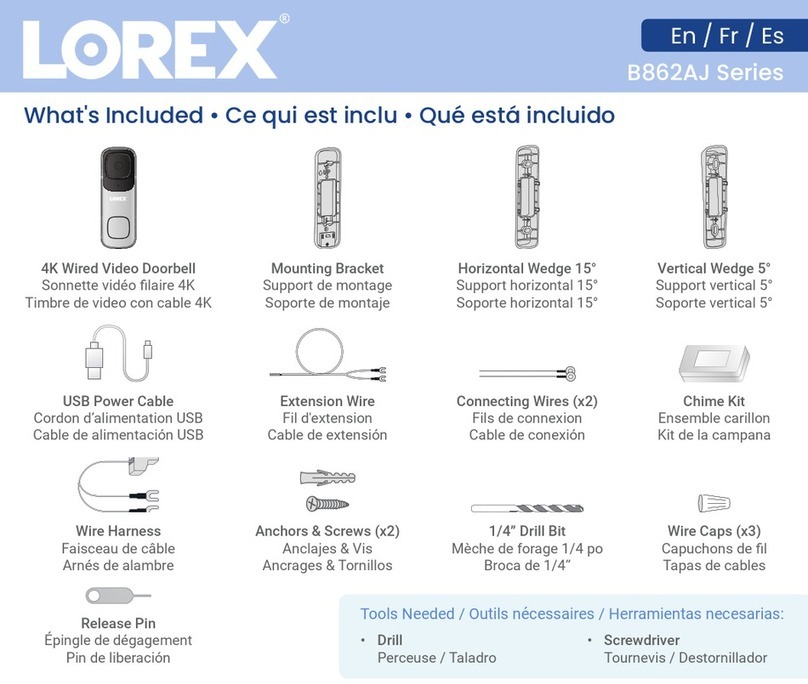
Package Contents • Contenu de l’emballage •
Contenido del paquete
B463AJ Series
En / Fr / Es
Horizontal Wedge 15°
Support horizontal 15°
Soporte horizontal 15°
Vertical Wedge 5°
Support vertical 5°
Soporte vertical 5°
2K Battery Doorbell
2K Sonnette vidéo
2K Timbre con video
Mounting Bracket
Support de montage
Soporte de montaje
Power Cable
Câble d’alimentation
Cable de energía
Wire Caps (x3)
Capuchons de l
Tapas de cables
Anchors & Screws (x2)
Anclajes & Vis
Ancrages & Tornillos
Extension Wire
Fil d'extension
Cable de extensión
Connecting Wires (x2)
Fils de connexion
Cable de conexión
Tools Needed
Outils nécessaires
Herramientas necesarias
• Drill
Perceuse / Taladro
• Screwdriver
Tournevis / Destornillador
Reset Pin
Épingle de réinitialisation
Pin de reinicio
1/4” Drill Bit
Mèche de forage 1/4 po
Broca de 1/4”
1. Release Tab
Onglet de libération/Pestaña de liberar
2. Micro-USB Port
Port micro-USB/Puerto micro-USB
3. Reset Button*
Bouton de réinitialisation*
Botón de reinicio*
4. Power Terminals
Ports d’alimentation
Puertos de alimentación
5. MicroSD Card Slot
Fente pour carte MicroSD
Ranura para tarjeta MicroSD
6. QR Code
7. Speaker
Haut-parleur/Altavoz
8. Camera
Caméra/Cámara
9. IR Light
Voyant IR/Luz IR
10. Light Sensor
Capteur de lumière/Sensor de luz
11. Microphone
Microphone/Micrófono
12. Status Indicator
Indicateur d’état/Indicador de estado
13. Call Button
Bouton d’appel/Botón de llamada
14. Night Light
Veilleuse/Luz de noche
Overview • Aperçu • Descripción general
*Press and hold the reset button until you hear the
voice prompts. To begin pairing, press the reset
button again.
*Appuyez sur le bouton de réinitialisation et
maintenez-le enfoncé jusqu'à ce que vous entendiez
l'invite vocale. Pour commencer l'appairage, appuyez
à nouveau sur le bouton de réinitialisation.
*Mantenga presionado el botón de reinicio hasta
que escuche el mensaje de voz. Para comenzar a
emparejar, presione el botón de reinicio nuevamente.
2
1
4
3
5
6
8
7
9
14
11
12
13
10
Status Indicator • Indicateur d’état • Indicador de estado
Device start/wake up.
Démarrage/réveil de l'appareil. / Inicio/reactivación del dispositivo.
Ready for network connection.
Prêt pour la connexion réseau. / Lista para conectarse a la red.
Pairing to the Lorex Home account.
Jumelage au compte Lorex Home.
Emparejamiento con la cuenta de Lorex Home.
Operating correctly, pairing connection complete or event detected.
Fonctionne correctement ou evénement détecté. / Funciona
correctamente o evento detectado.
2-way talk ongoing.
Conversation à 2 voies en cours d’utilisation. / Conversación de 2
vías en uso.
Call ongoing.
Appel en cours. / Llamada en curso.
Factory reset.*
Réinitialisation des réglages d’usine.* / Restablecimiento de fábrica.*
Network connection failed.*
La connexion au réseau a échoué.* / La conexión de red falló.*
A rmware update is in progress.
Une mise à jour du rmware est en cours.
Una actualización de rmware está en curso.
Setup • Configuration • Configuración
1. Download / Téléchargez / Descargue Lorex Home app.
2. Tap / Appuyez sur / Pulse
+
.
Note: Please fully charge prior to mounting. This could take up to 3 hours.
5V/2A power adapter is recommended (not included).
Remarque : Veuillez s`il vous plaît, en faire la recharge complète avant de la
monter. Ça pourrait prendre environ 3 heures. L'usage de l'adaptateur secteur
5V/2A est recommandé (non inclus).
Nota: Cargue completamente el timbre antes de montar. Esto podría tomar
hasta 3 horas. Se recomienda un adaptador de corriente de 5 V/2 A (no
incluido).
8-24 VAC is required for wired installation. If you do not have this voltage, you
will need a 8-24 VAC doorbell transformer or you can consult with a licensed
electrician.
8-24 VCA est requis pour une installation câblée. Si vous n’avez pas cette tension,
vous aurez besoin d’un transformateur de sonnette de 8-24 VCA ou devrez consulter
un électricien agréé.
Requiere de 8 a 24 V CA para la instalación con cable. Si usted no tiene este voltaje,
necesitará un transformador de timbre de 8 a 24 V CA, o puede consultar con un
electricista con licencia.
Need help? •Besoin d’aide? •¿Necesita ayuda?
Scan the below QR code for the Quick Start Guide and additional support material.
Scannez le code QR ci-dessous pour accéder au guide de démarrage rapide et à des
supports supplémentaires.
Escanee el siguiente código QR para obtener la Guía de inicio rápido y material de
apoyo adicional.
help.lorex.com
Register your product • Enregistrez votre produit •
Registre su producto
Please see our full Terms of Service and Limited Hardware Warranty Policy at:
Veuillez lire nos Termes de Service et notre Politique de Garantie Matérielle Limitée
sur le site:
Por favor consulte todos los Términos de nuestros Servicios y la Política de Garantía
Limitada de Hardware en:
lorex.com/pages/warranty
B463AJ_QSG_TRILINGUAL_R1
This device complies with part 15 of the FCC Rules. Operation is subject to the following
two conditions: (1) This device may not cause harmful interference, and (2) This device
must accept any interference received, including interference that may cause undesired
operation.
Copyright © 2022 Lorex Technology Inc
As our products are subject to continuous improvement, Lorex reserves the right to modify product
design, specications and prices, without notice and without incurring any obligation. E&OE. All rights
reserved.
Nos produits étant sans cesse améliorés, Lorex se réserve le droit de modier la conception du produit,
ses caractéristiques et son prix sans préavis et sans aucune obligation. E&OE. Tous droits réservés.
Debido a que nuestros productos están sujetos a mejoras continuas, Lorex se reserva el derecho de
modicar el diseño, las especicaciones y los precios de los productos sin previo aviso y sin contraer
ninguna obligación. Excepto errores y omisiones. Todos los derechos reservados.
Cet appareil est conforme à la partie 15 des règlements de la FCC. Son fonctionnement est soumis
aux deux conditions suivantes: (1) cet appareil ne doit pas provoquer d’interférences nuisibles, et
(2) cet appareil doit accepter toute interférence reçue, incluant toute interférence pouvant causer un
fonctionnement indésirable.
Este dispositivo cumple con la parte15 de las normas de la FCC. El funcionamiento está sujeto a
las siguientes dos condiciones: (1)Este dispositivo no puede causar interferencia dañina, y (2)este
dispositivo debe aceptar cualquier interferencia recibida, lo que incluye interferencias que puedan
causar un funcionamiento no deseado.
Other manuals for B463AJ Series

2

This manual suits for next models

2

Other Lorex Intercom System manuals

Lorex B862AJ-Z1 User manual

Lorex

Lorex B862AJ-Z1 User manual

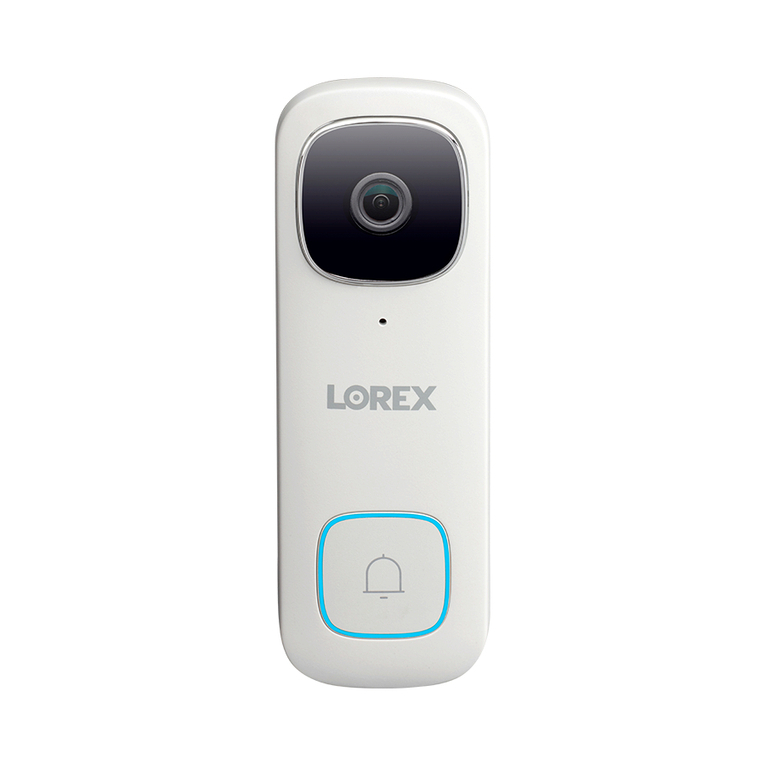
Lorex B862AJ Series User manual

Lorex

Lorex B862AJ Series User manual

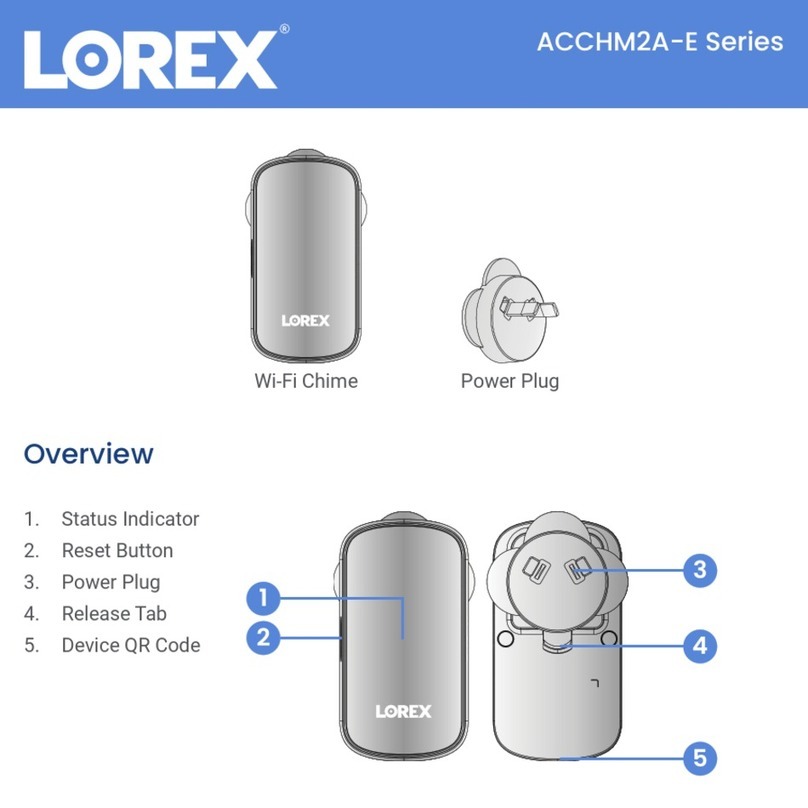
Lorex ACCHM2 Series User manual

Lorex

Lorex ACCHM2 Series User manual

Lorex ACCHM1 Series User manual

Lorex

Lorex ACCHM1 Series User manual

Lorex B451AJ-Z2 User manual

Lorex

Lorex B451AJ-Z2 User manual

Lorex ACCHM1 Series User manual

Lorex

Lorex ACCHM1 Series User manual

Lorex ACCHM2A-E Series User manual

Lorex

Lorex ACCHM2A-E Series User manual

Lorex B451AJ Series User manual

Lorex

Lorex B451AJ Series User manual

Lorex B862AJ Series User manual

Lorex

Lorex B862AJ Series User manual

Lorex ACCHM2 Series User manual

Lorex

Lorex ACCHM2 Series User manual

Popular Intercom System manuals by other brands

Aiphone Ra-D operating instructions

Aiphone

Aiphone Ra-D operating instructions

golmar Platea Uno Installation

golmar

golmar Platea Uno Installation

Aiphone PB-YKX instructions

Aiphone

Aiphone PB-YKX instructions

Aiphone LEF-3C Operation manual

Aiphone

Aiphone LEF-3C Operation manual

Aiphone LAA-1 Installation and operation instructions

Aiphone

Aiphone LAA-1 Installation and operation instructions

GBF SentryLink installation manual

GBF

GBF SentryLink installation manual

DoorKing 1815-247 quick start guide

DoorKing

DoorKing 1815-247 quick start guide

iGuard FPS110 Series Operation manual

iGuard

iGuard FPS110 Series Operation manual

golmar S5110/ART 7 quick guide

golmar

golmar S5110/ART 7 quick guide

AES global CellCOM Lite 4G quick start guide

AES global

AES global CellCOM Lite 4G quick start guide

Elvox 8015 Wiring instructions

Elvox

Elvox 8015 Wiring instructions

Aiphone JKW-IP quick start guide

Aiphone

Aiphone JKW-IP quick start guide

LAON TECHNOLOGY LT250 operating instructions

LAON TECHNOLOGY

LAON TECHNOLOGY LT250 operating instructions

Quantum QR4 quick guide

Quantum

Quantum QR4 quick guide

Multitek MULTIBUS MB-09 user manual

Multitek

Multitek MULTIBUS MB-09 user manual

Security Brands 25-C2 quick start guide

Security Brands

Security Brands 25-C2 quick start guide

Altronics S9395 user manual

Altronics

Altronics S9395 user manual

Nat InterMUSIC AA83-001 Installation and operation manual

Nat

Nat InterMUSIC AA83-001 Installation and operation manual

manuals.online logo
manuals.online logoBrands
  • About & Mission
  • Contact us
  • Privacy Policy
  • Terms and Conditions

Copyright 2025 Manuals.Online. All Rights Reserved.