SURVEY
Getting started
1. Check battery status.
2. Check memory status.
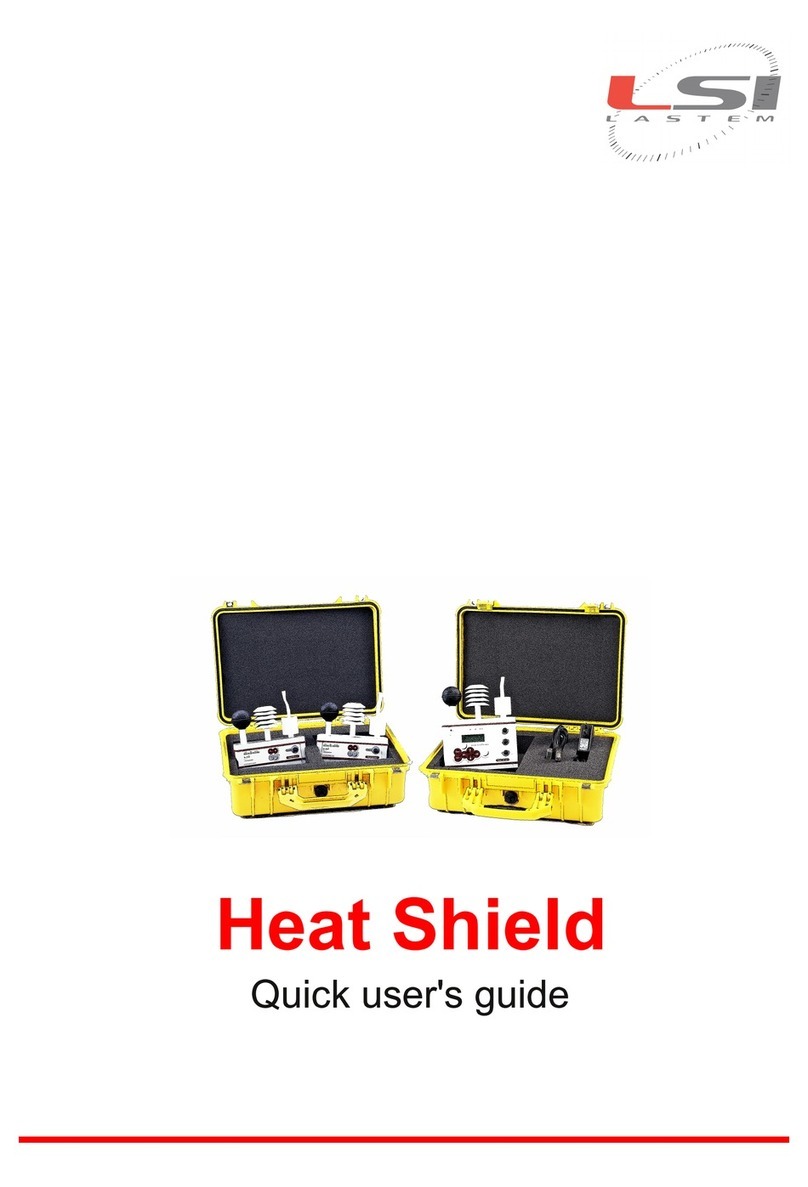
3. Mount each unit. See examples at the end of this document.
4. First switch-on the MASTER unit and later the SATELLITE units.
5. Check measurements from MASTER unit and SATELLITE units.
6. Attention: radiant temperature sensor would need up to 20 minutes to acclimatize.
Survey setup
Go to Survey setup.
1. Nr survey: Heat Shield assign a progressive number to each survey. It is possible to
change (1 ÷ 99) the first assigned number during measurement.
2. Mode: Heat Shield can performs measurement from the base unit only (WBGT1 amb),
from MASTER unit plus one SATELLITE (WBGT 2 amb), from MASTER unit plus two
SATELLITE units (WBGT 3 amb). Or perform one measurement which show average
value of the measurement coming from base unit and two SATELLITE units (WBGT sub-
ject) as per ISO7243-1989 requirements.
3. Anemometer: select Not used or select type: Hot wire or Rotor anemometer.
4. Measure unit: select Celsius or Fahrenheit.
5. Start/stop: select the way to start survey (manually/selected day-time) and stop survey
(manually/selected day-time/after a period time). During survey all measurements are
stored.
Survey start/stop
Each survey starts and stops using the programmed mode. If starting mode is manual, push
+ to start. Push + to stop survey, this stops survey anyway even if automatic
stop mode is programmed.
You can pause an active survey at any time by pressing + . While paused, the instru-
ment will update and show measures on the display, but data logging is stopped. By pressing
again the same key combination, the data logging resumes normally. While paused, the instru-
ment will show a ‘P’ in the top-left of the display.
