manuals.online logo
Brands
  1. Home
  2. •
  3. Brands
  4. •
  5. luceco
  6. •
  7. Floodlight
  8. •
  9. luceco Guardian Slimline LFSP10W1B30 Manual

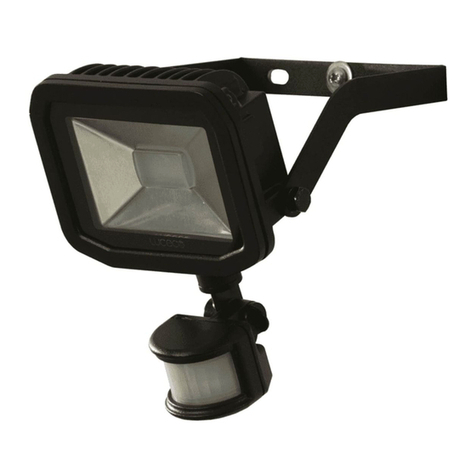
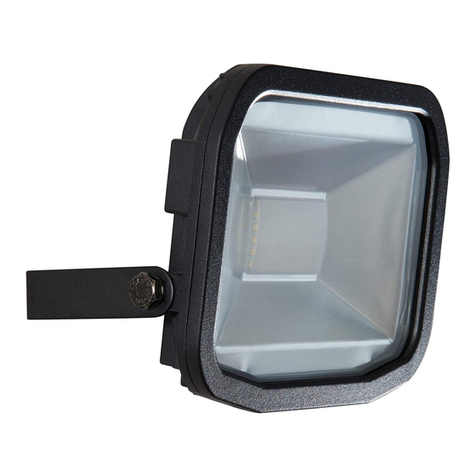
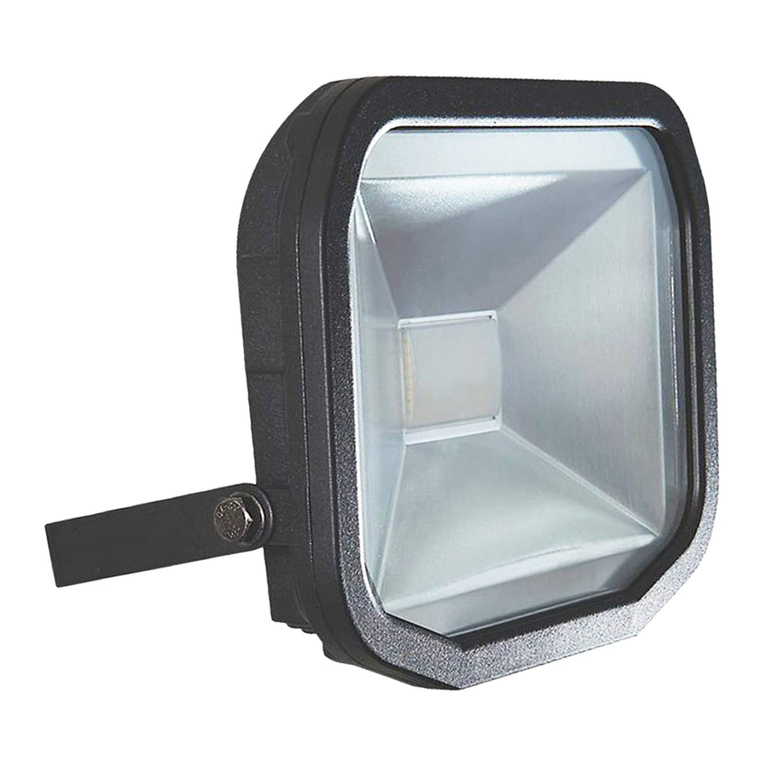
luceco Guardian Slimline LFSP10W1B30 Manual

INSTRUCTIONS FOR NEW INSTALLATIONS
1. Turn OFF power supply, ensure all required equipment and
tools are present.
2. The floodlight is intended for exterior use
and is IP65 rated. Select a suitable mounting
position. Recommended mounting heights as follows,
area illuminated is typically mounting height x3.
3. With a suitable mounting position identified, securely fix the U
shape mounting bracket to the mounting surface.
Mounting brackets
3
GUARANTEE
year
standard
30,000
HOURS
NOTE – To comply with regulations, installation must be carried out
by qualified electrician and in accordance with the current IEE Wiring
Regulations (BS7671) and Building Regulations. A copy of the instructions
must be left for the user/maintenance engineer for future reference.
ENSURE ELECTRICAL SUPPLY IS DISCONNECTED/
ISOLATED BEFORE COMMENCING INSTALLATION
Tech Help Line
UK - 0845 194 7584
Non UK - +44 (0)1952 238 100
Visit our website at
Luceco is a registered trade mark of Nexus Industries Ltd.
Supplied by
BG Electrical Ltd
Stafford Park 1 TF3 3BD ENGLAND www.luceco.uk
Guardian Slimline
LED Floodlights - with PIR
Installation & Operating Instructions
V2JT-06/2014
CRI
80
>IP65
RATED W
Turn Off
Power Supply
IP44
RATED
Floodlight PIR
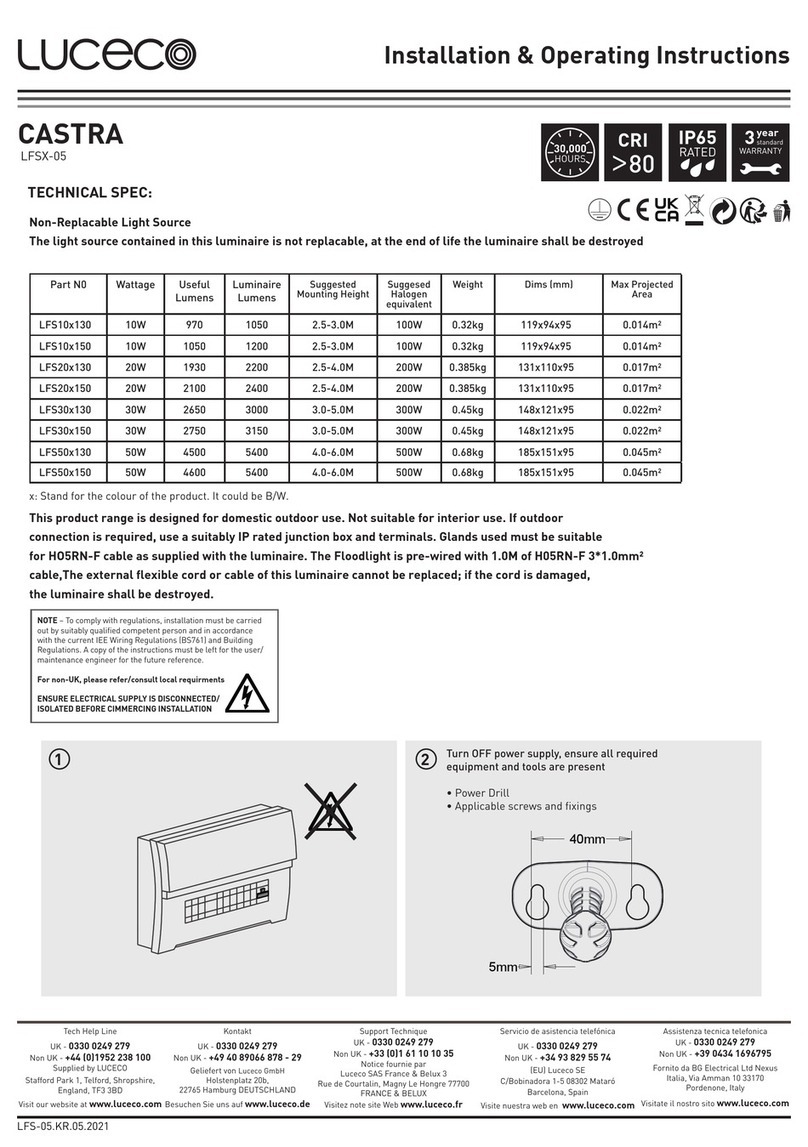
Note - This product range is design for domestic outdoor use.
Not suitable for Interior or commercial use
4. The floodlight is supplied pre-wired with 1.0M of H05RN-F
cable, removing the need to open the housing.
5. Connect the pre-wired cable to the electricity supply,
observing the correct polarity.
LIVE = BROWN
EARTH = GREEN/YELLOW
NEUTRAL = BLUE
PIR Adjustments
The PIR Sensor can be aimed to cover the desired detection
area, and has a maximum range of up to 10 Meters over a
120Deg area. PIR Settings allow the following adjustments
• Time ON = from 10 seconds (+/- 5 seconds) to 8 minutes
(+/- 2 minutes), turn the control clockwise to increase
duration the floodlight will illuminate for when movement is
detected.
• Ambient Light = 2 Lux to 2000Lux, ambient light controls
when the PIR will detect movement, 2000Lux will operate
in most light levels. Turn Anti-Clockwise to increase level of
ambient light for when the PIR will detect movemnt
Guardian Slimline LED Flooldight - PIR
PART CODE: LFSP10W1B30 / LFSP10W1B50 / LFSP20W1B30
/ LFSP20W1B50 / LFSP30W1B30 / LFSP30W1B50
For pole or post top
mounting:
Ensure longer bracket
(fitted) is used
For wall mounting:
Use shorter bracket
provided
Wattage Height Suggested Halogen Equivalent
10 2.0m - 3.0m 100w
20 2.5m - 4.0m 200w
30 3.0m - 5.0m 300w
TIME LUX
WALL HERE
WALL
HERE
MIN MAX MIN
Tech Help Line
UK - 0845 194 7584
Non UK - +44 (0)1952 238 100
Visit our website at
Luceco is a registered trade mark of Nexus Industries Ltd.
Supplied by
BG Electrical Ltd
Stafford Park 1 TF3 3BD ENGLAND www.luceco.uk
Installation & Operating Instructions
V2JT-06/2014
Environmental Protection W.E.E.E (Wheelie Bin Symbol)
This symbol is known as the “crossed-out wheelie Bin Symbol”. When this symbol is marked on a product or battery, it means that it should not be disposed of
with your general household waste. Some chemicals contained within electrical/electronic products or batteries can be harmful to health and the environment.
Only dispose of electrical/electronic/battery items in separate collection schemes, which cater for the recovery and recycling of materials contained within.
Your co-operation is vital to ensure the success of these schemes and for the protection of the environment.
United Kingdom Warranty
For other territories and for further information, please see www.luceco.uk for details
Products are protected by warranty for a period of 3 years from date of purchase against defects in material and workmanship (unless otherwise stated). Should a
product fail to perform as described within the warranty period it will be repaired or replaced with the same or equivalent product by Luceco, free of charge
provided that you: (1) return the product to us with shipping charge prepaid, (2) provide us with proof of the original date of purchase and (3) quote our return
authorisation number. Repaired or replaced products will be returned to you with shipping charges prepaid.
Replacement products may be refurbished or contain refurbished materials. If in our sole discretion, we are unable to repair or replace a defective product, we will
refund the purchase price of the product. This warranty will not apply if in our judgment, the product fails due to damage in shipment, handling, storage, accident,
abuse or misuse, or if it has been used in a manner not conforming to our product instructions, has been modified in any way, or has any serial number removed or
defaced. Repair or attempted repair will void this warranty. Our maximum liability under the terms of this warranty is limited to the purchase price of the product
covered by the warranty. The warranty is given under English Law. If any part of this warranty is deemed unenforceable (including any provision in which we exclude
our liability to you) the enforceability of any other parts of the warranty will not be affected. These terms do not reduce your statutory rights.
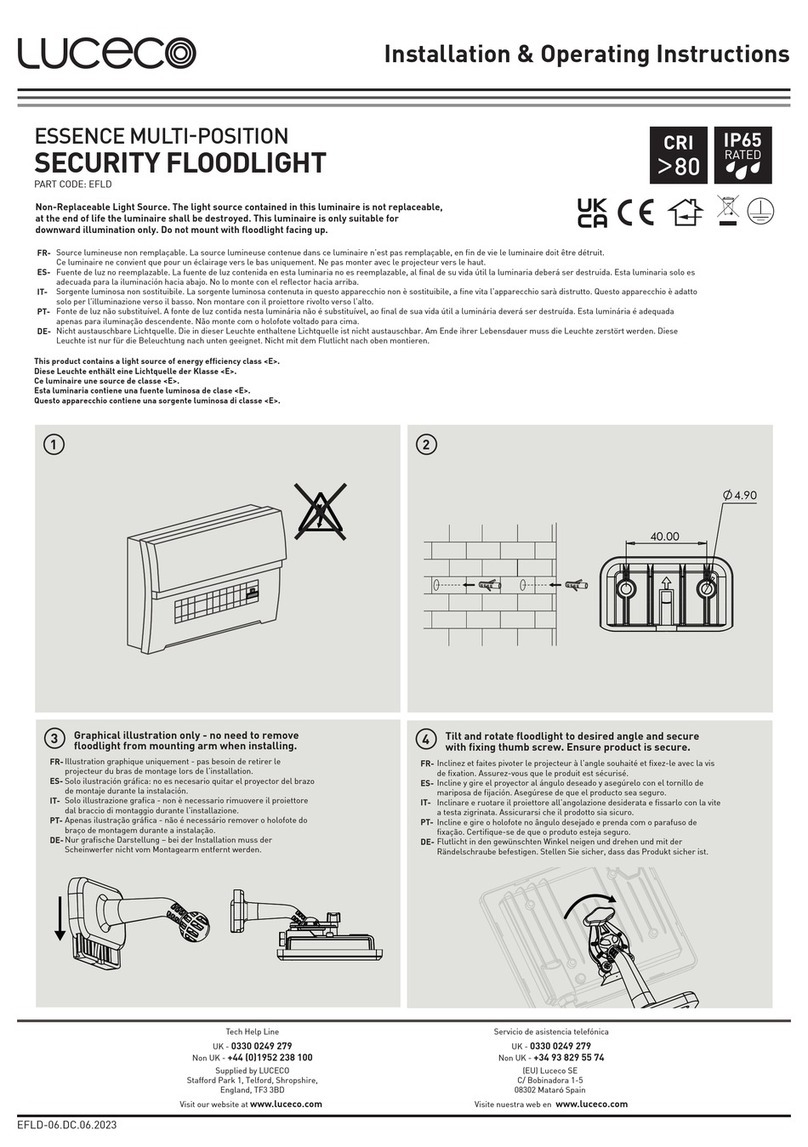
Eventually, you may want to replace this fitting;
6. Once the PIR has been initially set, check all fixings and electrical connections and when safe, reinstate the power.
Note - During the first 48 hours of operation, the PIR may cause the LED floodlight to operate as it self adjusts to the ambient light
level of the installation.
OVERRIDE FACILITY- the PIR sensor is quipped with this function. It allows the PIR sensor to operate in Dusk till Dawn mode.
However it will only activate depending on ambient light level set on the PIR.
To initiate Override Facility turn the power supply OFF/ON/OFF/ON within 2 seconds.
To turn Override Facility OFF, turn the power off for a minimum of 5 seconds, this will reset back to full automatic PIR detection.
Technical Specs
Product Code Wattage Lumen output Efficacy Llm/W CCT Voltage Power factor
LFSP10W1B30 10 600 60 3000 220-240V 50Hz >0.8
LFSP10W1B50 10 600 60 5000 220-240V 50Hz >0.8
LFSP20W1B30 20 1200 60 3000 220-240V 50Hz >0.9
LFSP20W1B50 20 1200 60 5000 220-240V 50Hz >0.9
LFSP30W1B30 30 1800 60 3000 220-240V 50Hz >0.9
LFSP30W1B50 30 1800 60 5000 220-240V 50Hz >0.9
10W 20W 30W
Typical Lighting Diagrams
Floodlight beam angle (95°)
and light distribution
PIR beam angle (120°)
and range
Note: Based on a recommend 45°downward tilt angle
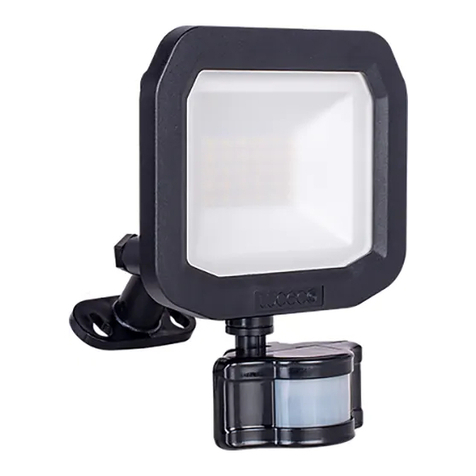
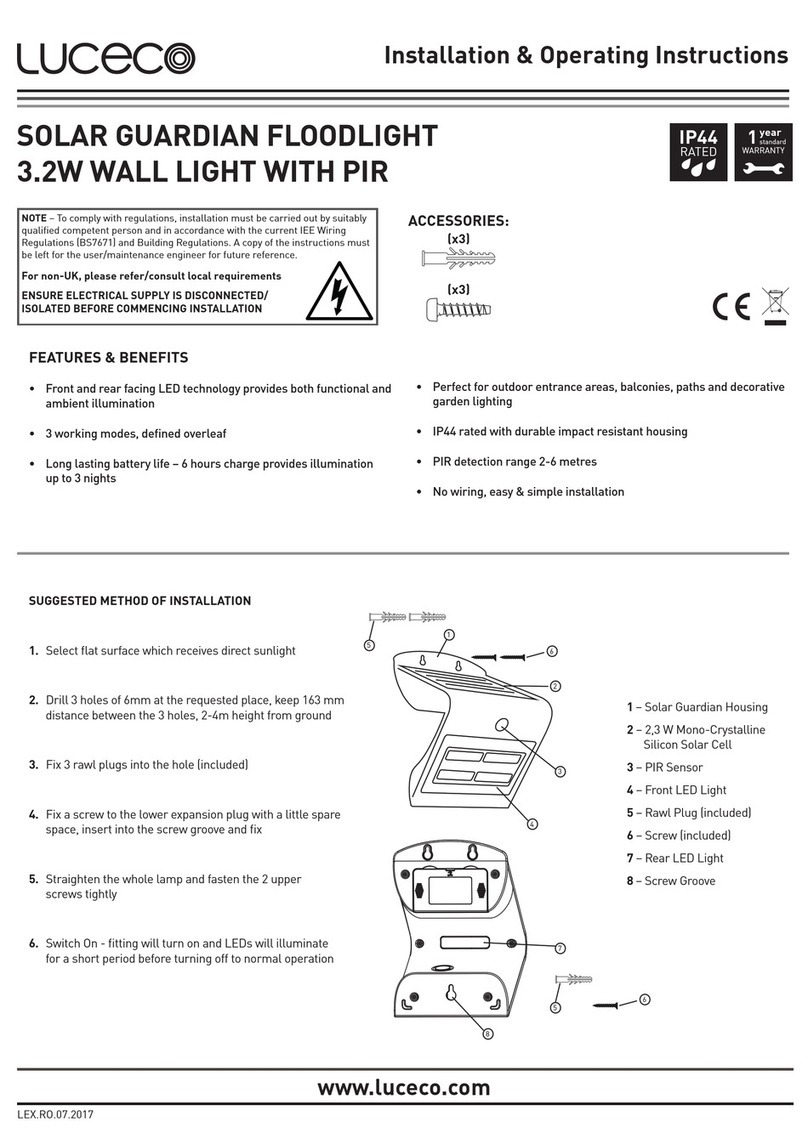
This manual suits for next models

4

Other luceco Floodlight manuals

luceco LFSP10W1B30 Manual

luceco

luceco LFSP10W1B30 Manual

luceco Guardian Slimline PIR Manual

luceco

luceco Guardian Slimline PIR Manual

luceco EFLD10B40-06 Manual

luceco

luceco EFLD10B40-06 Manual

luceco LFSX-XD5 Manual

luceco

luceco LFSX-XD5 Manual

luceco Smart CASTRA LSMFSP-05 Manual

luceco

luceco Smart CASTRA LSMFSP-05 Manual

luceco CASTRA PIR LFSPX-05 Manual

luceco

luceco CASTRA PIR LFSPX-05 Manual

luceco CASTRA LFSX-05 Manual

luceco

luceco CASTRA LFSX-05 Manual

luceco LEXSF11B40 Manual

luceco

luceco LEXSF11B40 Manual

luceco Slimline Guardian Manual

luceco

luceco Slimline Guardian Manual

luceco Guardian LFS10W1B30 Manual

luceco

luceco Guardian LFS10W1B30 Manual

luceco SOLAR GUARDIAN Manual

luceco

luceco SOLAR GUARDIAN Manual

luceco LUXPACK BATTEN Instruction Manual

luceco

luceco LUXPACK BATTEN Instruction Manual

Popular Floodlight manuals by other brands

Intermatic FL150MH installation instructions

Intermatic

Intermatic FL150MH installation instructions

Chauvet DJ COLORband Q4 IP user manual

Chauvet DJ

Chauvet DJ COLORband Q4 IP user manual

Ritos LY9601H Operation and maintenance manual

Ritos

Ritos LY9601H Operation and maintenance manual

Code 3 PriZm II Installation & operation manual

Code 3

Code 3 PriZm II Installation & operation manual

Chalmit lighting Micronex Installation, operation and maintenance instructions

Chalmit lighting

Chalmit lighting Micronex Installation, operation and maintenance instructions

Sealey ML500X.V3 instructions

Sealey

Sealey ML500X.V3 instructions

ONFORU D50 product manual

ONFORU

ONFORU D50 product manual

Stairville LED IP Bar 320/8 RGB DMX user manual

Stairville

Stairville LED IP Bar 320/8 RGB DMX user manual

BEGA 9585 Instructions for use

BEGA

BEGA 9585 Instructions for use

LCG LCG-WF-5C user manual

LCG

LCG LCG-WF-5C user manual

Regent ML300Q instruction manual

Regent

Regent ML300Q instruction manual

Chauvet LED PAR 64 Tri-B user manual

Chauvet

Chauvet LED PAR 64 Tri-B user manual

TOPELE JSL-02WS installation instructions

TOPELE

TOPELE JSL-02WS installation instructions

Vaxcel T0327 Assembly and installation instructions

Vaxcel

Vaxcel T0327 Assembly and installation instructions

Saxby Lighting 91860 instruction manual

Saxby Lighting

Saxby Lighting 91860 instruction manual

shada LED's light Pro Series user manual

shada

shada LED's light Pro Series user manual

ENIX nx ETX9079 user manual

ENIX

ENIX nx ETX9079 user manual

KAM RGB Starcloth instruction manual

KAM

KAM RGB Starcloth instruction manual

manuals.online logo
manuals.online logoBrands
  • About & Mission
  • Contact us
  • Privacy Policy
  • Terms and Conditions

Copyright 2025 Manuals.Online. All Rights Reserved.