manuals.online logo
Brands
  1. Home
  2. •
  3. Brands
  4. •
  5. LuxaFlex
  6. •
  7. Indoor Furnishing
  8. •
  9. LuxaFlex PowerView Guide

LuxaFlex PowerView Guide

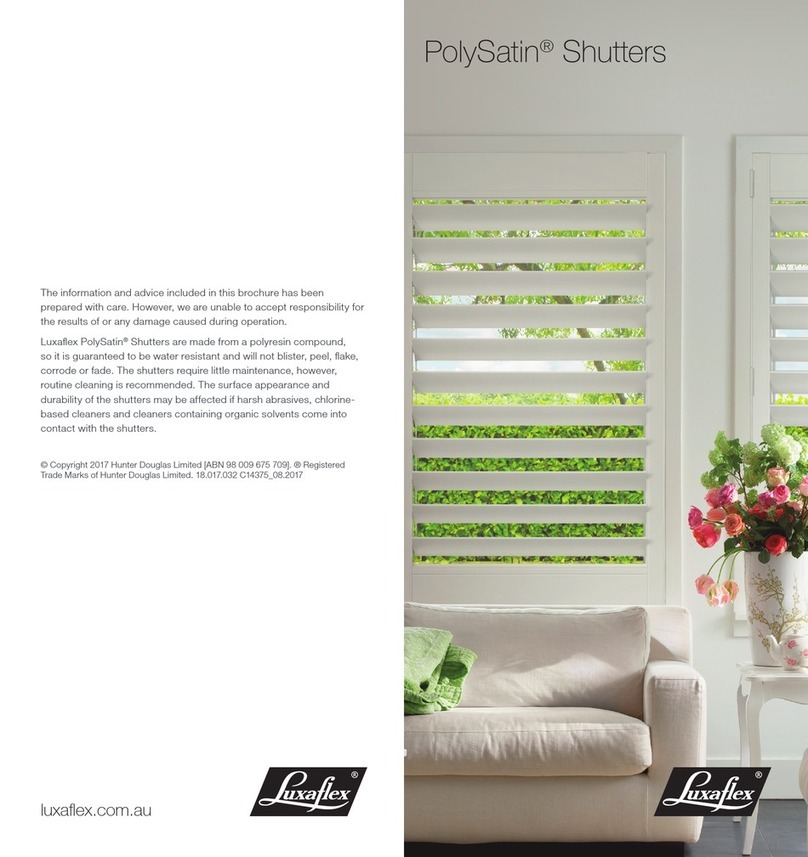
PolySatin®Shutters
with PowerView®Motorisation
Installation & Operation
CONTENTS
2
PowerView®Motorisation
Installation............................................................................3
Operation .............................................................................5
Troubleshooting ....................................................................7
© Copyright 2018 Hunter Douglas Limited. [ABN 98 009 675 709]
® Registered Trade Marks of Hunter Douglas 12/2018
3
INSTALLATION
Now that you have completed your shutter installation, you are ready to program your
PowerView®Shutters.
Connect the Power Source
NOTE: When power is connected to the motor, a green LED inside the programming button housing will
flash to indicate the louvres are ready for operation.
Remove the Battery Cover
NOTE: PowerView Shutters with a divider rail or split tilt will have two battery wands, one in the top rail and
one in the bottom rail.
■Remove the battery cover from
the top and/or bottom rail by
sliding in direction of the unlock
icon indicated on the battery
cover.
CAUTION: When removing the battery cover,
use two hands to prevent the battery cover
and wand from falling.
Plug the Power Cable into the Battery
Wand
■Locate the power cable inside the rail and plug it into the socket on the battery wand.
■Place the battery pack into the clip
on the back of the battery cover.
■Insert the battery cover into the rail
and secure it by sliding in the direction
of the lock icon indicated on the battery cover.
Battery Cover
Programming
Button
Back side of rail
Clip
Socket
4
INSTALLATION
Testing the Louvre Section
Testing the louvre section with the programming button will allow you to ensure that the motor and power
source are working correctly.
■Tilt louvres open by hand.
■Press the programming button on the back side
of the rail to test operation. If the louvres do not
operate, see “Troubleshooting” on page 7.
Coupled Panels
Coupled panels will have couplers in the stiles where the two
panels meet to transfer the louvre rotation from the panel with
the motor to the adjoining panel. The couplers are spring-
loaded, so they will recess into the stiles when the panels are
closed. Make sure the couplers are aligned when closing the
panels to ensure proper louvre rotation.
Battery Cover
Programming
Button
Back side of rail
Motor
Coupler
5
OPERATION
Using the PowerView®Remote
Refer to the illustration below to familiarise yourself with the controls on the remote. Activate the remote by
pulling both plastic tabs from the back battery compartment.
IMPORTANT: If you have more than one remote, see “Adding Additional Remote(s) to the PowerView®
Shade Network” in the PowerView Motorisation Remote Control Guide.
Joining a Louvre Section to a Group
IMPORTANT: The louvre section will not operate using the remote until it has been joined to
a group.
NOTE: If multiple louvre sections must be joined to a group, it is recommended that they be in different
groups for individual operation, as well as in the same group for simultaneous operation. (Note that any
louvre section can belong to more than one group.) Louvre sections will also operate simultaneously if their
individual group buttons are selected, or the “all” button is selected.
1. Press and hold ■STOP on the remote until the indicator lights blink (approximately 6 seconds). The
remote is now in program mode.
2. Press the desired group number (1 – 6) on the remote. The backlit group number will flash to show it is
selected.
3. While pressing the programming button on the rail with the corresponding louvre section, press ▲OPEN
on the remote. The green light flashes once and the louvres will move slightly to indicate the louvre
section has joined the group. Release the programming button.
4. Press and hold ■STOP on the remote until the indicator lights stop blinking (approximately 6 seconds).
Group 1
Group 2
OPEN
Tilt louvres
to the open,
horizontal
position
CLOSE
Tilt louvres to
the closed position
Group 3 Group 4
Group 5
Group 6
FAVOURITE
(Default set at 45 degrees open)
LEFT ARROW
Tilt louvres down
RIGHT ARROW
Tilt louvres up
STOP
(Press and hold for
programming mode)
6
OPERATION
Basic Operation
■To wake up the remote, simply pick it up or press ■ STOP. The last group(s) selected will be highlighted
and active.
■Press “all” or groups 1 – 6 to select specific louvre sections to move. Selected group button(s) will light
up to show they are selected.
1. Multiple group buttons may be selected at a time.
2. To deselect a group, press the group button again. The backlight for that group button will go out.
■Press the left arrow to tilt the louvres down to the closed position.
■Press the right arrow to tilt the louvres up to the closed position.
■Press ■STOP to stop the louvre’s movement anywhere along their travel.
■While the louvres are in motion, press the opposite of louvres’ motion ( left arrow or right arrow) to
reverse direction.
■Press ▲ OPEN to centre the louvres horizontally.
■Press ▼CLOSE to tilt the louvres to the upward, fully closed position.
■Press ♥ FAVOURITE to send selected louvre sections to your preset “favourite” position. The default
favourite position is tilted 45° upward. Refer to the PowerView®Motorisation Remote Control Guide on
how to set a new favourite position.
NOTE: When pressing the OPEN or FAVOURITE buttons, louvre recalibration will occur. All louvres will first
tilt upward to the fully closed position, then the motor will run for approximately 6 seconds before the
louvres move to the desired position.
Further Operation and Programming Information
PowerView®Pebble®Remote and/or PowerView®Surface Remote Operation
For information regarding operation and programming of the PowerView remote, refer to your PowerView
Motorisation Remote Control Guide or to the online PowerView Step-by-Step Guide.
PowerView®Scene Controller
For information regarding operation and programming of the PowerView Scene Controller, refer to your
PowerView Motorisation Scene Controller Guide or to the online PowerView Step-by-Step Guide.
PowerView®App Operation
The PowerView®Hub is required for PowerView App operation. For information regarding setup and
operation using the PowerView App, refer to the online PowerView Step-by-Step Guide.
7
TROUBLESHOOTING
Resetting the Louvre Section (If Necessary)
Basic Reset
The Basic Reset is used to test that the louvres have a full range of motion.
1. Press and hold the programming button for approximately 6 seconds. The louvres will move slightly after
6 seconds. Release the programming button (the light flashes red).
2. The louvres will rotate all the way down, then all the way up to the closed position.
Resetting the Louvre Section Programming
The programming reset erases all louvre section programming from memory, including group assignments,
preventing input devices from operating the louvre section. The primary use is to correct group and network
assignments during installation. The reset does not affect the favourite position.
1. Press and hold the programming button for approximately 12 seconds. The louvres will move slightly
after 6 seconds, then again after 12 seconds. Release the programming button (the light flashes red).
The light then flashes a series of green and red to indicate that louvre section programming is erased
from memory.
2. Refer to “Joining a Louvre Section to a Group” on page 5 to program the louvre section to a group.
Troubleshooting
If your louvres do not operate correctly:
■With PowerView®Shutters, first review the guide that came with your control device.
■Perform the louvre function reset to ensure that louvres have full range of motion.
■Refer to the following troubleshooting procedures for specific solutions for your shutters.
Problem
The louvres do not operate using the programming button.
Solution Unplug the power cable from the motor, then plug it back in. A green LED light inside the
programming button housing should flash to indicate the motor has power.
Check that the batteries in the battery wand are correctly inserted and
are fresh.
Check that the springs inside the cap of the battery wand have not been compressed too
far so they do not engage with the batteries. Gently pull the ends of the springs outward to
extend them, if necessary.
Check that the battery wand is securely connected to the power cable and the cables are
not pinched or caught in the rail.
8
TROUBLESHOOTING
Problem The louvre section is not responding to the PowerView remote.
Solution IMPORTANT: A louvre section will not operate until it is joined to a group.
Check that the correct group number is selected on the remote.
Check that the batteries in the remote are correctly inserted andarefresh. The LED lights
that backlight the remote should come on full bright when ■ STOP is pressed.
Problem Couplers are not engaging on coupled panels.
Solution Check alignment of panels to ensure that the couplers are at equal heights, and that the
gap between panels is not too wide for the couplers to engage.
Problem The louvres are tilting slowly or do not tilt completely.
Solution The batteries may be low in the battery wand. Replace the batteries.
Check that the battery wand is securely connected to the power cable, and the cables are
not pinched or caught in the rail.
The louvre section may need to be reset. Refer to “Resetting the Louvre Section
(If Necessary)” on page 7.
Problem Louvres do not have full range of motion when performing the louvre
function reset.
Solution Check for external obstructions such as window handles or trim.
Ensure that all louvre end caps are fully seated in the louvres.
Try manually operating the louvres. If the louvres can be manually operated through the
full range of motion, the motor will need to be replaced. If the louvres cannot be manually
operated through the full range of motion, and there are no external obstructions, there is
an internal issue that will require repair.
Problem The LED light in the programming button housing signals 8 red blinks.
Solution This is the low battery indicator. Replace the batteries in the battery wand.
9
TROUBLESHOOTING
Problem Batteries in the battery wand need to be replaced.
Solution Replace the batteries in the battery wand.
Squeeze the cap latch to release the cap
and remove the cap from the battery wand.
Install the batteries according to the
instructions on the battery wand label.
Press the cap on until it latches.
NOTE:
AA alkaline batteries are recommended for use with our battery-powered shutters.
These will provide more than one year of operation, depending on usage. Lithium and
rechargeable batteries are not recommended.
Cap
Latch
Battery
Wand
Squeeze
10
NOTES
11
NOTES

Other manuals for PowerView

1

Other LuxaFlex Indoor Furnishing manuals

LuxaFlex Facette Series User guide

LuxaFlex

LuxaFlex Facette Series User guide

LuxaFlex Plisse & Duette User manual

LuxaFlex

LuxaFlex Plisse & Duette User manual

LuxaFlex Super Nova User manual

LuxaFlex

LuxaFlex Super Nova User manual

LuxaFlex Duette User manual

LuxaFlex

LuxaFlex Duette User manual

LuxaFlex Duette User manual

LuxaFlex

LuxaFlex Duette User manual

LuxaFlex Roman Shades User manual

LuxaFlex

LuxaFlex Roman Shades User manual

LuxaFlex Roller Blinds XL User manual

LuxaFlex

LuxaFlex Roller Blinds XL User manual

LuxaFlex Duette Parts list manual

LuxaFlex

LuxaFlex Duette Parts list manual

LuxaFlex Modern Roman User manual

LuxaFlex

LuxaFlex Modern Roman User manual

LuxaFlex Silhouette Series User manual

LuxaFlex

LuxaFlex Silhouette Series User manual

LuxaFlex Pirouette User manual

LuxaFlex

LuxaFlex Pirouette User manual

LuxaFlex Duette Parts list manual

LuxaFlex

LuxaFlex Duette Parts list manual

LuxaFlex PolySatin User manual

LuxaFlex

LuxaFlex PolySatin User manual

LuxaFlex PowerView User manual

LuxaFlex

LuxaFlex PowerView User manual

Popular Indoor Furnishing manuals by other brands

Seconique ATHENS ROUND 3PC NEST OF TABLES Assembly instructions

Seconique

Seconique ATHENS ROUND 3PC NEST OF TABLES Assembly instructions

Draper Motorized FlexShade instructions

Draper

Draper Motorized FlexShade instructions

Sanus Systems CFV69 Assembly instructions

Sanus Systems

Sanus Systems CFV69 Assembly instructions

MARMEX CALABRINI Wisz Pion A Assembly instruction

MARMEX

MARMEX CALABRINI Wisz Pion A Assembly instruction

Ameriwood HOME 5276340COM Instruction booklet

Ameriwood HOME

Ameriwood HOME 5276340COM Instruction booklet

Furniture of America CM7415D Assembly instructions

Furniture of America

Furniture of America CM7415D Assembly instructions

Maxi Comfort Opal RR01960 user manual

Maxi Comfort

Maxi Comfort Opal RR01960 user manual

Kimball Cetra Assembly instructions

Kimball

Kimball Cetra Assembly instructions

Bonaldo Sol Assembly instruction

Bonaldo

Bonaldo Sol Assembly instruction

Living Spaces King Bed Assembly instructions

Living Spaces

Living Spaces King Bed Assembly instructions

Basiclabel Silk dining chair Assembly instructions

Basiclabel

Basiclabel Silk dining chair Assembly instructions

Superfront TOP METOD Mounting instructions

Superfront

Superfront TOP METOD Mounting instructions

Noble House Home Furnishings ROCKING CHAIR Assembly instructions

Noble House Home Furnishings

Noble House Home Furnishings ROCKING CHAIR Assembly instructions

Nemschoff Palisade 867-37 instructions

Nemschoff

Nemschoff Palisade 867-37 instructions

Scott Living 2026FC-24-201 manual

Scott Living

Scott Living 2026FC-24-201 manual

Beamont Tiles Suttor 105101 manual

Beamont Tiles

Beamont Tiles Suttor 105101 manual

Zenith Lapalma FORK P120 Assembly instructions

Zenith

Zenith Lapalma FORK P120 Assembly instructions

Birlea Berlin 3' Bed Assembly instructions

Birlea

Birlea Berlin 3' Bed Assembly instructions

manuals.online logo
manuals.online logoBrands
  • About & Mission
  • Contact us
  • Privacy Policy
  • Terms and Conditions

Copyright 2025 Manuals.Online. All Rights Reserved.