luxvision LRK 5200 User manual

L i s t
1. Cautions 2
1-1. Usage condition 2
1-2. Storage and warranty (without package) 2
1-3. Packing conditions for delivery 2
1-4. Avoid storage and place 2
1-5. Safety 3
1-6. Safety cautions 3
2. Parts names 4
2-1. Body Parts 4
2-2. Accessories 6
3. Conveyance and Handling Procedure 7
4. Installation Environment 7
5. Safeguard Summary 8
6. Preparation 9
6-1. Printing paper and Chin-rest paper 9
6-2. Applying Power 10
6-3. Standby 11
7. Measurement 13
7-1. Aligment 13
7-2. Refractive measurement 16
7-3. Keratometry measurement 18
7-4. Contact lens Basecurve measurement 20
7-5. Kerato-Peripheral Measurement 22
8. Additional function 26
8-1. IOL Function 26
8-2. RETRO-ILLUMINATION Function 27
8-3. SIZE Measurement Function 30
9. Setting 33
9-1. Menu Setting 33
9-2. Auto measurement function 36
10. Maintenance 37
10-1. Reloading printer paper 37
10-2. Replacement of fuses 39
10-3. Storage 39
10-4. Confirmation of measurement accuracy 40
11. Specifications 41
11-1. Measurement 41
11-2. General Specifications 41

2
1. Cautions
1-1. Usage condition
1-2. Storage and warranty (without package)
Temperature : -10 ~ 40℃
Humidity : 30 ~ 75%
Storage condition
Temperature : 10 ~40℃
Humidity : 30 ~ 75%
The following conditions must be satised when storing the device.
- Keep the device away from water.
- Consider conditions that can inuence the device such as temperature, humidity, ventilation,
sunlight exposure, dust, salinity or etc.
- Do not store or place the device on a slanted surface.
- Do not store the device in an environment exposed the chemical substances or gas.
Warranty
The warranty period is normally two year. After the warranty period, repairs for the device will be
charged. In case repairs are made due to natural disaster or consumer negligence, such repairs will
be provided as charged service.
●
●
●
●
●
This manual contains information on correct handling and operational procedures as well as safety
consideration pertinent to LRK-5200.
Before carrying out measurement and/or adjustment, read the instructions throughly so that effective
operation is ensured.
As this constitutes an important reference and user guide, keep it on hand at all times.
1-3. Packing conditions for delivery
1-4. Avoid storage and place
Temperature : -20 ~ 50℃
Humidity : 10 ~ 95%
Where noxious gases or air pollutants are present.
Where oil fumes or greasy substances are emitted.
Where dust and grit may occur.
Where there are atmospheric concentrations of salt.
Near gas generation areas and places where dust accumulates.
Where there is an inclination of more than 10 degrees.
Where voltage from the power sources rises or falls sharply during loading.
Direct contact with sunlight.
●
●
●
●
●
●
●
●
●
●

3
1-5. Safety
To ensure the safe and proper use of the device, and to prevent any injuries, warning signs are
marked on the device and the manual. Before reading the details on the ‘Safety cautions’ be aware of
the following symbols and their meanings.
Symbol Meaning
Warning Disregarding the direction of this symbol may cause fatality or severe injury.
Caution Disregarding the direction of this symbol may cause injury or physical damage.
▶ Injury means cuts, bruises, burns, electric shocks, etc that do not require hospitalization or
long-term medical treatment.
▶ Physical damage means a broad range of damage that can occur near the device.
Temperature : 10 ~ 40℃
Humidity : 30 ~ 75%
●
●
Warning
1-6. Safety cautions
Warning
To prevent fire or injury caused by electric shocks from water leakage, connect the plug to a
bipolar outlet with proper grounding.
Grounding cannot be made properly if the plug is connected to another outlet.
To prevent electric shocks, do not remove the cover. (Malfunctioning due voluntary remodeling
or disassembly are not covered by warrantee repair services.)
To repair the device, please contact a professional technician or manufacturer.
To prevent electric shocks, do not place cups or containers filled with liquid near the device.
To prevent fire and electric shocks, only place the device on dry surfaces.
To prevent fire and electric shocks, do not insert any metallic objects through gaps in the
device.
To prevent fire caused by the malfunctioning, turn off the device immediately and disconnect
the plug from the outlet if the device gives off smoke or functions abnormally.

4
2. Parts names
2-1. Body Parts
1
2
3
4
5
6
7
8
9
10
11
① LCD Screen ⑦ Print Button
② Function Button ⑧ Chin-rest
③ Printer ⑨ Chin-rest Pin
④ Measurement Button ⑩ Soft Lock Lever
⑤ Joystick ⑪ Base
⑥ Chin-Rest Up/Down Button

5
① Surround IR-LED ④ Base
② Chin-rest ⑤ ForeHead-rest
③ Body ⑥ View Window
① Fuse Holder ③ VGA External Interface (Video)
② Power Innet ④ RS-232 External Interface
6
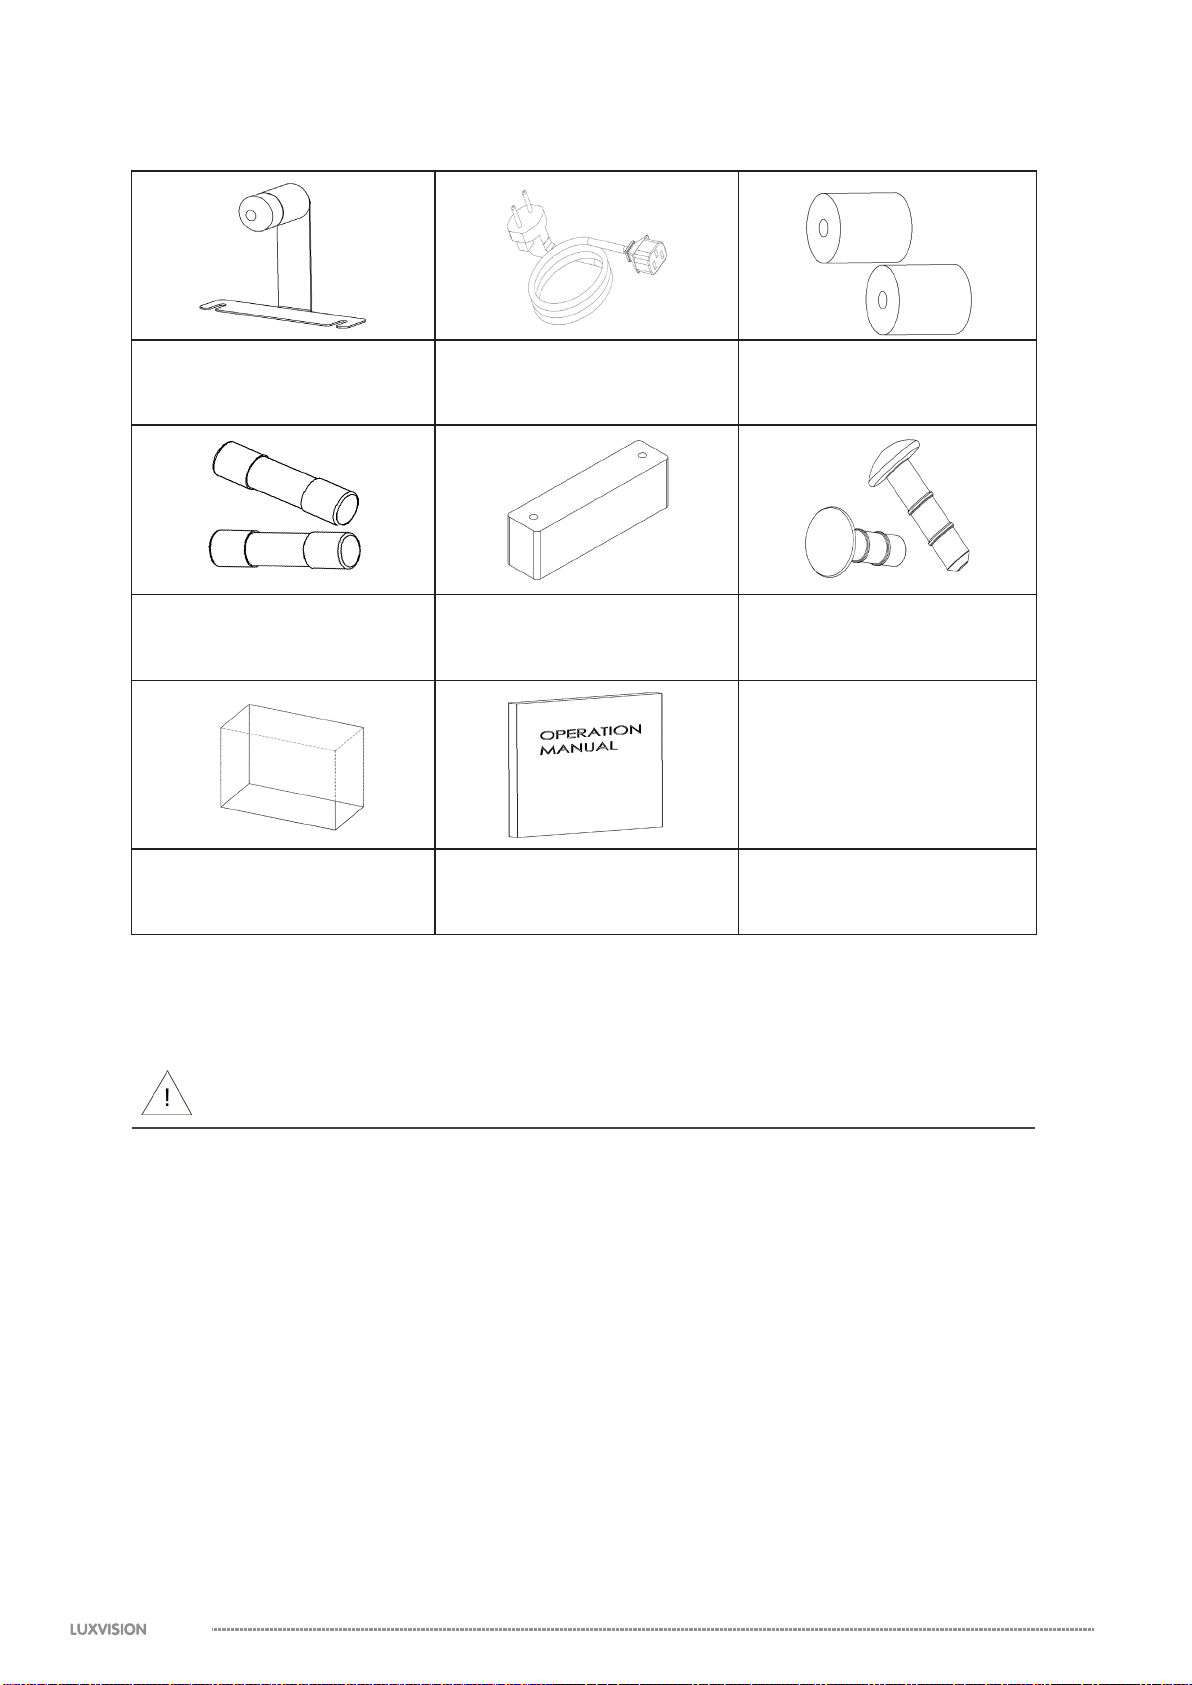
2-2. Accessories
Model Eye
1EA
Power Code (2.5m)
1EA
Printer Paper
(Width 57mm) 3EA
Fuse (2A 250V)
2EA
Chin-Rest Paper
500EA
Chin-Rest Pin
4EA
Dust Cover 1EA Operation Manual
1EA
Use accessories specied by manufacturer to avoid any malfunction or failure.
Extra care should be taken for the storage of a model eye avoid where the lens of the model eye
may be damaged as well as any dusty or humid/steamy environment.
Avoid, direct-sunlight, humidity and high temperature when storing printer paper which is a thermal
paper.
Warning
●
●
7
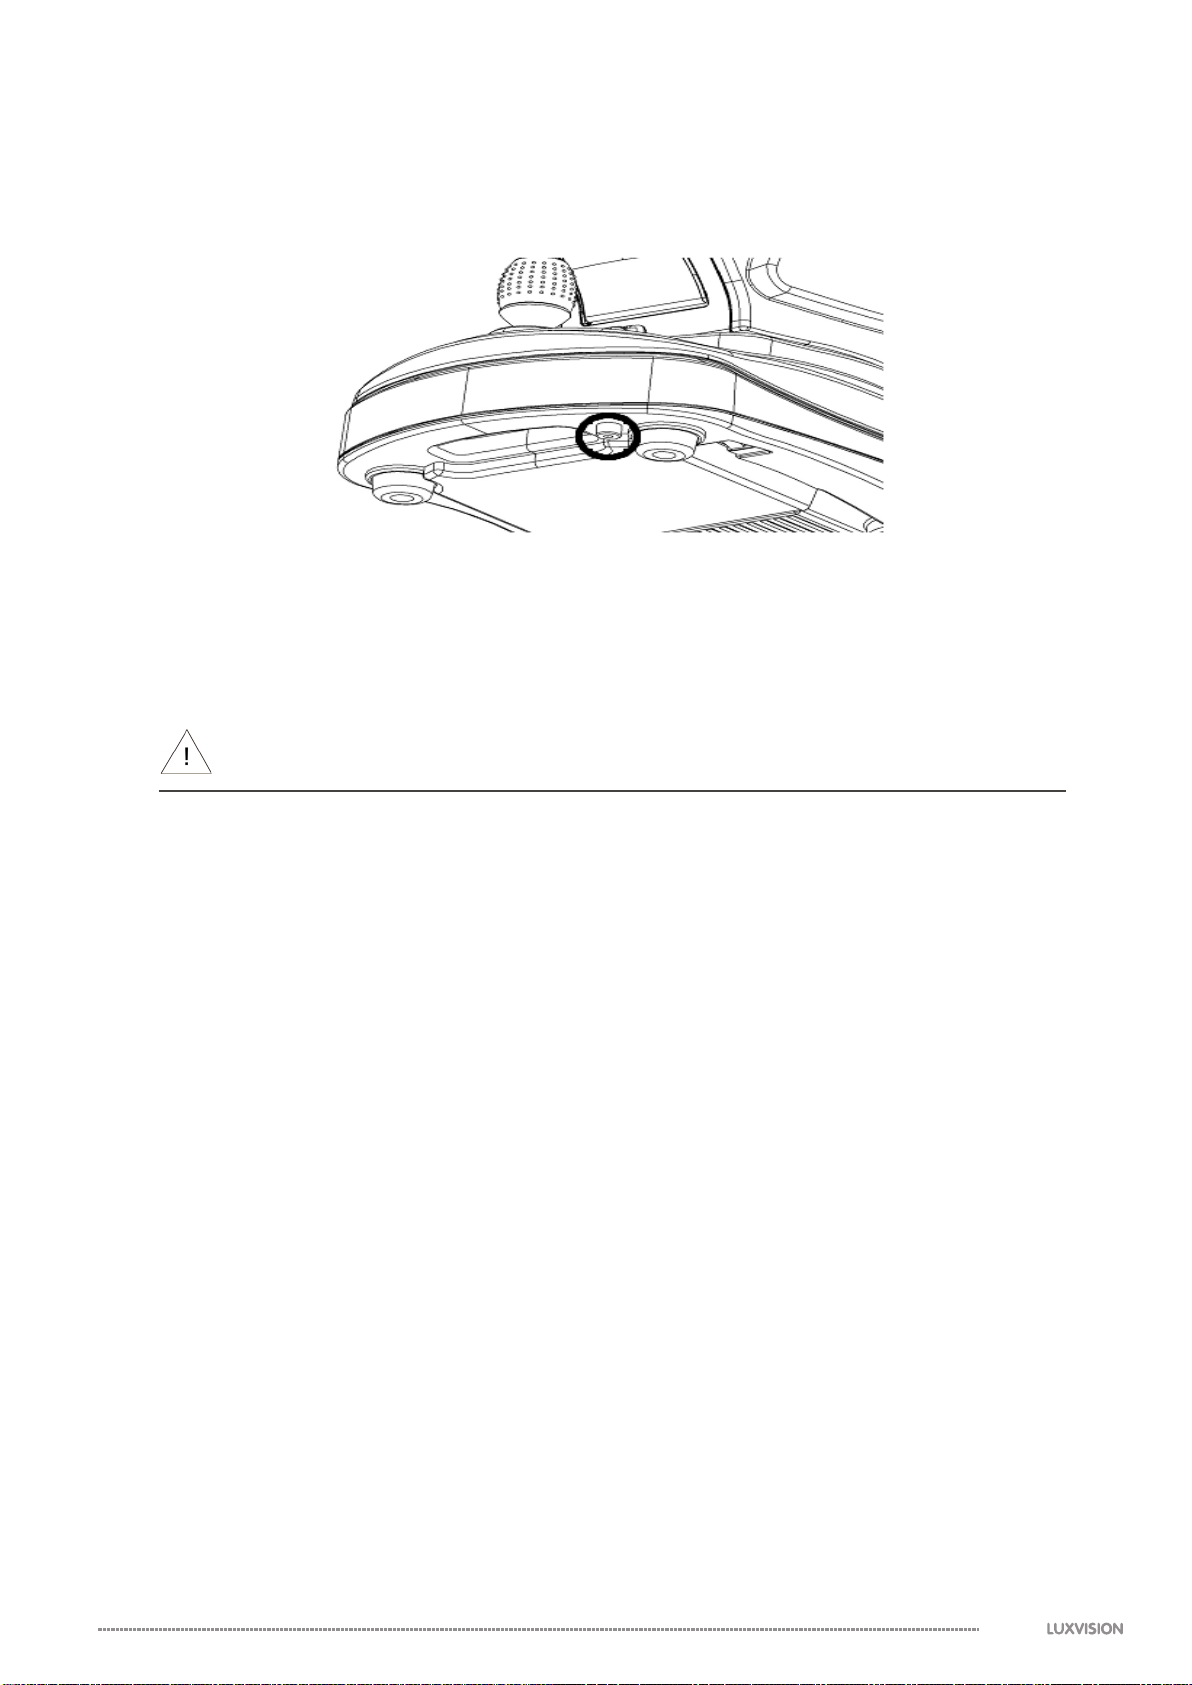
3. Conveyance and Handling Procedure
When transporting the instrument, make sure that the body has been securely locked.
The lock knob shold be turned clockwise until body and base are rmly xed to each other.
4. Installation Environment
(1) Do not expose the instrument's view window directly to the sunlight or bright lighting from
other sources.
Great care should be taken and avoid that the examinee is exposed to strong light or glare.
The pupil will contract too much for measurement to be carried out.
Warning
(2) Do not operate in places where either dust or rubbish accumulates.
Environment with extremes in heat and humidity should also be avoided.
Always follow the environmental requirements below for installation.
Temperature : -10 ~ 40℃
Humidity : 30 ~ 75%
●
●
(3) Keep away from inammable or explosive gases as well as storage areas housing medical
supplies and chemicals.
(4) Avoid installing where dew condensation may accumulate. Also, avoid where the radical
temperature changes may occur.
(5) Keep away from sites that may experience strong vibrations or sudden shocks.
(6) Malfunction is likely to occur if the instrument is improperly stabilized or accidentally overturns.
To prevent internal/external damage caused by sudden impact, set the instrument on a solid
and secure surface.
●
8
5. Safeguard Summary
(1) LRK-5200 is a precision optical instrument. Always handle with care and avoid dropping
it accidentally.
(2) Ensure that the instrument is properly grounded when connected to the power source.
(4) If the surfaces of the measuring unit and main unit including the control panel are dirty,
gently wipe with a dry cloth.
(3) Do not touch the optical parts with ngers and be sure to avoid dust, as their measuring
accuracy could be adverely aected and incorrect values may result.
Warning
When dust or ngerprints appear on the optical part, use a soft cloth to wipe o the build-up.
In case the build-up is hard to remove, absolute alcohol is recommended.
Warning
For stains hard to remove, using neutral cleaner with a dry cloth.
(5) Clean the chin rest and headrest with neutral cleanser very often.
For the sterilization of these parts, expecially where the examinee may contact,
hydrogen peroxide is recommended.
(6) If the instrument is not used for long time, remove the power cord from the outlet then protect
the instrument with the supplied dust cover.
(7) When the instrument fails to function properly, never attempt to perform internal service or
adjustment. Contact a certied dealer or manufacturer.
●
●

9
6. Preparation
6-1. Printing paper and Chin-rest paper
(1) Set a roll of printer paper in the printer. Refer to ‘10-1. Reloading Printer Paper’ for the
procedure.
(2) Set and x the chin-rest papers with the chin-rest pins on the chin-rest.
Warning
For sanitary consideration, disposing the sheet of the used chin-rest paper after every
measurement is recommended.
Always use the chin-rest papers following the above. For sanitary consideration, disinfecting the
chin-rest with a neutral cleanser.
●
●
Table of contents


