Drew Technologies CarDAQ-Plus User manual
CarDAQ-Plus
Quick Start Guide

2
CarDAQ-Plus has been carefully designed and tested to comply with OBDII
protocols, which are used on most 996 and newer cars and light trucks sold in
the USA. However, some vehicle models are not in full compliance with these
protocols for various reasons. In addition, the computer control systems or
sensors on any given vehicle may be malfunctioning or out of specification.
Note: Vehicles manufactured for use outside of the USA may not comply with
OBDII protocols, even though an SAE J 962 connector is located in the
vehicle. Connection to vehicles manufactured for use outside of the USA is AT
YOUR OWN RISK. Drew Technologies will not be held responsible for ANY
direct, indirect or consequential damage that arises as a result of connecting to
such a vehicle.
Before installing CarDAQ-Plus, we recommend visiting this website for service
information: www.nastf.org.
While Drew Technologies testing and the experience of thousands of CarDAQ-
Plus users have shown the interface to be safe and reliable, there is an
inherent risk in using any product that may potentially affect the operation or
drive-ability of your vehicle. Drew Technologies will not be held responsible for
ANY direct, indirect or consequential damage that arises as a result of using
CarDAQ-Plus on a vehicle.
If you are concerned about the operation of your vehicle at any time while using
CarDAQ-Plus:
• If you are driving, pull off the roadway immediately or as soon as it is
safe to do so.
• Disconnect CarDAQ-Plus from the OBDII port.
• Consult a licensed mechanic or automobile service center.
Report any issues or concerns to our Technical Support Dept. at
support@drewtech.com. We are open Monday through Friday, 9:00 a.m. to
5:30 p.m. Eastern Time. We maintain an active database of the feedback we
receive, and your comments can help us continuously improve the product.

3
Contents
Contents............................................................................................................. 3
Introduction ....................................................................................................... 4
Getting to Know CarDAQ-Plus ........................................................................ 4
Powering CarDAQ-Plus................................................................................... 4
Setting u the CarDAQ-Plus ............................................................................ 4
Installing the CarDAQ-Plus Software to your PC ............................................ 4
The Ca abilities of J2534 and CarDAQ-Plus.................................................. 6
Reprogramming with J2534 ............................................................................ 6
J2534 ToolBox................................................................................................. 6
Updating the CarDAQ-Plus Drivers on your PC.............................................. 7
Updating the Firmware inside your CarDAQ-Plus........................................... 8
Diagnostics with J2534.................................................................................... 9
S ecifications.................................................................................................. 10
Connectors and Status Indicators .................................................................
Vehicle Connector ......................................................................................... 2
Ethernet Lights .............................................................................................. 2
A/D Inputs Connector .................................................................................... 2
Troubleshooting and Su ort ....................................................................... 13
If all else fails... .............................................................................................. 4
Other Drew Tech Products............................................................................. 16
4
Introduction
Thank you for choosing CarDAQ-Plus! You now have the ost co plete
J2534 Pass-Thru device available for technicians today. The CarDAQ-
Plus will allow you to re-flash odern vehicle controllers to stock as
well as perfor dealer level diagnostics on select anufacturer’s
vehicles.
This Quick Start Guide covers the initial setup, features, and co on
questions. This anual is always available at www.drewtech.co .
Infor ation for individual anufacturers can be found in the J2534
Toolbox application.
Getting to Know CarDAQ-Plus
Your package includes: the CarDAQ-Plus interface, a crossover Ethernet
cable, a USB cable, an OBD-II cable, and a installation CD that includes
PC drivers and the J2534 Toolbox.
Powering CarDAQ-Plus
The CarDAQ-Plus receives power fro a vehicle OBDII port. When CarDAQ-Plus
is powered-on, the lights will cycle through a self-test procedure. The CarDAQ-
Plus does not receive power fro your PC’s Ethernet or USB ports. Do not
connect the CarDAQ-Plus to your PC until you have installed the software below.
Setting u the CarDAQ-Plus
Do not connect the CarDAQ-Plus to your PC until you have
installed the software below.
Installing the CarDAQ-Plus Software to your PC
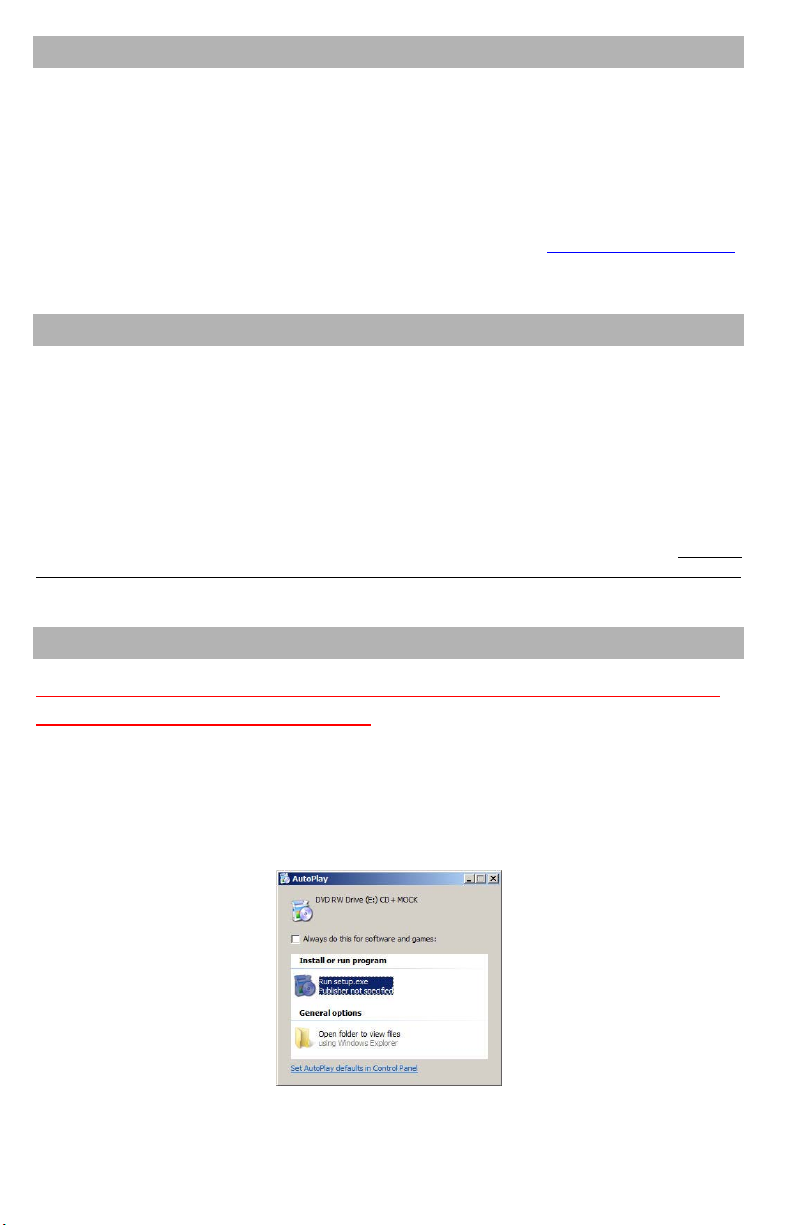
1. Insert the CD that ca e with your CarDAQ-Plus into the CD/DVD slot of
your PC. Make sure your CarDAQ-Plus is not connected to the PC at this
point. The Autoplay options will appear:
2. Click on [Run setup.exe] to begin the installation.
5
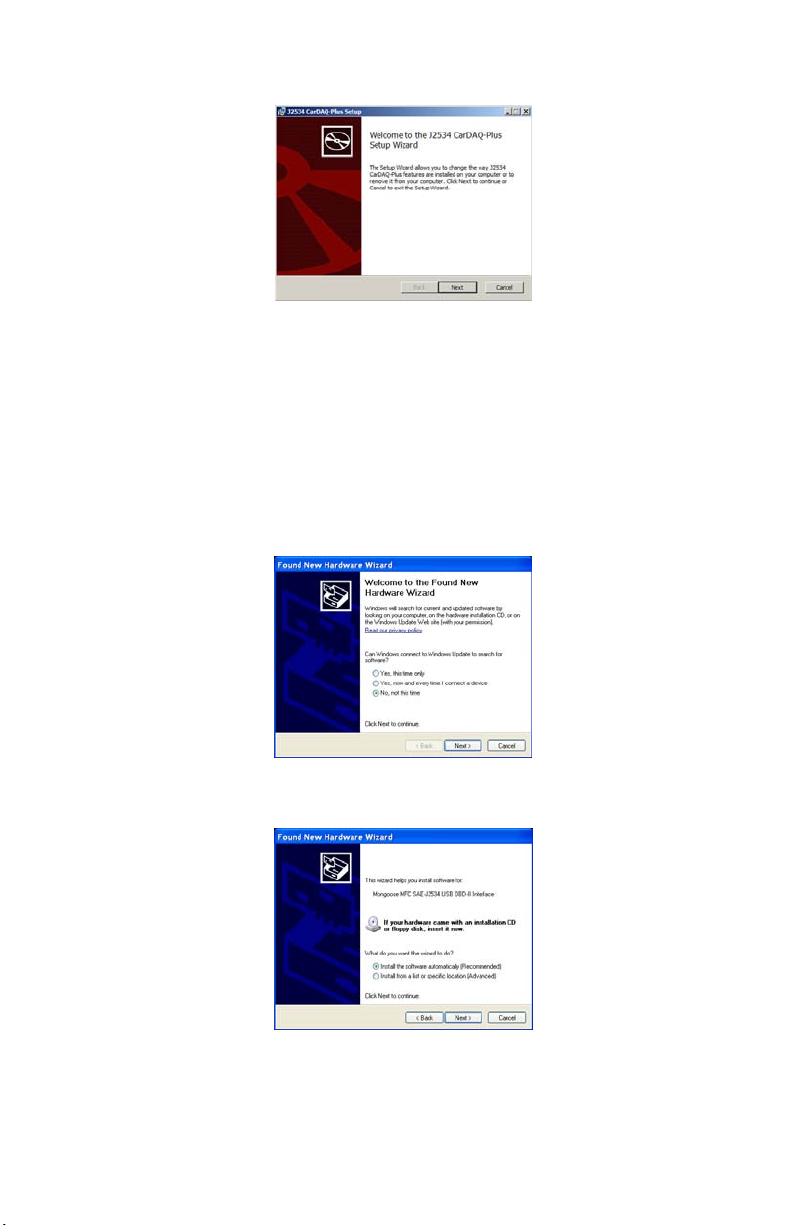
3. The CarDAQ-Plus drivers and the J2534 ToolBox will now begin
installation. Follow the Setup Wizard instructions.
4. When the installation is finished, power up your CarDAQ-Plus
fro a vehicle with the OBDII cable, and then connect the USB
cable fro CarDAQ-Plus to your PC. The drivers will
auto atically be found and installed on Windows Vista and 7
co puters.
For Windows XP, a few ore steps are required:
a. The “Found New Hardware Wizard” will pop up when you
connect your CarDAQ-Plus.
b. Make sure “No, not this ti e” is selected and click [Next].
This screen appears:
c. Select “Install the software auto atically
(Reco ended)” and click [Next]. After the progress bar
finishes, click [Finish]. Windows XP users are finished
installing at this point and can run the software they will
be using with the CarDAQ-Plus.
6
The Ca abilities of J2534 and CarDAQ-Plus
The CarDAQ-Plus is the ost co plete J2534 pass-thru device available
today. The capabilities of CarDAQ-Plus are largely deter ined by
software the vehicle anufacturers provide. More infor ation on
specific anufacturers can be found in the J2534 Toolbox.
Re rogramming with J2534
J2534 and federal law andate that auto akers allow shop technicians
the ability to re-flash e issions-related vehicle electronic control units,
typically engine and trans ission controllers. So e auto akers allow
for ore odules, and so e have enabled factory diagnostics. Use the
J2534 Toolbox for ore infor ation on each anufacturers capabilities.
J2534 ToolBox
The J2534 Toolbox is a progra created by Drew Technologies to help
distribute current infor ation to technicians working with J2534. The
toolbox has up-to-date infor ation on anufacturer reprogra ing
issues, links to anufacturer sites, and uch ore. The features of the
J2534 Toolbox are explained below.
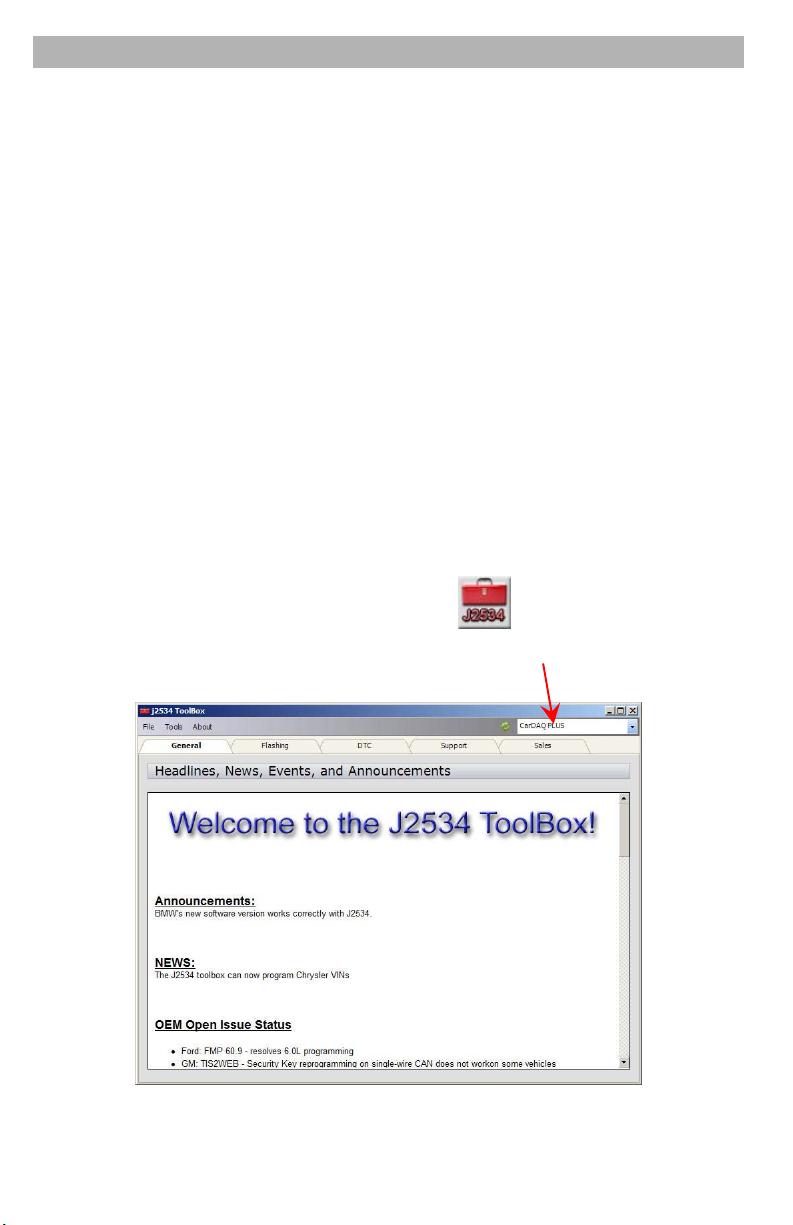
To open the J2534 ToolBox, click on the icon on your desktop.
Select your pass-thru device fro the drop down list at the top right
corner.
The J2534 Toolbox has different functions divided into tabs at the top
of the progra :

7
General Tab:
Contains up to date infor ation on changes in the J2534 real :
announce ents, news, and current open issues.
Flashing Tab:
Contains infor ation links to anufacturer websites, frequently asked
questions, how-to videos, and useful progra s for co pleting a re-
flash session.
DTC Tab:
Contains a generic/global OBDII reader for pulling and clearing
diagnostic trouble codes with your CarDAQ-Plus.
Support Tab:
Contains applications to help you use your pass thru device efficiently.
For infor ation on the function of each progra in the support tab,
click on the [Help] button at the top of the page inside the J2534
Toolbox. You can also visit the download page at www.drewtech.co
for the anual.
Sales Tab:
The sales tab allows you to view ore infor ation about the CarDAQ-
Plus and other Drew Technologies products.
U dating the CarDAQ-Plus Drivers on your PC
Disconnect CarDAQ-Plus fro your PC. Co plete the steps
below.
To update the CarDAQ-Plus drivers on your PC:
1. Open your web browser and go to the downloads page at
www.drewtech.co
2. Deter ine if your co puter is running a 32 or 64 bit version of
Microsoft Window. Right click on [Co puter] in the Start enu
and click on [Properties] to find this infor ation.
3. Download the “Drivers Only” installer for your 32 or 64 bit
version of Windows.
4. Once the download has finished, run the file. It will be na ed
“J2534 CarDAQ-Plus. si” for the 32 bit version and “J2534
CarDAQ-Plus_x64. si” for the 64 bit version.

8
5. Once the Setup Wizard gets to the “Change, repair, re ove
installation” page, click on [Repair].
6. Follow the Setup Wizard’s instructions to co plete the install.
U dating the Firmware inside your CarDAQ-Plus
The CarDAQ-Plus has updateable fir ware. The fir ware needs to be
updated every ti e a new driver and fir ware update has been posted
on the Drew Technologies website. The J2534 ToolBox can
auto atically update your CarDAQ-Plus fir ware for you with a few
easy steps:
Your co puter needs to have Internet access. This
process can take up to ten inutes.
1. To update the CarDAQ-Plus fir ware, ake sure your CarDAQ-
Plus is powered on and connected to your PC. Run the J2534
Toolbox and ake sure your CarDAQ-Plus is selected in the
upper right drop down enu. If an update is needed, the
process takes about ten inutes.
2. Next Click on the Support tab, then Device Check.
3. Click on the refresh button next to “Selected Device” at the
upper left. Your CarDAQ-Plus will be found and displayed in the
drop down box.

9
4. Now click on the [Auto atic Fir ware Update] button. The
CarDAQ-Plus fir ware will now update auto atically. This
process will take approxi ately ten inutes. Do not interrupt
the co puter or the CarDAQ-plus until the J2534 ToolBox says
the fir ware update has co pleted.
Do not turn off or unplug your CarDAQ-Plus or PC until the J2534
ToolBox indicates the update is co plete.
Diagnostics with J2534
Several anufacturers allow full dealer level diagnostics with J2534.
Drew Technologies also offers a generic diagnostic progra called
DashDAQ-PC. A free 30-day trial of this software is available at
www.drewtech.co .

10
S ecifications
CarDAQ-Plus Specifications:
Name Value
Input Voltage Range 6VDC to 26VDC
Supply Current 320 A @ 6VDC
200 A @12VDC
170 A @15VDC
Operating
Te perature
+0C to +60C a bient
Storage Te perature -65C to +100C a bient
Size
1.25”H x 7.5”D x 5.25”W
Bus Protocols
• Pri ary CAN / ISO15765 / GMLAN
• Secondary CAN / ISO15765 / GMLAN (Dual or Single Wire)
• Ford SCP (J1850PWM)
• GM Class2 (J1850VPW)
• KWP2000 (ISO9141/14230)
• Chrysler SCI (J2610)
Other
• Co pliant to SAE J2534 (Feb 2002) and SAE J2534- (Dec 2004)
• Co pliant to ISO 22900- MVCI physical layer
• Progra ing voltage on J1962 pin 6, 9, 11, 12, 13, 14 or Aux
• Ground pins 9, 12, or 15
Note: Drawing current in excess of 200 a on a line configured for FEPS
progra ing voltage ay da age the CarDAQ-Plus hardware. Avoid
grounding any output pin configured for progra ing voltage! Battery
Voltage is fused (auto reset) at 200 A.
Table of contents
Other Drew Technologies Diagnostic Equipment manuals


