Tube Light Installation Guide
Installation
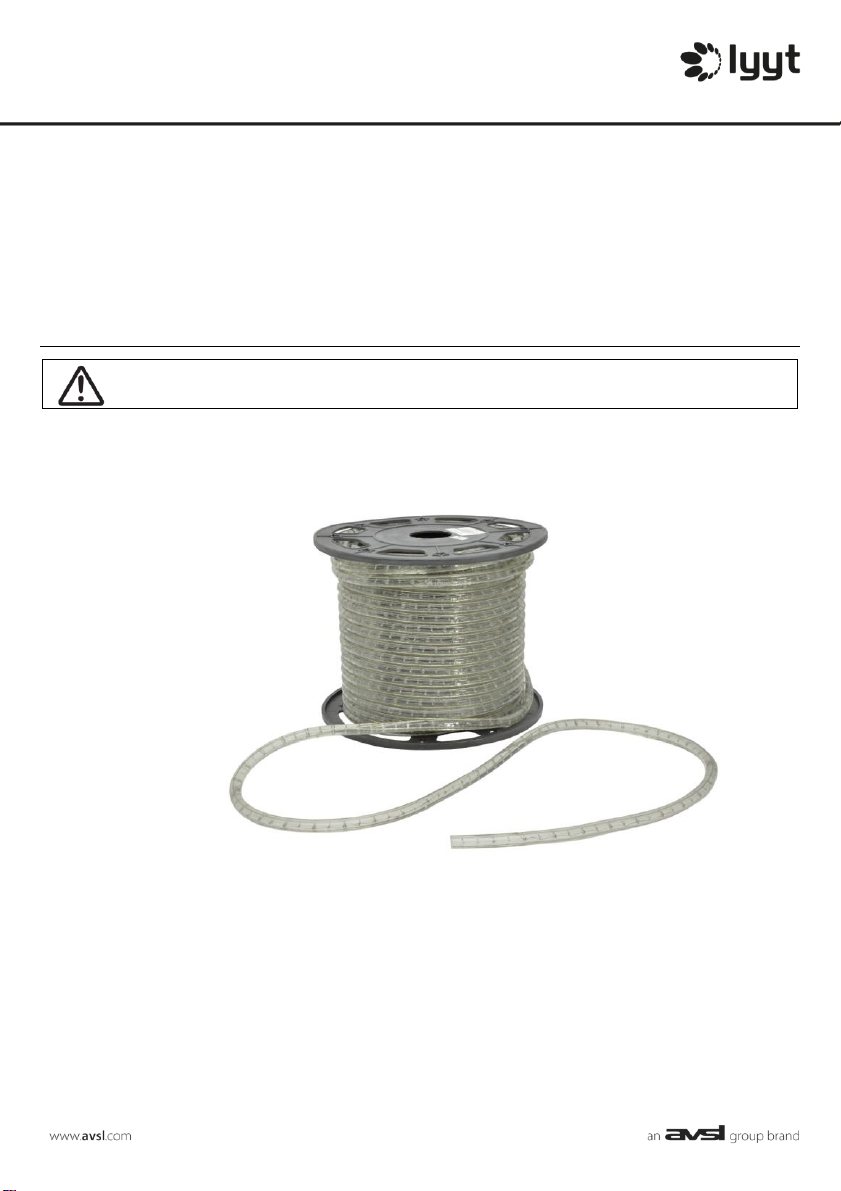
Lyyt Tube Light can be attached to building surfaces, frameworks, suspended or laid into
channels as required. Mounting clips are available which can be screwed in place to fix the
Tube Light to various surfaces and shape it to follow architectural details or specific designs.
Tube Light must be completely uncoiled and should be installed without any overlapping
loops. Do not completely enclose the Tube Light and allow space for ventilation and cooling.
Do not cover or apply heavy stresses to the PVC containment.
Tube Light can be cut to length at the indicated cutting points at 1 metre intervals along the
length of its outer PVC covering. Use a sharp knife or shears to ensure a clean cut.
Likewise, cut lengths or entire rolls of Tube Light can be coupled or spliced together using the
optional 2-pin couplers that can be purchased separately (see “Available accessories”above).
Note: The maximum length that can be connected together is 90m, or 2 complete rolls.
To maintain the water-resistant protection of the product and to insulate the mains voltage
carried through the Tube Light, all cut ends and joints must be sealed using silicone glue and
heat-shrink tubing. See instructions on the following page
For straight runs, plastic channel is available in 2 metre lengths and can be installed to hold
the tube light firmly in a straight line.
Tube Light can also be fitted around corners with a minimum bend radius
of 60mmØ. (Any attempt to force the Tube Light to follow a smaller radius
can result in damage to the integrity of the PVC insulation, rice bulbs or
connections between them). It is advised to connect the power lead and
end cap (see below) and power up the Tube Light for a short time to
soften it before making such sharp bends. Avoid bending the Tube Light at
any jointed connections.
Connection
The power lead is supplied with a 2-pin connector with rounded pins on one side and spikes
on the other side. The spikes should be pushed into the cut end of the Tube Light where the
ends of the 2 internal wires can be seen. This is to ensure a good electrical connection.