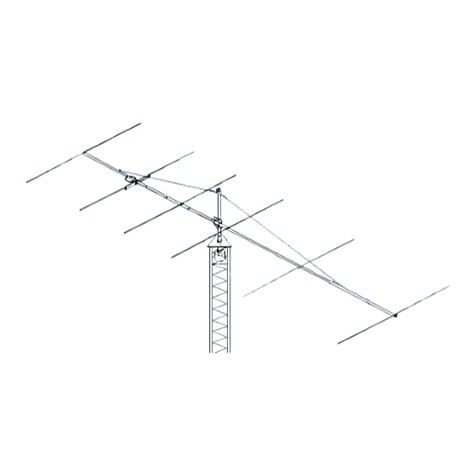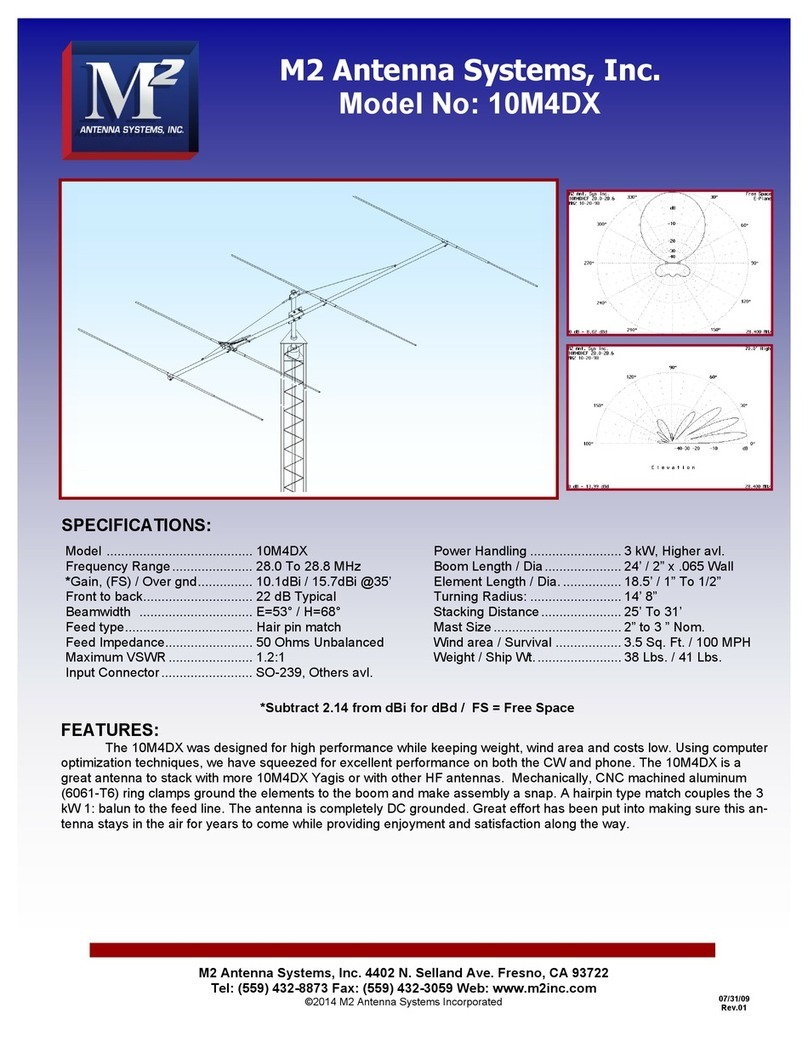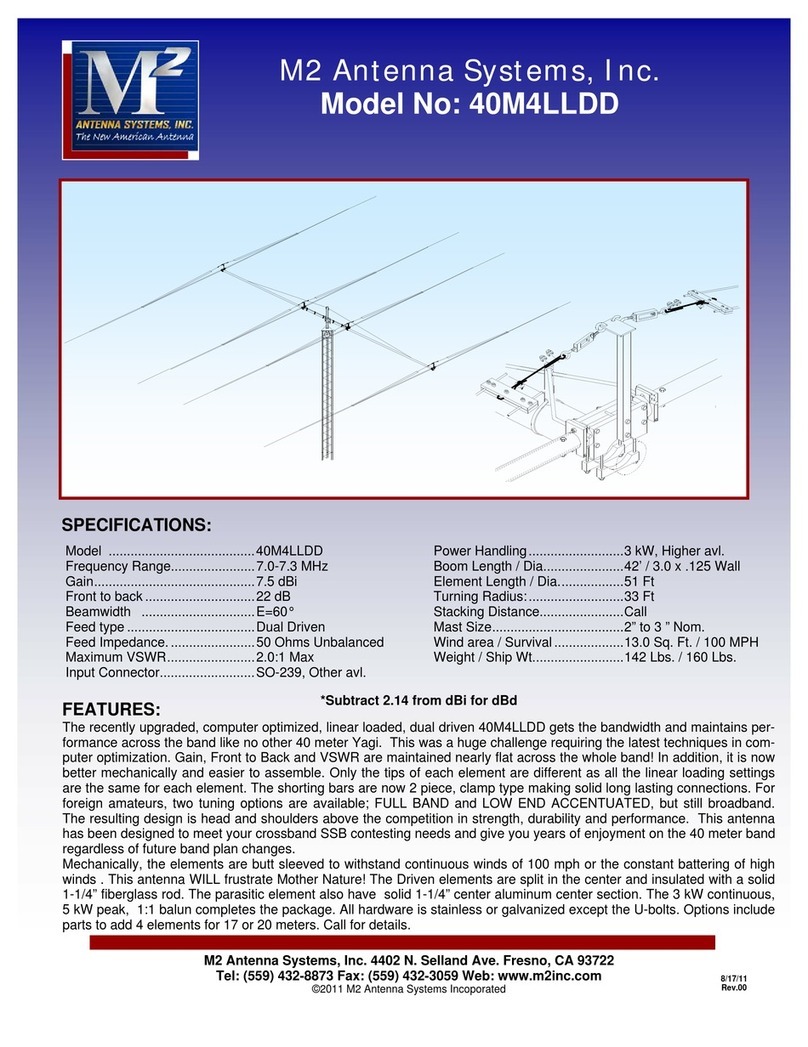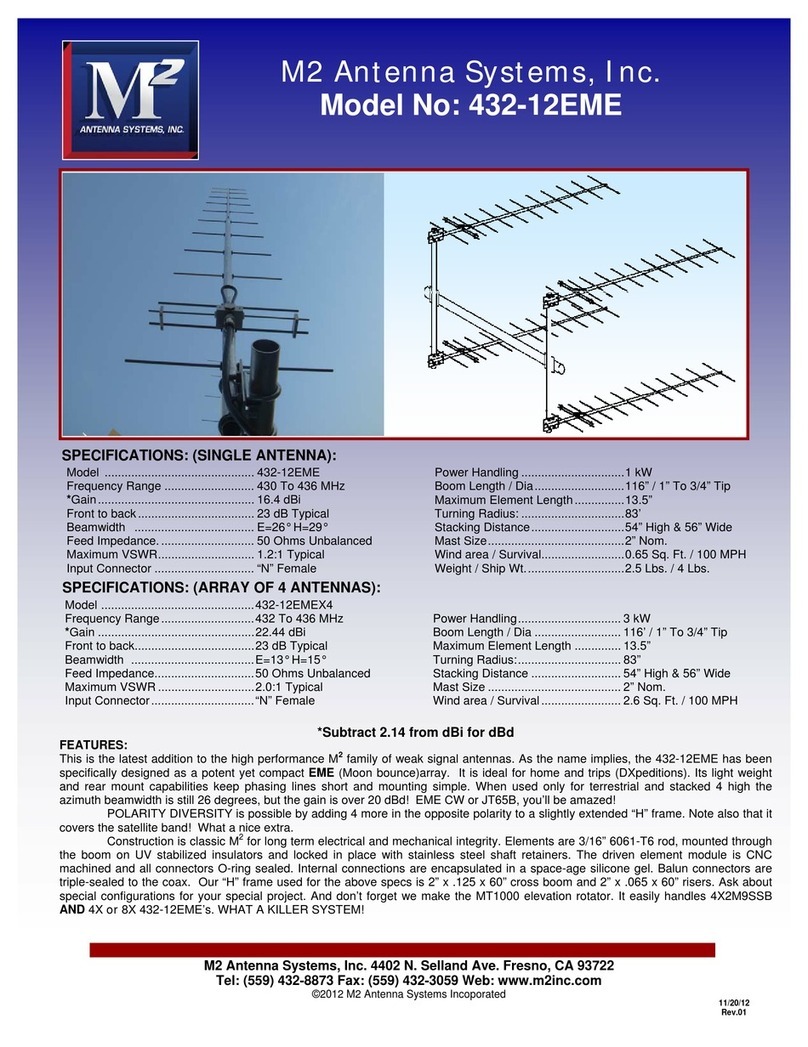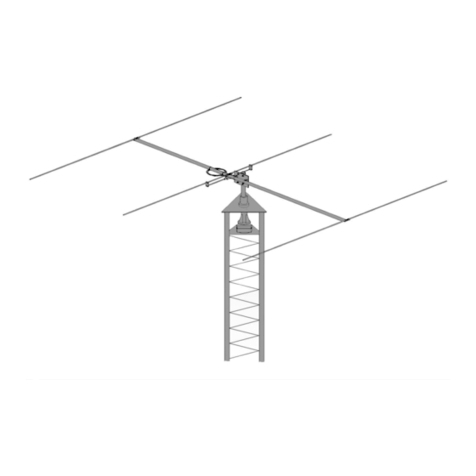
TOOL REQUIRED FOR ASSEMBLY: screwdriver, 11/32 nut driver or wrench, 7/16” and1/2” socket or end
wrenches, measuring tape.
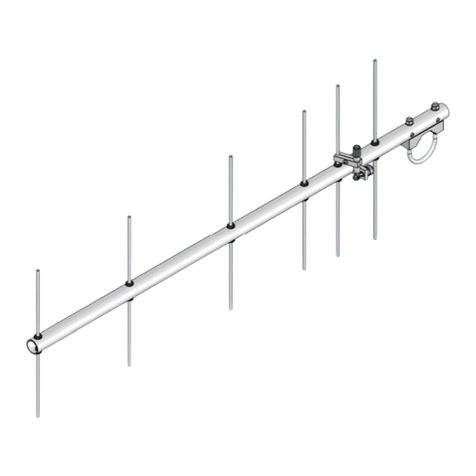
1. Assemble the boom using 8-32 X 1-1/4 screws and locknuts to join sections. Sections may may be swaged
to each other or use 7/8” internal splice sections.
ASSEMBLING THE HORIZONTAL ELEMENTS
2. Lay out the elements by “H” length and position as shown the DIMENSION SHEET. Start with the reflector
(longest) element. Balance it on your finger to find rough center and push on a black button insulator to about
1/2” off center. Push the element through the holes 1.937” from the rear of the boom and install the second
button, snugging it up into boom. DO NOT BOTHER CENTERING the element at this time and DO NOT
INSTALL the stainless steel shaft retainers yet. It is easier to do it after all the horizontal elements are
installed in the boom.
3. Install the 3/16” rod DRIVEN ELEMENT as you did the reflector. Then continue with the installation of the
DIRECTORS. Note that the Director Elements do not consistently diminish in length from rear to
front, so pay close attention to length and position.
4. Now begin centering the elements. Use a tape measure to EQUALIZE the amount the element sticking out
on each side of the boom. Once you have all the elements centered, sight down the element tips from the
rear comparing each side. Look for any obvious discrepancies and correct if found.
5. Stainless steel SHAFT RETAINERS lock the elements in place. They should always be used for permanent
and long term antenna installations. For portable or temporary use, the button insulators are adequate for
holding the elements and the retainers may be left off.
To install the stainless steel SHAFT RETAINERS, use thumb and forefinger to hold the retainer over the end
of the PUSH TUBE ( 3/8" x 3" tube, supplied in the kit), internal fingers on retainer dished into tube. HOLD
THE ELEMENT FIRMLY TO PREVENT IT FROM SLIDING OFF CENTER and press the retainer onto the
element end and continue until retainer butts on insulator button. Locking pliers, lightly clamped up against
opposite button insulator will help maintain center reference (if you push the first retainer too far, remove
element from boom, push retainer completely off the element, and start over). Install another retainer to the
opposite side of the element. Continue installing retainers until all elements are secured.
6. Mount the HORIZONTAL DRIVEN ELEMENT
BLOCK / ROD ASSEMBLY to the TOP of the
boom using a single 8-32 X 1-1/4" screw. Orient
the block with the two balun connectors facing to
rear.
7. Install the 8-32 x 1/4” set screws (internal Allen
head - tool supplied) into the SHORTING BARS.
Slide the bars onto the 1/8" Driven Element
Block Rods and the 3/16" driven element rod.
Position the Shorting Bars at 1/8" from the
tips of the 3/16" rods. Align the bars with each
other and tighten the set screws.
ASSEMBLING THE VERTICAL ELEMENTS
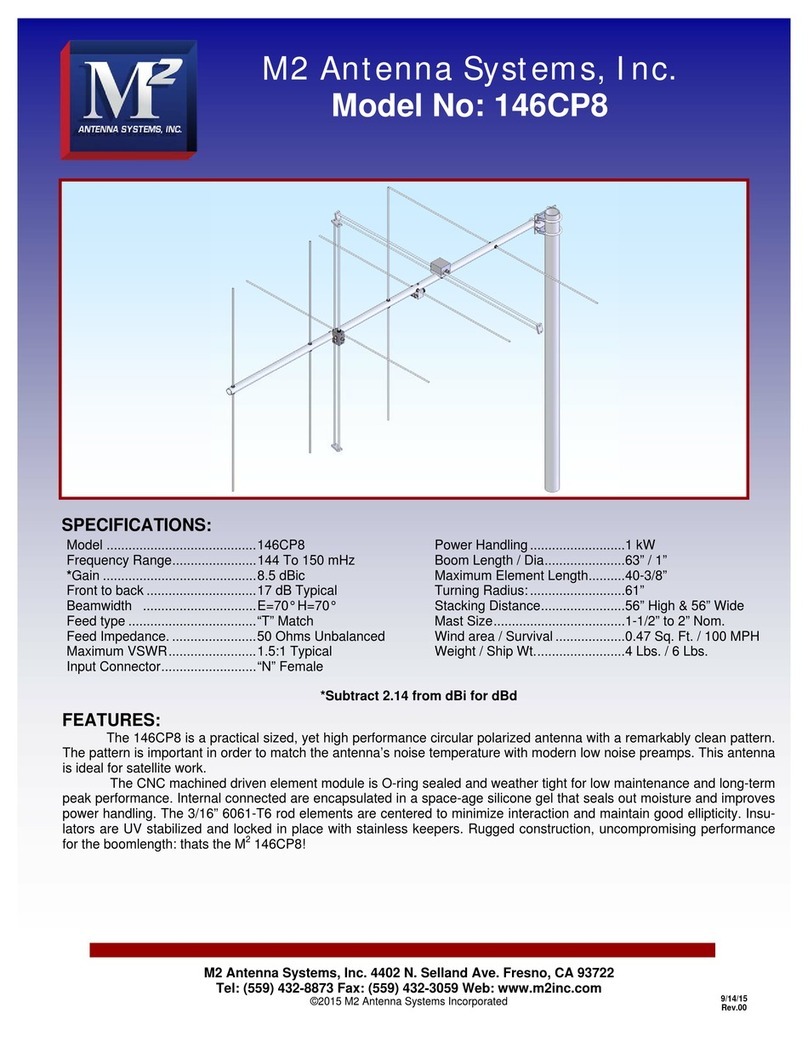
Note: The vertical element set is shifted forward on the boom by 1/4 wavelength.This increases isolation
between element planes, improving circularity and ease of phasing / matching the two element sets.
8. Repeat steps #2 through #5 for the Vertical elements, using the Dimension Sheet as your guide to lengths
and spacing.
INSTALLATION OF THE VERTICAL DRIVEN ELEMENT BLOCK DETERMINES THE CIRCULARITYOF
THIS ANTENNA. THE ORIENTATION OF THE BLOCK FOR RHC - RIGHT HAND CIRCULARITY, IS
SHOWN ON THE DIMENSION SHEET.
9. Viewed from the rear of the boom , the VERTICAL Driven Element Block mounts to the RIGHT hand side of
the boom with the Balun connectors oriented to the front. Secure with 8-32 x 1-1/4” screw. Install the
Shorting Bars as in step #7. The HORIZONTAL Driven element block mounts on top of the boom with the
feed connector and power feed through oriented to the rear.
10. Before installing the Baluns and Matching / Phasing Harness, thread 3/8” SEAL NUTS fully onto all
connectors, with the black Neoprene face of the nuts facing out. Attach Baluns and Phasing lines to the
403CP20 ASSEMBLY MANUAL
