hi
F
ace
T
wo
192
k
H
z
/24bit digital audio interface
REVISION 1.0 – MAY 2013
Copyright © 2013, M2Tech Srl
4
M2Tech
www.m2tech.biz
INDEX
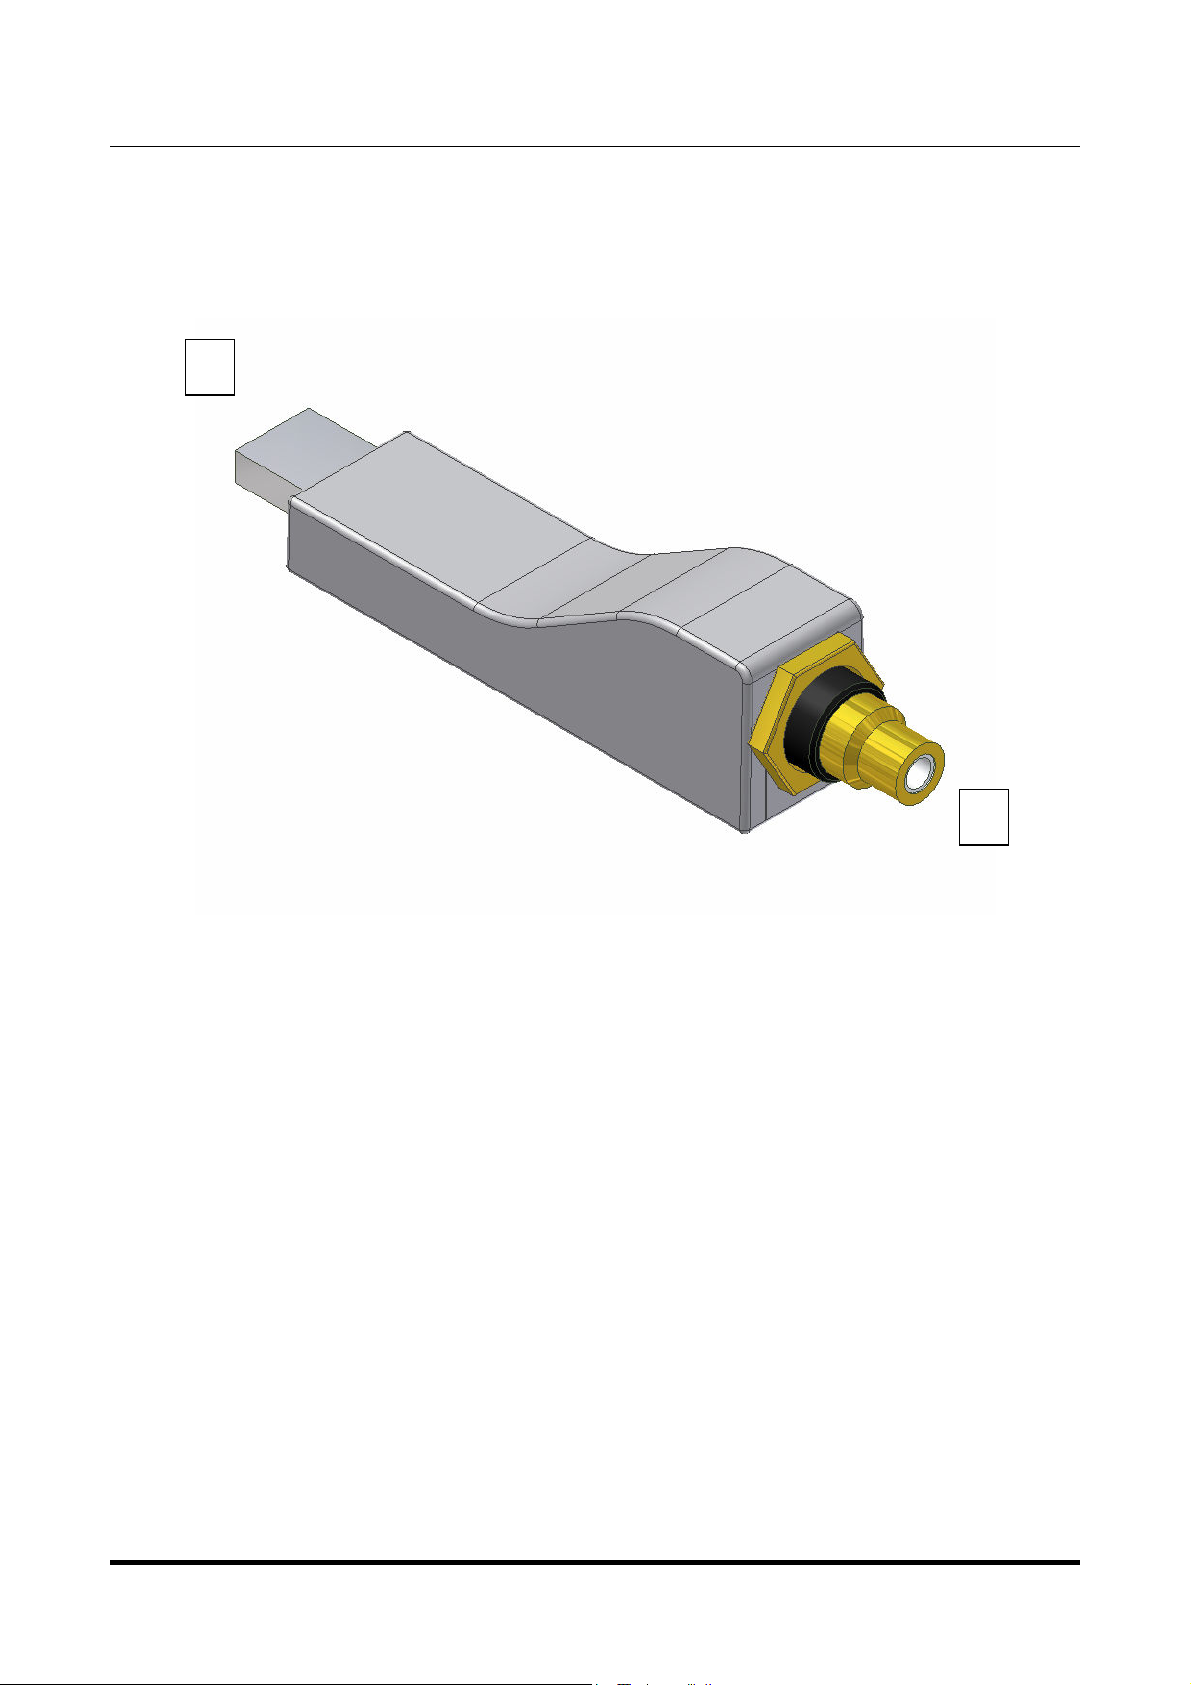
1. Connections ...................................................................................................................5
2. Connection to the host..................................................................................................6
3. True plug’n’play operation with ac............................................................................7
4. True plug’n’play operation with Linux .........................................................................9
5. Operation with iPad and Android-based tablets .......................................................10
5. Windows driver installation ........................................................................................11
5.1. Obtaining the driver .................................................................................................11
5.2. Installing the driver on a Windows-based PC (XP, Vista, Windows 7 and Windows
8, 32 & 64 bits) ...............................................................................................................11
5.2.1. Checking for right installation and trying the interface ......................................15
5.3. Unistalling the driver................................................................................................17
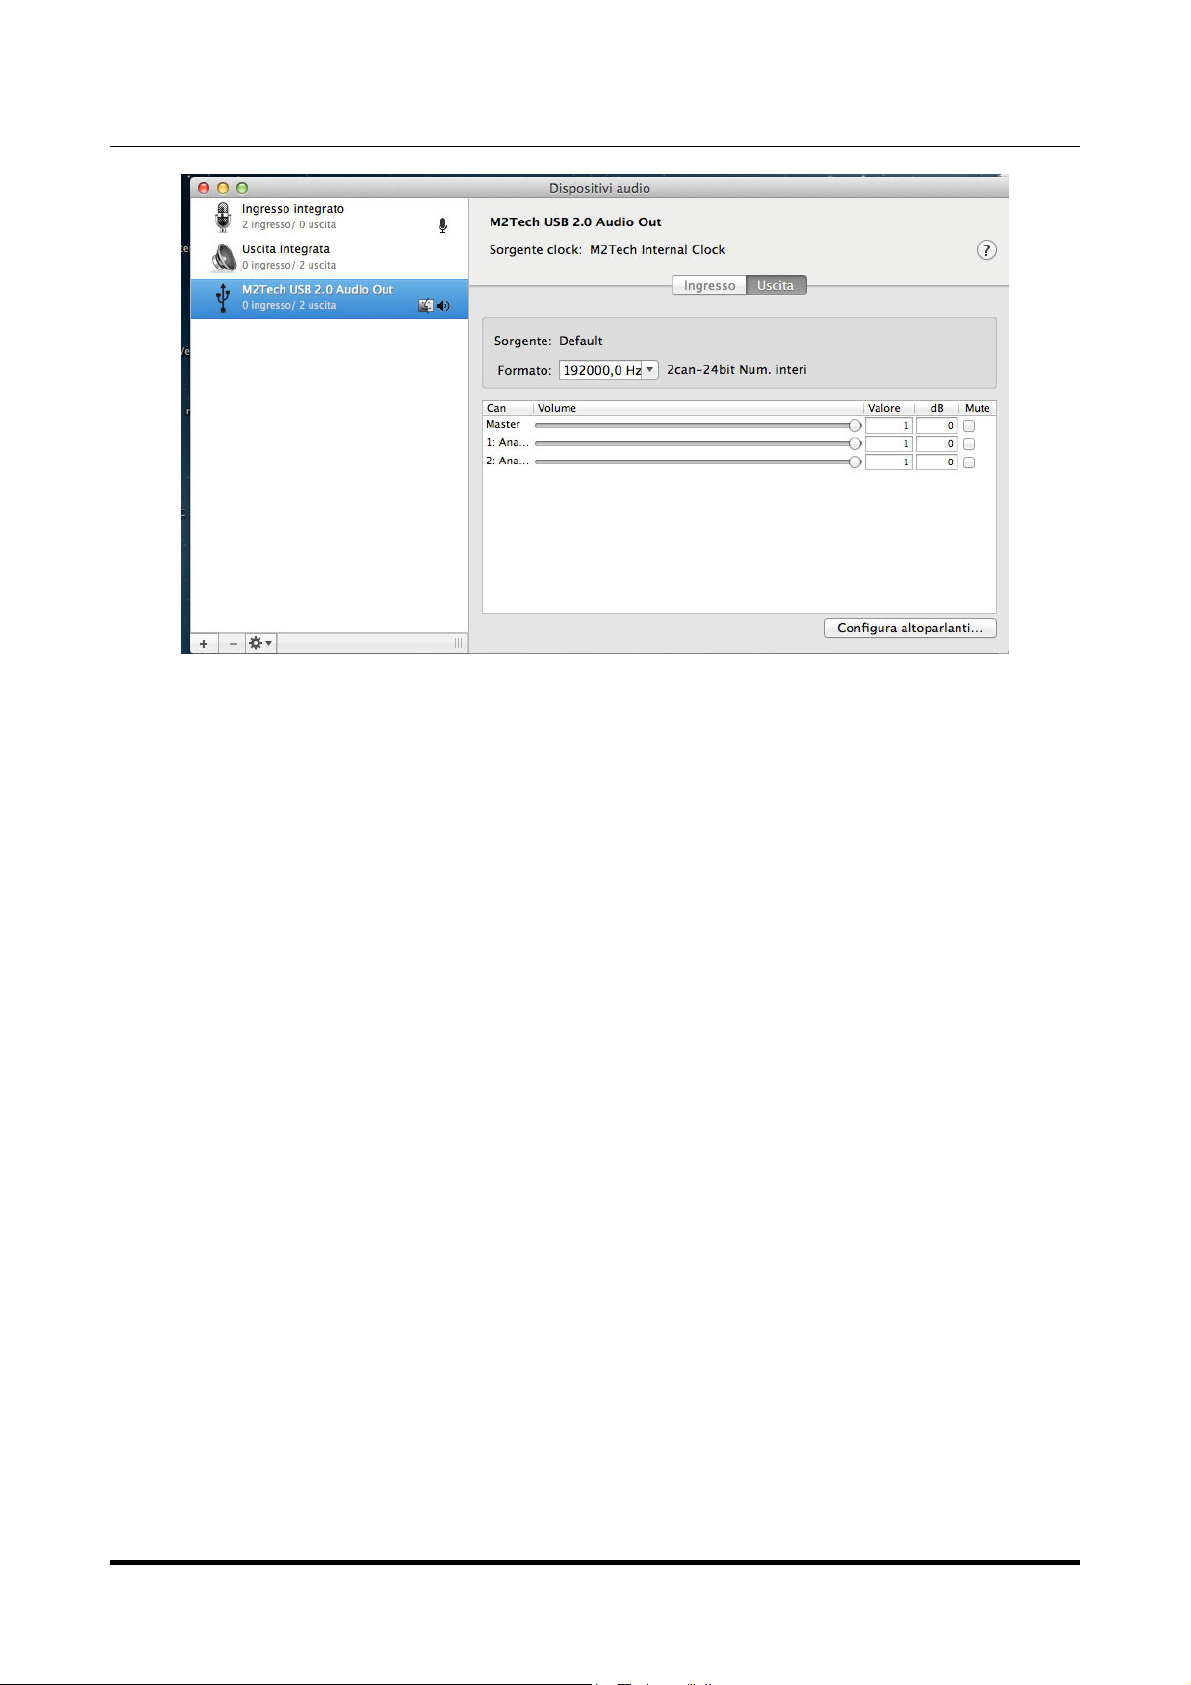
6. Configuring the computer to use hi
hihi
hiF
FF
Face
aceace
ace
T
TT
Two
wowo
wo ...........................................................20
6.1. Configuring a PC with Windows XP ........................................................................20
6.1.1. Configuring for Direct Sound with Windows XP................................................20
6.1.2. Configuring for ASIO with Windows XP ............................................................21
6.2. Configuring a PC with Windows Vista, Windows 7 or Windows 8 ...........................22
6.2.1. Configuring for Direct Sound with Windows Vista, Windows 7 or Windows 8...22
6.2.2. Configuring for Kernel Streaming with Windows Vista, Windows 7 or Windows 8
....................................................................................................................................23
6.2.3. Configuring for WASAPI with Windows Vista, Windows 7 or Windows 8 .........23
6.2.4. Configuring for ASIO with Windows Vista, Windows 7or Windows 8................23
7. Configuring the player for Kernel Streaming: two examples...................................24
7.1. Foo ar ....................................................................................................................24
7.2. Winamp and MediaMonkey.....................................................................................25
8. Configuring the player for WASAPI: two examples..................................................27
8.1. Foo ar ....................................................................................................................27
8.2. JRiver ......................................................................................................................28
9. Configuring the player for ASIO: an example ...........................................................28
9.1. Foo ar ....................................................................................................................28
10. Interface Special Features ........................................................................................30
10.1. Precision oscillators...............................................................................................30
10.2. Asynchronous transfer mode ................................................................................30
10.3. Output connector choice .......................................................................................30
10.4. Powering the hiFace Two with an external power supply .....................................30
11. Technical Specifications ...........................................................................................31