Mach Speed Trio User manual

Congratulations on purchasing your Trio Personal Media Player! To
get the most out of your purchase, please take the time to carefully
read through this manual.
Foreword
If any problems occur during while using your Trio, please feel free to contact Mach Speed technical support at 580-2 2-0035, or sending
an email to [email protected]. Thank you for your support and cooperation!
Mach Speed Technologies bears no responsibility for any damage or loss of personal data due to misuse of software and/or hardware,
damage to the player caused by human factors, replacement of battery, or other unforeseen circumstances. To prevent loss of your data, please
backup your data regularly.
Information in the manual is subject to any change without notice and is subject to copyright protection. Copying or otherwise reproducing
this material without prior written consent is prohibited.
Due to Firmware changes, some of the pictures and functions described in this manual may not be the same as are included with your
player.
Precautions
•If you do not use your Trio for over 24 hours, please switch it to OFF.
•Avoid using your Trio under extremely hot, cold, dusty or wet environments.
•Striking, dropping, or severe jolts to your Trio may cause physical damage, battery loosening, or other hardware damage.
•The following conditions indicates a low battery level and signifies that the player should be charged:
oThe battery icon displays in normal operation with low battery prompt.
oWhere there is no response when pressing keys and the battery icon displays .
oThe player turns off automatically.
•Static electricity may cause damage to interior hardware of the player.
•Do not disconnect the player while formatting, uploading, or downloading files to the player, as it may cause program errors, or
cause the unit to be unable to power on.
•When the player is used as a removable hard disk, users should store files following correct file management methods. We are not
liable for any data loss or damage.
•Do not disassemble the unit in any way as this will void all warranties. Please contact your place of purchase if you experience any
problems with your unit.
Appearance

Basic operations
) Power on: Set the ON/OFF switch to the ON position, and press and hold the [>II] (play/stop) button for 3 seconds.
2) Power off: Press and hold the [>II] (play/stop) button for 5 seconds, until the player powers off. You can then set the ON/OFF switch to the
OFF position.
Note: When battery power is low, the player will automatically power off.
3) Adjusting volume: In Music, Voice, or Movie modes, press the [VOL] button, then press [NEXT] or [PREV] button to decrease/increase the
volume.
4) Charging the player: To charge your player, set the power switch to the ON position and connect the player to a powered USB port. The
screen of the player will display several options: Power & Data, Power & Play, or USB Charge. Press the [NEXT] or [PREV] buttons to highlight
USB charge and press the [MENU] button to select. If done correctly, the screen will display a battery with the word “Charging”. As a general
rule, it will take 4-6 hours to completely charge the battery on the player.
Main menu
The main menu allows you to access the different modes of your player. You can access the main menu at any time by pressing and holding the
[MENU] button. Use the [NEXT] and [PREV] buttons to navigate, and press the [MENU] button to make a selection.
Music

Music Mode allows you to play your MP3 and WMA audio files. After entering Music Mode, you will enter the Music selection screen, which
allows you to select which file you wish to play. Press [PREV] or [NEXT] to select category and press the [MENU] button to enter the category.
Once you have selected a file, press the [PLAY] button to begin playing the file. Briefly pressing the [NEXT] or [PREV] buttons will skip to the
next or previous track. Pressing and holding these buttons will fast forward or rewind the current track. While in the music mode, you can press
the [MENU] button to enter the music submenu.
Music Submenu
•AB Repeat- Allows you to begin playing an A-B selection of the music file. After selecting this feature, briefly press the [PLAY]
button to set the “A” point. Press [PLAY] again to set the “B” point. Press [PLAY} a third time to play between points A and B
•Repeat- Allows you to set the play mode. select either Sequence (plays each file once), Repeat one (plays a single file over and
over again), Repeat all (plays each file over and over), Shuffle (mix up the order of your audio files) and Shuffle + Repeat
•Select EQ- Select one of 6 equalizer settings
•Set Sound- Set up a customized equalizer setting, or one of several sound effects
•Replay Times- Set the number of times you will play your A-B sequence when A-B mode is activated
•Replay Intervals- set the amount if time (in seconds) between replays of your A-B sequence.
Pictures
Picture Mode allows you to view your digital pictures in JPG, GIF or BMP formats. Please ensure that the file is 800x600 or smaller resolution.
Larger files will cause lockups and system instability when the player attempts to access them. Optimum resolution for picture files on this
player is 320x240. After entering picture mode, you will select the file you wish to view by highlighting the thumbnail of the picture suing [NEXT]
or [PREV] and pressing the [MENU] button. While viewing your pictures you can press the [MENU] button to enter the picture submenu, or
press [PLAY] to begin showing your pictures as a slideshow
Picture Submenu
•Rotate- Allows you to rotate the picture clockwise either 90, 180, or 2 0 degrees
•Zoom- Allows you to zoom in and out of the picture
•Slide Gap- Allows you to set the time a picture will be displayed before switching to the next in slide show mode
•Slide effect- Allows you to select one of several special effects displayed when a picture changes in slideshow mode
•Set as desktop background- Set the current picture as the background display on the player
•Set as startup- Set the current picture to display when powering up, instead of the normal logo
•Set as Shutdown- Set the current picture to display when powering down, instead of the normal logo
•Delete the file- Delete the current picture file
•Information- Displays the file name, resolution, and file size
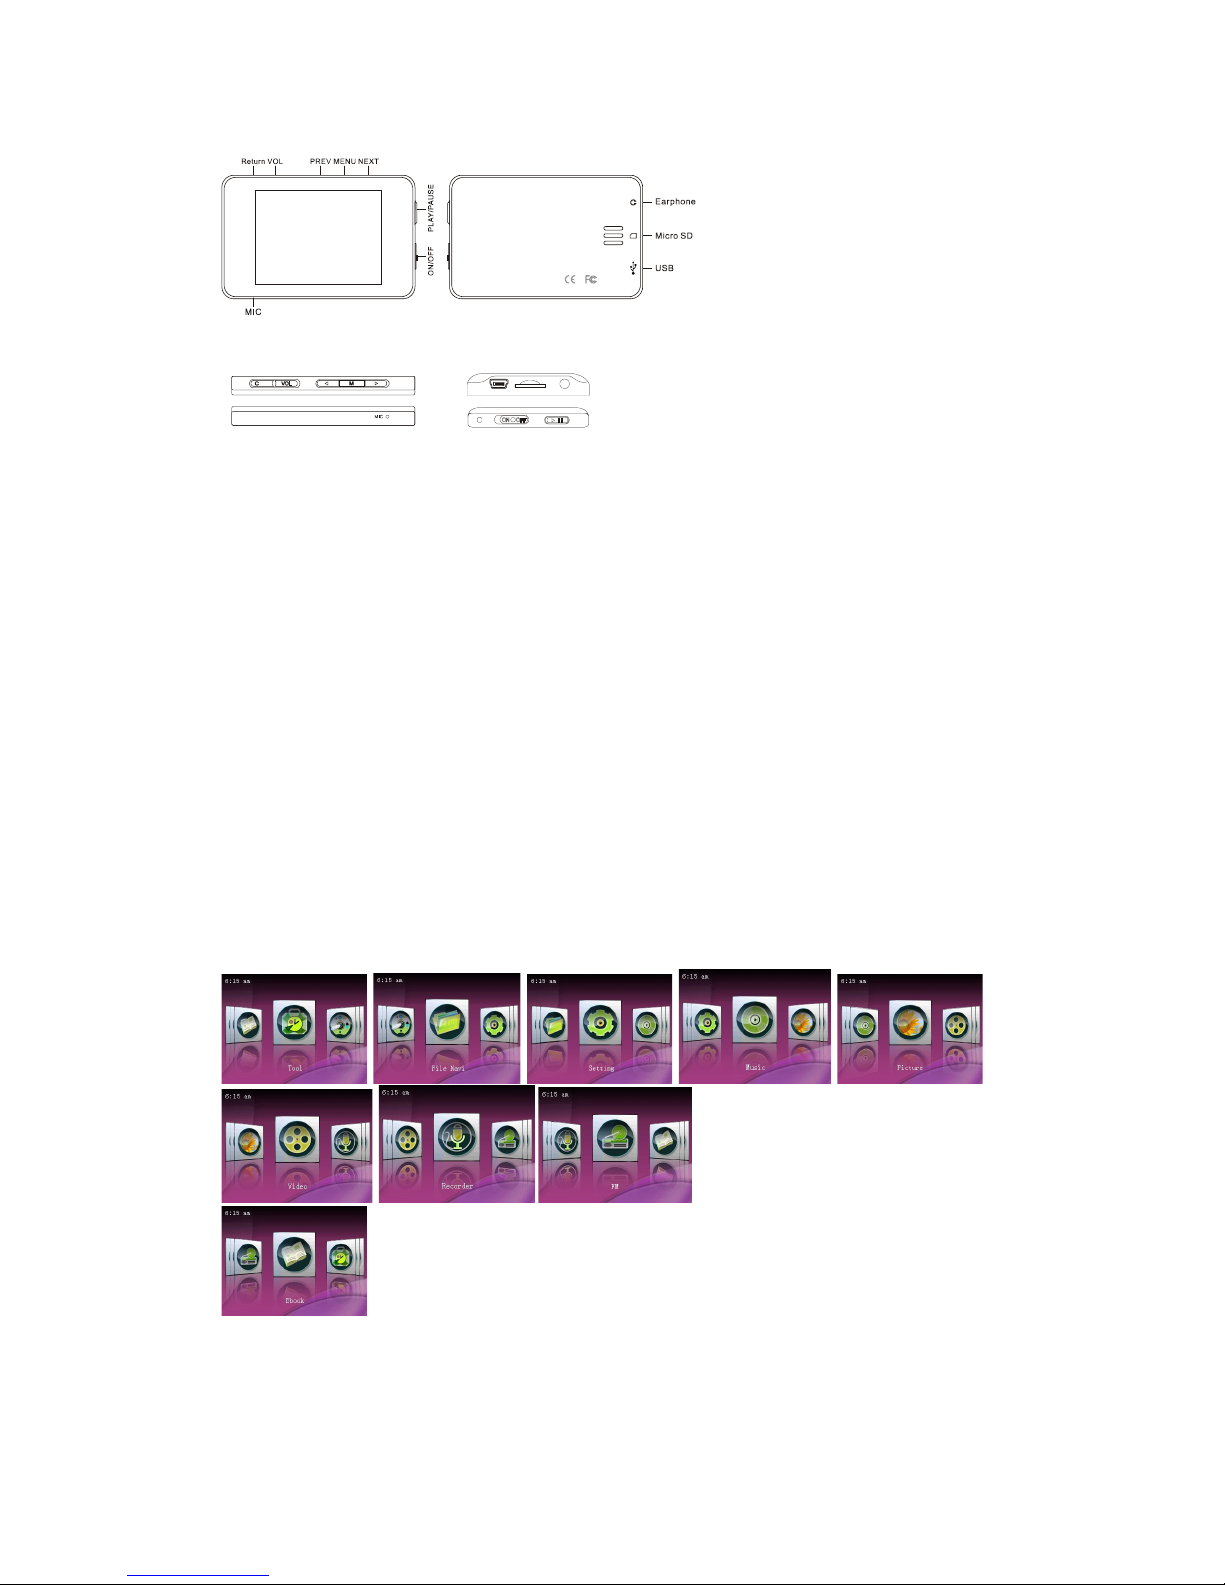
Video

Video mode allows you to watch your favorite AVI video files. Please ensure that you convert your video files using the enclosed video
conversion software to load the necessary codecs on the file, even if your file is already in AVI video format. When you first enter video mode,
you will select either “Tag List” or “Dir List”. Tag list will take you to a list of bookmarks you set for your video files (see the video submenu
section). Dir List allows you to select which file you would like to play. Once you have selected a file, the file will begin playing automatically.
Briefly pressing the [NEXT] or [PREV] buttons will skip to the next or previous video. Pressing and holding these buttons will fast forward or
rewind the current video. While in the video mode, you can press the [MENU] button to enter the video submenu, which will pause the currently
playing file.
Video Submenu
•Playback Mode- Allows you to set the play mode. select either Sequence (plays each file once), Repeat one (plays a single file
over and over again), Repeat all (plays each file over and over), and Shuffle (mix up the order of your video files)
•Add Bookmark- Set the current point in your video file as a bookmark which will quickly allow you to access it in the “Tag List”
item on the video selection screen.
•Delete- Delete the current video file
•Information- Displays the file name, resolution, and frame rate
Recorder
Your player’s Voice recorder will allow you to make voice notes on the go, or record your song demo. When you enter the recorder mode,
select MIC recording and press [MENU]. In the recording screen, you will see your status at the top of the main screen stating standby
(awaiting a recording), Recording, paused, or saving. To begin recording briefly press the [PLAY] button to begin recording, and press it again
to pause the recording. To save your recording, pause the file and briefly press the [MENU] button. While in standby mode, you can press
[MENU] to enter the Recorder submenu.
Recorder Submenu (pictured below)
•Record Format- allows you to save your voice recordings either in .WAV or .MP3 format
•Record Quality- Allows you to set your recording quality. Higher quality recordings will be larger files
•Record Gain- Allows you to set your record gain
•Save Path- Allows you to select where so save your voice recordings
E book

EBook Mode allows you to view your text files anytime. Please ensure that the files are saved in .TXT format using Unicode encoding. When
you enter the EBook mode, you will select either “Tag List” or “Dir List”. Tag list will take you to a list of bookmarks you set for your text files
(see the Ebook submenu section). Dir List allows you to select which file you would like to play. Once you have selected a file, the file will
display automatically. While viewing your files you can press the [MENU] button to enter the EBook submenu, or press [PLAY] to begin
automatically turning the pages.
Picture Submenu
•Skip To- Allows you to skip to a specific page in your text file
•Auto Play Gap- Allows you to set the length of time a page will be displayed before
•Font Size- Allows you to adjust the font size
•Add Bookmark- Set the current point in your text file as a bookmark which will quickly allow you to access it in the “Tag List” item
on the EBook selection screen.
•Delete the file- Delete the current file
Tools
The Tool mode allows you to access and use several common tools
•Stopwatch- When you enter stopwatch mode, press the [PLAY] button to begin the timer, and press [PLAY] again to stop. Pressing
the [MENU] button allows you to clear the data
•Calculator- Accesses a standard calculator. Use [NEXT] or [PREV] to highlight an item, and then press [MENU] to select that item.
•Calendar- You guessed it! Opens a calendar so that you can see the date
File Navigation
File navigation allows you access and play that file you have a need for without having to first enter a specific play mode. use the [NEXT] or
[PREV] buttons to highlight an item you would like to access, and press the [PLAY] button to access it. Audio files will play in the music mode,
video files in the video mode, etc.

Setting
Your system setting controls the look and controls of your player.
•Effect Setting- Allows you select one of three menu change styles
•Date & Time- To adjust the date or time you will use [NEXT] and [PREV] to adjust the value of the item, and [MENU] to change the
item. When done, press [PLAY] to save the changes
•Display- Display allows you to change several display settings
oBacklight- allows you to adjust the length of time before the backlight will power off to conserve the battery when the
player is idle. Off will disable this feature, and keep the backlight lit constantly
oBacklight Brightness- Adjust your screen brightness, 1 is the lowest setting, and 5 the brightest
oScreen saver time- Adjust the length of time the player is idle before displaying the screen saver. Off will disable this
feature, and the screen saver will never appear
•Power Saving- Adjust your power saving options
oIdle Time- set the length of time that the player is idle before automatically powering off to conserve battery life
oSleep Time- set a timer to power the device off. This is designed for those of us who listen to music as we fall asleep
•Language- Set your display language
•Advanced- Settings recommended for Advanced users only.
COMPUTER COMMUNICATION
Using Windows Media Player
(Note: you must use Windows Media Player 10 or later to use this feature.)
(Note: this player does not support DRM encrypted audio files such as those downloaded from the Windows Media Player download service.)
(Note: In order to use these features you must select “Power & Data” on your player when first connected to the computer)
1. Open Windows Media Player and connect the MP3 player to a working USB port. Windows Media player will prompt you with a
setup screen asking you to name the MP3 player.

2. Once you have named your MP3 player, select Finish, and your Windows Media Player will open to the Sync tab.
3. Drag your music to the sync list (on the right of the screen) from the list on the left. Once you have selected the music you wish to add to the
player, press Sync.

3. Windows Media player will load the songs on to your MP3 player.
4. Once all the songs you have added are synced to the unit, and Windows Media Player says that is safe to disconnect your MP3
player, disconnect the device.

COPY AND PASTE
1. Connect the MP3 player to a working USB port.
2. When the unit is connected to your computer, it will create a gray and green icon in the system tray (lower right hand corner of
your desktop). The icon will be called safely remove hardware.
3. Go to the “My Computer” section of your computer. In there you will find a section called “devices with removable storage”

4. Locate the drive created by the unit, generally just called Removable Disk, with a letter in Parenthesis. Drive letters vary
depending on your system configuration.
5. Open the drive by either double left clicking on the drive itself, or by right clicking to open the option menu then left click on the
desired drive.

6. Locate the music stored on your computer. Generally this is stored in the “My Music” folder of your computer. NOTE: if you are
unable to locate the music on your computer, click on start, search, files and folders, then search for “*.MP3, *.WMA”.
. Once you have located the song files, you can right click on the song itself, and select “copy”. Open the removable disk drive,

right click on in the empty space, and select Paste. This will transfer the song on to your MP3 player.
8. Repeat step for as many songs as you want to copy on to the unit.
NOTE: MAC Computers

When connected to your MAC computer, the device will act as a removable drive. Simply drag your MP3 files to the device.
Caution
Modifications not approved by the party responsible for compliance could void the user’s authority to operate the equipment.
NOTE- This equipment has been tested and found to comply with the limits for Class B Digital device, pursuant to part 15 of the FCC rules.
These limits are designed to provide reasonable protection against harmful interference in a residential installation. This equipment generate,
uses and can radiate radio frequency energy and, if not installed and used in accordance with the instructions, may cause harmful interference
to radio or telephone reception, which can be determined by turning the equipment off and on, the user in encouraged to try to correct the
interference by one or more of the following measures:
•Reorient or relocate the receiving antenna.
•Increase the separation between the equipment and the receiver
•Connect the equipment to an outlet on a circuit different from that to which the receiver is connected.
•Consult the dealer or an experienced radio/TV technician for help.
Other manuals for Trio
2
Table of contents
Other Mach Speed Media Player manuals